DNSCrypt is an authentication protocol that facilitates the communication between DNS clients and DNS resolvers. It’s an effective tool to prevent DNS spoofing where traffic is diverted to fake websites by manipulating DNS servers. DNSCrypt uses cryptographic signatures to authenticate traffic sources. So it’s easier to detect any manipulation of incoming information. It’s an open specification with multiple free and open-source implementation. DNSCrypt clients are available for Windows, MacOS, Unix, Android, iOS, and Linux.
Available DNS Resolvers with DNSCrypt Capability
There are a number of public DNS server with support for DNSCrypt protocol. You can also run your own DNS resolver.
You will need a DNSCrypt client to communicate with these servers.
DNSCrypt Clients
One of the most popular clients is dnscrypt-proxy. It has both a command line and a graphical user interface. It’s up-to-date to current DNSCrypt protocol and it is supported on Windows, macOS, Linux, OpenBSD, FreeBSD, NetBSD, Android, and iOS.
There are other clients like Simple DNSCrypt and DNSCrypt-OSXClient.
Benefits of DNSCrypt Clients
The DNSCrypt clients have the following benefits:
- Reviews traffic integrity in real-time and detects any manipulation.
- Provides control over rejecting ads, trackers, spam, malware or other harmful sites.
- Caches responses and avoids IPv6 requests on IPv4-only networks to improve latency.
- Mandatory TCP use through TCP-only tunnels or Tor
- Local zone queries are protected
DNSCrypt Client dnscrypt-proxy Installation on Ubuntu
For Ubuntu 14.x, you can use Pascal’s DNSCrypt PPA:
$ sudo add-apt-repository ppa:anton+/dnscrypt $ sudo apt-get update $ sudo apt-get install dnscrypt-proxy
For Ubuntu 16.x and 17.x, dnscrypt-proxy is part of the Ubuntu repository. So you can directly install using the following command:
$ sudo apt-get install dnscrypt-proxy
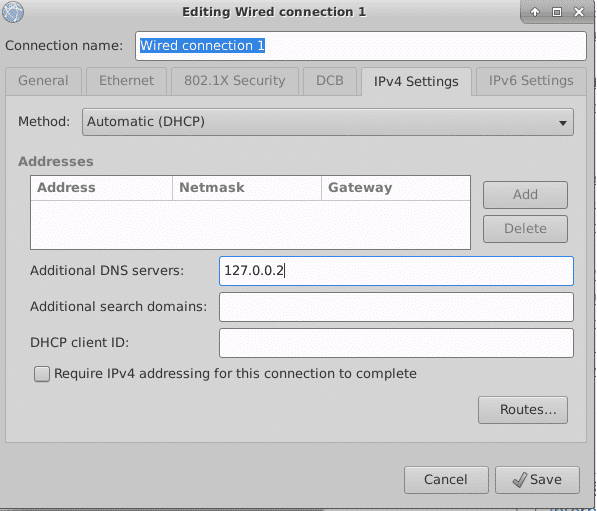
After installation, add 127.0.0.2 to your DNS servers on your network configuration.
Next, start the dnscrypt-proxy service using the following command:
$ service dnscrypt-proxy start
It will create a user called “_dnscrypt-proxy” and run the service as that user. Check the service status using:
$ service dnscrypt-proxy status
Verifying Successful Installation
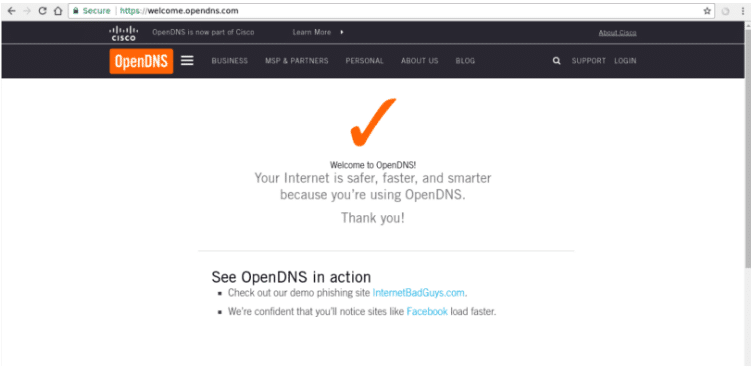
The following link verifies successful installations:
https://www.opendns.com/welcome
A successful installation should show the following page:
Alternatively, you can use the following command line
$ dig txt debug.opendns.com
You should get output like:
$ dig txt debug.opndns.com ; <<>> DiG 9.10.3-P4-Ubuntu <<>> txt debug.opndns.com ;; global options: +cmd ;; Got answer: ;; ->>HEADER<<- opcode: QUERY, status: NXDOMAIN, id: 41412 ;; flags: qr rd ra; QUERY: 1, ANSWER: 0, AUTHORITY: 0, ADDITIONAL: 0 ;; OPT PSEUDOSECTION: ; EDNS: version: 0, flags:; udp: 4096 ;; QUESTION SECTION: ;debug.opndns.com. IN TXT ;; ANSWER SECTION: debug.opendns.com. 0 IN TXT "server 11.ash" debug.opendns.com. 0 IN TXT "flags 20 0 70 5950800000000000000" debug.opendns.com. 0 IN TXT "originid 0" debug.opendns.com. 0 IN TXT "actype 0" debug.opendns.com. 0 IN TXT "source [REDACTED-YOUR IP]" debug.opendns.com. 0 IN TXT "dnscrypt enabled (71447764594D3377)" ;; Query time: 74 msec ;; SERVER: 127.0.0.2#53(127.0.0.2) ;; WHEN: Sat Dec 09 11:26:16 UTC 2017 ;; MSG SIZE rcvd: 249
Notice the debug.opendns.com. 0 IN TXT “dnscrypt enabled (71447764594D3377)” line. If you have a similar line that means your DNSCrypt protocol is working.