I am using Ubuntu 17.10 Artful Aardvark for the demonstration. Let’s get started.
Installing Minikube Dependencies:
Before we can start installing Minikube, we have to install some dependencies of Minikube. In this section, I will show you how to install the dependencies on Ubuntu.
First run the following command to update the package repository cache of your Ubuntu operating system.
We need curl to download the Minikube binaries. You can install curl from the official Ubuntu repository with the following command:
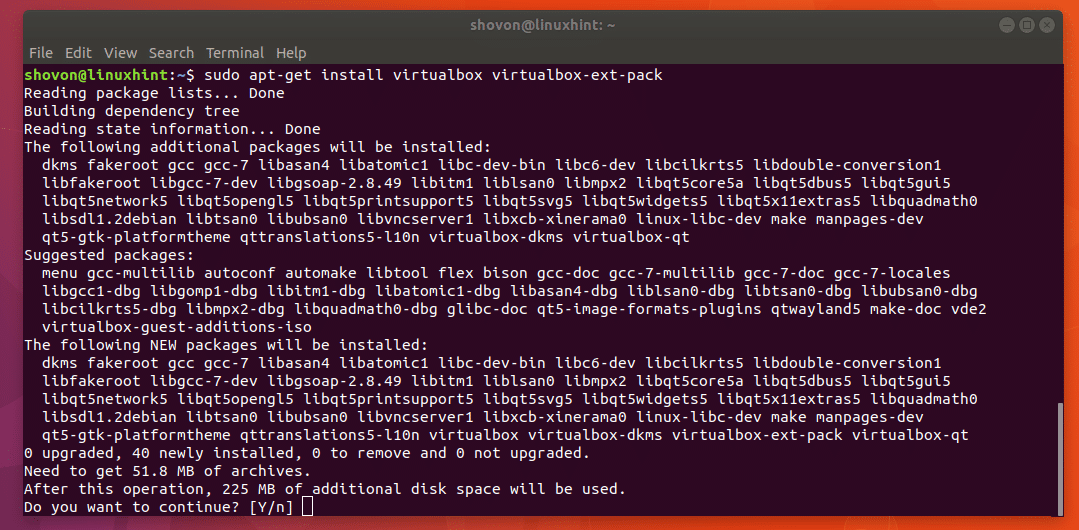
Minikube needs hardware virtualization enabled to work properly. Make sure you have VT-d or Virtualization enabled from the BIOS of your computer. Once you’re sure that hardware virtualization is enabled, you can install VirtualBox hypervisor software from the Ubuntu official package repository. Run the following command to install VirtualBox on Ubuntu:
Press ‘y’ and then press to continue.
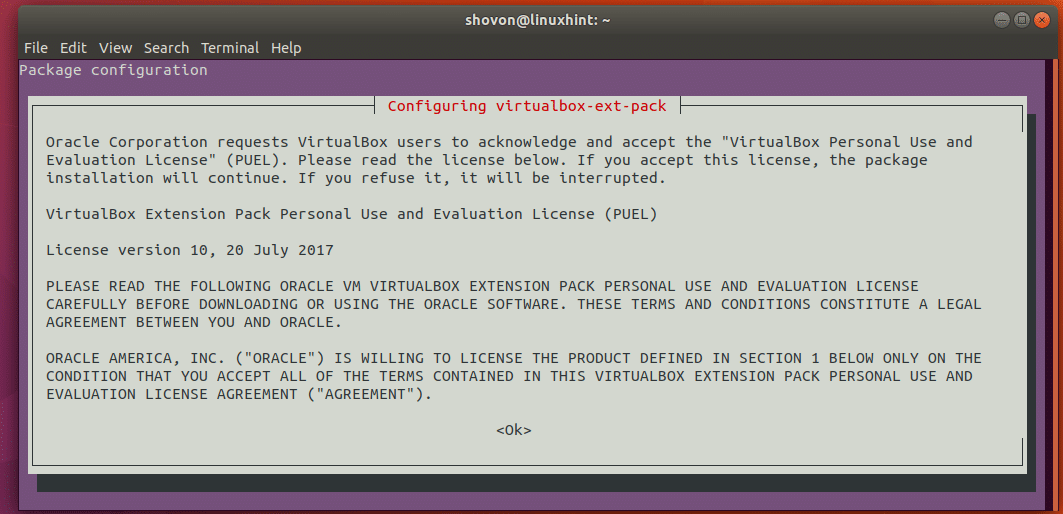
The installation should start. While the installation is ongoing, VirtualBox may ask you accept the license agreement of VirtualBox Extension Pack. Just press <Tab> and then press <Enter> to accept it.
Then you should see the following window. Just select “<Yes>” and press <Enter>. The installer should continue.
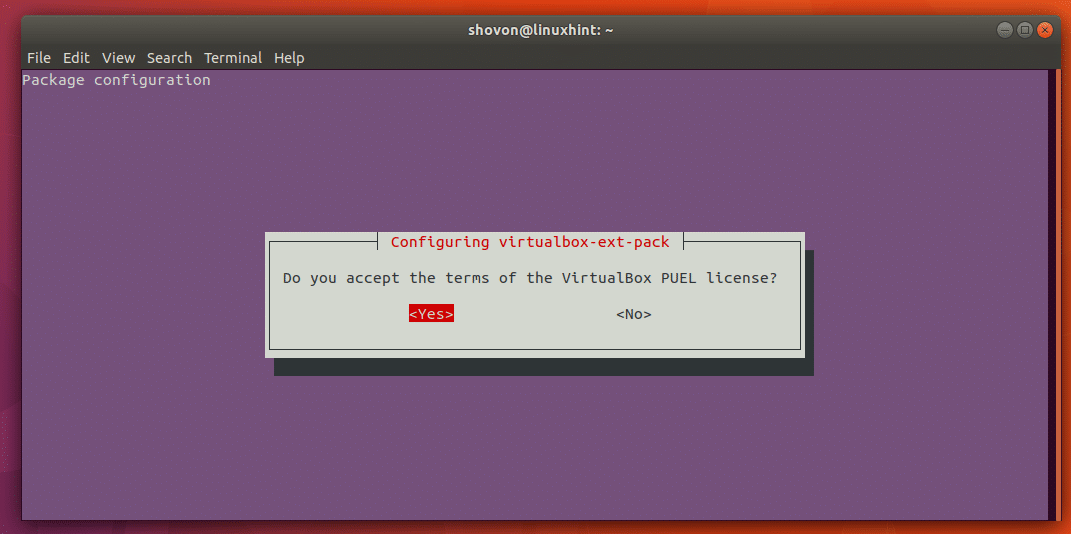
After a while the installation will be completed.

Downloading and Installing MiniKube:
Go to the Downloads directory in the User’s home directory with the following command:
Now you can download the minikube binary using curl with the following command:

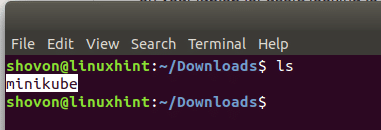
‘minikube’ binary will be downloaded in the ~/Downloads directory.

If you run ‘ls’ command, you should see the ‘minikube’ binary in the Downloads directory.
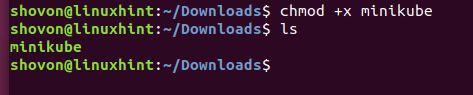
By default, the ‘minikube’ binary file is not executable. We must make it executable for it to work.
It is easy to do so. Just run the following command:
From the output of the ‘ls’ command, you can see that the file is not marked green. Which means it is executable.
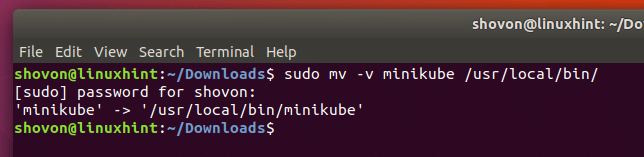
Now we have to move the ‘minikube’ executable binary file to /usr/local/bin.
Run the following command to do that:
‘minikube’ executable file should be moved to the desired location as you can see from the output of ‘mv’ command in the screenshot.
Now we have to download ‘kubectl’ binary.
Run the following command to download the ‘kubectl’ binary file with curl:

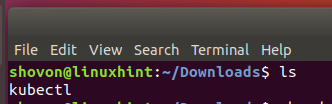
‘kubectl’ will be downloaded from the internet.

Once the download is complete, if you run ‘ls’ command, you can see that ‘kubectl’ binary file is not executable.
Now run the following command to make ‘kubectl’ binary file executable.
If you run ‘ls’, you should see that ‘kubectl’ binary file is marked green. So it is now an executable binary file.

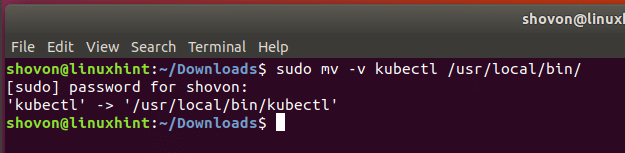
Now move ‘kubectl’ to /usr/local/bin with the following command:
You can see from the output of ‘mv’ command that the ‘kubectl’ binary file is moved to the desired location.
Testing Minikube:
Now that everything is complete. You can start Minikube.
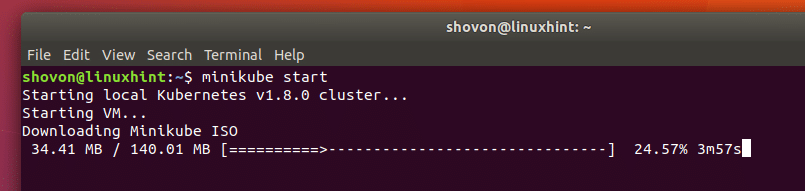
Start Minikube with the following command:
If Minikube is running for the first time, it will download Minikube ISO file from the internet. It may take a while depending on your internet connection.
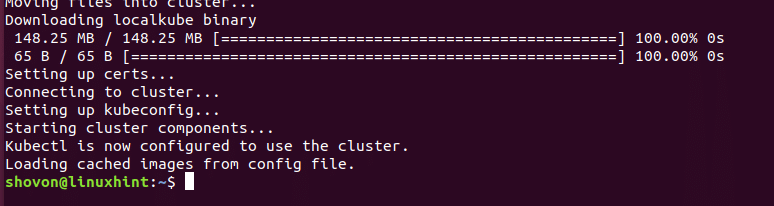
Minikube will also download the localkube binary from the internet after Minikube ISO is downloaded.

Once the downloads are complete, Minikube should start. As you can see from the screenshot.
You can get a list of all the Minikube pods with the following command:
You can see that I have no pod set up right now.

Let’s create a Minikube pod now. I am going to create a simple ‘echoserver’ pod with kubectl.
You can create a ‘hello-minikube’ pod with the following command:
‘hello-minikube’ pod is created.

If you list the pod now, you should be able to see ‘hello-minikube’ pod. The pod is still being created as you can see from the “STATUS” ContainerCreating. Minikube will download the pod image from the internet.

After the download is complete, running the ‘kubectl get pod’ command will show that the pod is RUNNING, as you can see from the screenshot.

Now run the following command to expose the pod’s port.

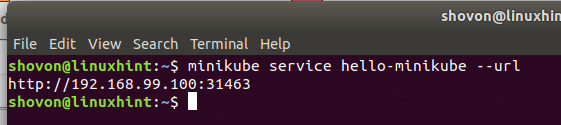
You can get the URL of the ‘hello-minikube’ pod with the following command.
You can see that the URL is printed on the next line. You can use this URL to access the ‘echoserver’ service.
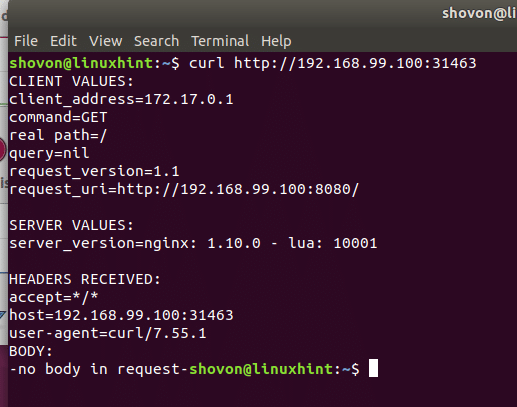
You can make a GET request to the service endpoint with curl as shown in the screenshot.
You can get the IP address and open ports of all the Minikube pods with the following command:
$ kubectl get service

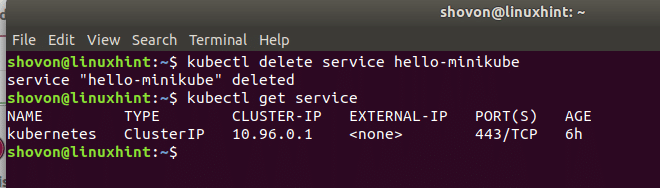
You can also delete the ‘hello-minikube’ service with the following command:
You can see that the service is deleted.
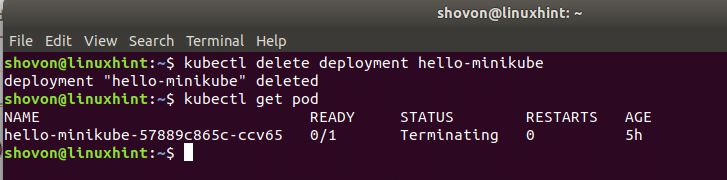
We can also delete the ‘hello-minikube’ pod using the following command:
You can see that the STATUS of the pod changed to ‘Terminating’. It will be deleted shortly.
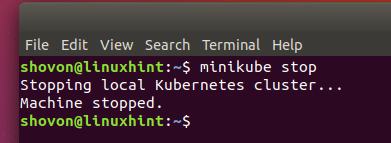
Once you’re done with your tests, you can stop Minikube with the following command:
You can see from the screenshot that Minikube is stopped.
So that’s how you install and use Minikube on Ubuntu. Thanks for reading this article.