Install and Get Started with PostgreSQL 10 on Arch Linux
PostgreSQL is a powerful object-relational database management system. PostgreSQL strongly complies to ANSI SQL standard 2008. It is an open source and cross platform database. It is an enterprise class database. The latest version of PostgreSQL as of this writing is 10.
In this article, I will show you how to install and use PostgreSQL 10 on Arch Linux. Let’s get started.
Installing PostgreSQL 10
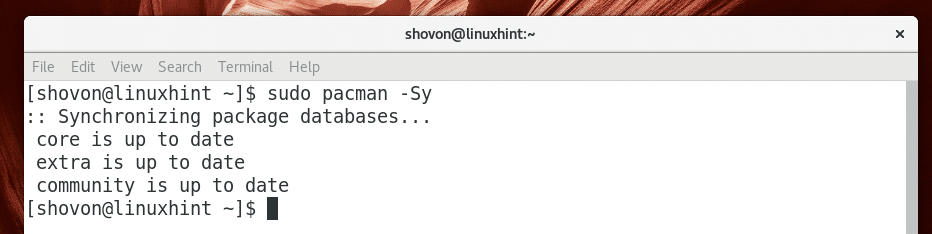
First update the package database of pacman package manager with the following command:

The package database of pacman package manager should be updated.
PostgreSQL 10 is available in the official package repository of Arch Linux. So you can install PostgreSQL 10 very easily.
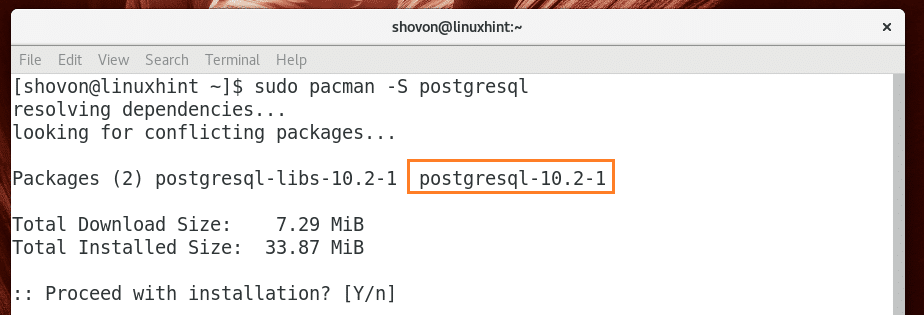
You can run the following command to install PostgreSQL 10 on Arch Linux:

Now press ‘y’ and then press <Enter> to continue.
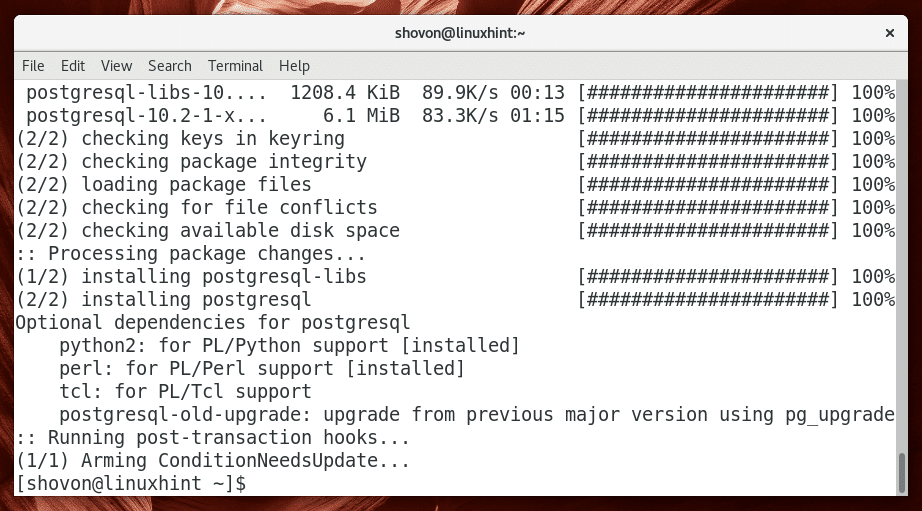
PostgreSQL 10 should be installed.
Now you can run the following command to check the version of PostgreSQL you’ve installed.

As you can see from the screenshot below, the version of PostgreSQL installed is 10.2.

Now you can run the following command to check whether PostgreSQL is running or not.
As you can see from the screenshot below, PostgreSQL is not running.
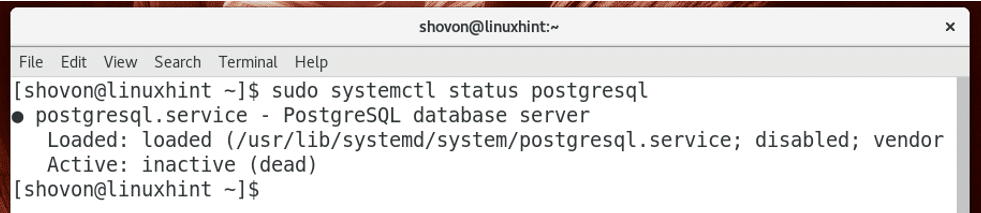
You may think all you have to do now is to start PostgreSQL. But you’re wrong. You can’t start PostgreSQL now as the data directory of PostgreSQL is not initialized yet.
Before you can initialize the data directory of PostgreSQL, you must login as the postgres user with the following command:

You’re logged in as postgres user as you can see from the marked section of the screenshot below.

NOTE: You should always login as postgres user to use or do any type of administration of PostgreSQL. Otherwise you may get permission errors and things might not work as expected.
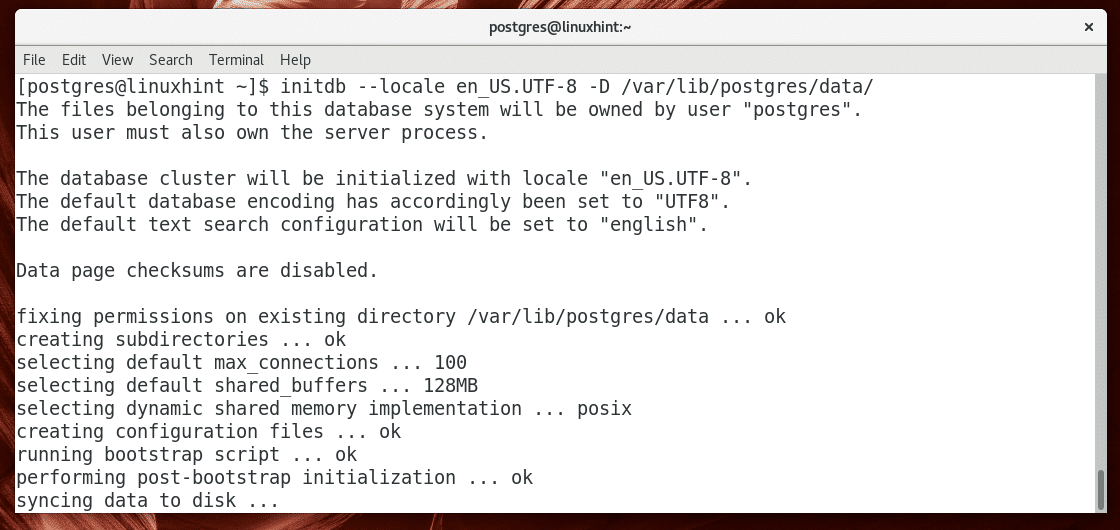
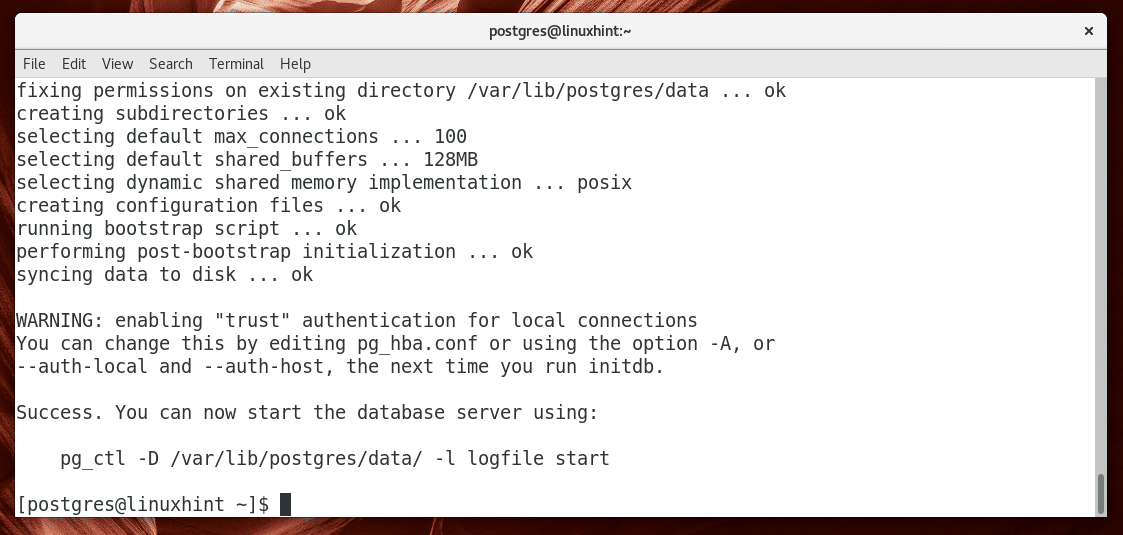
Now you can initialize the data directory of PostgreSQL with the following command:

NOTE: The default data directory of PostgreSQL on Arch Linux is /var/lib/postgres/data
As you can see from the screenshot below, the data directory is being initialized.
The data directory is generated at this stage.
Now logout of postgres user with the following command:

You should be logged out of postgres user account.

Now that the data directory of PostgreSQL is generated, you can start PostgreSQL with the following command:

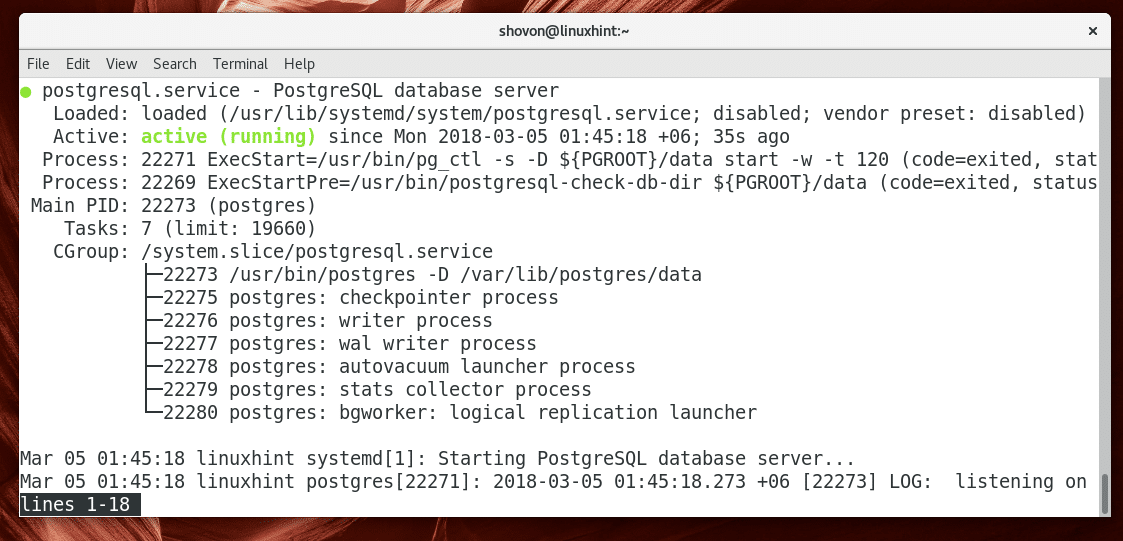
You can run the following command to check whether PostgreSQL is running again with the following command:

As you can see from the screenshot below, the PostgreSQL database server is running.
Now you should add PostgreSQL to the system startup so that it will start automatically on system boot.
Run the following command to add PostgreSQL to system startup:

PostgreSQL should be added to the system startup as you can see from the screenshot below.

Using PostgreSQL 10
In this section I will show you the basics of PostgreSQL 10.
Before you do anything, log in as postgres user with the following command:

You’re logged in as postgres user.

Creating a Database:
You can use the createdb command to create a database in PostgreSQL.
Let’s say you want to create a database linuxhint. You can run the following command to create linuxhint database:

The linuxhint database should be created.
Using a Database
You can use psql command to login to an existing database that you created with createdb command.
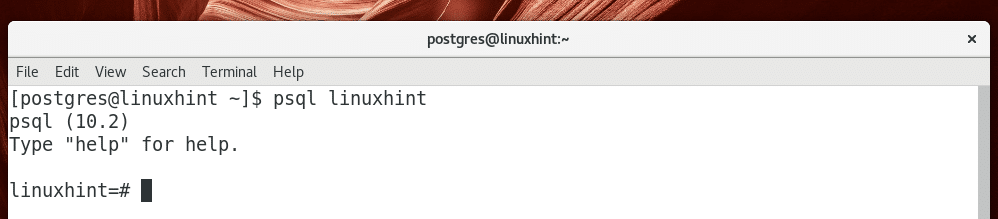
You can run the following command to login to linuxhint database.

As you can see from the screenshot below, you’re logged in to the linuxhint database.
Executing SQL Command
Once you’re logged in to a database using psql command, you can execute PostgreSQL compatible SQL commands.
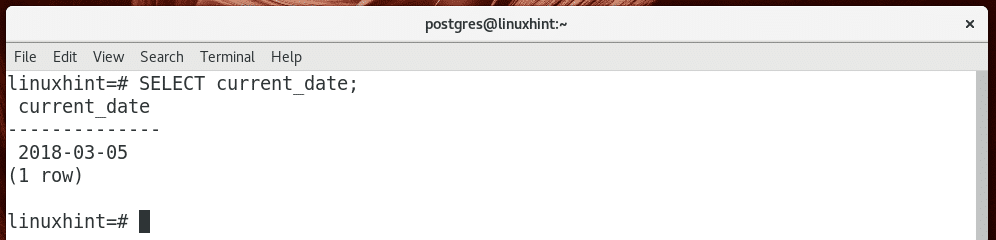
For example, you can run the following SQL statement to check the current date.

As you can see from the screenshot below, the current date is printed.
Creating a Table on PostgreSQL:
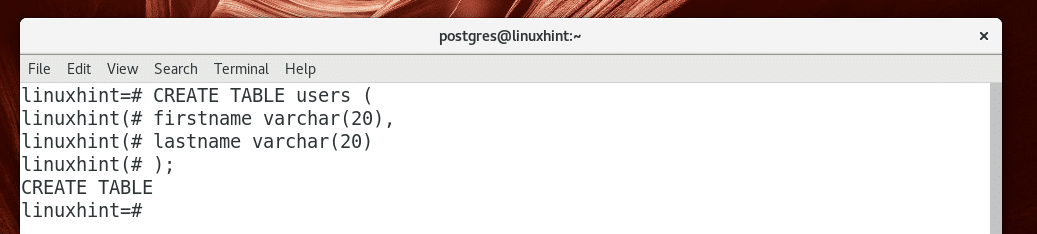
You can run the following SQL statements to create a table users on PostgreSQL:
firstname VARCHAR(20),
lastname VARCHAR(20)
);
As you can see a table users is created.
Inserting into the Table
You can insert into the newly created users table using the following SQL statement:

As you can see 1 row is inserted into the users table.

Selecting Data from Table
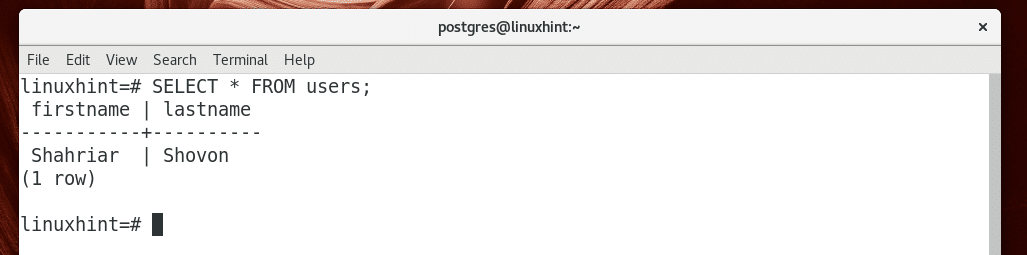
You can run the following SQL statement to select all the data from the users table.

As you can see the data I inserted was retrieved.
That’s how you install and get started with PostgreSQL 10 on Arch Linux. Thanks for reading this article.