Many MVC based PHP frameworks are available now to make web developing tasks simpler and easier than before. In an MVC framework, there are three components which are Model, View and Controller. Models are used for accessing application data, Views are used for presenting data in the browser and Controllers are used for routing and handling user’s requests. These components are used to separate the tasks that help the developers to do web programming in a structured way. CakePHP is one of the well-known MVC framework that can be easily downloaded and installed without any cost. Some important features of CakePHP are mentioned here:
- It supports Object Relational Mapping (ORM) for converting data between database and object-oriented programming language.
- This framework contains two main folders, one is lib/cake which needs to be unchanged and another is app/ which is used to add code for the project development.
- There are many built-in plug-ins, helpers and components in CakePHP that help to reduce the development time and the developers can easily extend these classes according to the project requirements.
- Without database connection, all configurations are auto-detected by CakePHP.
- Many advanced level built-in validations are included in CakePHP framework to make the validation works faster.
- It supports Ajax requests.
- The most important and useful feature of CakePHP is CRUD Scaffolding. CRUD operation is mandatory for every web projects and this task can be done very easily in CakePHP by using bake command. This simple command can create all necessary controller, model and view files for a particular table in a few seconds. So it saves lots of the developer’s time.
- Application testing features are also available in CakePHP.
In this tutorial, you will learn how you can install and use CakePHP on Ubuntu.
CakePHP Installation Steps
Before starting the installation process of CakePHP, you have to install Apache web server, MySQL/MariaDB Database Server and PHP.
Install apache:
Type the command to check apache version.

Start Apache Web Server
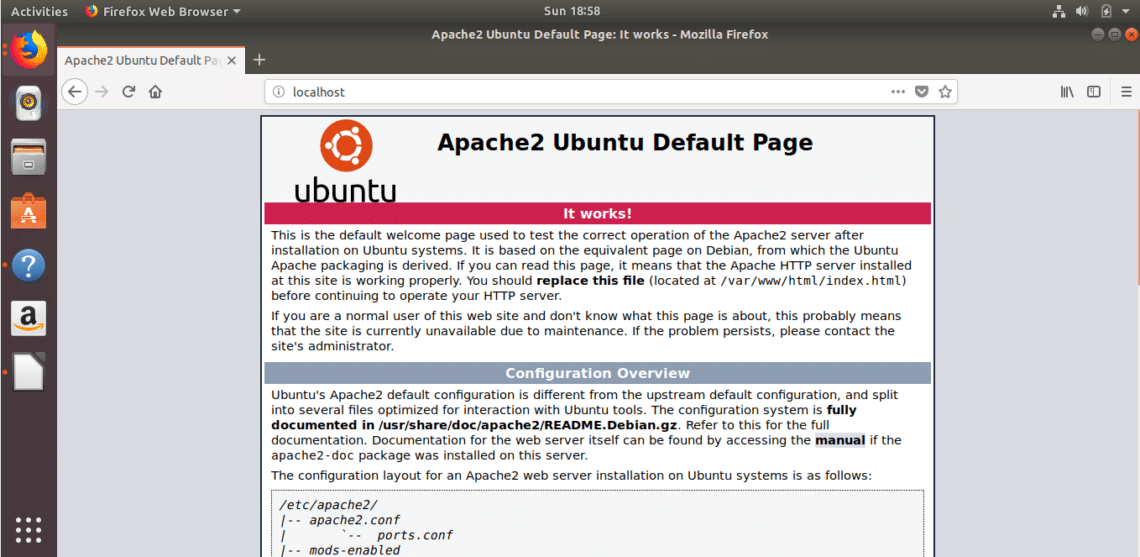
Open any web browser and type, http://localhost and press enter to test Apache Server. The following information indicated that Apache server is working properly.
Installing Database server
Almost every web application uses database for storing, modifying and retrieving data. So you have to install any supported database server for storing project data. If you have installed MySQL or MariaDB server before then you can omit the next step. Run the command to update the system and install MariaDB server and client.

Installing PHP
The most import step is to install latest version of PHP on Ubuntu. If you have already installed PHP on your system then you can omit this steps also. Run the following command and type ‘y’ to give permission for installing PHP.

CakePHP requires at least PHP 5.6.0 to install. Type the command to check PHP version.

Installing required PHP Extensions:
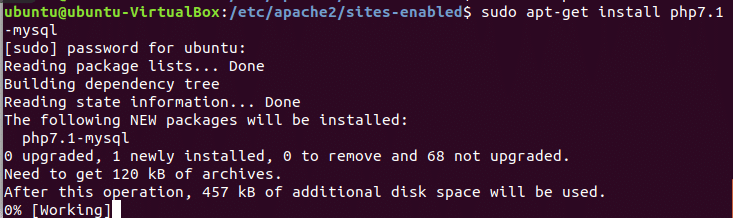
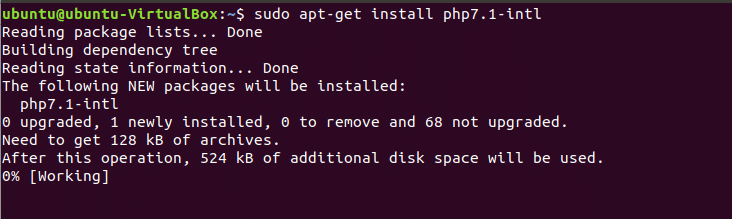
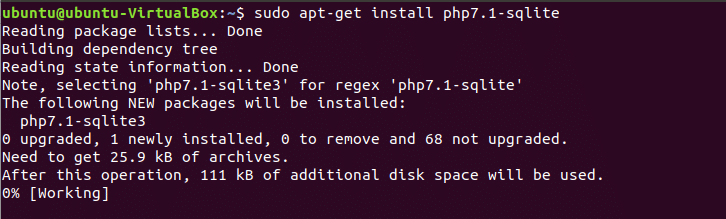
Now, you have to install some PHP extensions which are essential for installing CakepHP. These extensions are mysql, intl and sqlite. Run the commands to enable these extensions and write PHP version properly in the commands otherwise it will be not installed. Here, PHP version is 7.1.

Installing others required packages
Two packages are required to install for running the installation command of CakePHP. These are git and composer.
Run the command to Install git

The most useful dependency manager for PHP is composer. All required libraries and dependency packages can be installed properly from one place by using this package. You have to install this package for installing CakePHP on Ubuntu. If you didn’t install composer before then run the following command to download and install the composer.
–install-dir=/usr/local/bin –filename=composer

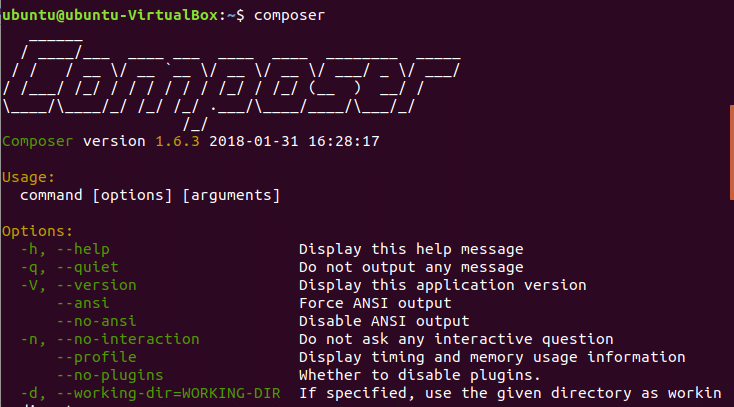
Now type composer in the terminal to check that it is properly installed or not. If the following screen appears then composer is properly installed and ready to use.
It is necessary to enable the rewrite module.

Now, restart Apache server to get effects of the above tasks.

Open the configuration file of Apache to allow override option for all. apache2.conf file is located at /etc/apache2 folder. So go to this folder and open apache2.conf file.
$ sudo nano apache2.conf

Search for the location, ‘<Directory /var/www/>’ and change ‘AllowOverride None’ to ‘AllowOverride All’ . Save the file and exit from the editor. This will set permission for .htaccess to override apache config on every directory.

Now, your system is ready to run the command for installing cakePHP. At first, you have to select the folder where you want install CakePHP. Normally, public folder is selected for the installation which is ‘/var/www/html’. You have to set read, write and execution permission for this folder. Run chmod command to set the permission.

Now, restart apache server, go to this folder and run composer command to start the installation process of CakePHP. Suppose, you want to create a CakePHP project named ‘cakepro’. Run the commands to start the process for creating cakepro project.

Run composer command to download necessary files and folders and make the project ready for the work.
The following message will appear when CakePHP installation starts. You have to wait for sometimes to complete the installation process.

When the installation is approximately completed then the following message will appear. Press ‘y’ to give the permission.

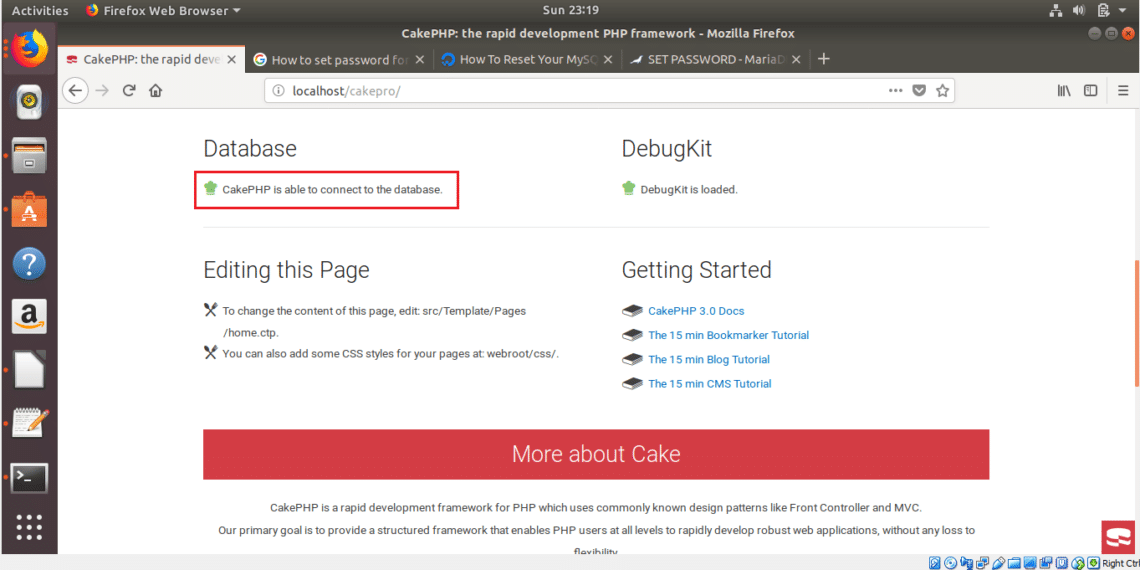
After completing the above steps, open a browser, type http://localhost/cakepro in the address bar and press enter.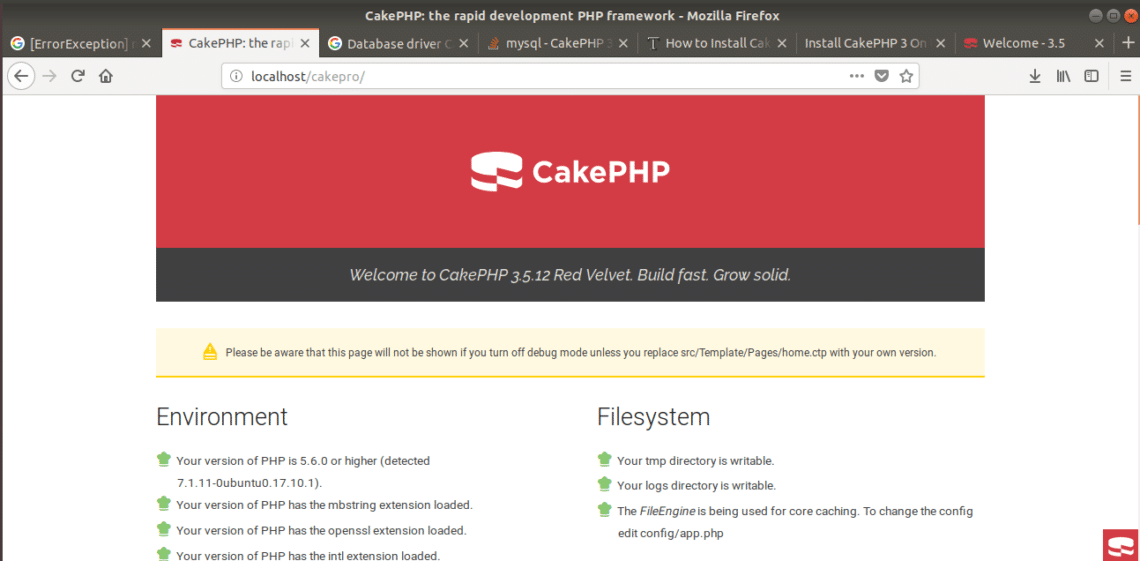
CakePHP project is ready to use now.
Using Database in CakePHP
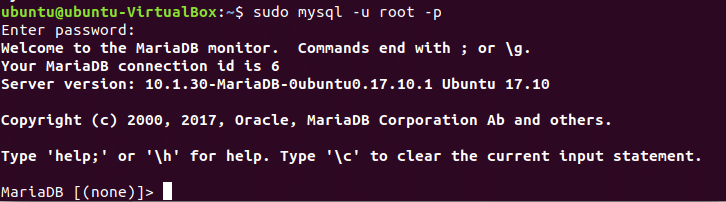
Create a new database named cakedb using mysql commands. Open the terminal and run the following command to make a connection with MariaDB server as root user.
Create the database named cakedb.

Select the database.

Create a new table named employee.
(empID INT,
LastName VARCHAR(255),
FirstName VARCHAR(255),
Address VARCHAR(255),
Country VARCHAR(255) );

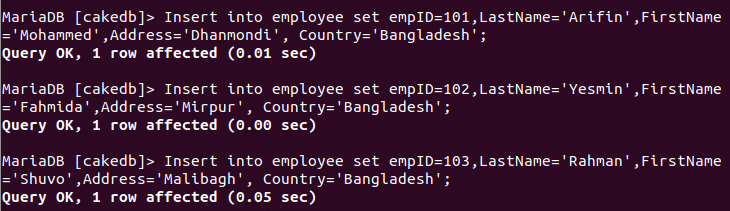
Now, add some records in employee table.
Address=’Dhanmondi, Country=’Bangladesh’;
> INSERT INTO employee SET empID=102, LastName=‘Yesmin’, FirstName=‘Fahmida’,
Address=‘Mirpur’, Country=‘Bangladesh’;
> INSERT INTO employee SET empID=103, LastName=‘Rahman’, FirstName=‘Shuvo’,
Address=‘Malibagh’, Country=‘Bangladesh’;
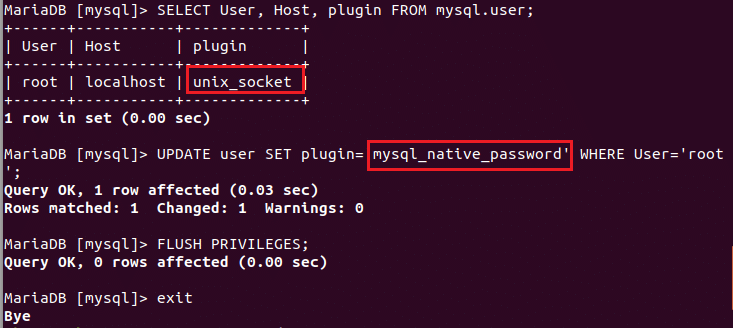
Employee table is created with three records. When you will visit CakePHP site then you will notice that database connection is not working because MariaDB use unix_socket as plugin. So you have to change it to mysql_native_password. So run the following SQL statements to do the tasks.
> SELECT USER, Host, plugin FROM mysql.user;
> UPDATE USER SET plugin=‘mysql_native_password’ WHERE USER=‘root’;
> FLUSH PRIVILEGES;
>exit;
Now restart the database server.
Setup Database Connection:
Go to the location, /var/www/html/cakepro/config and create a copy of app.defaults.php file, named app.php. Open app.php and configure the database connection as below:

Save the file and restart the server again. Go to the project URL. Now you will see the database is connected properly.
Your next task is to create controllers, models and views to develop your project according to your requirements but that is for another tutorial.
I hope you now see the power of CakePHP and are eager to learn more.