A simple example will make the need for a cache server much clearer. Let’s say, you own an English dictionary app. There are about 200,000 words in your dictionary database. When a user looks up a word in your app, your app has to search the database and find the word and then it displays the meaning and some example sentences to the user. But 90% or more people are looking up very common words, let’s say 30,000 words within the total 200,000 words in your database. So, your dictionary app spends a lot of time searching the database for the same word. Thus, the server load and page access time increases. What if you could deliver the commonly looked up 30,000 words faster and more efficiently? Well, if you set up a cache server and cache the most commonly looked up words, then 90% of the server load will be reduced. Your app will also response faster than ever. So you can do more with less. You don’t need a very powerful server if you use a cache server in between. The performance of your dictionary app can be increased rapidly without increasing the cost.
Now you know how important cache servers really are. Redis is an excellent caching solution. In this article, I will show you how to install Redis on Ubuntu. I will be using Ubuntu 18.04 LTS for the demonstration. But it should work for any modern version of Ubuntu. Let’s get started.
Installing Redis on Ubuntu Using Package Manager:
Redis is available in the official package repository of Ubuntu. So it is really easy to install. First, update the APT package repository cache of your Ubuntu machine with the following command:
The APT package repository cache should be updated.

Now install Redis with the following command:

Now press y and then press <Enter> to continue.
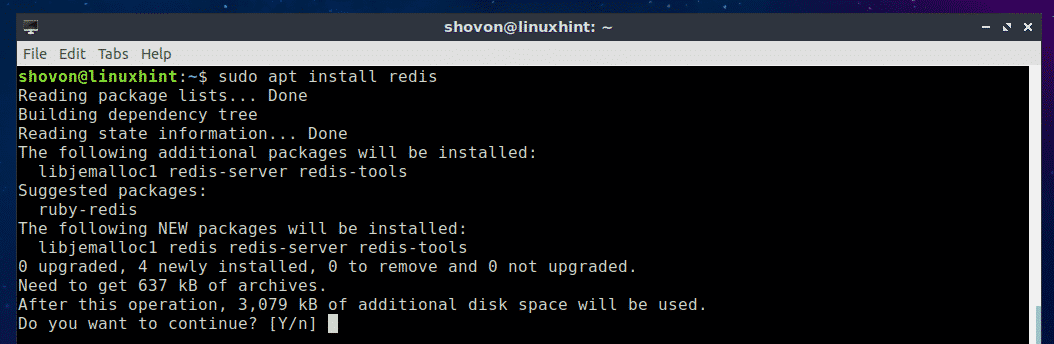
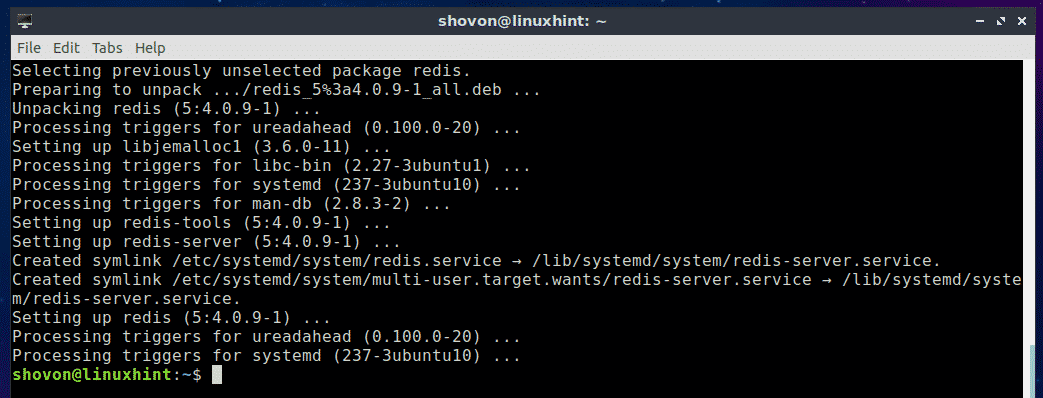
Redis should be installed.
Now check whether Redis is working correctly with the following command:
As you can see, on my Ubuntu 18.04 LTS machine, Redis 4.0.9 is installed and it’s working correctly.

Starting and Stopping Redis Service:
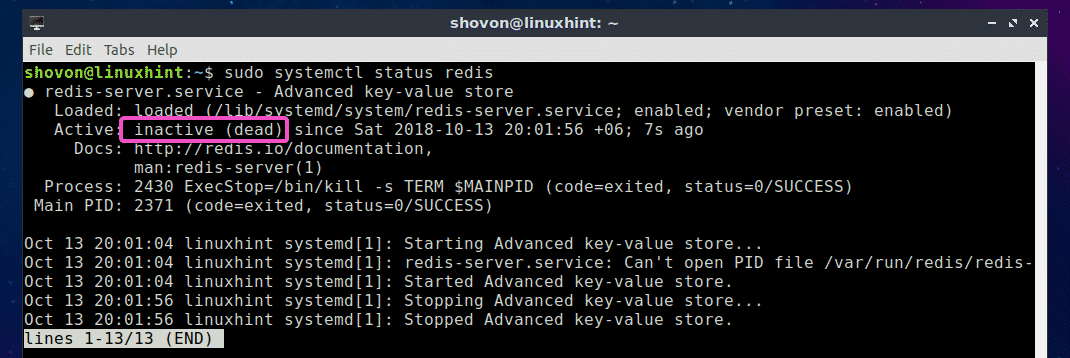
Now to check whether Redis service is running, run the following command:
As you can see, Redis service is running.

To stop Redis service, run the following command:

As you can see, Redis service is not running anymore.
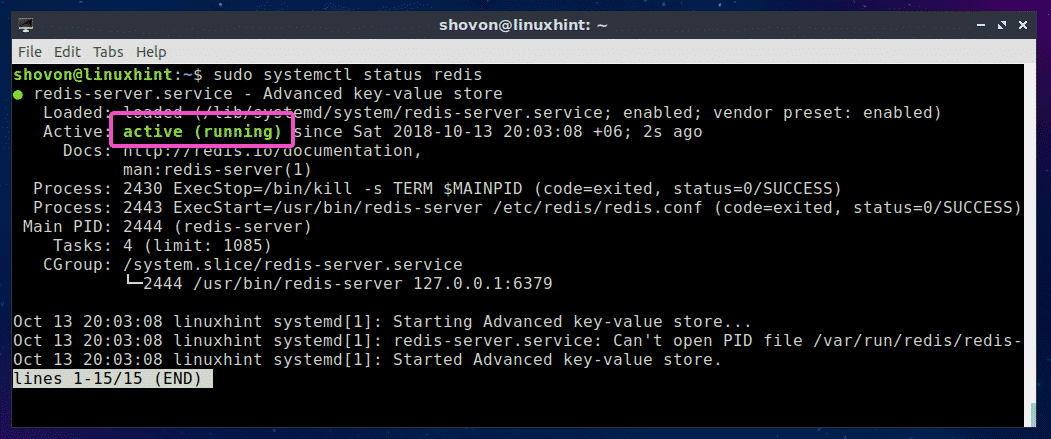
To start Redis service, run the following command:

As you can see, Redis service is running again.
Starting Redis on System Boot:
If you want Redis service to start when your computer boots, then you can add Redis service to the system startup of your Ubuntu machine. Add Redis service to the system startup of your Ubuntu machine with the following command:
Redis service should be added to the system startup of your Ubuntu machine.

Removing Redis Service from System Startup:
If you’ve added Redis service to the system startup of your Ubuntu machine and you would like to remove it from the system startup now, then run the following command:
Redis service should be removed from the system startup of your Ubuntu machine.

Building Redis from Source:
You can also build Redis from source on Ubuntu. It is easy because Redis do not have any dependencies. All you need is to have a working GCC compiler toolsets. You can easily install GCC and all the build tools on Ubuntu with the following command:

Now press y and then press <Enter>.
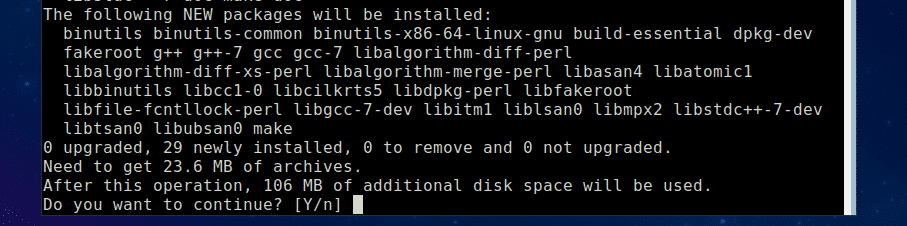
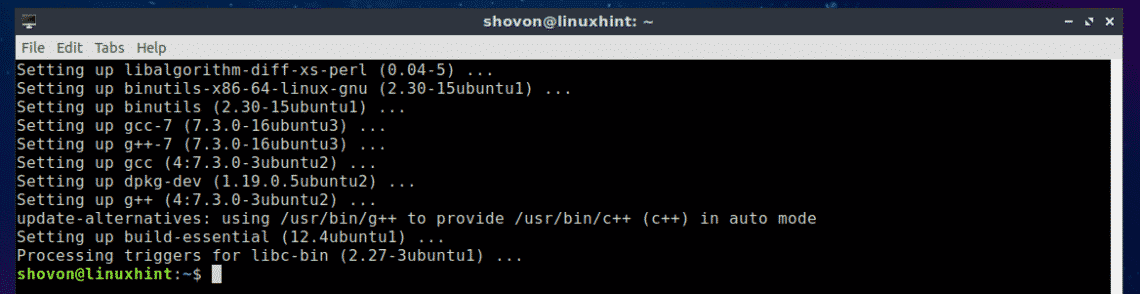
GCC and all the build tools should be installed.
Now download Redis source code from the official website of Redis at https://redis.io/download
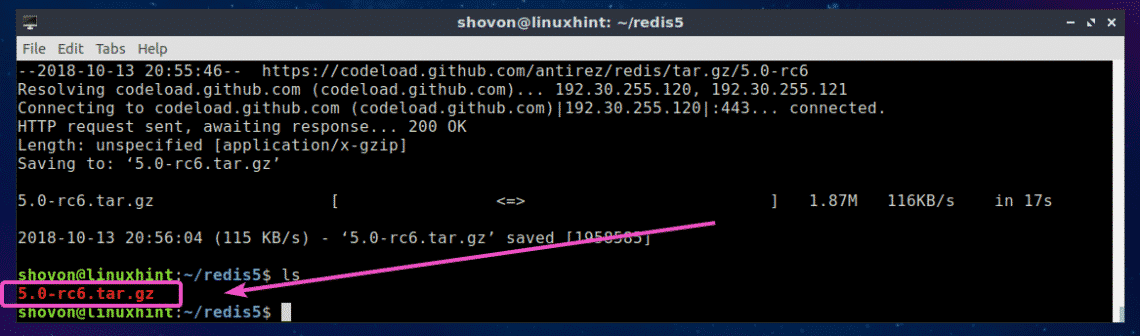
At the time of this writing the latest beta version of Redis is 5.0. Let’s compile and install it. First, create a temporary directory (let’s call it redis5) and navigate to it with the following command:

Now download the Redis 5.0-RC 6 source code with the following command:

Redis 5.0 Beta source code archive should be downloaded.
Now extract the source code archive file with the following command:

The archive file should be extracted.
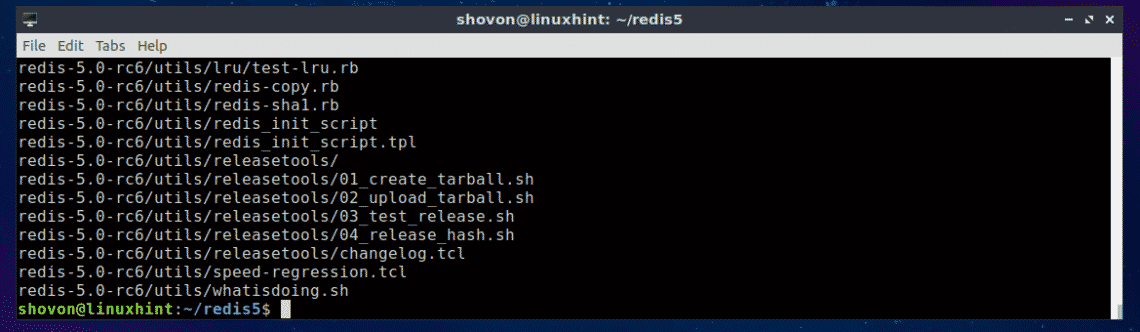
As you can see, a new directory redis-5.0-rc6/ is created.

Now navigate to the redis-5.0-rc6/ directory with the following command:

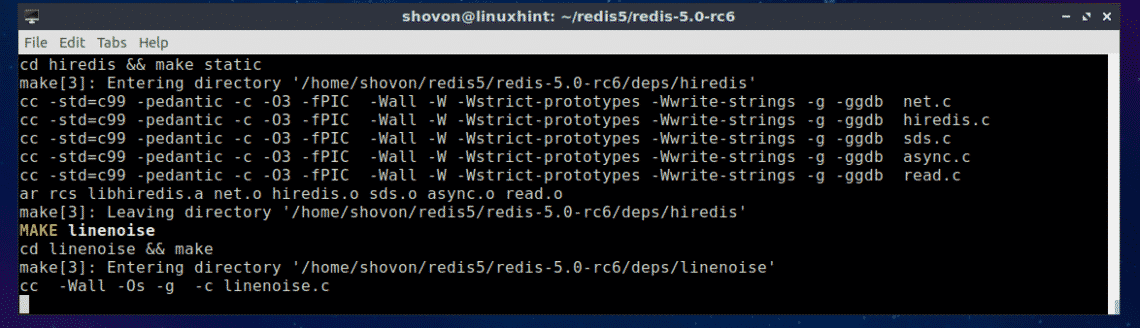
Now compile Redis with the following command:

As you can see, Redis is being compiled. It should take a while.
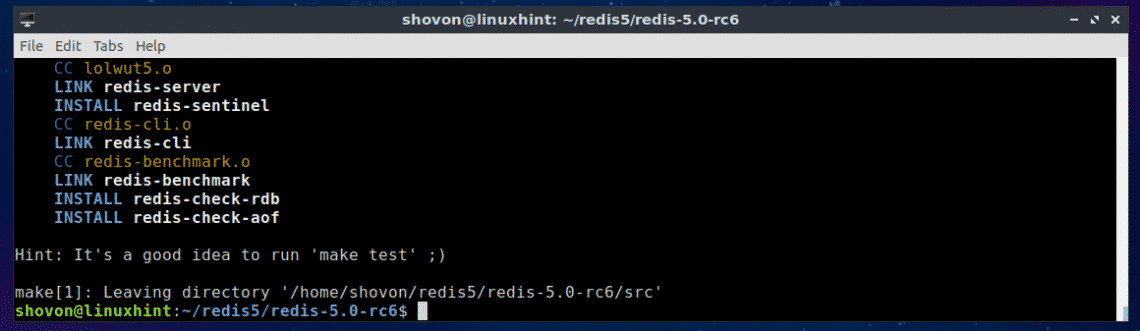
Once the compilation process is complete, you should see the following output:
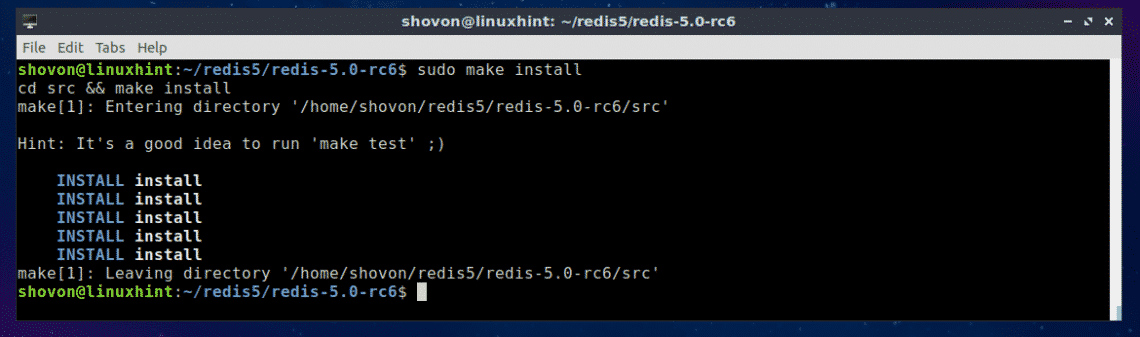
Now install Redis with the following command:

Redis is installed.
To check where the Redis binaries are installed, run the following command:
As you can see, Redis binaries are available in the /usr/local/bin directory.

To check whether Redis is working, run the following command:
As you can see, Redis 4.9.106 is installed and working correctly.

Redis Programming Languge Support:
You can interact with Redis with a lot of programming languages such as Node.js, PHP, Ruby, Python, C, C++, Java and many more.
To check whether Redis has support for your desired programming language, please refer to the official website of Redis at https://redis.io/clients
So that’s how you install Redis on Ubuntu. Thanks for reading this article.