How to Add and Remove PPA on Ubuntu

29/12/2020
If you’re using Ubuntu, you’re already familiar with the software repository. It’s a HUGE collection of all the necessary tools Ubuntu needs to run. The repository is always kept up-to-date with the latest versions of the software.  However, you’re already aware that all the software aren’t present in the repository. There are a number of essential tools that you need to get from other sources. Even after grabbing those apps, you have to make sure that they are up-to-date.  For solving this issue, Ubuntu features a great method – PPA.

What PPA is

A PPA (Personal Package Archive) is a special software repository that allows the APT (Advanced Packaging Tool) to automatically grab a specific software from that repository.  PPA offers an easier method of getting the latest software without any delay. All you have to do is command “apt” to upgrade your system. Most of the world’s PPAs are hosted on Launchpad. However, there are a number of private PPAs hosted on different sites.

How to add a PPA

At first, find out what PPA you need to add. For adding a PPA, it’s the easiest to use the terminal command. The command uses the following structure –

sudo add-apt-repository ppa:abc/xyz

Let’s have a quick breakdown of each part of the command.

  • sudo – Running the command with “root” privilege.
  • add-apt-repository – The tool for adding the PPA.
  • ppa:abc/xyz – The repository code.

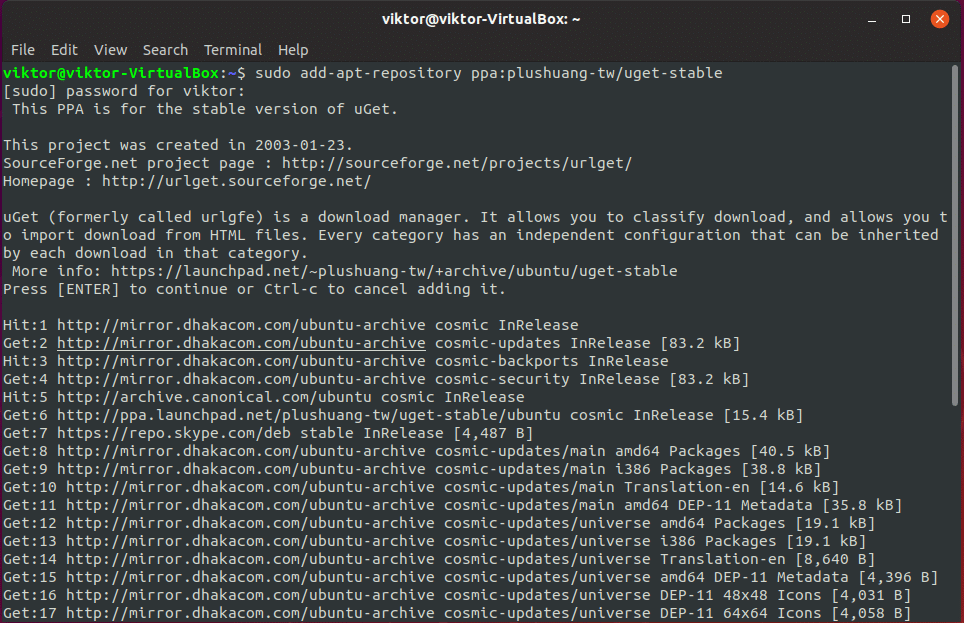
For this example, we’ll be using the uGet official PPA.

Run the following command –

sudo add-apt-repository ppa:plushuang-tw/uget-stable

Installing the software

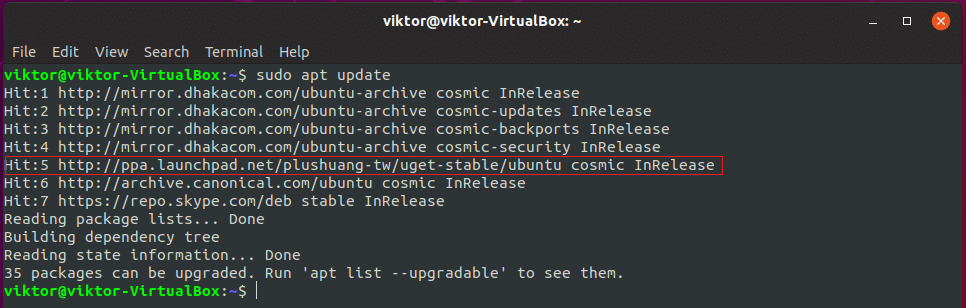
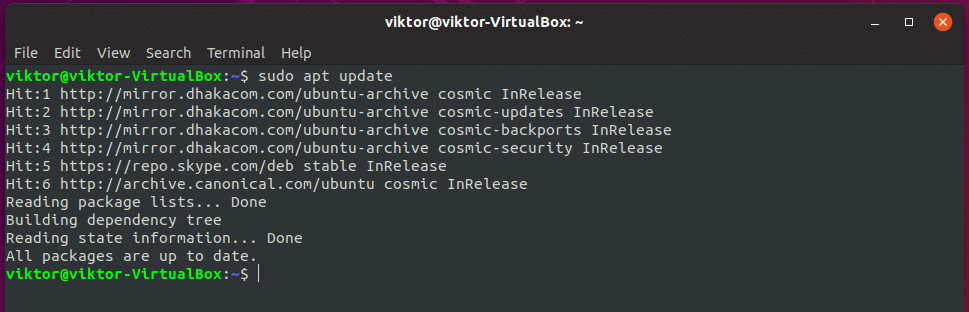
Now, your system is ready to get your target software. However, make sure that your “apt” repository database is up-to-date with the latest addition of the above PPA.

sudo apt update

Install uGet –

sudo apt install uget

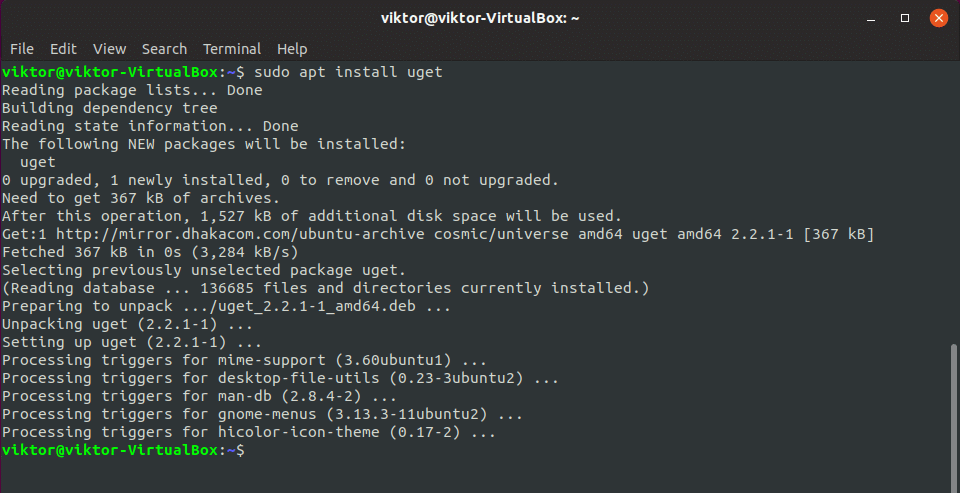
Voila! uGet is installed!

Removing the PPA

If you don’t need a PPA anymore, it’s best to remove it from your system.

  • Method 1

The best way of removing a PPA is through the command.

Run the following command –

sudo add-apt-repository –remove ppa:plushuang-tw/uget-stable

Don’t forget to update your “apt” database cache –

sudo apt update

  • Method 2

You can also remove the PPA using the GUI method.

From the menu, search for “software”.

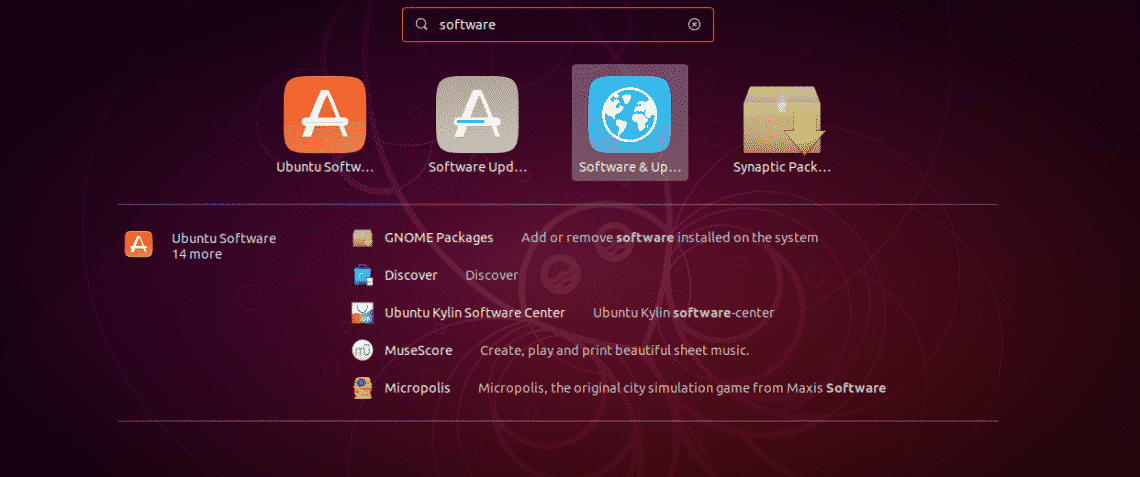
Open Software & Updates.

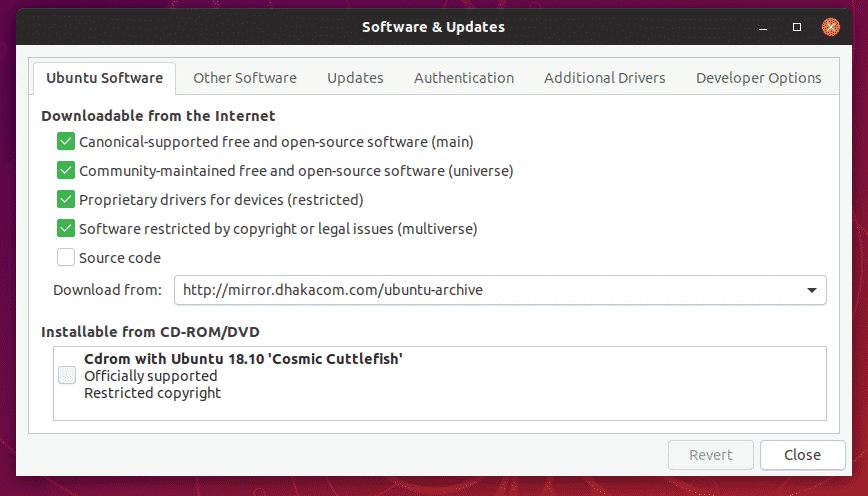
Open the “Other Software” tab.

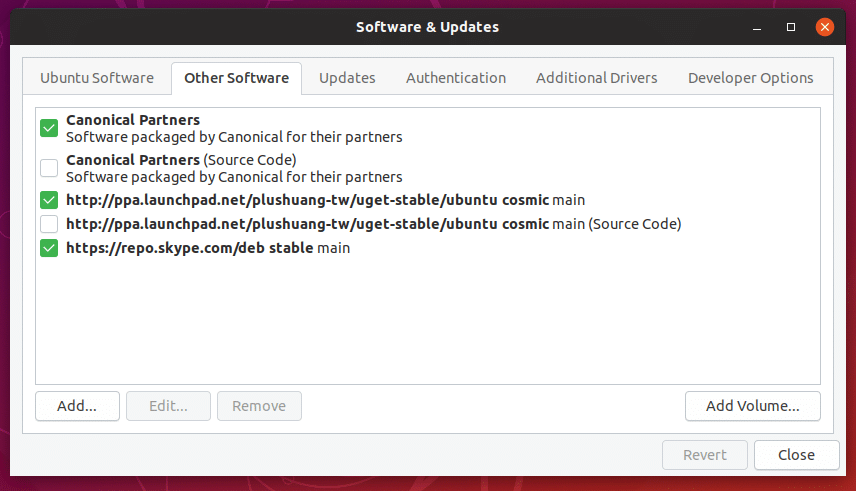
Here, you’ll find out all the PPAs you added in your system over the lifetime.

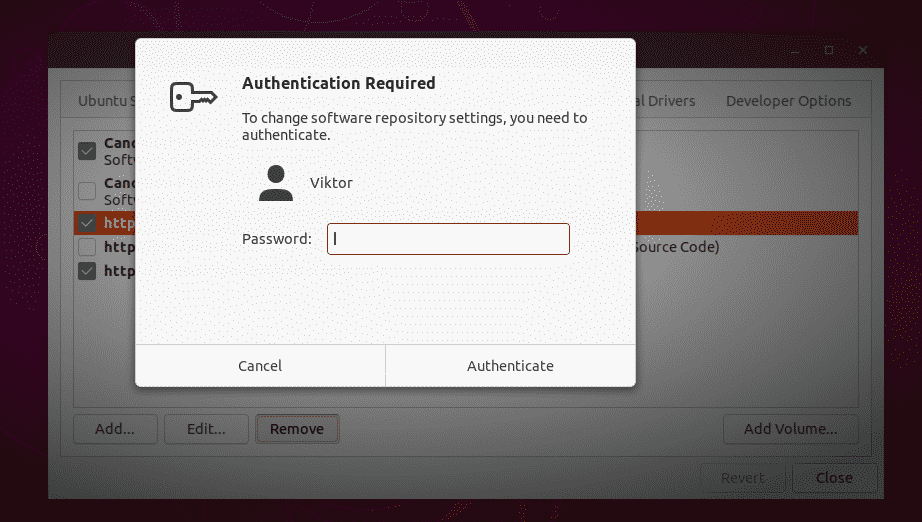
Select the unwanted PPA(s) and hit “Remove”.

When closing, make sure that you reload the software repository database of “apt”.

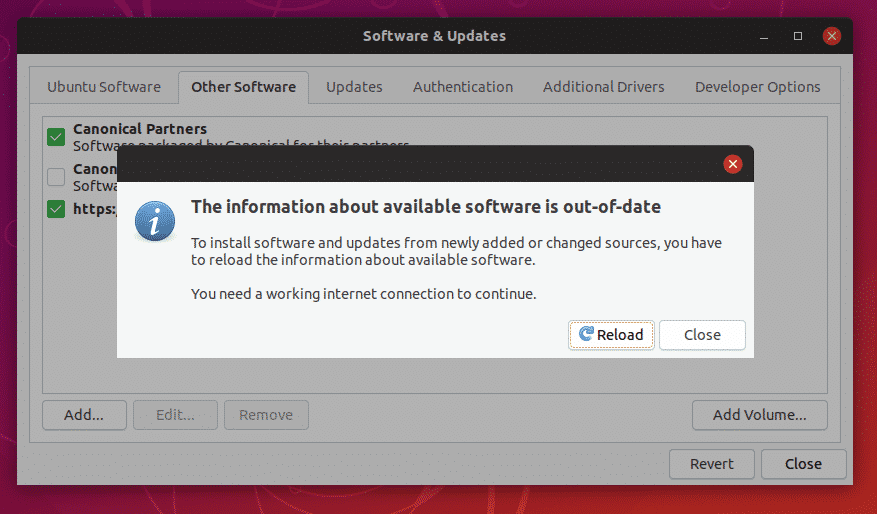
Voila! PPA is removed!

Enjoy!

ONET IDC thành lập vào năm 2012, là công ty chuyên nghiệp tại Việt Nam trong lĩnh vực cung cấp dịch vụ Hosting, VPS, máy chủ vật lý, dịch vụ Firewall Anti DDoS, SSL… Với 10 năm xây dựng và phát triển, ứng dụng nhiều công nghệ hiện đại, ONET IDC đã giúp hàng ngàn khách hàng tin tưởng lựa chọn, mang lại sự ổn định tuyệt đối cho website của khách hàng để thúc đẩy việc kinh doanh đạt được hiệu quả và thành công.
Bài viết liên quan

10 Best Icon Themes for Ubuntu

Tired of same look and design of your Ubuntu desktop over the years? And looking to give a fresh look to your Ubuntu desktop?...
29/12/2020

A Guide to Using PPA Repositiories in Ubuntu

One of the benefits of using Ubuntu is the wide availability of a range of third party repositories. These repositories...
29/12/2020

Install Magento 2 on Ubuntu

E-commerce websites provide a platform for buyers and sellers and make online business easier than before. Ecommerce site...
29/12/2020
Bài Viết

Bài Viết Mới Cập Nhật

Dịch Vụ Xây Dựng Hệ Thống Peering Với Internet Exchange (IXP)
04/04/2025

Dịch Vụ Triển Khai VPN Site-to-Site & Remote Access
04/04/2025

Dịch Vụ Thiết Lập Hệ Thống Tường Lửa (Firewall)
04/04/2025

Dịch Vụ Triển Khai Hệ Thống Ảo Hóa & Cloud
04/04/2025

Dịch Vụ Triển Khai Hệ Thống Ceph
04/04/2025