Installing Samba:
First, update the APT package repository cache with the following command:

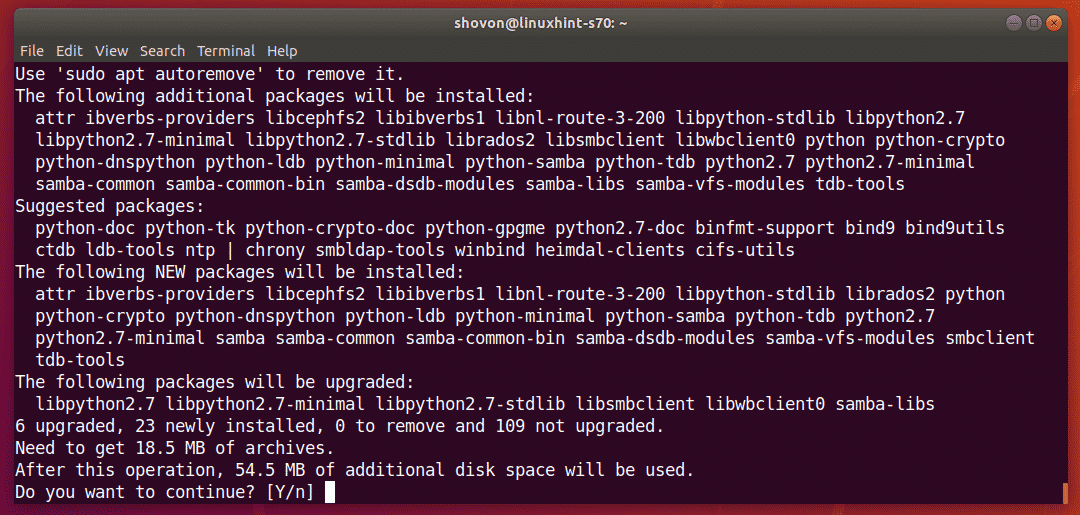
Now, install Samba with the following command:

To confirm the installation, press Y and then press <Enter>.
Samba should be installed.
Sharing Directories with Samba:
Once Samba is installed, you can share directories graphically from the default Ubuntu file manager Nautilus.
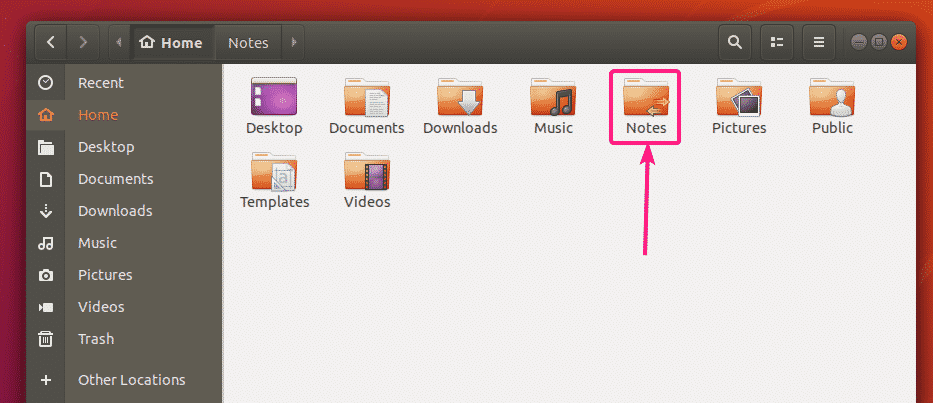
Let’s say, you want to share a directory Notes in your home directory.
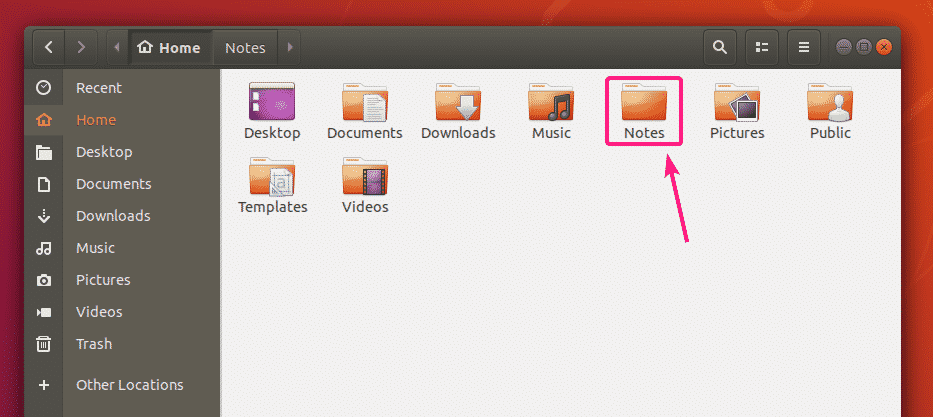
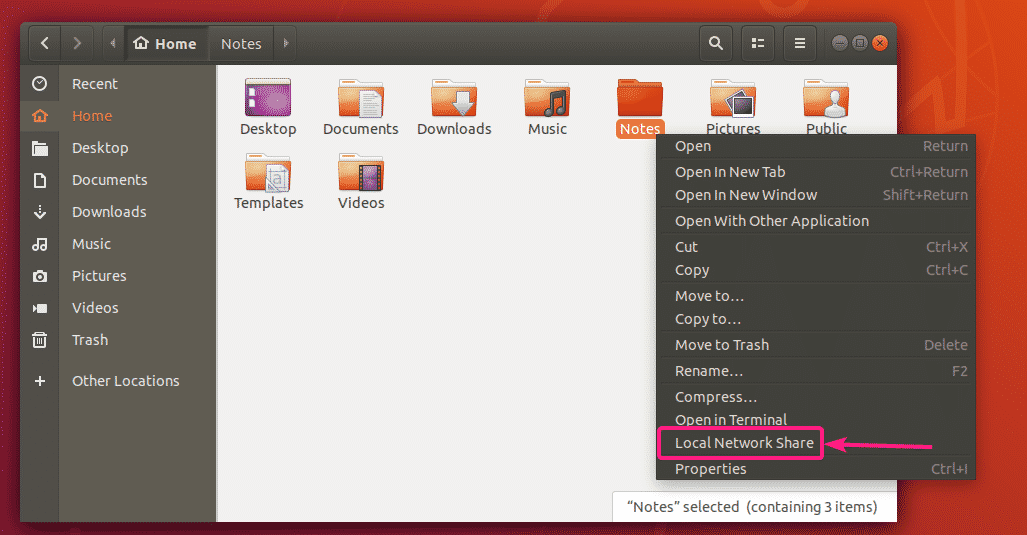
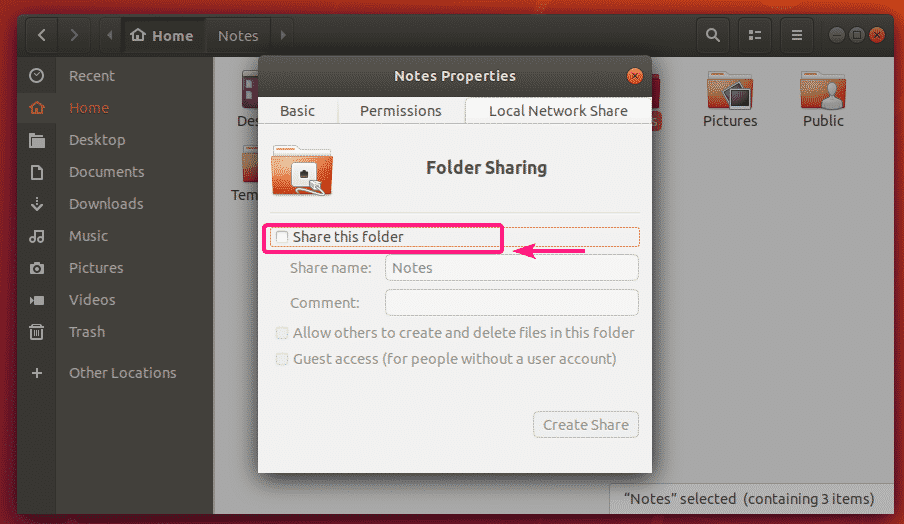
Now, right click (mouse) on the Notes directory and click on Local Network Share.
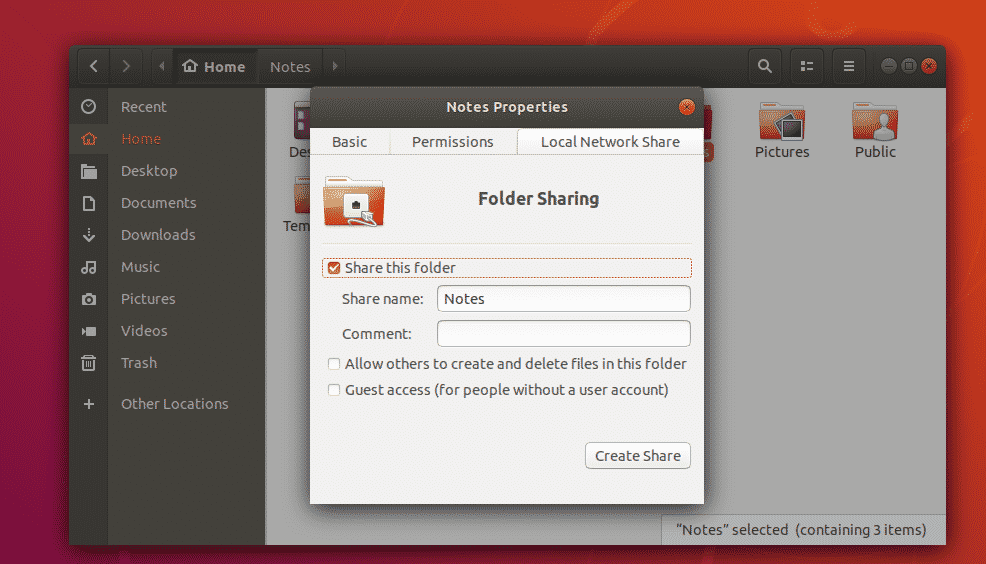
Now, check Share this folder checkbox to share this directory with Samba.
Now, type in a Share name. You may also type in an optional Comment about the share.
With the default configuration, only the owner of the share (the Linux user who is the owner of the directory being shared) can have read and write access to the files and directories in the share.
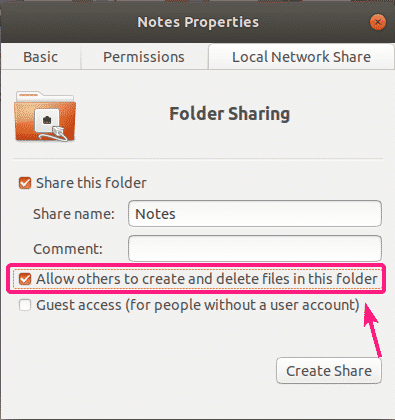
If you want to allow others users (the Linux users who are not the owner of the directory being shared) to create, rename, or delete files and directories from this share, check the Allow others to create and delete files in this folder checkbox.
If you want to allow guest access (unauthorized access) to this share, check the Guest access (for people without a user account) checkbox. For guest access, you don’t need any user accounts.
The default configuration will let only the user who is also the owner of the directory being shared log in to the share and make changes to the share.
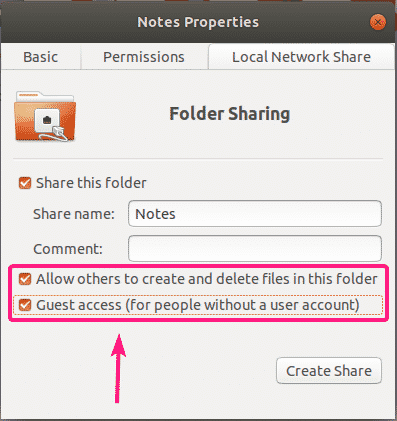
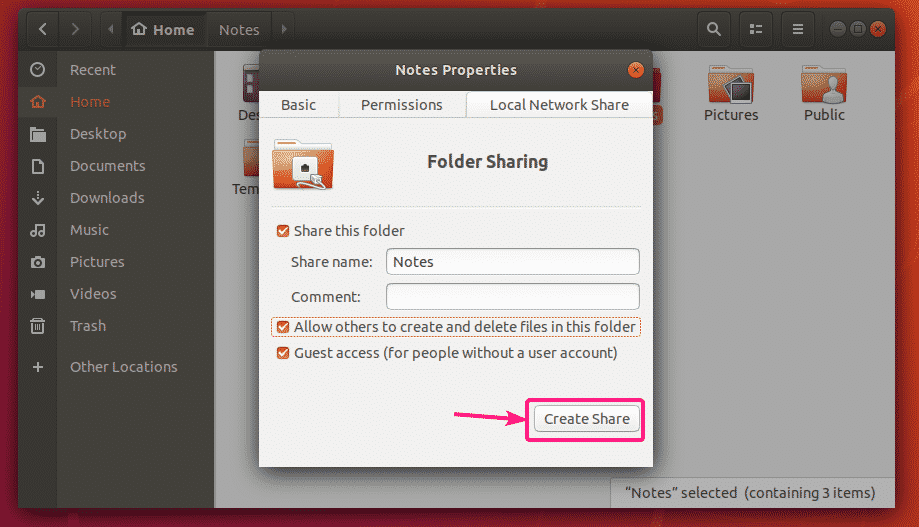
If you want to create a public share where everyone can access, create, remove and rename files and directories from the share, enable check Allow others to create and delete files in this folder and Guest access (for people without a user account) checkboxes as marked in the screenshot below.
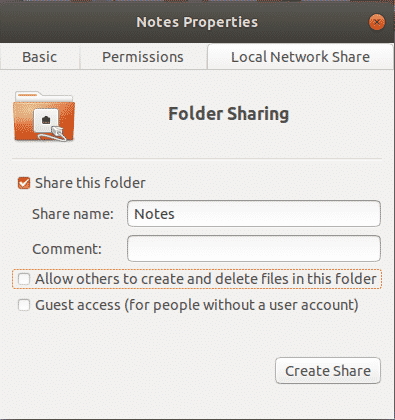
If you want to create a public share where everyone can only access the files and directories, but can’t remove, rename files and directories from the share, then check only the Guest access (for people without a user account) checkbox as marked in the screenshot below.

If you want everyone (even the ones who is not the owner of the directory being shared) who logged in with a username and a password to have write access to the share, check Allow others to create and delete files in this folder checkbox as shown in the screenshot below.
Once you’re done, click on Create Share.
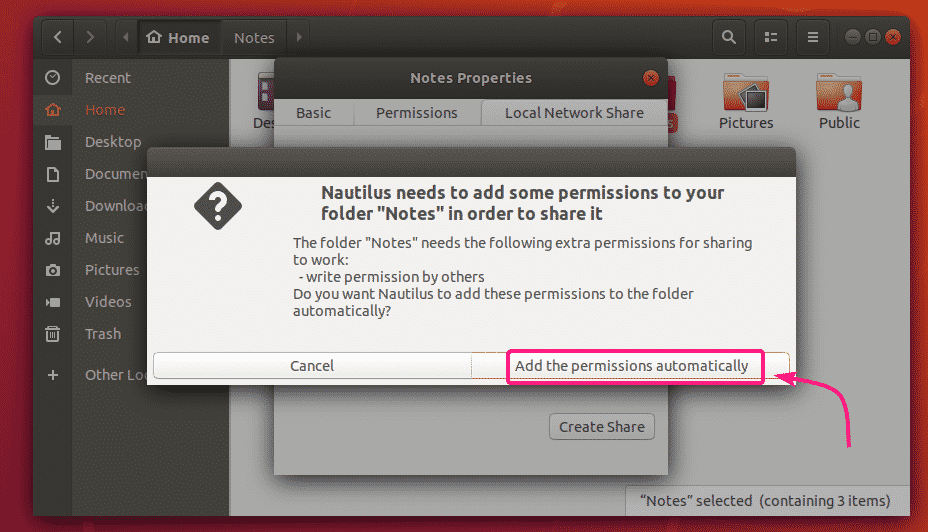
If this dialog box shows up, click on Add the permissions automatically.
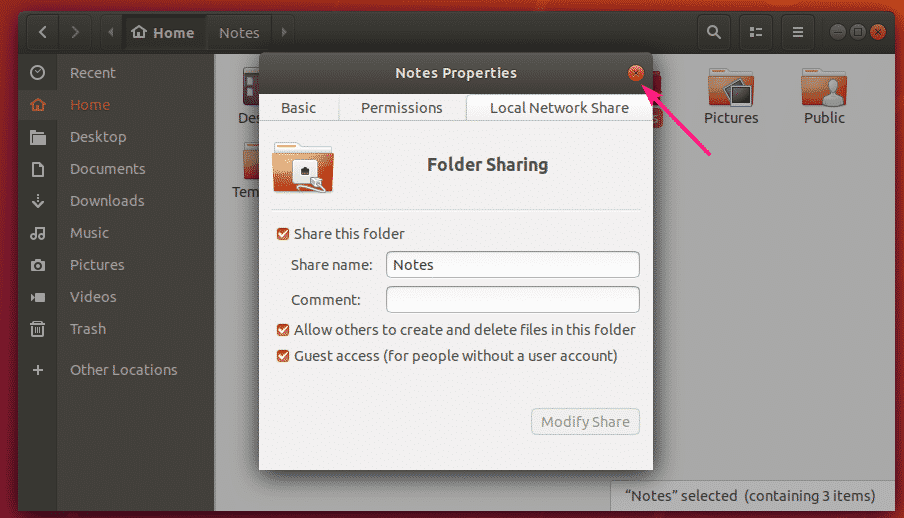
The share should be enabled and ready to use. Now, close the folder sharing window.
Once you share a directory, the icon of the directory should be changed as you can see in the screenshot below.
Creating Samba Users:
For guest access to Samba shares, you don’t need any user authentication. Guest shares will be accessible to everyone on the network.
But if you want to allow access to your Samba shares to authorized people only, then you must create Samba user accounts.
Note that Samba user accounts are linked with the local Linux system accounts. So, you can only create Samba users with the same name as the local Linux system usernames.
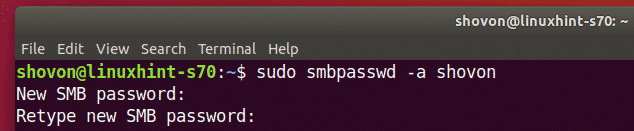
To create a Samba user account shovon (let’s say), run the following command:
Here, shovon is the username of my Ubuntu login user. If you don’t know your login username, you can replace it with $(whoami).

Now, type in a new password for the user and press <Enter>.

Retype the password for the user and press <Enter>.
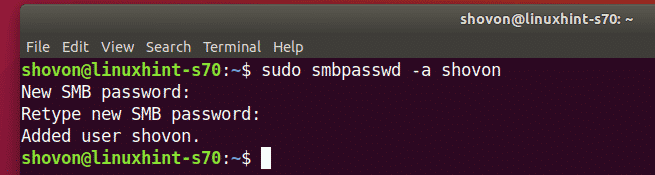
A new Samba user should be created and a password should be set for the newly created user.
Accessing Samba Shares from Windows:
In order to access the Samba share from Windows, you will need to know the IP address of your Ubuntu machine.
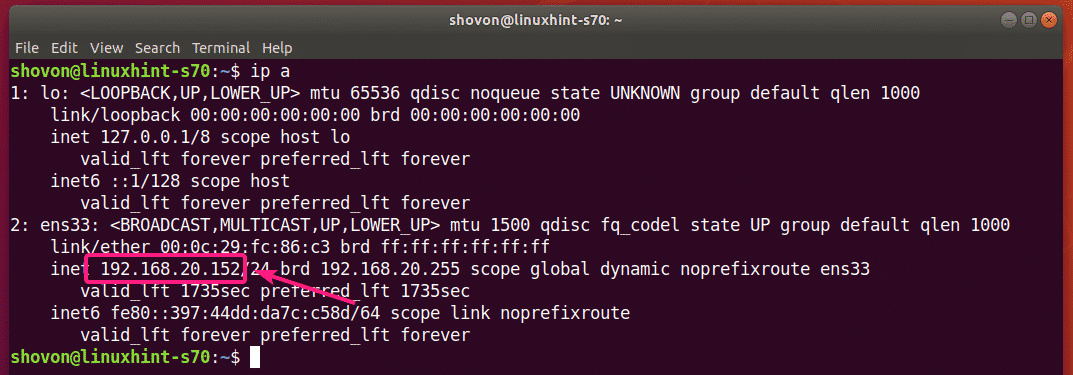
You can find the IP address of your Ubuntu machine with the following command:
In my case, the IP address of my Ubuntu machine is 192.168.20.152. It will be different for you. So, make sure to change it with yours from now on.
Now, open File Explorer on Windows and navigate to the path \192.168.20.152
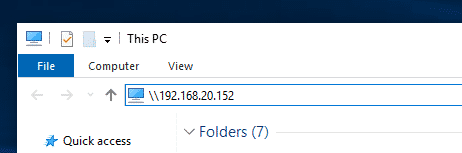
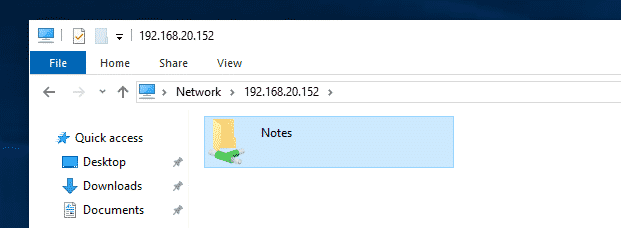
You should see your Samba shares here.
If any share has guest access enabled, it will not ask you for a username and password when you try to access it.
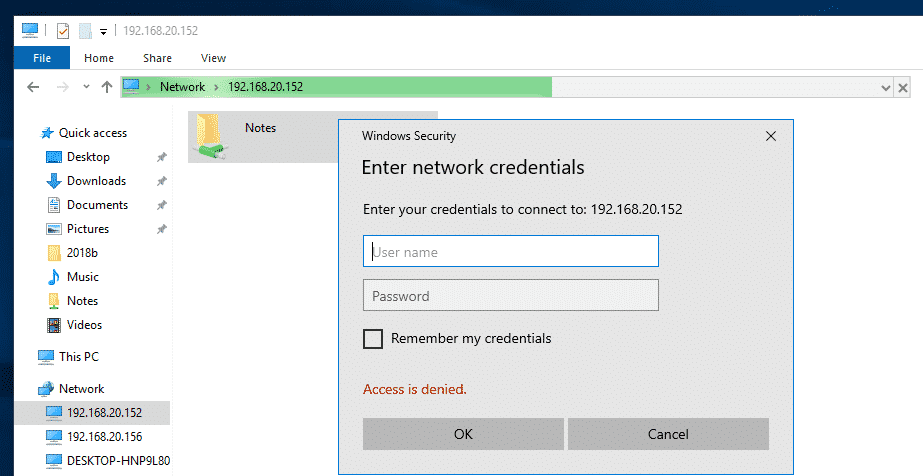
If guest access is not enabled for any share, it will ask you for the username and password when you try to access it. The username is the Samba username that you’ve created earlier. The password is the password of the Samba user.
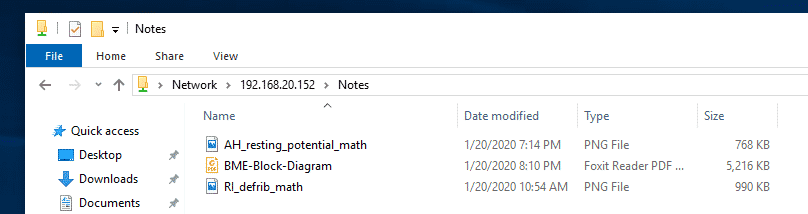
Once you navigate to the share, you should find all your files and directories.
Accessing Samba Shares from Linux:
You must have Samba client programs installed on the Linux computer from which you want to access your Samba shares.
Most likely it will be installed by default. If it isn’t, you have to manually install it.
On Ubuntu/Debian or other Ubuntu/Debian based Linux distributions, you can install the Samba client programs with the following commands:
$ sudo apt install smbclient
Now, open the file manager (i.e. Nautilus, Nemo, Dolphin, Caja etc.) and go to Network. Your Ubuntu computer’s hostname should be listed in the Network section of the file manager. Double click on it.
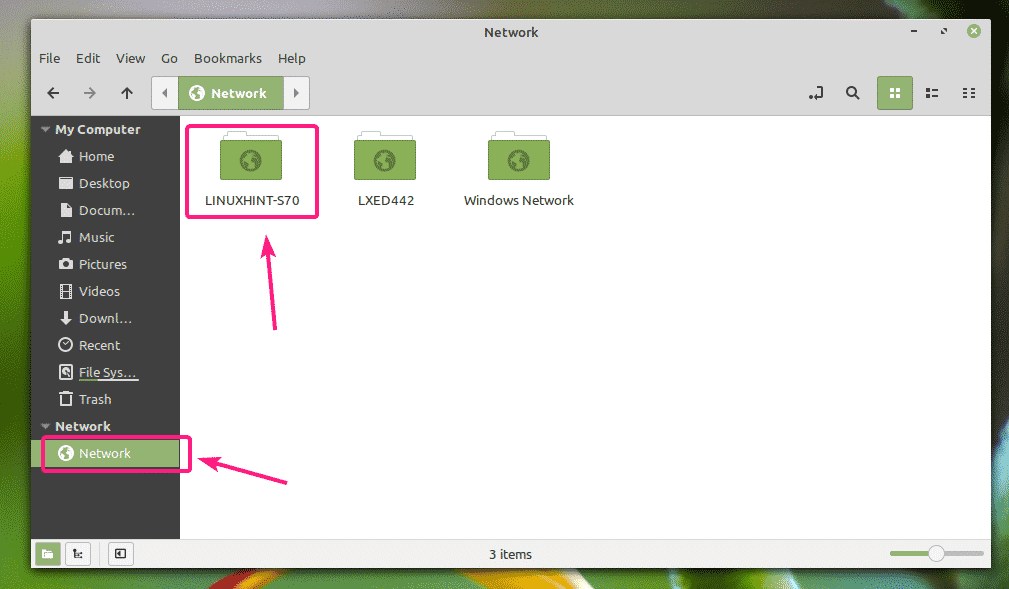
Your Samba shares should be listed. Double click on the share that you want to access.

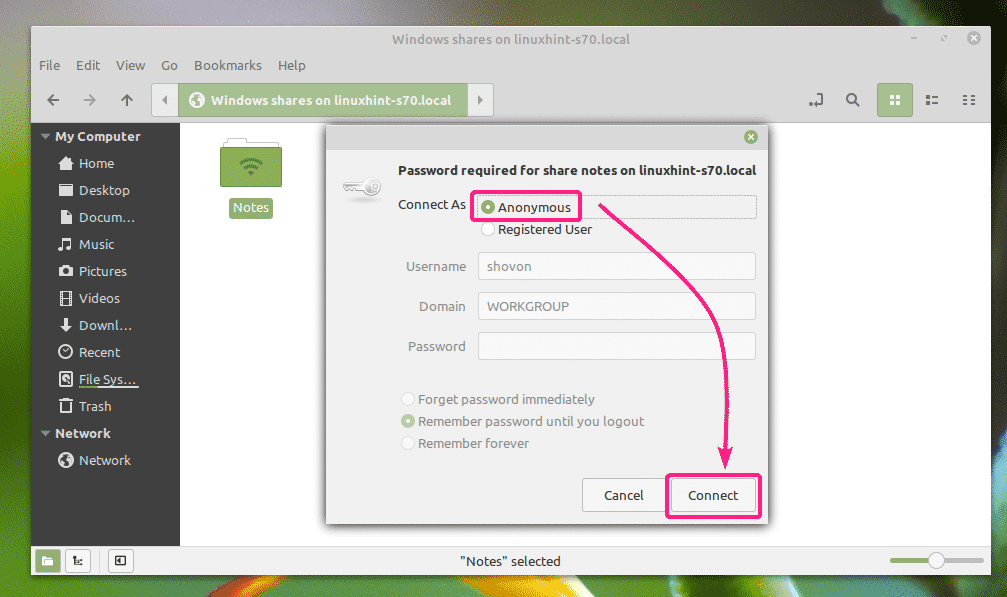
If it’s a guest enabled share, select Anonymous and click on Connect.
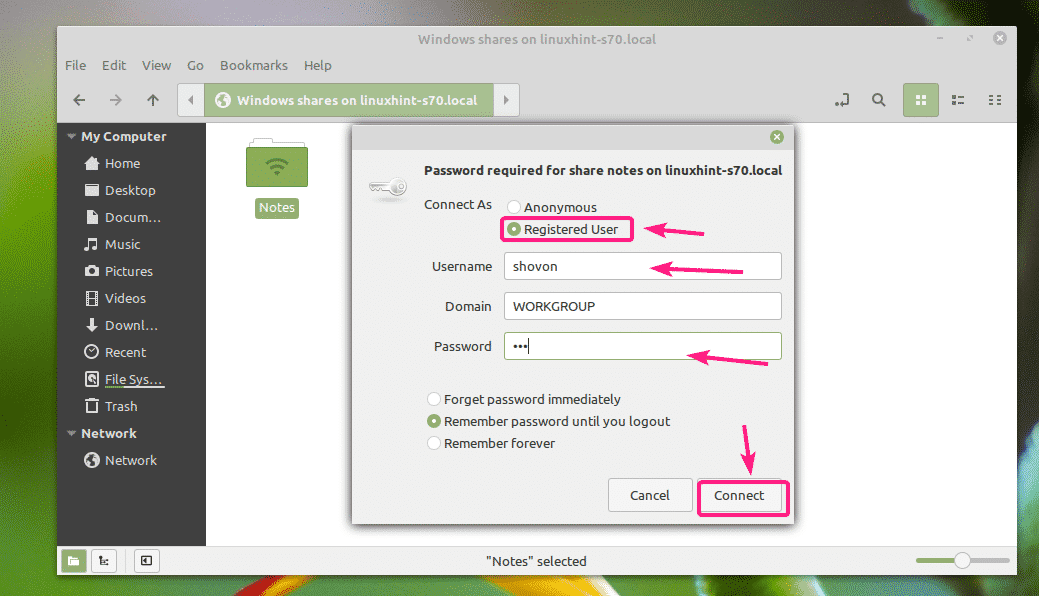
If guest access is disabled for the share, then select Registered User, type in the Samba username and password in the Username and Password section respectively, and click on Connect.
All the files and directories in your Samba share should be listed.

So, that’s how you install Samba on Ubuntu and share files with Windows and other Linux computers. Thanks for reading this article.


