Grafana SSL
SSL is not installed by default when using the free, self-hosted community edition. If you purchase the cloud version, then SSL is configured automatically by default. You will need sudo access to the servers /etc/grafana/grafana.ini file. Look for the HTTP options:
Grafana HTTP options
There are two key fields that need changing in the Grafana.ini file:
[server]
http_addr = dashboard.yourdomain.co.uk
http_port = 3000
domain = yourdomain.co.uk
root_url = https://grafana.yourdomain.co.uk:3000
cert_key = /etc/grafana/grafana.key
enforce_domain = False
protocol = https
socket =
enable_gzip = False
cert_file = /etc/grafana/grafana.crt
static_root_path = public
router_logging = False
Step 1 – Create an SSL Certificate
I am using Red Hat Linux, but this will work on CentOS as well. You may need to check your appropriate documentation if you are using another flavor of Linux.
From the command line type:
openssl genrsa -out grafana.key 2048
You should see output like this:

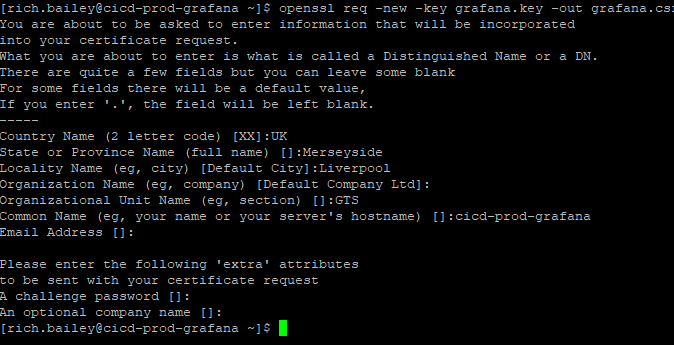
Step 2 – Generate a certificate signing request
From the command line type:
openssl req -new -key grafana.key -out grafana.csr
You should see output like this:

Step 3 – Output the certificate
From the command line type:
openssl x509 -req -days 365 -in grafana.csr -signkey grafana.key -out grafana.crt
You should see output like this:

Step 4 – Set certificate key file ownership
From the command line type:
sudo chown grafana:grafana grafana.crt
sudo chown grafana:grafana grafana.key
sudo chmod 400 grafana.key grafana.crt
Step 5 – Move certificate and key file to the Grafana installation folder
From the command line type:
sudo mv grafana.crt grafana.key /etc/grafana/
Step 6 – Edit the Grafana.ini file
From the command line type:
sudo vim /etc/grafana/grafana.ini- Locate the #HTTP options. Set the properties as:
protocol = https
cert_key = /etc/grafana/grafana.key
cert_file = /etc/grafana/grafana.crt
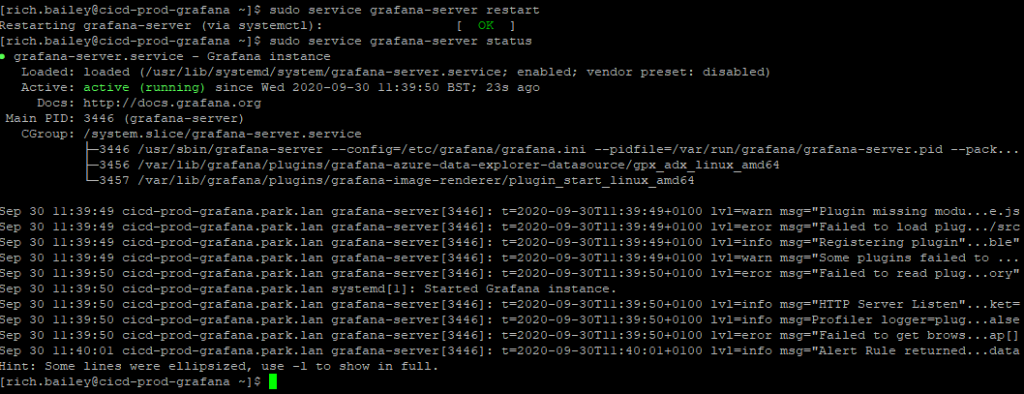
- Save and close the file, and now restart the grafana service
sudo service grafana-server restart
Step 7 – Browse to the server IP
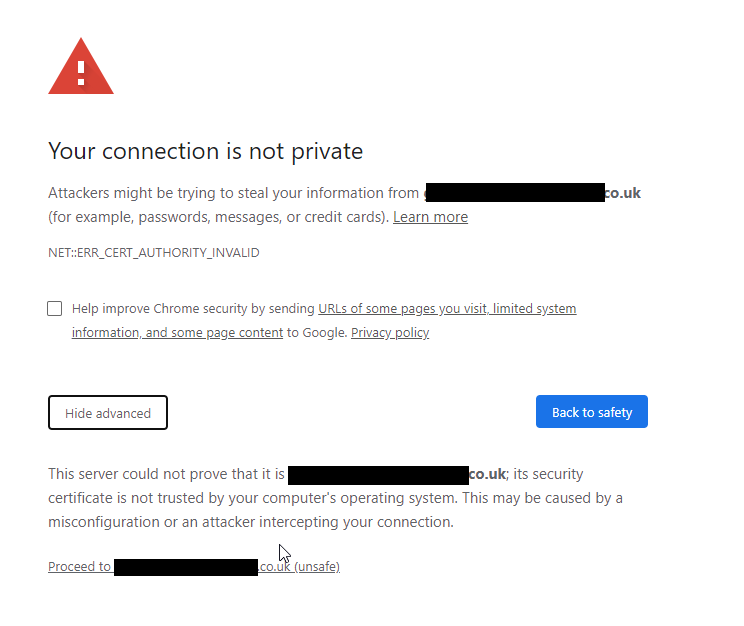
Now browse to the server IP address and you should be prompted with a warning. As this is a Self Signed Certificate, you will be prompted once like this:

Note: You will always have to accept this prompt (only once) unless you have purchased a Signed Certificate from a certificate authority vendor such as https://www.digicert.com/
That’s it, thanks for taking the time to read this article. if you have any questions or feedback please write in the comment section below.


