Updating Package Repository Cache:
You can update the DNF package repository cache with the following command:

DNF package repository cache should be updated.

Listing Enabled and Disabled Package Repositories:
You can list all (enabled and disabled) the package repositories available on your CentOS 8 machine with the following command:
As you can see, all the enabled and disabled package repositories are displayed. On the repo id column, you have the Repository Id which you can use with the DNF –repo option. In the status column, you can see which repository is enabled and how many packages that particular repository has.

The same way, you can list only the enabled repositories as follows:

The same way, you can list only the disabled repositories as follows:

Listing All Available Packages:
You can list all the packages in all the package repositories with the following command:

The list is very long.

As you can see, it’s about 6419 packages in total.

You can use grep or egrep to search for packages in the list as follows.
Here, I searched for tree package as you can see in the screenshot below.

Listing All Installed Packages:
You can list only all the installed packages as follows:

The list is very long as well.

Searching for Packages:
You can search for packages by their package name and summary as follows:

The search result should display all the matched packages. You can choose what to install from here.

Searching for Packages in Specific Repositories:
You can search for packages by their package name as follows:

As you can see, all the packages that has kvm in the package name is listed.

You can also use –repo option to define which package repository to search as follows:


As you can see, two search query returned different results because they are from different package repository.
Searching for Packages that Provides Specific File:
Let’s say, you need a file or command but you don’t know what package to install. You can search by full or partial file path to find the package name as follows:

As you can see, net-tools is the package that provides the /usr/sbin/ifconfig command.

You can find the package name that provides the tree command as follows:

You can also search for packages that provide a specific library file as follows:

As you can see, the package name and which package provides which version of the library is listed.

Learning More about Packages:
You can learn more about a package as follows:

As you can see, the package version, summary, description, size, repository information and many more is listed.

Installing Packages:
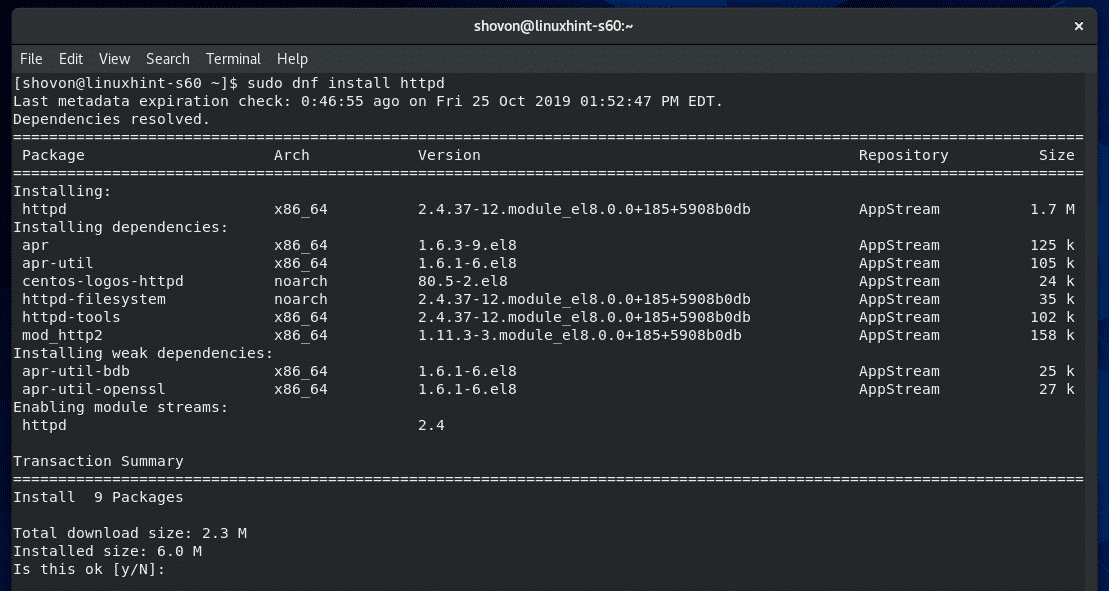
You can install a package (let’s say, httpd) as follows:

It will show you what dependencies it will install, the total number of packages it needs to download, the total download size, total size after installation etc.
To confirm the installation, press Y and then press <Enter>.
The package should be installed.

Reinstalling Packages:
You can reinstall a package as follows:

Now, press Y and then press <Enter> to confirm the reinstallation.

The package should be reinstalled.

Removing Packages:
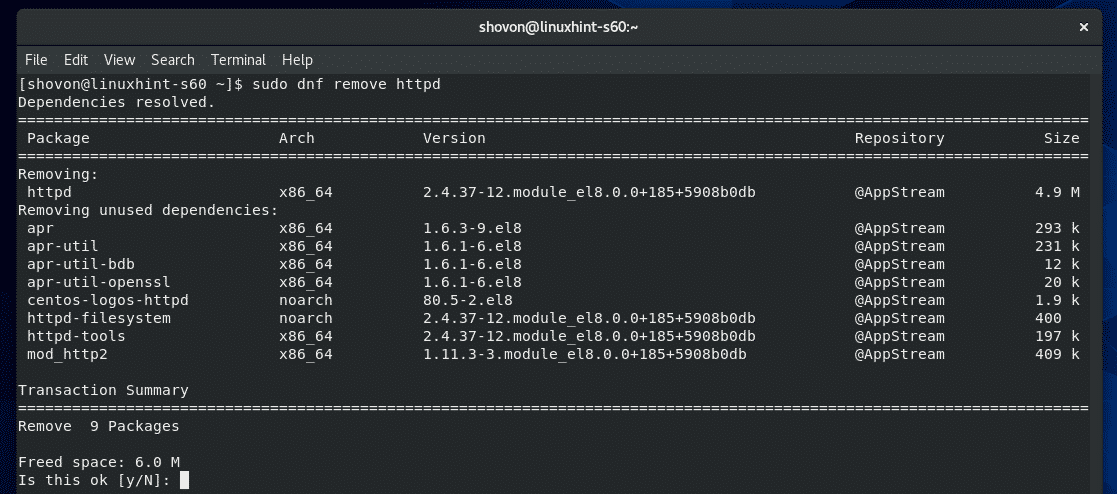
You can remove a package as follows:

It will show you what package dependencies will be removed, how many packages will be removed and how much disk space will be freed.
To confirm the removal, press Y and then press <Enter>.
The package along will all its dependencies should be removed.

Doing a System Upgrade:
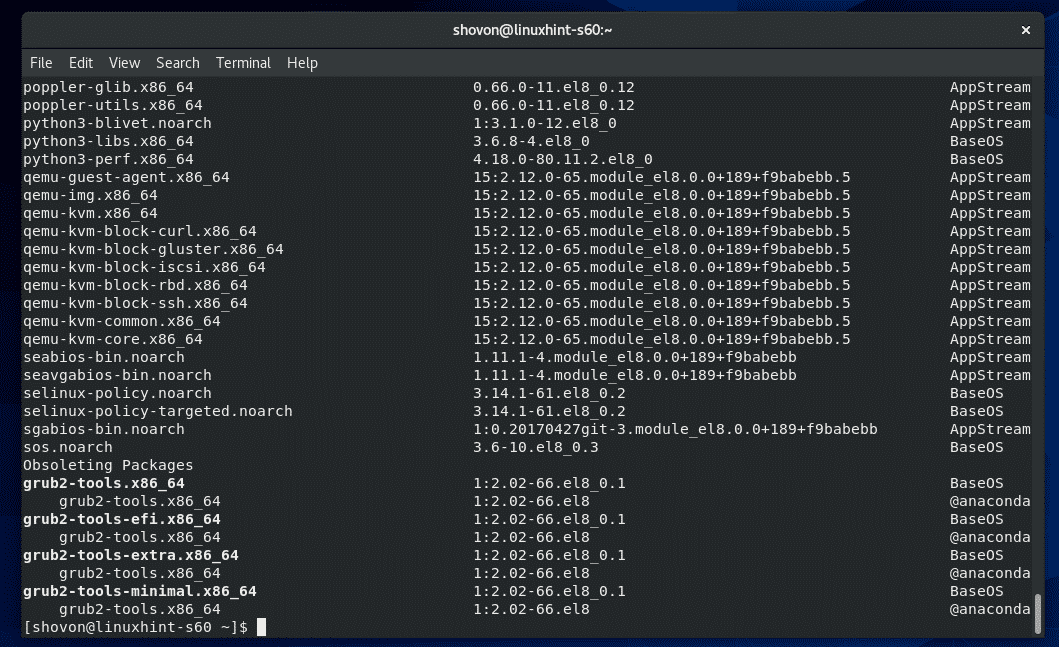
You can check for whether software updates are available with the following command:

If there are any software updates, it will be listed.
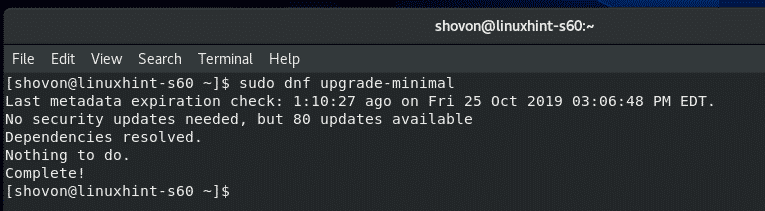
You can do a minimal software update with the following command:

Minimal software update will only install absolutely required security patches.
At this time, I do not have any.
For full system update, run the following command:

It will show you a summary of what packages will be upgraded, how many packages will be installed, how many will be upgraded, the total download size etc.
To confirm the system upgrade, press Y and then press <Enter>.

It will download and install the software updates.
Clear Caches:
You can clean DNF package caches with the following command:

All the available caches should be removed.

Remove Unnecessary Packages:
You can remove unnecessary packages if available to save disk space as follows:

At this time, I have no unnecessary packages on my CentOS 8 machine.

So, that’s basically how you use DNF to manage packages on CentOS 8. It’s very similar to YUM. Thanks for reading this article.