Updating CentOS 8 Package Repository Cache:
First, update the CentOS 8 package repository cache with the following command:

Installing and Configuring MySQL/MariaDB:
I am going to show you how to configure the database first.
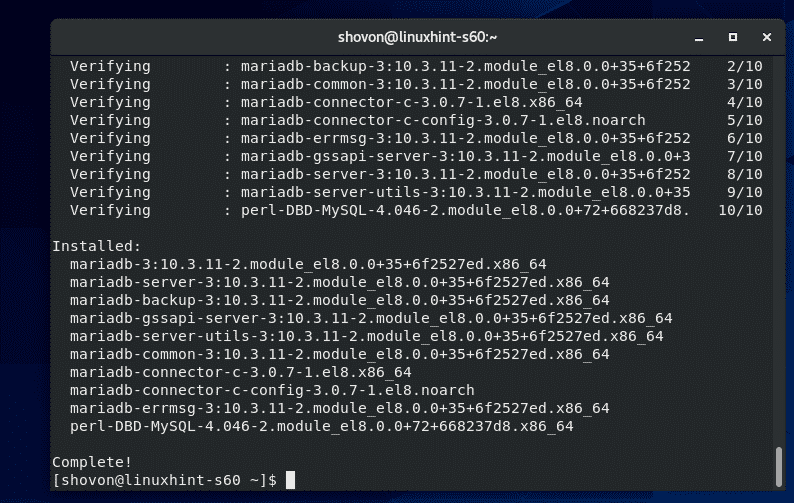
To install MariaDB database client tools and server, run the following command:

To confirm the installation, press Y and then press <Enter>.
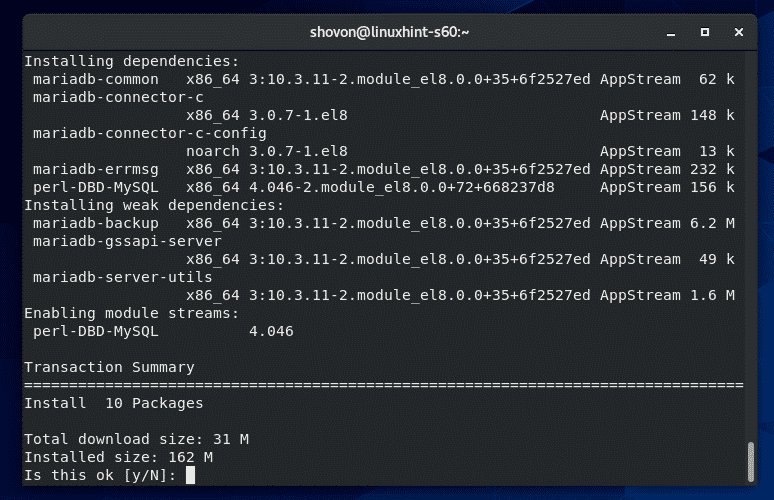
MariaDB database server and client programs should be installed.
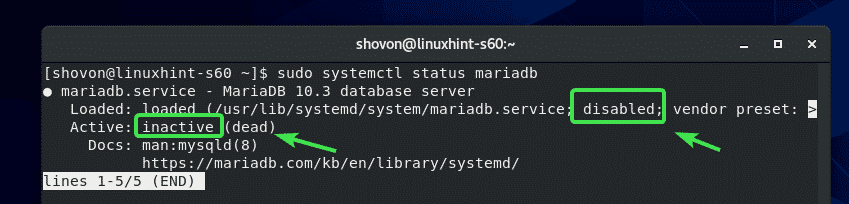
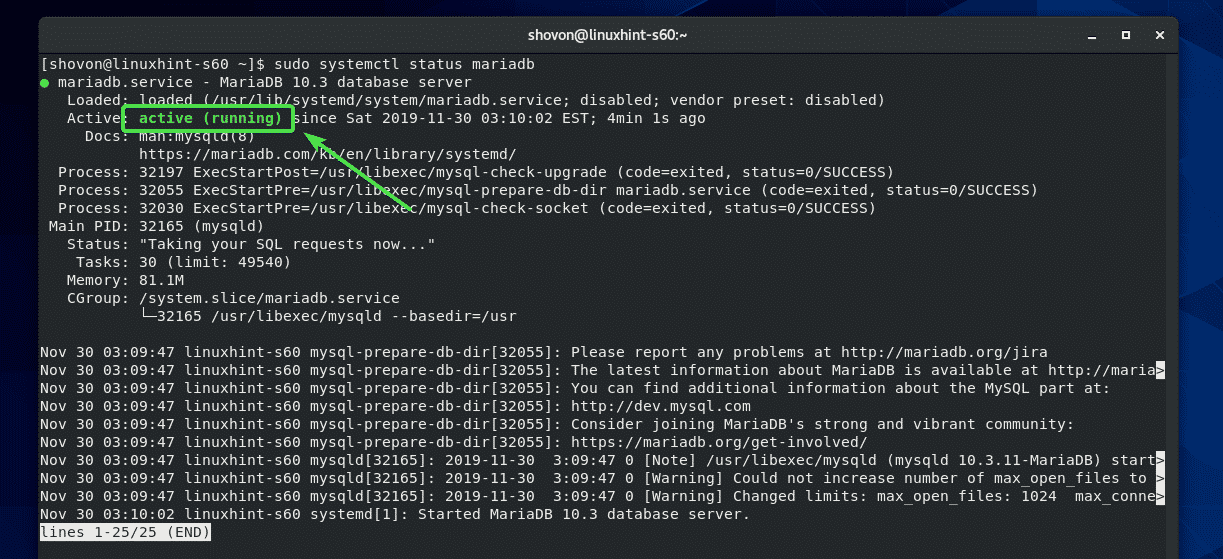
Now, check the status of the mariadb service as follows:
It may be inactive (not running) and disabled (won’t automatically start on system boot) as shown in the screenshot below.
Start mariadb service with the following command:

mariadb service should be active.
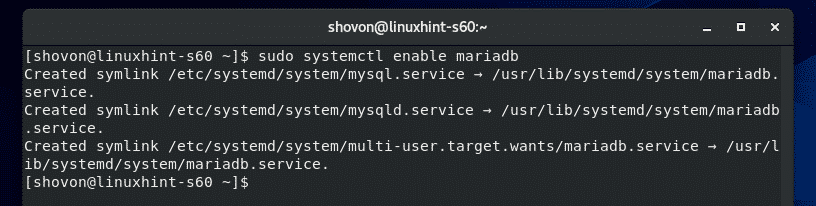
Now, add mariadb service to the system startup as follows:
Now, you should set up a MariaDB root password. To do that, run the following command:

Press <Enter>.
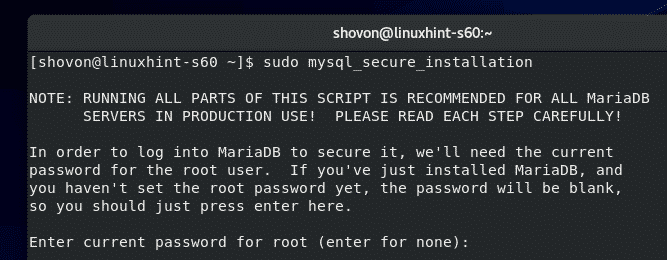
Press <Enter>.

Now, type in a new root password and press <Enter>.

Type in the root password again and press <Enter>.

Press Y and then press <Enter>.
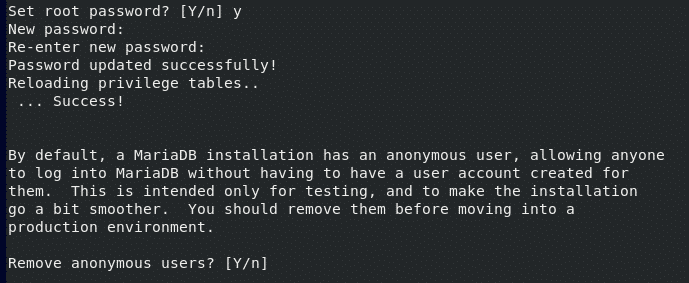
Press Y and then press <Enter>.

Press Y and then press <Enter>.

Press Y and then press <Enter>.
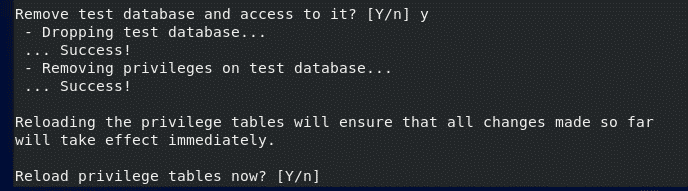
MariaDB root password should be set.

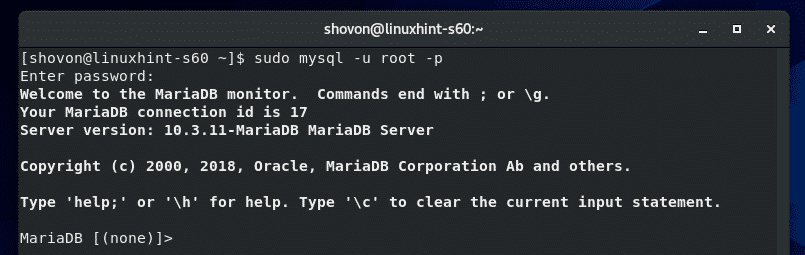
Now, login to the MariaDB shell as root user as follows:

Type in the root password and press <Enter>.

You should be logged in.
Now, create a new MariaDB user as follows:
Make sure to replace <username> and <password> with your own username and password.

Now, run the following SQL statement for the changes to take effect.

Now, exit out of the MariaDB database as follows:

Installing and Configuring Apache Web Server and PHP:
Now, run the following command to install Apache web server and PHP:
php-xml php-mysqlnd

To confirm the installation, press Y and then press <Enter>.

Apache web server and PHP should be installed.

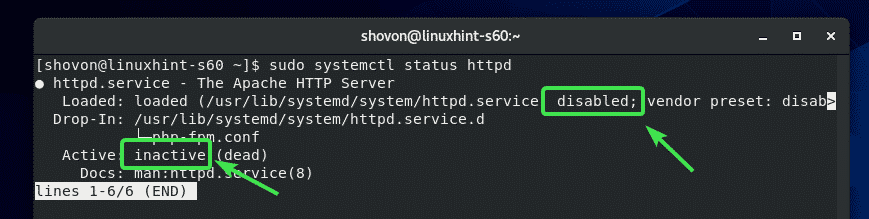
Now, check the status of the httpd server as follows:
It may be inactive (not running) and disabled (won’t auto start on system boot) by default.
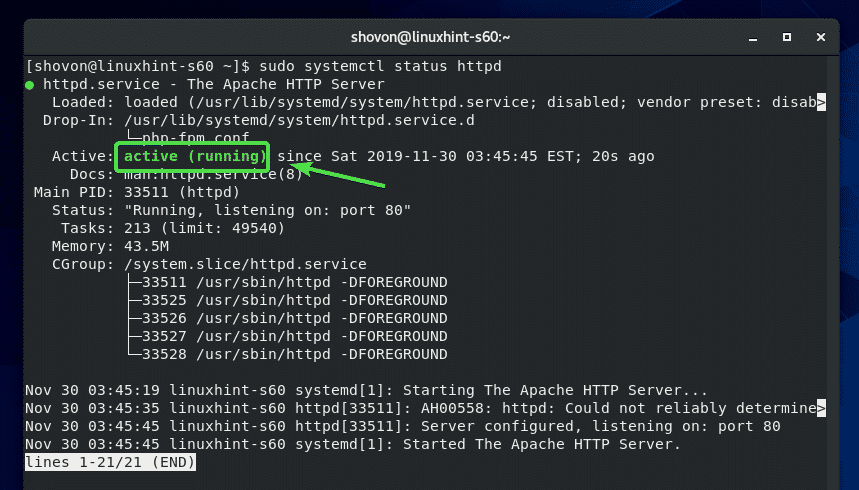
Start httpd service as follows:

The httpd service should be active.
Now, add the httpd service to the system startup as follows:

The main configuration file of Apache web server is /etc/httpd/conf/httpd.conf
Custom configuration files should be put in the /etc/httpd/conf.d/ directory.
The default webroot directory is /var/www/html
Now, to test whether Apache web server and PHP is working, create a new PHP script index.php in the default webroot directory /var/www/html as follows:

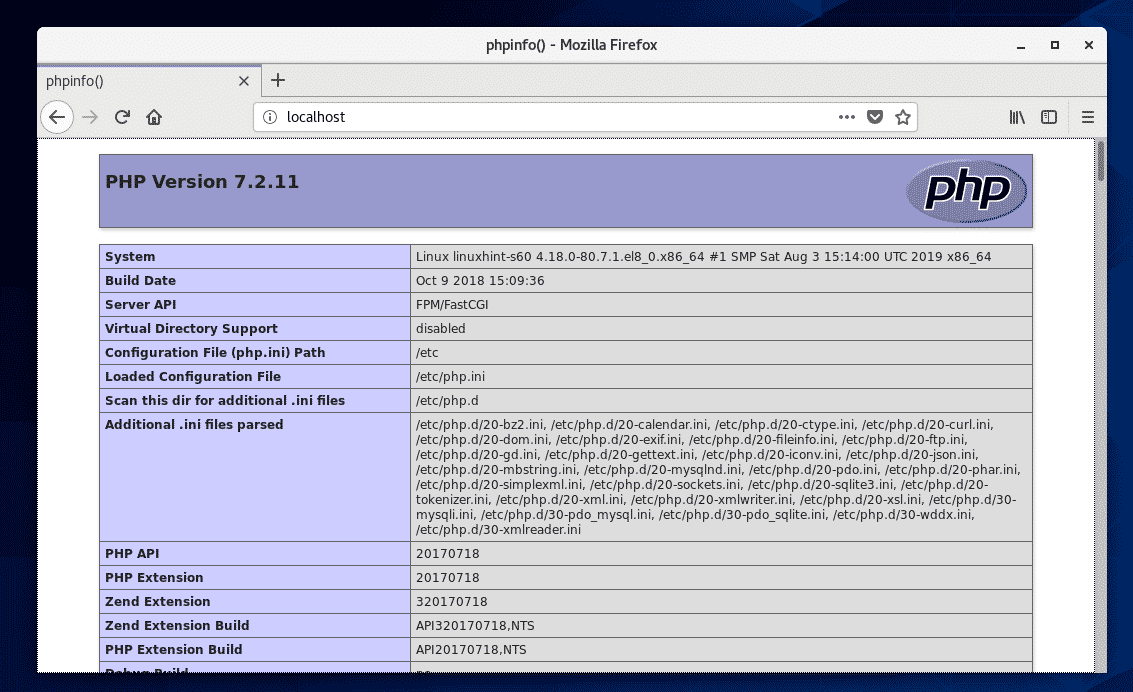
Now, open a web browser and try to access http://localhost
You should see the phpinfo page as shown in the screenshot below. So, Apache and PHP are working correctly.
Letting Apache Web Server to Write to Web Root:
By default, the Apache web server can only read from the default web root directory /var/www/html
If your application needs to write to the directory, it must be owned by the apache user and group.
To change the user and group of the Apache web root directory /var/www/html to apache, run the following command:

On CentOS 8, you also have to configure SELinux to allow write to the webroot directory /var/www/html.
You can configure SELinux for the /var/www/html directory and its contents with the following command:

For the SELinux changes to take effect, run the following command:


Making Web Development Easier:
When you’re developing a website, you would want to make changes to the /var/www/html directory as your login user.
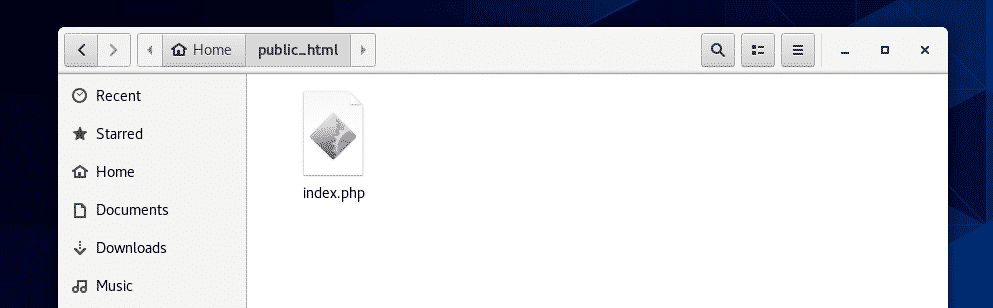
To make this easier, create a symbolic link of the /var/www/html directory in your user’s home directory as follows:

Also, give everyone read, write and execute permission to the directory /var/www/html as follows:

Now, you should be able to access /var/www/html directory as ~/public_html from your user’s home directory and make changes to the files and directories there as required.
When you’re done developing your website, you can secure the web root directory /var/www/html again as follows:

So, that’s how you configure a LAMP server on CentOS 8 for PHP web development. Thanks for reading this article.