Creating a Test Local Git Repository:
You will most likely have a local Git repository by now, if you’re reading this article. But, if you don’t have one yet and you want to follow along, then you can easily create a local Git repository as follows:

A new Git repository my-project is created.

Now, navigate to the my-project/ directory as follows:

Now, I am going to create a dummy index.html file as follows:

As you can see, a new file index.html is created.
Now, stage the file as follows:

Make a new commit as follows:

A new commit initial commit is created.

The new commit should appear in git log as you can see in the screenshot below.

Creating an Empty GitHub Remote Git Repository:
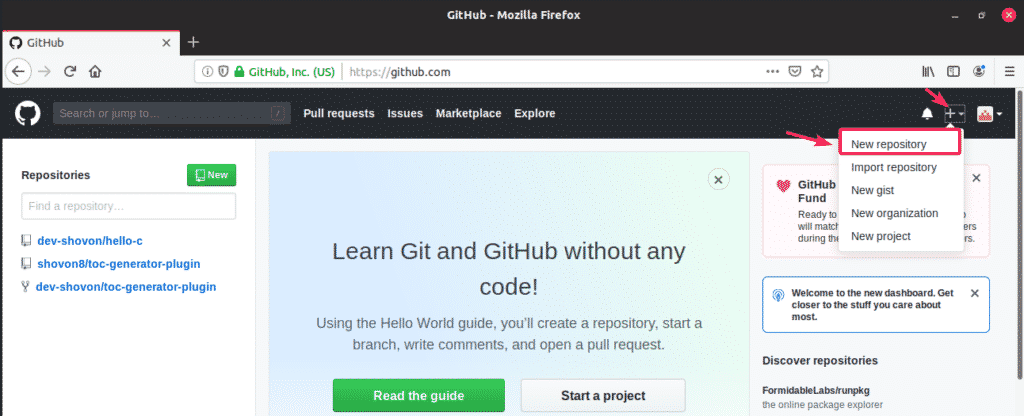
Now, you have to create an empty remote GitHub repository on any Git cloud service you want. If you’re using GitHub as I am, then, login to your GitHub account. Now, to create a new GitHub repository, click on the + icon and then click on New repository.
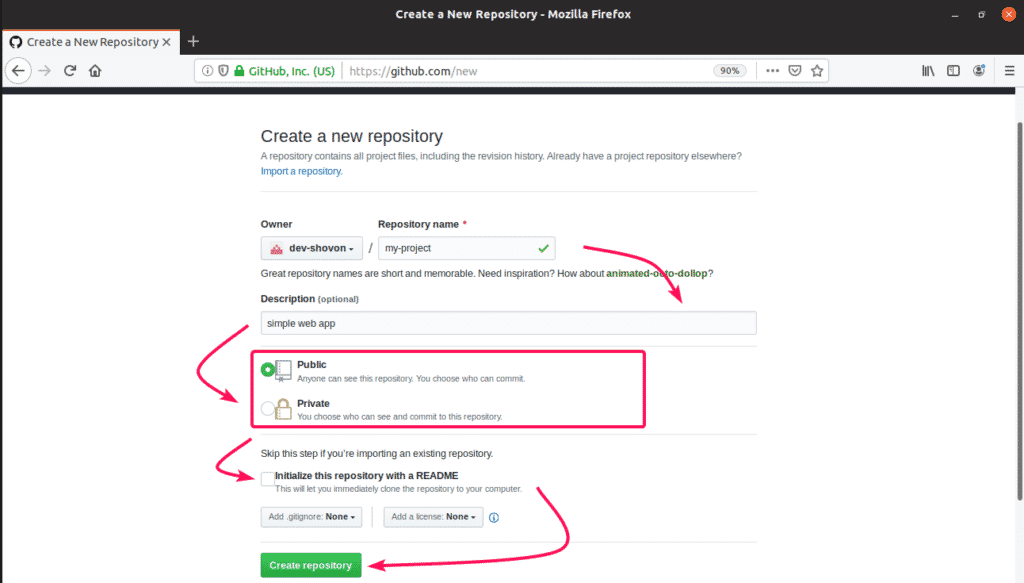
Now, type in a name for the new repository. If you want, type in a description (optional). Select Public or Private depending on whether you want to set the repository public or private. Now, make sure Initialize this repository with a README is not checked. Finally, click on Create repository.
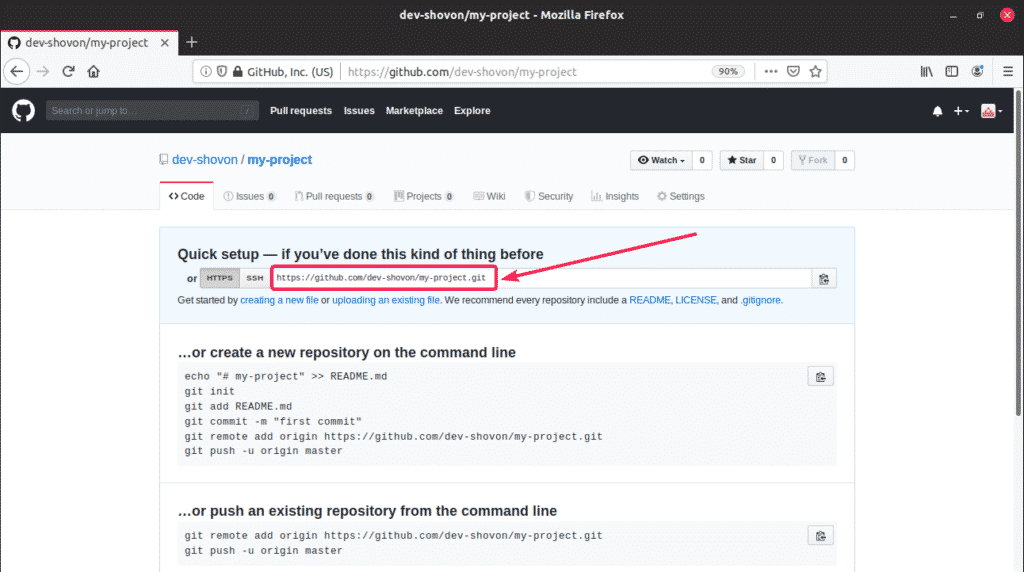
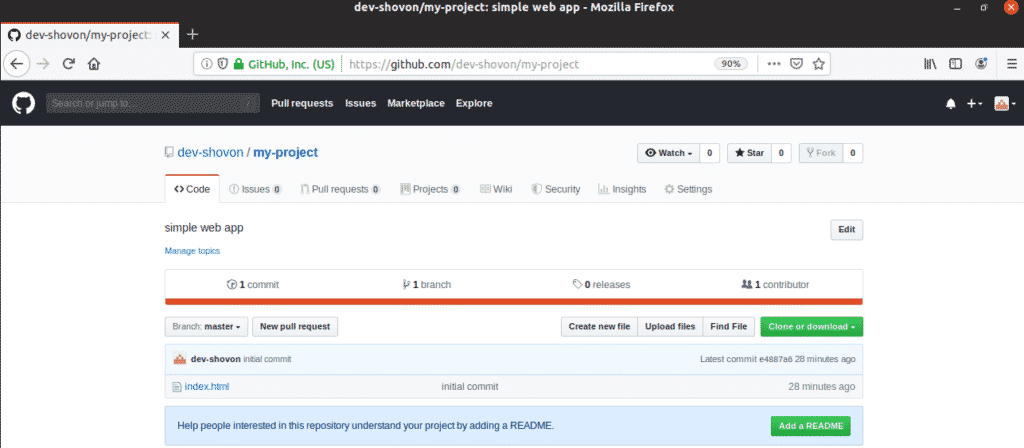
An empty GitHub repository should be created. This is our remote Git repository. The repository URL is given below as you can see in the marked section of the screenshot below.
Adding Remote Repository Information to Local Git Repository:
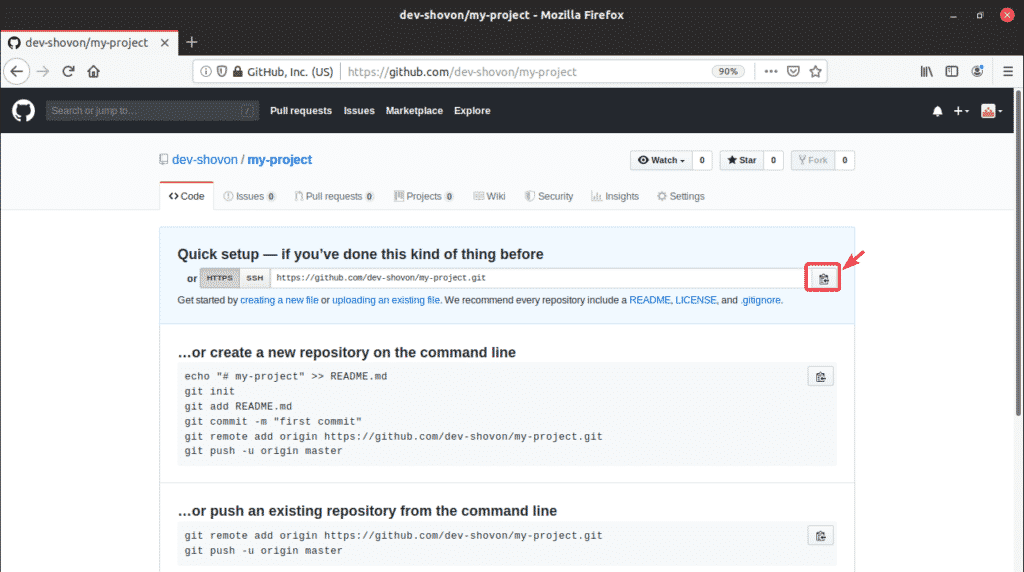
Now, copy the URL of the GitHub repository. You can do so by clicking on the icon as marked in the screenshot below.
Now, you have to add the GitHub URL to your local repository. To do that, run the following command:

Here, origin is the name or alias of the GitHub repository URL that you’ve just added. You will have to use the alias whenever you push your local repository or changes to your local repository to the remote GitHub repository.
You can list all the remote repositories that you’ve added as follows:
As you can see, the GitHub repository URL I’ve just added is here. It’s referred to as origin.

Pushing Local Git Repository to Remote Git Repository:
Now, you can push the default branch master of your local Git repository to the remote GitHub repository as follows:

Here, origin is the alias of the remote Git (GitHub in this case) repository URL and master is the branch that you want to push to the remote Git repository.
NOTE: The -u option is used only for the first push of any branch only. As, I am pushing the local master branch to the GitHub repository for the first time, I’ve added -u option here. This creates a tracking branch for the master branch. The next time you push anything to the master branch, you don’t have to use the -u option again.
You will be asked to provide the username and password of your GitHub account. Once you do, the contents of the default branch master from your local Git repository will be pushed to the GitHub repository.
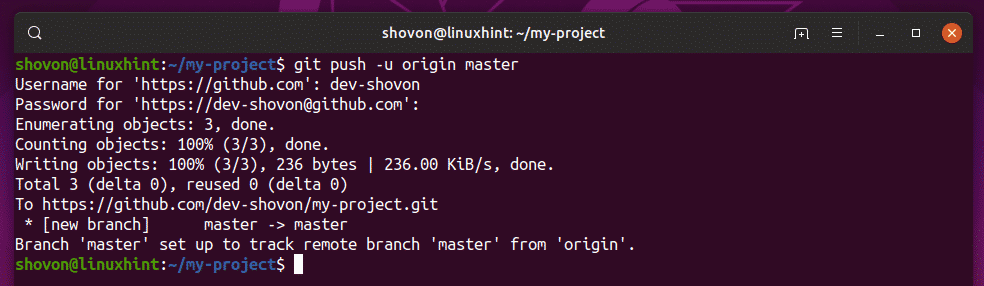
As you can see, the master branch is uploaded to the empty GitHub repository that I’ve create earlier.
Pushing Local Changes to the Remote Git Repository:
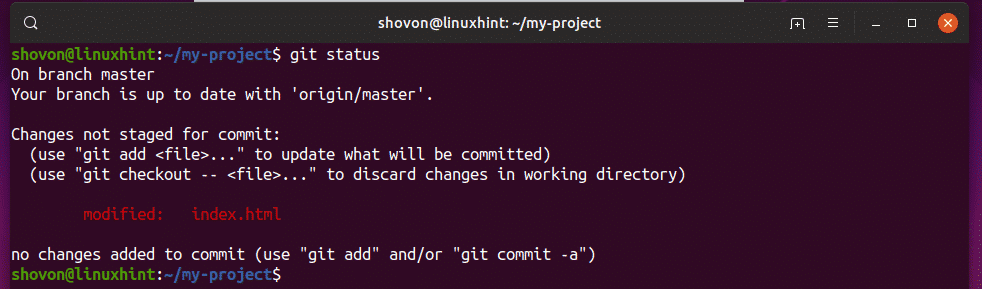
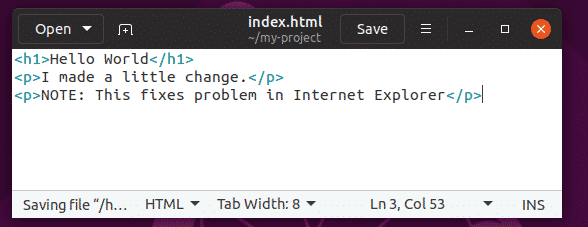
Now, let’s make a simple change to the index.html file on my local Git repository.
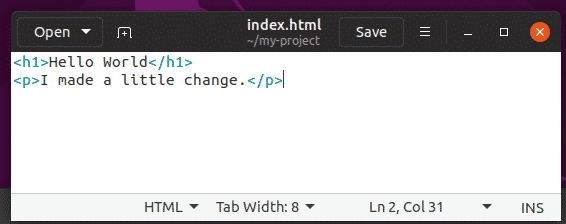
As you can see, I’ve modified the index.html file.
Now, stage the changes as follows:

Now, commit the changes as follows:

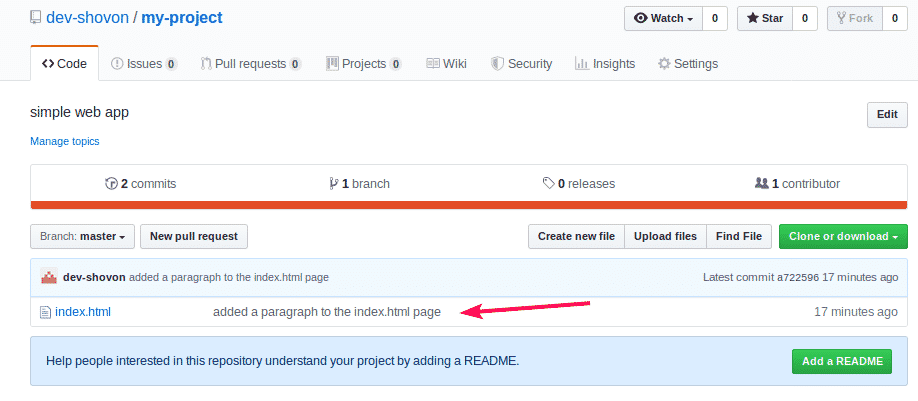
The changes should be commited.

The new commit is listed in git log as you can see in the screenshot below.

Now, push the changes of the local master branch to the GitHub repository as follows:

The changes should be pushed to the GitHub repository.
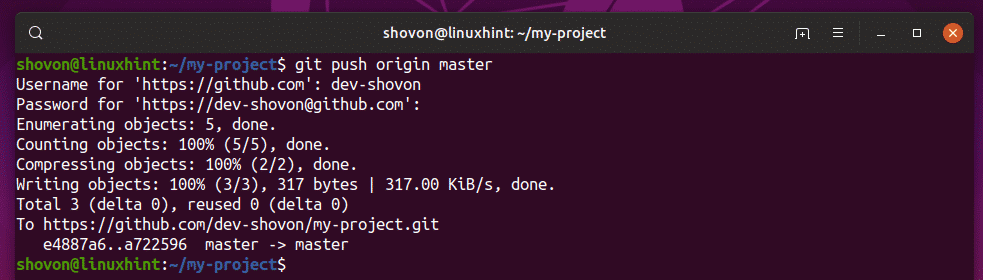
As you can see, the GitHub repository is updated.
Pushing Other Branches to the Remote Git Repository:
In this section, I am going to show you how to push other branches to the GitHub repository and push changes to these branches to the GitHub repository as well.
First, create a new branch, let’s say ie-fix as follows:

Now, checkout to the newly created branch ie-fix as follows:

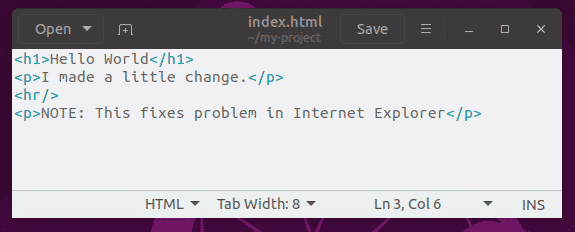
Now, make a little change to the index.html file.
Now, stage the changes as follows:

Now, make a commit as follows:

Now, push the newly created branch ie-fix to the GitHub repository as follows:

The ie-fix branch should be pushed to the GitHub repository.
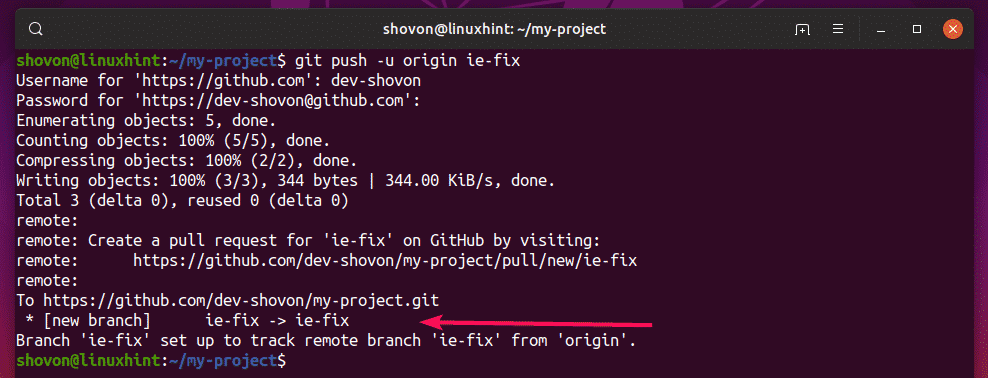
As you can see, the ie-fix branch is pushed to the GitHub repository.

Now, you can push any changes of the ie-fix branch using the git push command without the -u option.
Make a little change to the index.html file.
Stage the changes and make a commit as follows:
$ git commit -m ‘added a horizontal line to the page’

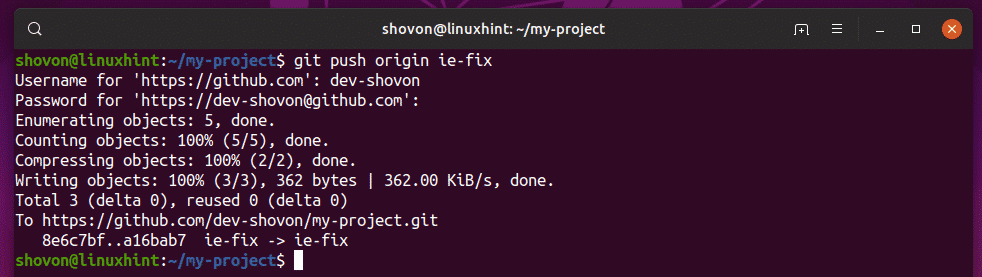
Now, push the changes of the ie-fix branch to the GitHub repository as follows:

The changes of the ie-fix branch should be pushed to the GitHub repository.
As you can see, the new commit is displayed in the GitHub repository page.

So, that’s how you push changes to remote Git branches. Thanks for reading this article.