Setting Up Remote Access to VirtualBox VM:
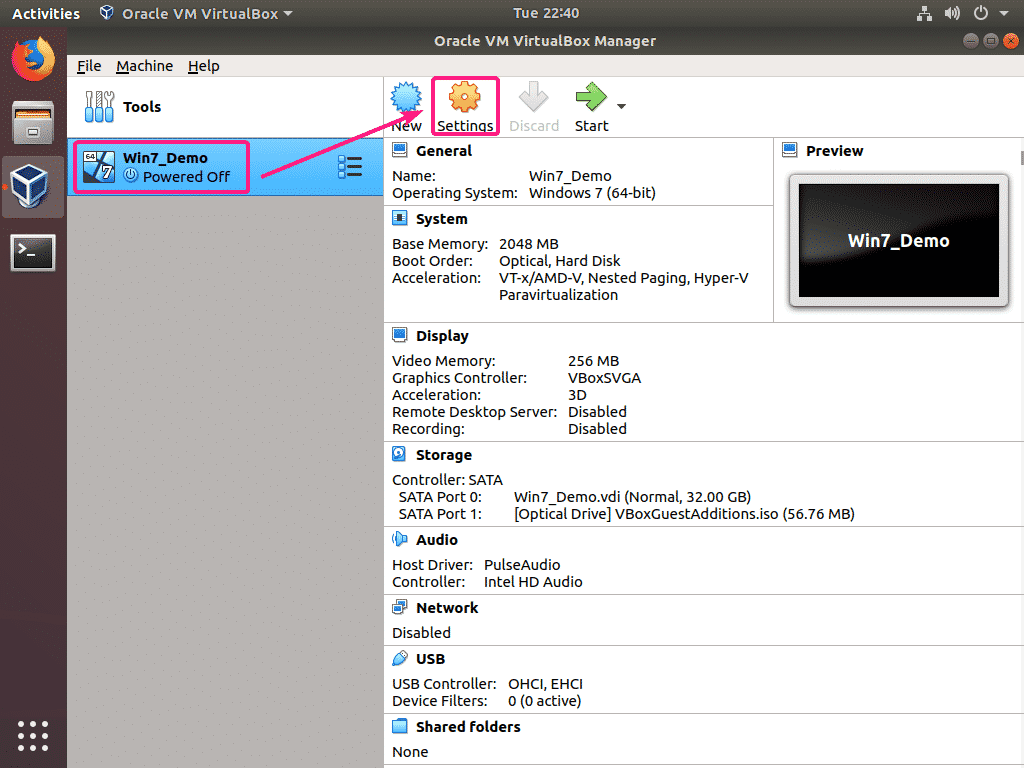
First, open VirtualBox. Now, select the VM (virtual machine) which you want to access remotely and click on Settings. The VM (virtual machine) must be powered off in order to enable remote access. Otherwise, it won’t work.
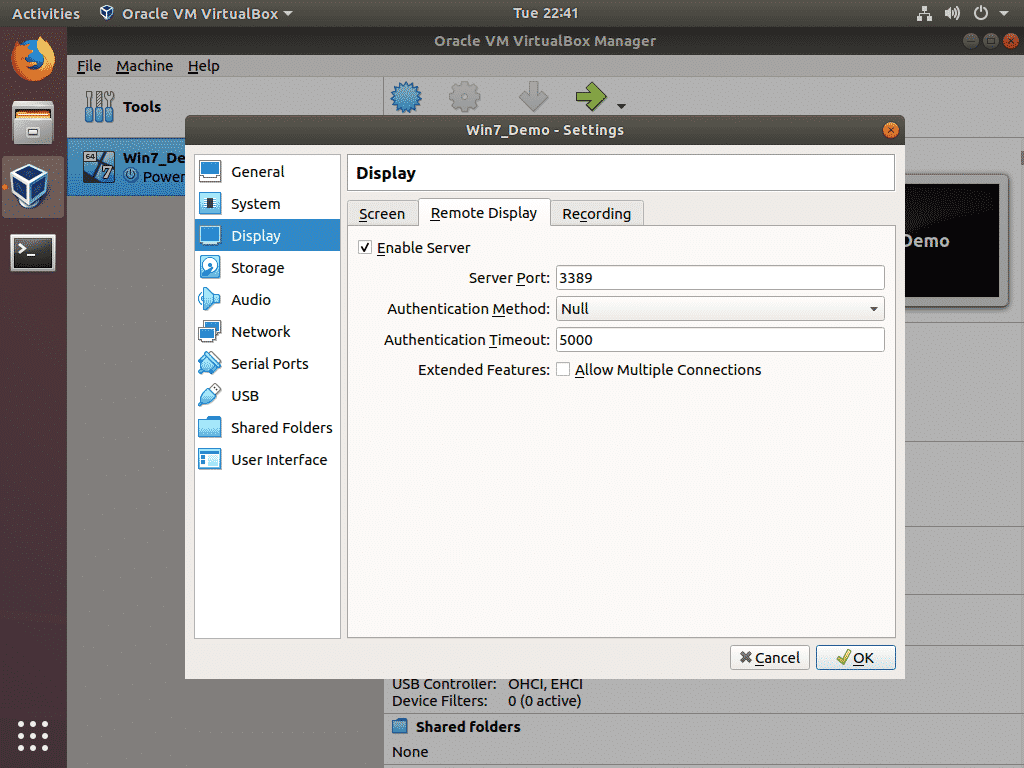
Now, from Display, click on the Remote Display tab. From the Remote Display tab, check the Enable Server checkbox to enable VirtualBox remote display server.
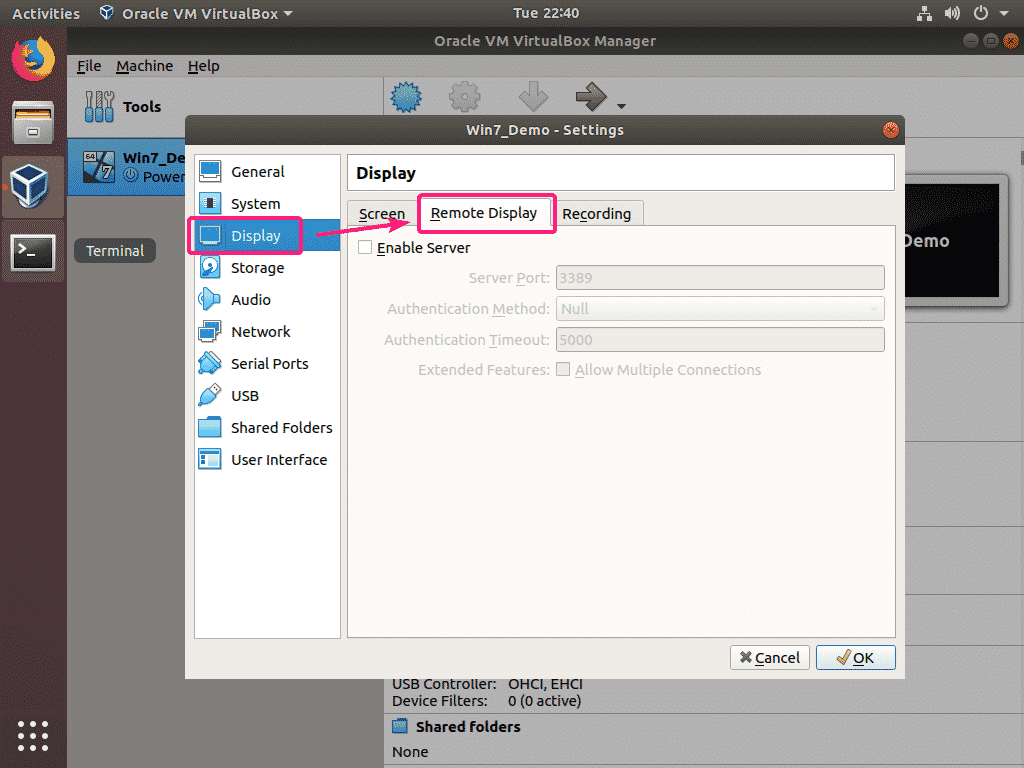
Now, you can adjust the remote server settings from here. Here, the main thing is the Server Port. Server Port is a 16-bit integer. It can be a value between 0-65535. The default Server Port is 3389. You should set Server Port to 3389 or higher.
Remember that each VM you enable remote access to must have different server port number. No 2 or more VM can have the same server port.
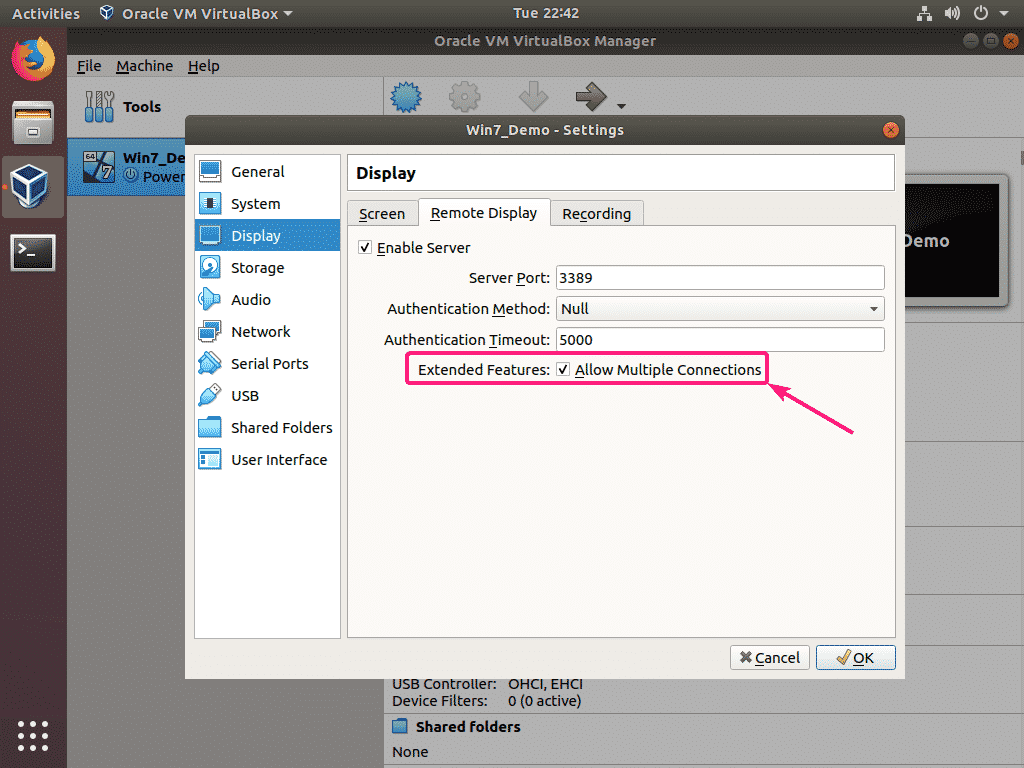
By default, VirtualBox allows only a single remote session to the virtual machine. If you want multiple remote sessions to the same virtual machine, check the extended feature Allow Multiple Connections.
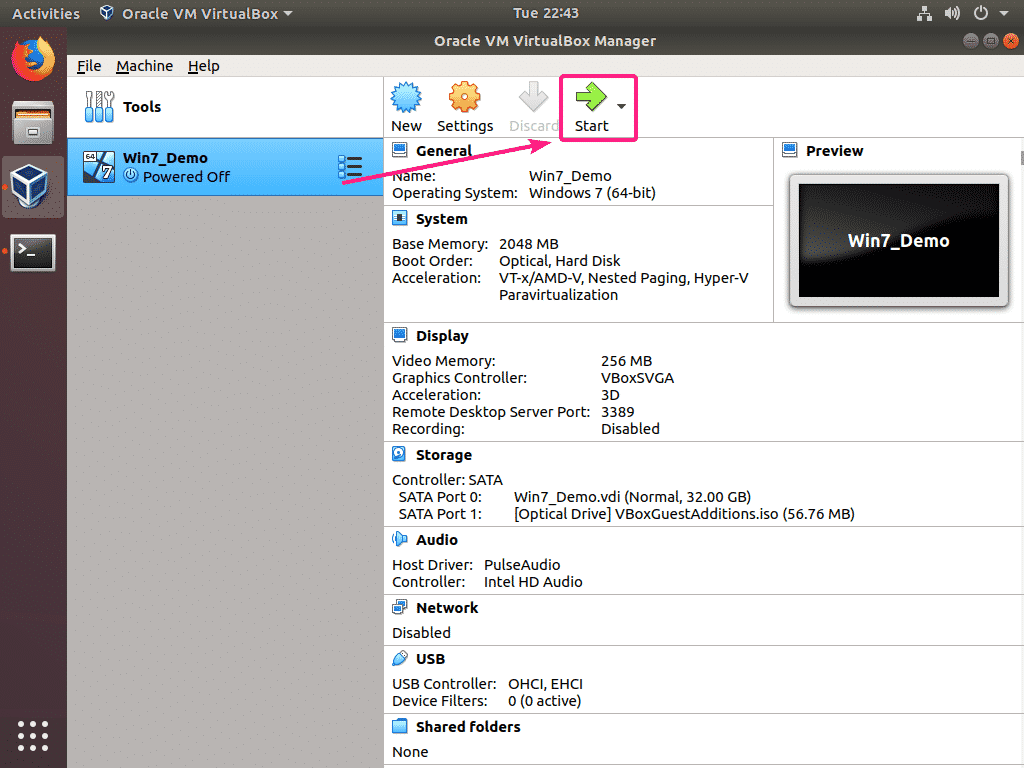
Once you’re done setting up the VirtualBox Remote Display Server for the VM, click on OK.

Now, start the VM.
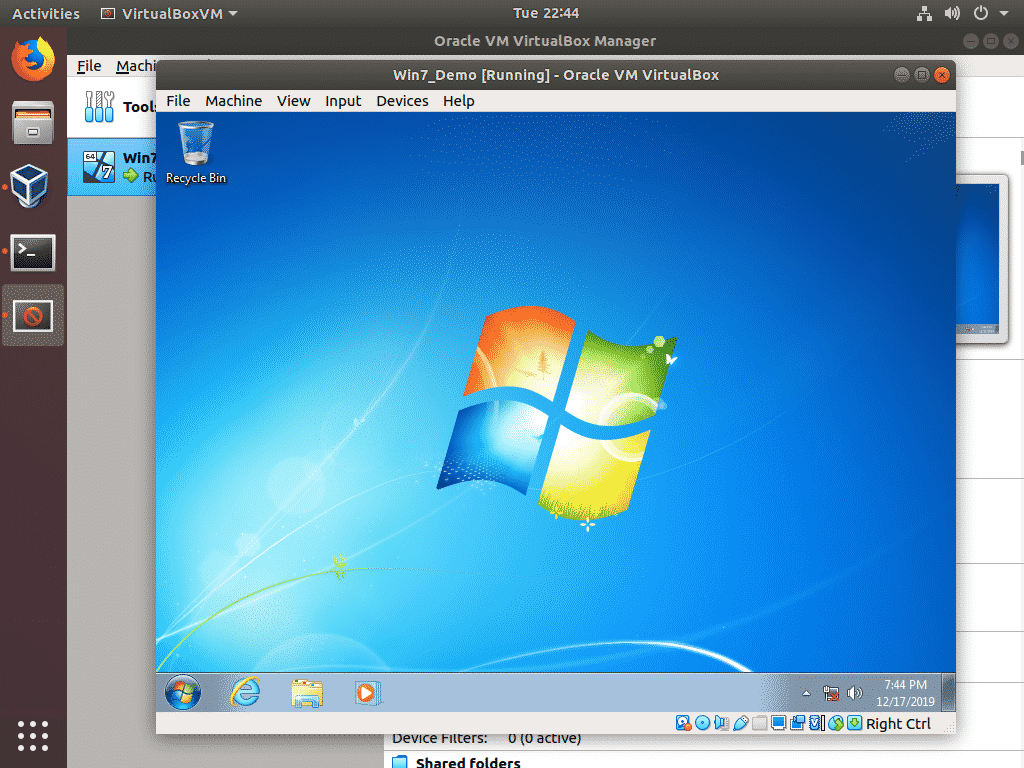
The virtual machine should start.
Now, you can check whether the remote server port is being used by VirtualBox VM with the following command:
As you can see, the port 3389 (in my case) is used by the VirtualBox VM and it’s in LISTEN state. So, the port is ready to accept new connections.

Configuring the Firewall:
If you have a working firewall setup, then you will have to allow access to the VirtualBox VM remote server port. On Ubuntu/Debian and many other Ubuntu/Debian based Linux distributions, the default firewall software is UFW.
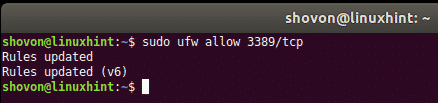
On UFW, you can allow access to the TCP port 3389 (in my case) with the following command:
On CentOS/RHEL and many of the RPM based Linux distributions, the default firewall is Firewalld.
On Firewalld, you can allow access to the TCP port 3389 (in my case) with the following commands:
$ sudo firewall-cmd –reload
Remotely Accessing the VirtualBox VM:
In order to remotely access the VirtualBox VM, you need to know the IP address of the computer where VirtualBox is installed and the remote server port that the VM is listening to.
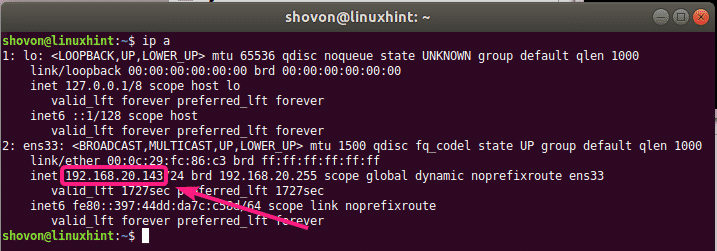
You can find the IP address of the computer where VirtualBox is installed with the following command:
In my case, the IP address is 192.168.20.143 and the VM remote server port is 3389. It will be different for you. So, make sure to replace it with yours from now on.
Once you know the IP address and VM server port, you can access the VirtualBox remotely from any remote desktop client that supports RDP protocol.
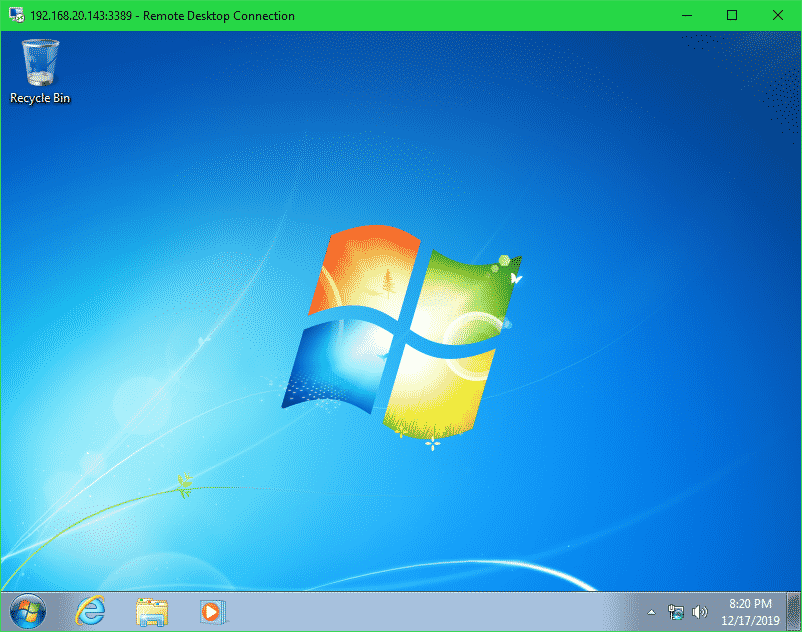
On Windows, you can use the default Remote Desktop Connection client to access the VirtualBox VM remotely over the RDP protocol.
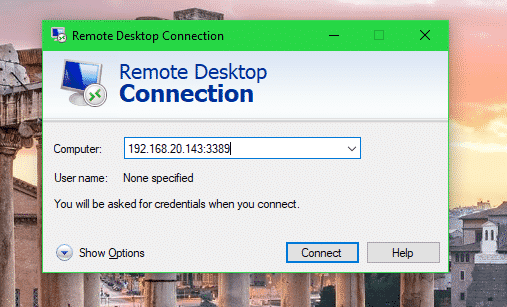
Just open the Remote Desktop Connection client, type in the computer address in the format <IP_ADDRESS>:<PORT> and click on Connect.
Replace the <IP_ADDRESS> with the IP address of your computer where VirtualBox is installed and <PORT> with the VirtualBox VM server port.
In my case the computer address is 192.168.20.143:3389
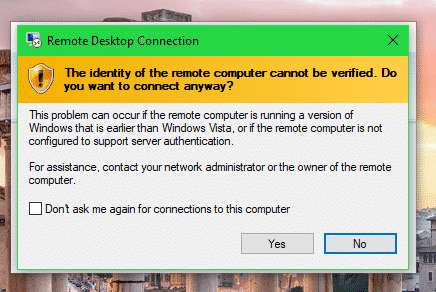
Click on Yes.
You should be remotely connected to the VirtualBox VM (virtual machine). Now, you can remotely use the VirtualBox VM anyway you like.
On Linux, you can use the Remmina Remote Desktop Client to connect to the VirtualBox VM remotely.
Remmina may not be installed on your computer.
You can install Remmina on Ubuntu/Debian or any Ubuntu/Debian based Linux distributions with the following commands:
$ sudo apt install -y remmina
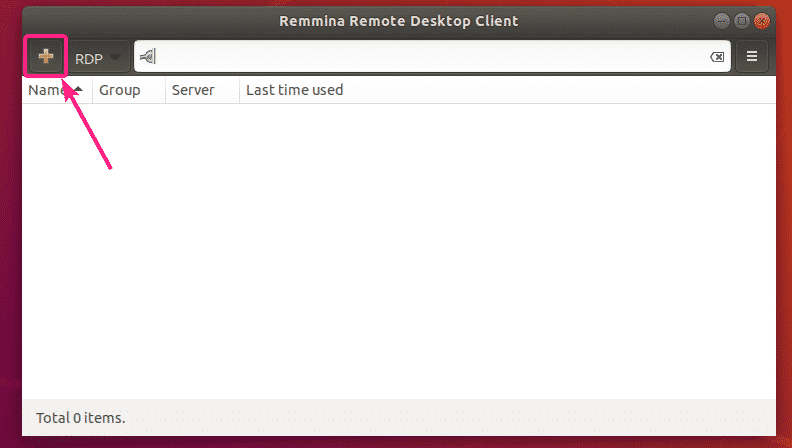
Once Remmina Remote Desktop Client is installed, start it. Then, click on +.
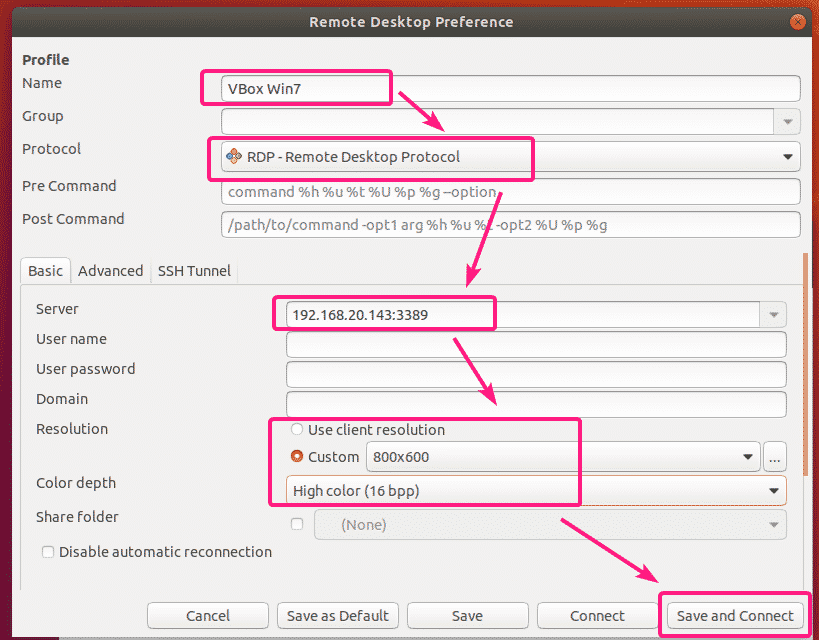
Now, type in a Name for the remote connection, set the Protocol to RDP – Remote Desktop Protocol, type in the Server address and port in the format <IP_ADDRESS>:<PORT>, set the Resolution and Color depth settings etc.
Once you’re done, click on Save and Connect.
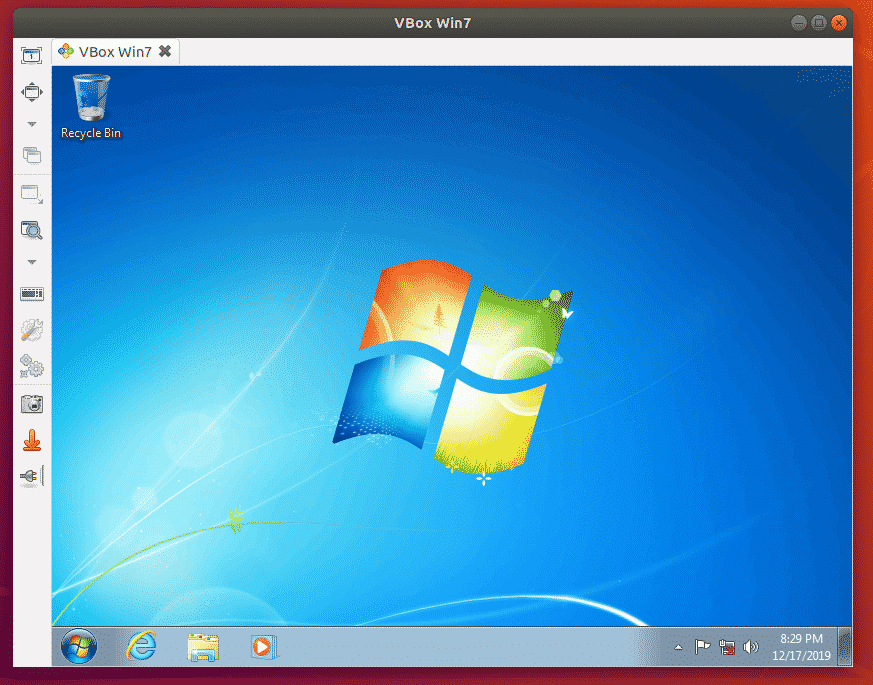
You should be connected to your desired VirtualBox VM remotely.
So, that’s how you set up VirtualBox VMs for remote connection over the RDP protocol and connect to VirtualBox VMs remotely. Thanks for reading this article.