On Linux systems, a user can’t access another user’s file. If in any case, shared access between many users is required, a group can be created and the users must be a member of the same group. That’s not enough. The files and directories to be shared must have required read, write and execution permission set up for the group. So you can see, Linux user and group is an essential part of Linux security.
In this article, I will show you how to add a user to a group on CentOS 7. Let’s get started.
Creating a Group on CentOS 7:
In this section, I am going to show you how to create a new group on CentOS 7.
Let’s say, you want to create a group work on your CentOS 7 operating system, you would run the following command:

The group work should be added.
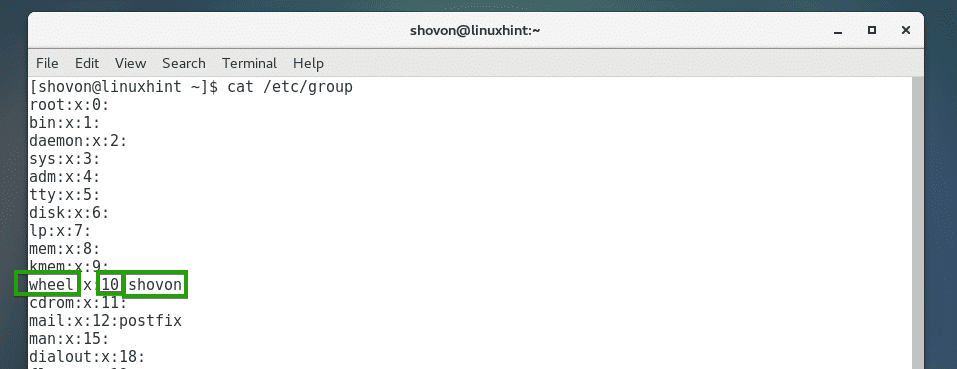
All the group data on your CentOS 7 machine is stored in the /etc/group file. You can read the entire file with the following command:
As you can see, the group file has several fields separated by colon (:).
The fields are as follows:
Group Name : Group Password : Group ID or GID : Users who are members of the group
The users list is separated by commas. The group password is by default set to x, which means no password is set by default.
In this screenshot, the group name is wheel, it has no password (x) set, it’s group ID or GID is 10, and its only user shovon is the member of the group wheel.
You can verify whether work group is added with the following command:

As you can see, the work group is added, and its group ID or GID is 1001. Unless specified, ordinary groups GID starts from 1000.

Creating a User on CentOS 7:
Now let’s create some new users so that we can add them in our newly created work group in the next section.
Add user lizzy with the following command:

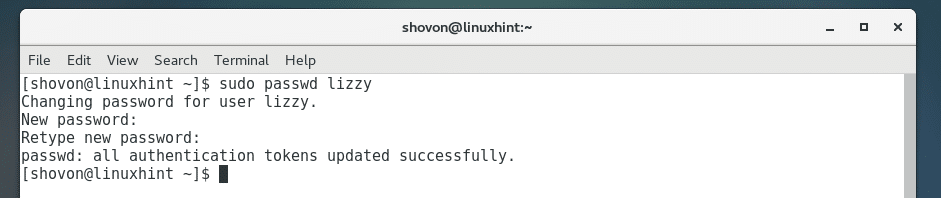
Now set password for lizzy with the following command:

Enter password for lizzy and press <Enter>.

Re-enter password for lizzy and press <Enter>. The password for the user should be set.
I am going to add another user ash.
Also set password for ash.
Add Users to a Group on CentOS 7:
Now that we have a group work created and our dummy users are ready, let’s see how to add them to the work group.
Now to add the user lizzy to the work group with the following command:

Now to add the user ash to the work group with the following command:

Now let’s see whether the users lizzy and ash is added to the work group with the following command:
As you can see, lizzy and ash are now members of the group work.

You can also login as the user who is a member of the group work, and run the following command to see which group the user is a member of:
As you can see, the user lizzy is a member of the group work.

So that’s how you add a user to a group on CentOS 7.