Did you ever have to work with TAR.GZ files? TAR.GZ is a special type of archive that is being handled with the help of “tar” tool. TAR.GZ is a widely used archive type in the Linux community. For example, you’ll find plenty of software that comes up in TAR.GZ archive. The compression ratio is also quite good and doesn’t require any 3rd-party tool to handle it. Tar is a built-in tool on all the major Linux distros including Ubuntu 18.04.
Today, let’s get familiar with the TAR.GZ file on Ubuntu 18.04.
There are a number of other tools to check out! Take a look at the 100 best Ubuntu apps for you.
Tar short intro
Before jumping deep into the TAR.GZ, let’s become familiar with the “tar” tool. Tar is a part of the GNU software collection. Fun fact – tar is also a part of Windows (Windows 10)! Finally, Microsoft understands the importance of the tool!
Tar follows the following structure –
In the option parameter, there will go all the operation choices. Tar supports numerous operations. You can find them out if you run the following command on the terminal –
In the file parameter, you can provide file or directory path. If the file(s) isn’t in the current directory, you can also specify the entire path to the file. Tar allows multiple files and/or directories in the parameter.
Creating TAR.GZ file
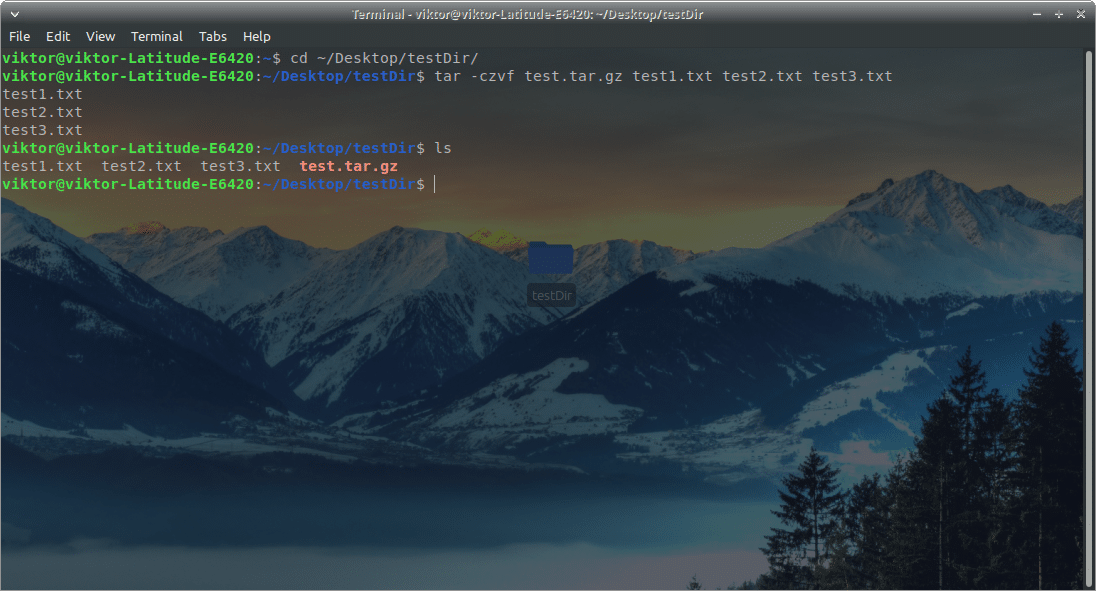
Let’s get into the main part. For this guide, I’ve already created a test directory. Its location – /home/Viktor/Desktop/testDir.
Creating a TAR.GZ file is pretty simple. Run the following command –
tar -czvf test.tar.gz test1.txt test2.txt test3.txt
For including all the files inside, run this command –
Let’s explain the entire command. This command line follows the following structure –
As of the options,
- c – Telling “tar” tool to create an archive
- z – Use “gunzip” compression. That’s why the file extension – GZ.
- v – Verbose mode. Tar will log each of its activity into the screen.
- f – Allows you specifying a file name for the output file.
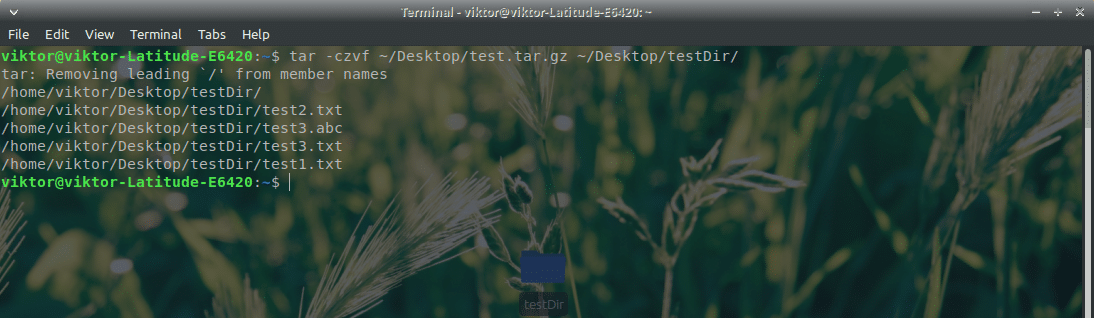
If you wanted to create an archive from a directory, run the following command –
In cases, you may need to compress an entire directory but exclude some specific file/directory. Then, your command would be something like this –
The “exclude” switch is extremely powerful. It doesn’t take files; instead, it accepts patterns.
Extracting TAR.GZ
We’ve learnt creating TAR.GZ files but without the knowledge of extracting it, everything is in vain. Run the following command to extract the TAR.GZ file –
tar -xzvf test.tar.gz
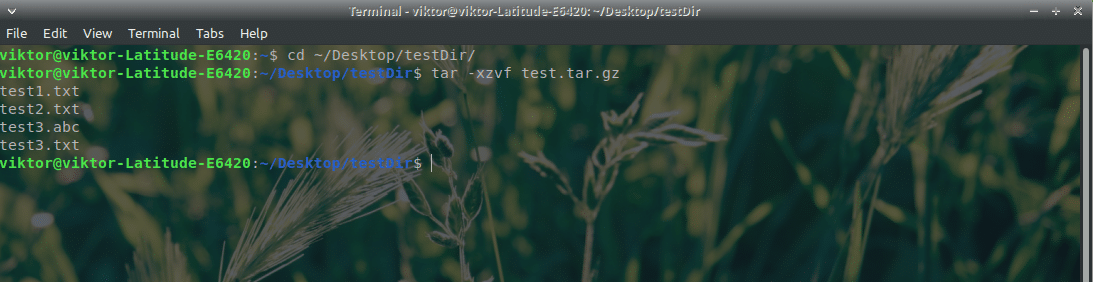
Here, all the options are just the same as before. The only difference is the “x”.
- x – Tells “tar” to extract an archive.
Note that the extraction procedure will replace any file that matches the file name of the archive.
Need to extract the archive in somewhere else? Run the following command –

Voila! Enjoy playing with TAR.GZ!