These requirements and use cases can be a pain to manage when different applications require different versions of the same library. Thankfully, Python provides a robust solution to isolate development environments using virtual environments.
What is a Python Virtual Environment?
A Python virtual environment is a self-contained directory tree that contains a specific Python installation along with all of its standard libraries. Applications requiring a particular version of library can be isolated in these virtual environments without polluting the system or other Python implementations. Each virtual environment is a separate sandbox, so you can create as many as virtual environments you want.
Creating and Managing Virtual Environments
To create virtual environments in Ubuntu, first install the required dependency package by running command:
You can now create virtual environments by running command:
Running the command above will create a virtual environment called “myenv” in your home directory. If you want to use any other version of Python, you can replace “python3” above with full path to the location of your alternative Python binary.
To activate the custom environment created above, run command:
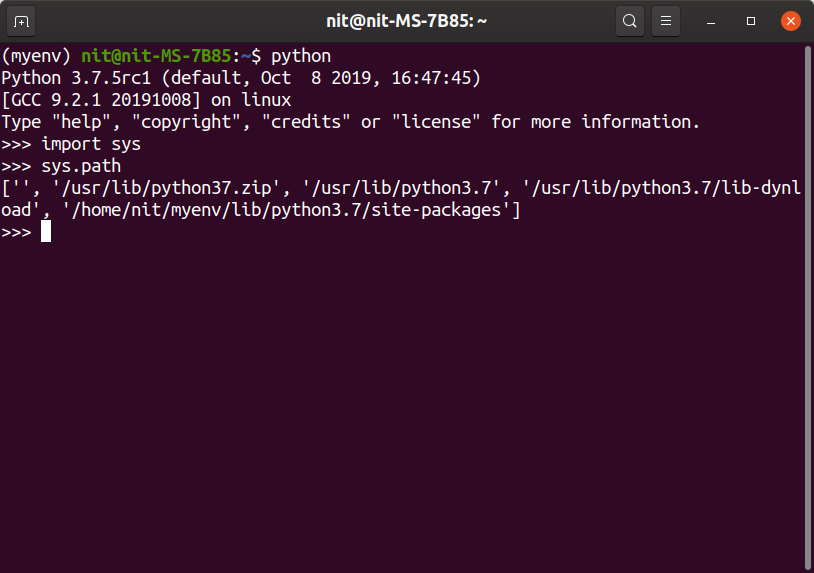
Once the virtual environment is activated, shell prompt will change to reflect the current virtual environment you are using. If you run “sys.path” command inside Python interpreter, you can see that virtual environment is working properly. Python will now look for packages inside the custom environment you have just created.
If your shell prompt doesn’t show the name of virtual environment as prefix, any Python file you run will use system Python instead. So it is necessary to source virtual environment before running a file in your custom environment.
You can deactivate a virtual environment by running command:
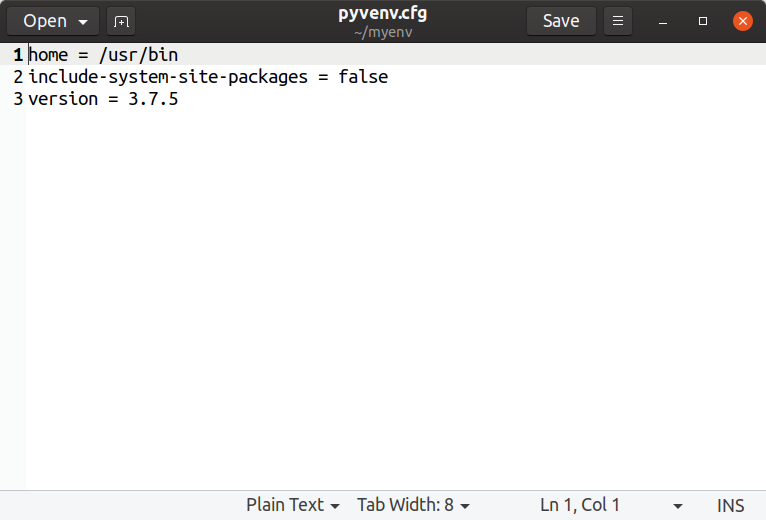
Every Python virtual environment includes a “pyvenv.cfg” file having a “include-system-site-packages” key which is set to “false” by default. This key tells virtual environment whether to use system site-packages or not. If set to “true”, Python in virtual environment will look into system packages in case a package is not found in the virtual environment. It will also make all system installed packages importable inside the virtual environment.
To delete a virtual environment, you just have to delete the virtual environment directory and it will be gone.
It is possible to create and store virtualenv on external USB drives. You will need to have USB drive formatted in NTFS or EXT file system. FAT32 file system doesn’t support symlinks which is a requirements for virtual environments to work.
Using Pip Package Manager to Install Packages Inside Virtual Environment
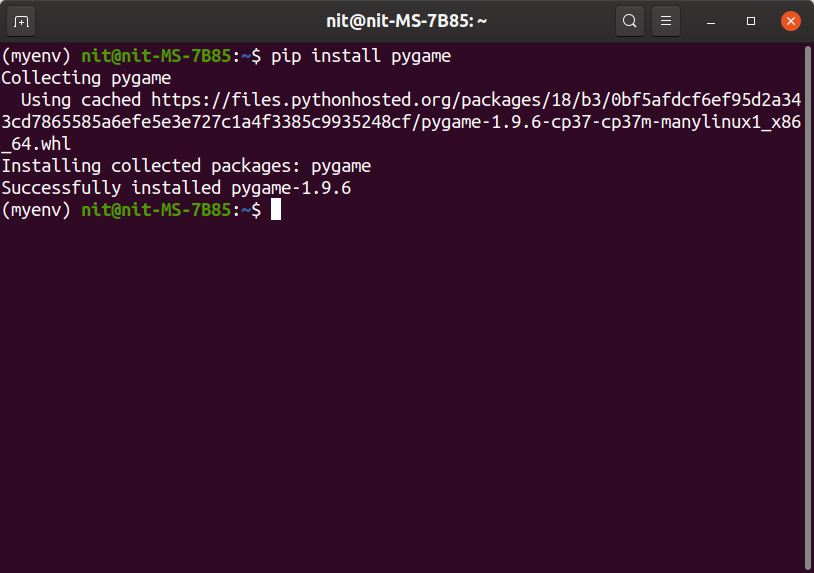
Inside a virtual environment, you can use pip package manager to install, upgrade and uninstall packages. It is possible to downgrade or upgrade a package by specifying a particular version number.
You can install a package using pip by running command (replace pygame with your desired package name):
A searchable repository of pip packages can be found here.
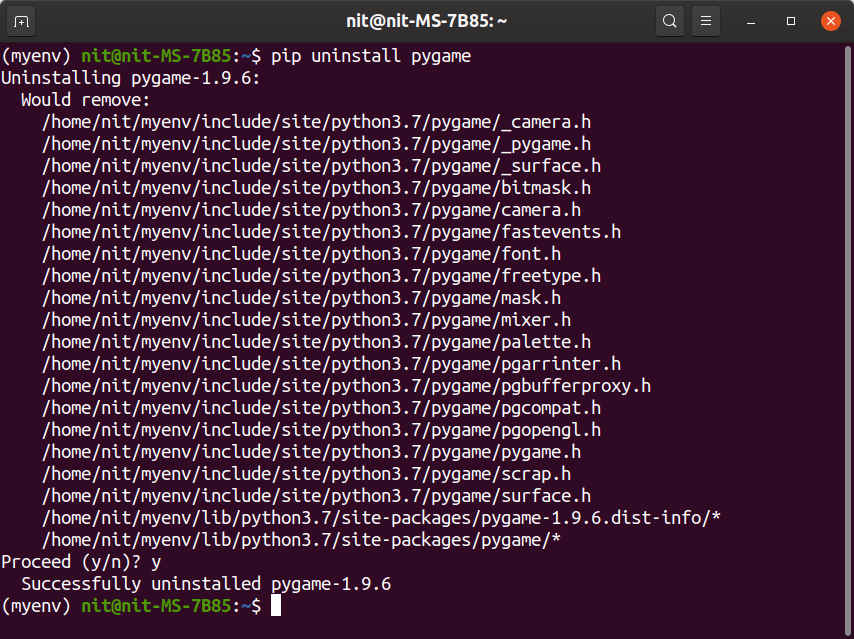
To uninstall a package, use command:
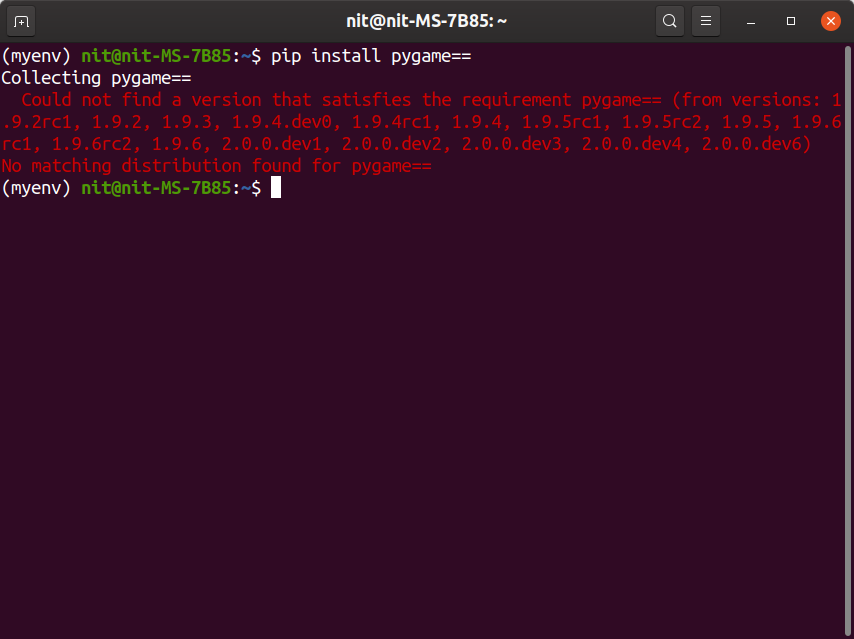
To see all versions of a package, run command:
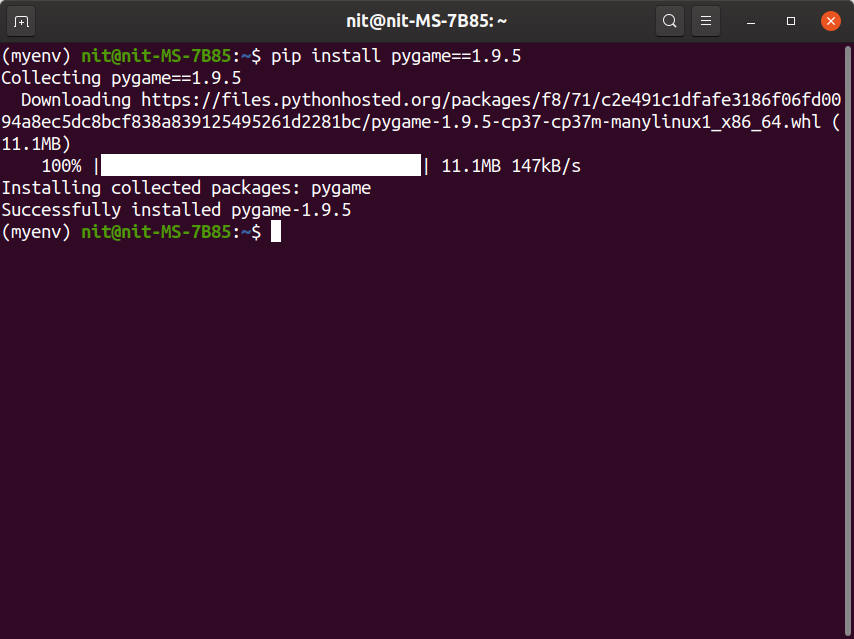
To downgrade or upgrade to a specific version, use command (replace “1.9.5” with your desired version number):
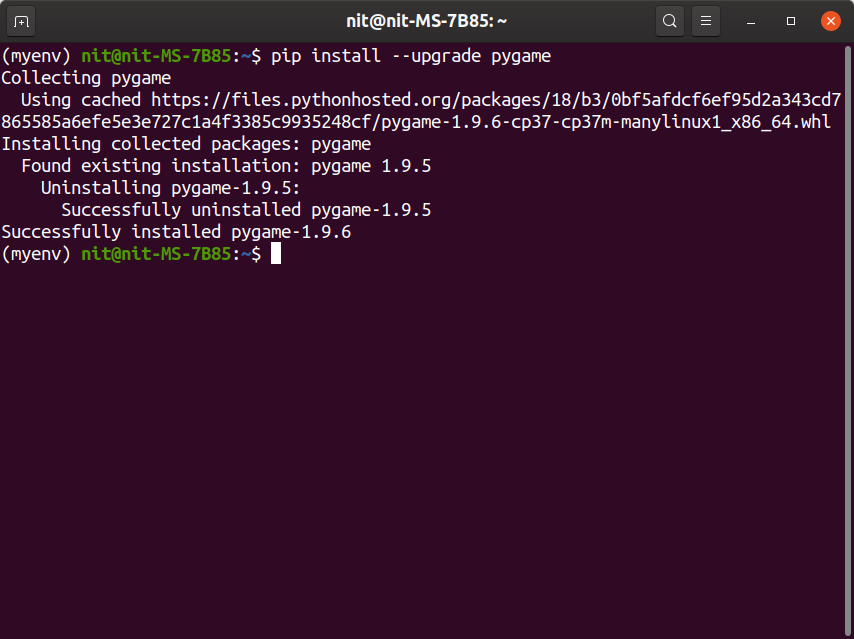
To upgrade a package to newest version, run command:
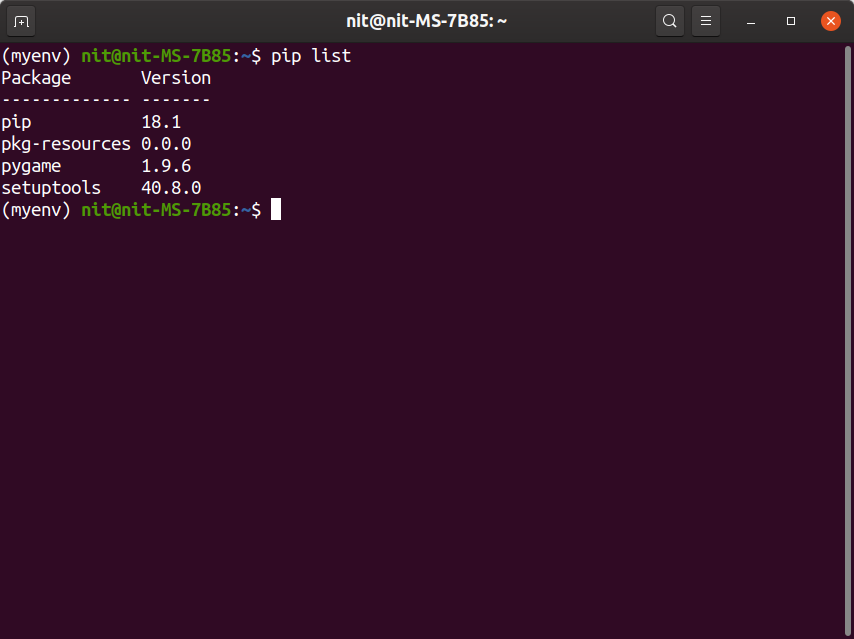
To see all packages installed in virtual environment, run command:
To save a list of installed packages inside virtualenv, run command:
You can use above “requirements.txt” file to install packages in bulk. One use case is to duplicate an existing environment by installing all packages from scratch. To install pip packages in bulk, run command:
Using Python Virtual Environments with Non-Python Applications
Applications written in other programming languages can be sandboxed in Python virtual environments as long as pip or any other Python package manager provides binaries and packages for these alternate programming languages/frameworks.
Here is a small example that explains installing Node.js in Python virtual environment. Run the following commands one by one:
$ source my_node_env/bin/activate
$ pip install wheel
$ pip install nodeenv
$ nodeenv -p
$ nodeenv –version
$ node –version
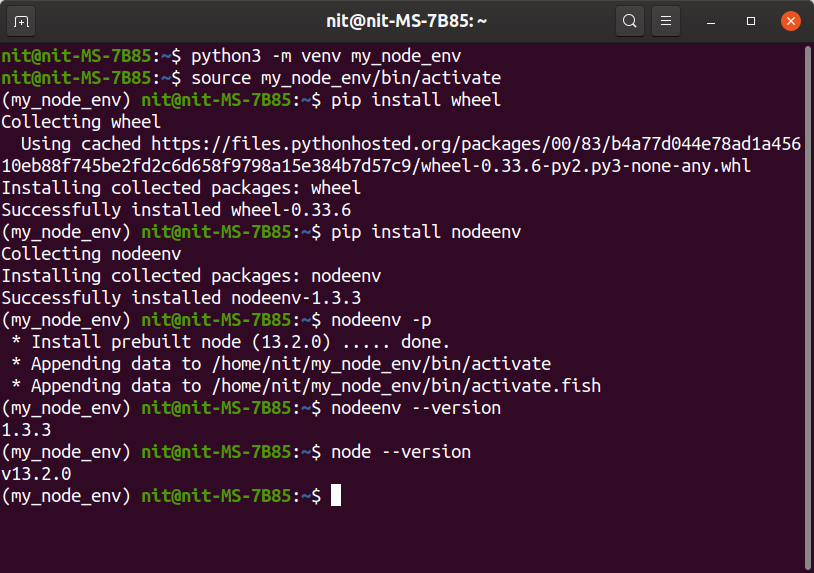
Once done, you will have a completely isolated Node.js environment. You can create as many as virtual environments as you want for different Node.js applications. Packages installed via npm package manager will be confined to activated virtual environment only.
Conclusion
Creating a Python virtual environment is an excellent way to containerize development environments. Each virtual environment has its own Python binary and its own independent set of packages. Developing multiple Python applications on the same system can quickly pollute your home and root directory and virtual environments make it so easy to maintain them.