Prerequisites
- A New Ubuntu 18.04 instance with at least 1 GB RAM
- A sudo user
Update the System
We recommend you to upgrade all the available packages and update the system, before installing any new package on the system. Execute the following command and it will do the job for you.
Next, you will need to install some required packages such as unzip and tmux if you don’t have installed them already. tmux will help you to access multiple separate terminal sessions inside a single terminal window.
Install Nginx
Once the system is updated, you will need to install a web server to access Consul through Web UI from a web browser. Here, we will be installing Nginx web server, you can install Apache web server if you wish. Run the following command to install the Nginx web server.
Download and Install Consul
We have installed all the required dependencies now we are ready to download and install Consul. First, change your current directory to /usr/local/bin using the following command.
Now you can download the latest stable version of Consul from the official Consul Download Webpage using wget command. Execute the following command and it will do the job for you.
Next, you will need to unzip the downloaded package and remove the zipped package. Simply, execute the following commands and they’ll do the job for you.
Configure Consul Server
Now we have downloaded the Consul server successfully. Next, you will need to configure the consul server. Create a new directory for configuration files.
Next, create a new configuration file config.json for Consul configuration using any text editor. Here, we are using nano text editor. You can also install it using sudo apt-get install nano command.
Add the following configuration into the file.
"bootstrap": true,
"server": true,
"log_level": "DEBUG",
"enable_syslog": true,
"datacenter": "server1",
"addresses" : {
"http": "0.0.0.0"
},
"bind_addr": "IP Address",
"node_name": "XX.XX.XX.XX",
"data_dir": "/home/k/consuldata",
"ui_dir": "/home/k/consul-ui",
"acl_datacenter": "server1",
"acl_default_policy": "allow",
"encrypt": "5KKufILrf186BGlilFDNig=="
}
Make sure to change bind_addr and node_name with your own servers IP or FQDN, then save and close the file.
Next, you will need to create a virtual host in order to configure your web server. So, create a new directory for creating a virtual host for nginx using the following command.
Add the following content into the file.
{
listen 80 ;
server_name YourServerIP;
root /home/k/consul-ui;
location / {
proxy_pass http://127.0.0.1:8500;
proxy_set_header X-Real-IP $remote_addr;
proxy_set_header Host $http_host;
}
}
Make sure to replace YourServerIP with you actual server IP address or domain name and then save and close the file.
Next, reload the Nginx services for these changes to take effect. Execute the following command to do so. sudo systemctl restart nginx.service
Start the Consul Server
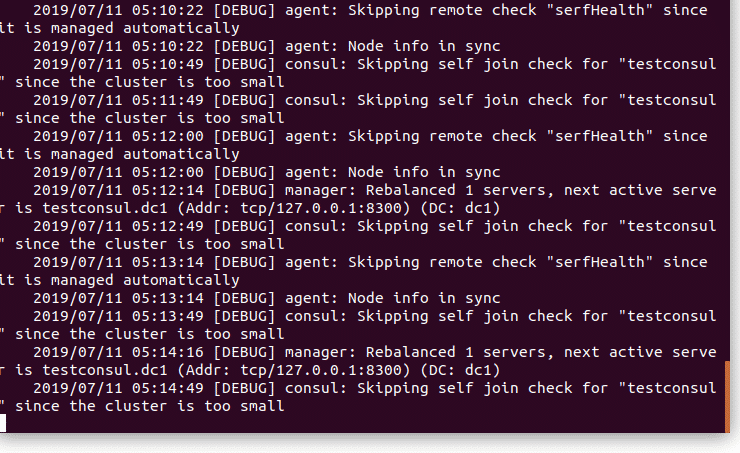
You have successfully installed and configured the consul server with its required dependencies. Now let’s start the Consul server and use it. Run the following command to start its services under the tmux terminal. tmux
true -client=0.0.0.0
Now you will see the consul process is running in your terminal, you can leave these processes running in the background by using CTRL+B then hit the D key from the keyboard to detach the terminal.
Now that you have successfully installed Consul, you can proceed further to access Consul web interface. But first we will need to set up our consul agent to access the web ui. Execute the following command and it will do the job for you.
The above command will take some time.
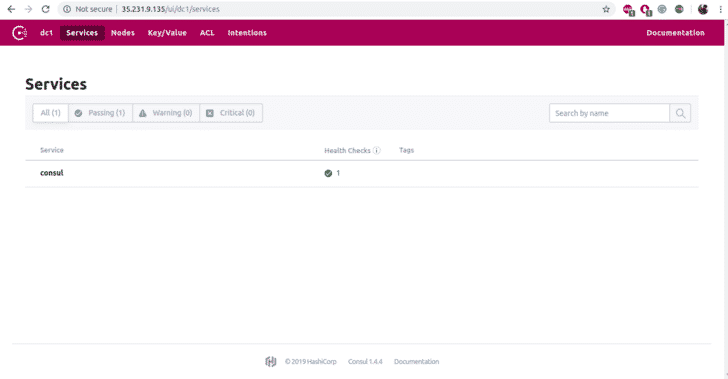
Open up your favorite web browser and navigate to the http://YourServerIP/ui. Now you can use the consul server to check the health of your servers and an overview of your services.
Conclusion
In this tutorial, you have learned how to install and configure the Consul server on Ubuntu 18.04. We hope now you have enough knowledge to work with the Consul server. Now you can deploy your new services and overview of those services using Consul.