Officially, openSUSE offers JeOS images for virtualization environments like Hyper-V, VMware, KVM, and Xen. In this article, I’ll be using the VMware image to run openSUSE JeOS on VirtualBox and VMware Workstation.
Why openSUSE JeOS
The JeOS (Just Enough Operating System) is a slimmed-down OS that contains only the necessary components for running a specific application. As there’s no additional component in the system, JeOS appliances are faster, smaller and more secure than a full general-purpose OS. By packing the JeOS and the application in a single package, it can be useful in solving a lot of installation issues.
Generally, JeOS builds are used to create virtual appliances (VMs) that comes with a pre-configured OS and a single application. Using JeOS as the OS simplifies the overall process. For virtual data center and private cloud, JeOS can be the standard for VM images. Because of the lightweight nature, JeOS is also useful for use in embedded systems.
The official openSUSE JeOS images are just around 300MB in size, consisting of a barebones OS and the package manager with official repos.
Install openSUSE JeOS
OpenSUSE JeOS comes up in virtualization images, so there’s nothing to install. In this example, we need VMware Workstation and the VMware JeOS image to test it out. However, the image will also work just fine with VirtualBox.
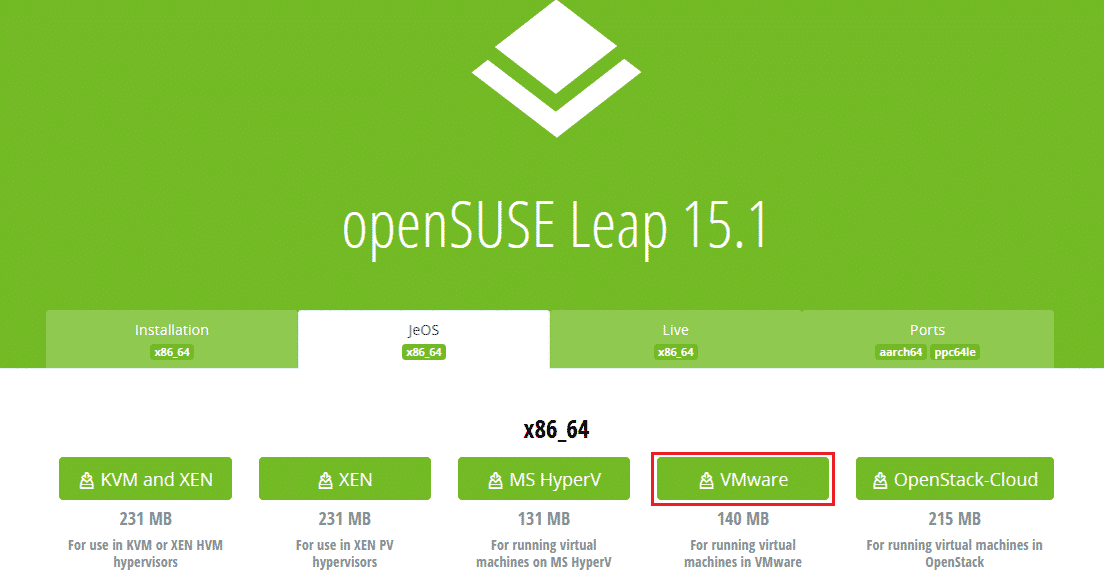
In this example, I’ll be using the openSUSE Leap 15.1 JeOS image for VMware. Download openSUSE Leap 15.1 JeOS image.
Install OpenSUSE JeOS on VirtualBox
Check out how to install VirtualBox on Ubuntu, Debian, CentOS 7 and openSUSE. Ready? Fire up VirtualBox.
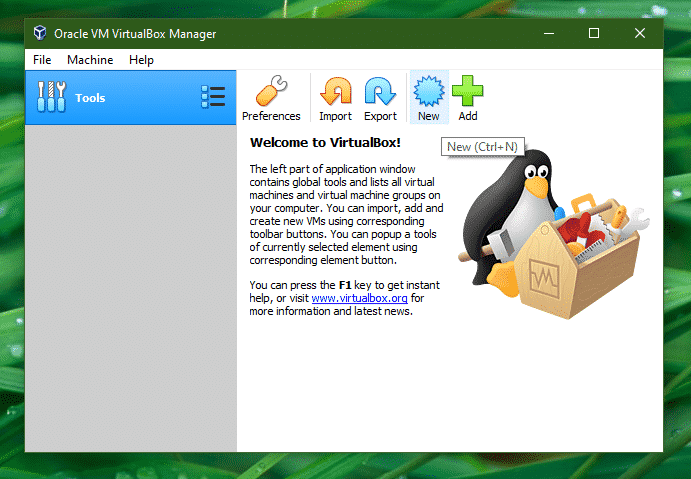
Click “New”.
Enter a suitable name of the VM, select the “Machine Folder” (where the VM files will be stored), select the OS “Type” and “Version”.

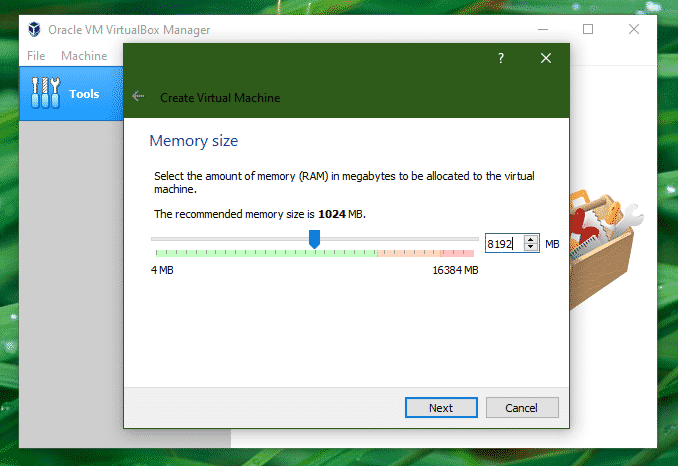
Assign a suitable amount of memory to the new VM. In my case, I’m going with 8GB memory allocation.
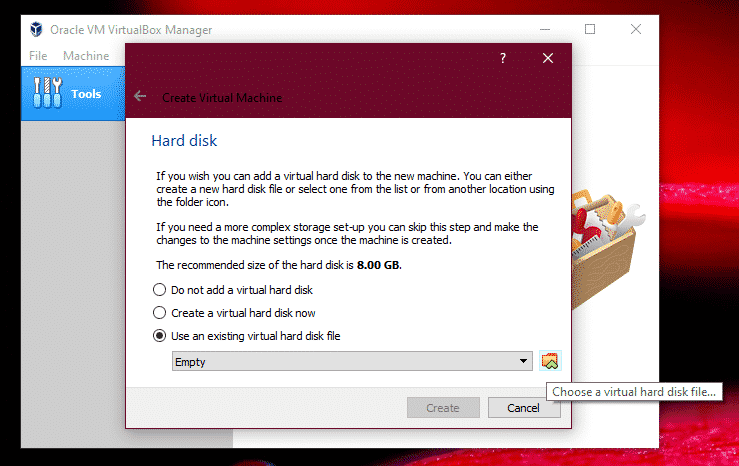
Now, we have to select the openSUSE JeOS image file. Select “Use an existing virtual hard disk file” and click the icon next to it.
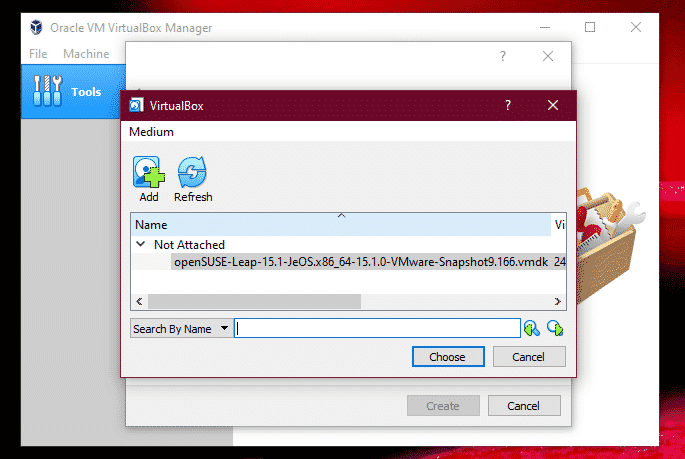
Click “Add” to add the VMDK file.
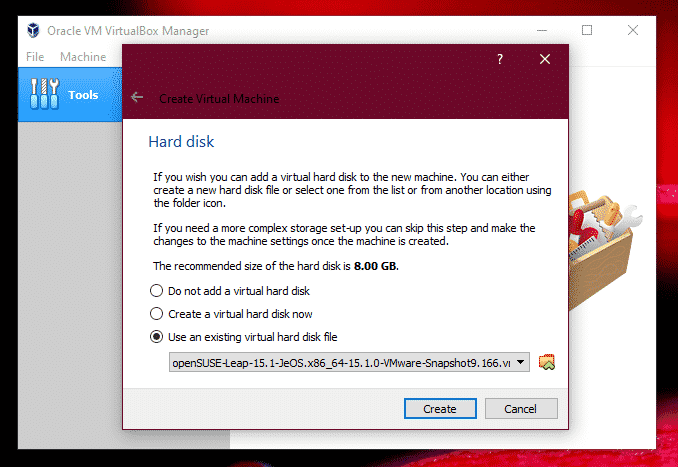
Click “Create” to complete the creation of the virtual machine.
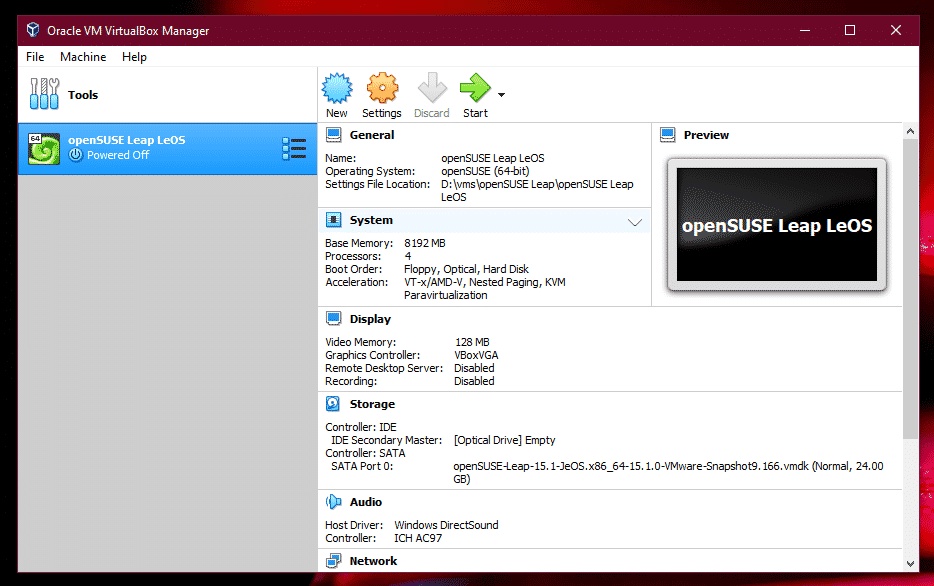
The VM is ready. It’s time to start and experience openSUSE Leap JeOS. Click “Start”.
Select “openSUSE Leap 15.1 JeOS” and hit Enter.

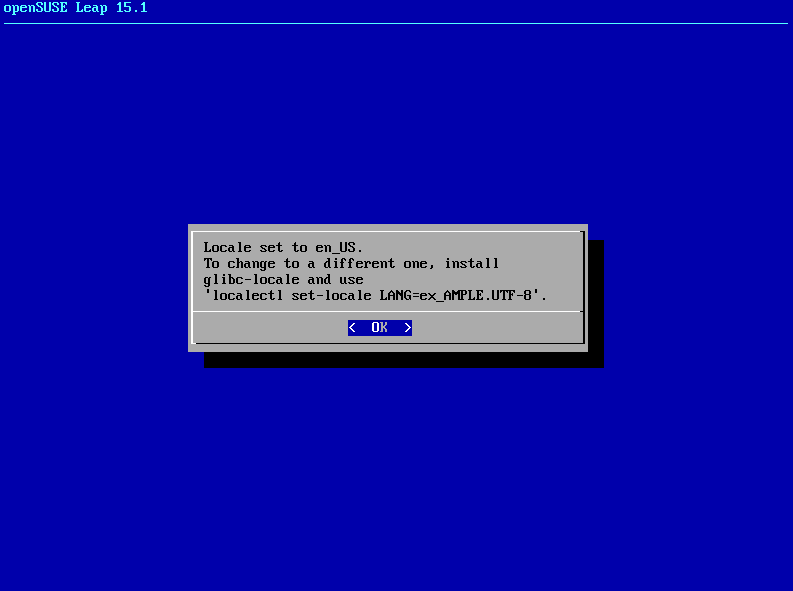
The popup message will notify that the default system locale is set to “en_US.UTF-8”. To change the locale, you need to manually install the “glibc-locale” package and run the following command.
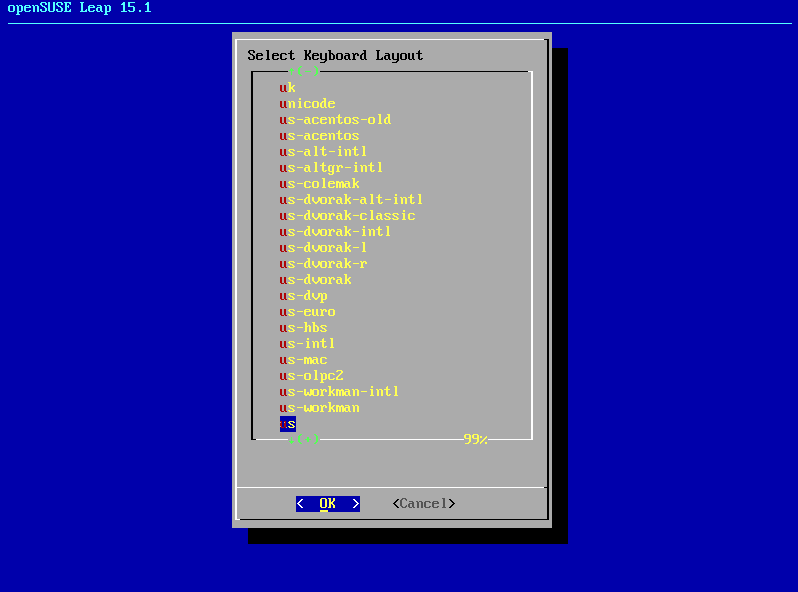
Select the proper keyboard layout.
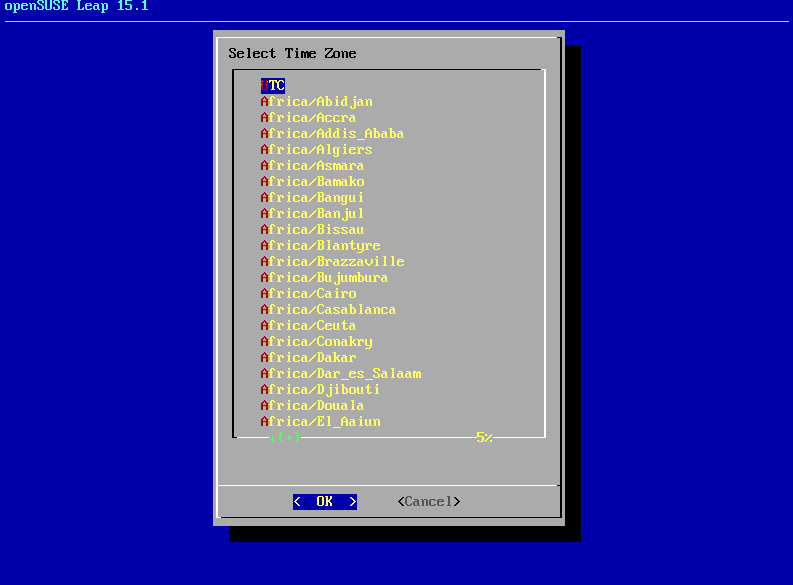
Next up, choose the time zone of your location.
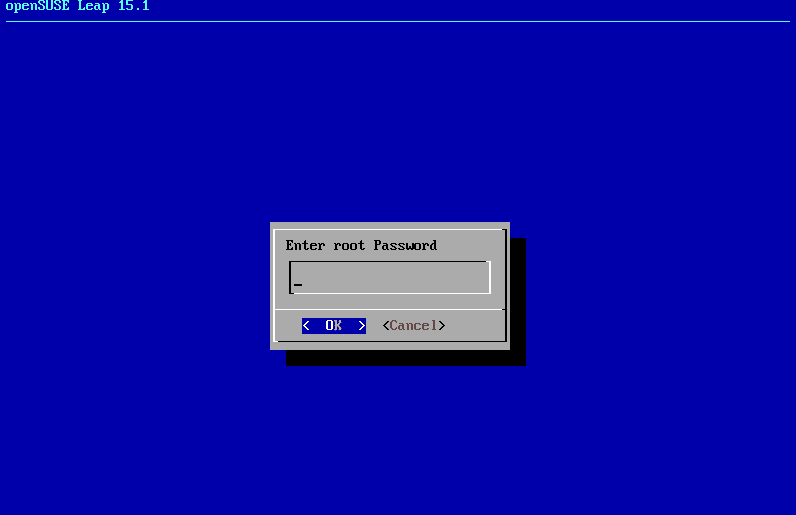
Enter a root password for the newly set openSUSE JeOS system. It must be tough to crack and simple enough to remember.
Re-enter the password to confirm its usage as the root password.

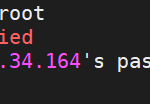
When everything completes, you’ll be prompted to log in. We’ll be logging into the root account. Enter username “root” and the root password we created on the previous step.

Voila! OpenSUSE Leap JeOS is ready to go!
Install OpenSUSE JeoS on VMware
For this example, I’ll be using VMware Workstation. In the case of VMware Workstation, it’s a little bit interesting. Existing VMDK files are locked, so other virtual machines can’t use them. That’s why we have to create a new copy of the openSUSE Leap JeOS VMDK image to work with the new virtual machine.
Fire up VMware Workstation.
Click “Create a New Virtual Machine”. Alternatively, you can go to File >> New Virtual Machine.

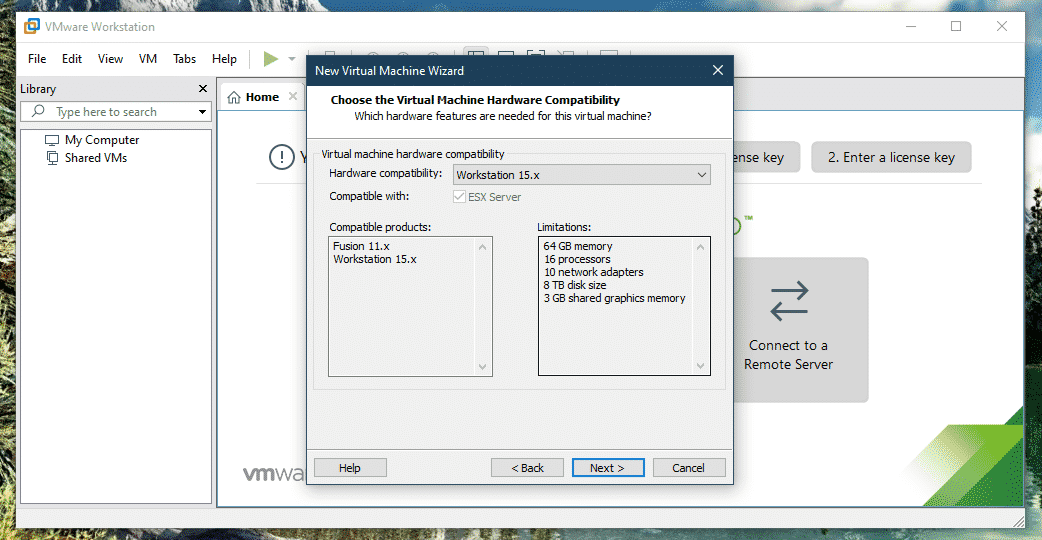
From the “New Virtual Machine Wizard”, select “Custom” and click “Next”.

Select the hardware compatibility you’d like to have. I’m going with the latest one.
When prompted for the guest OS installation, select “I will install the operating system later”.

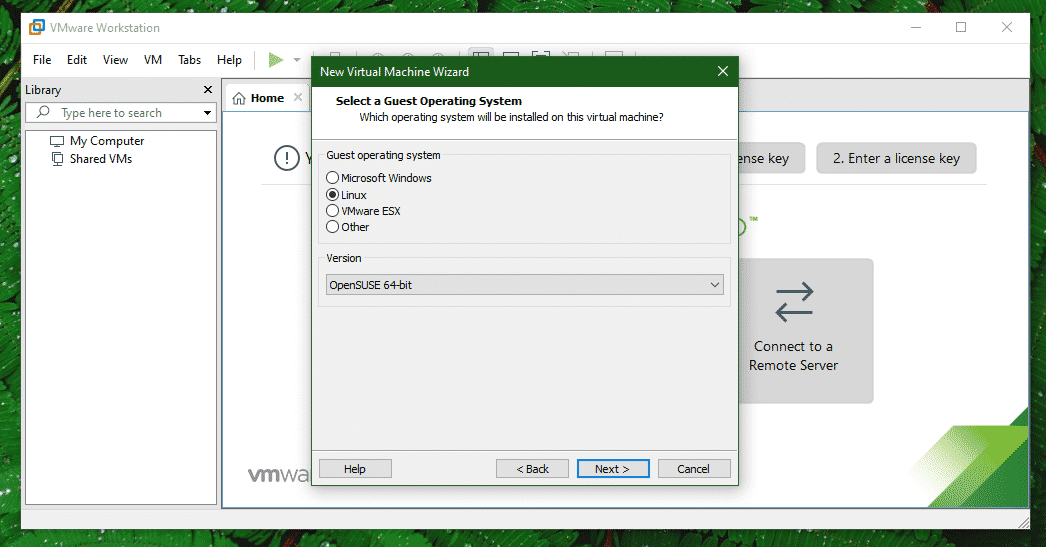
Choose the proper guest OS type and version.
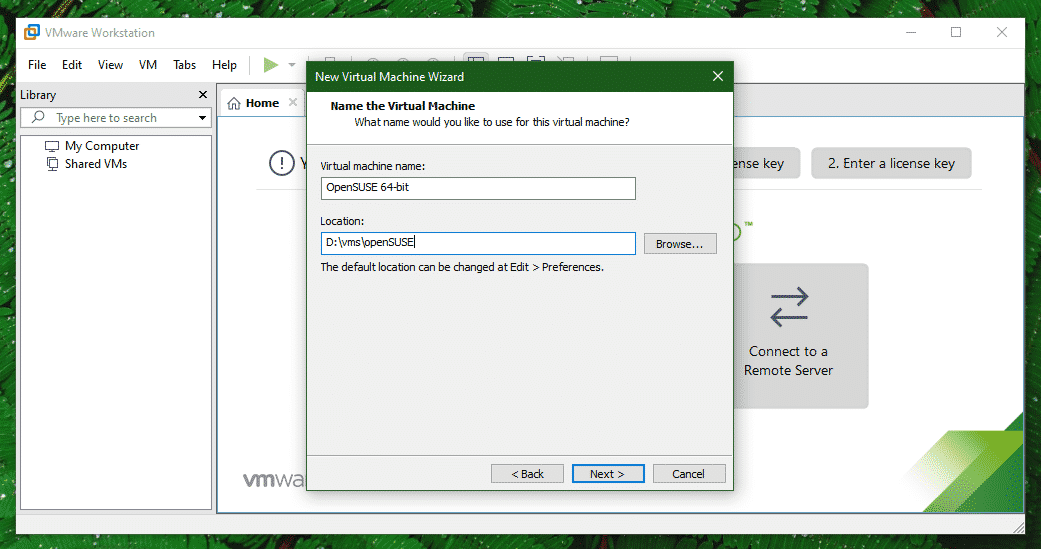
Give the VM a proper name and decide the location of the VM files to be stored.
Assign an appropriate number of processors and cores to the VM.

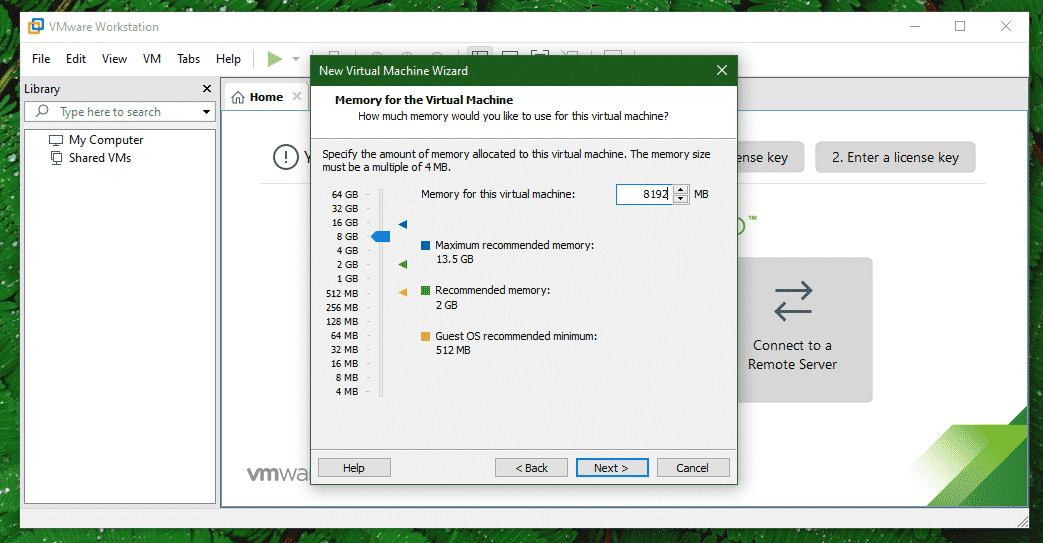
Assign a suitable amount of memory.
Choose the type of network you’d like to assign to the VM. If confused, use the default option (NAT).

Select the type of I/O controller. If confused, use the “Recommended” option.

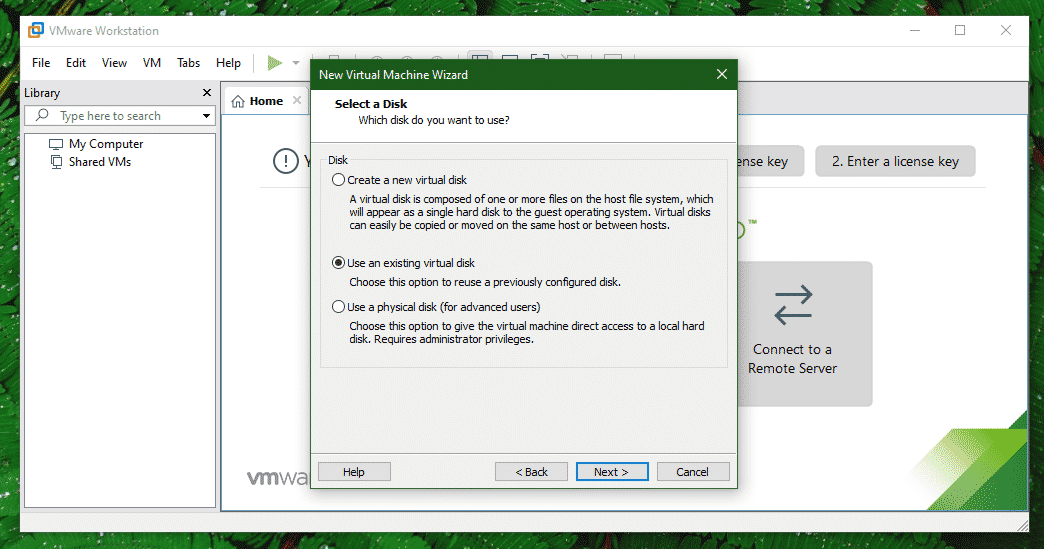
Choose the type of the disk for the VM.

At this point, select “Use an existing virtual disk”.
Browse for the openSUSE Leap JeOS VMDK image.
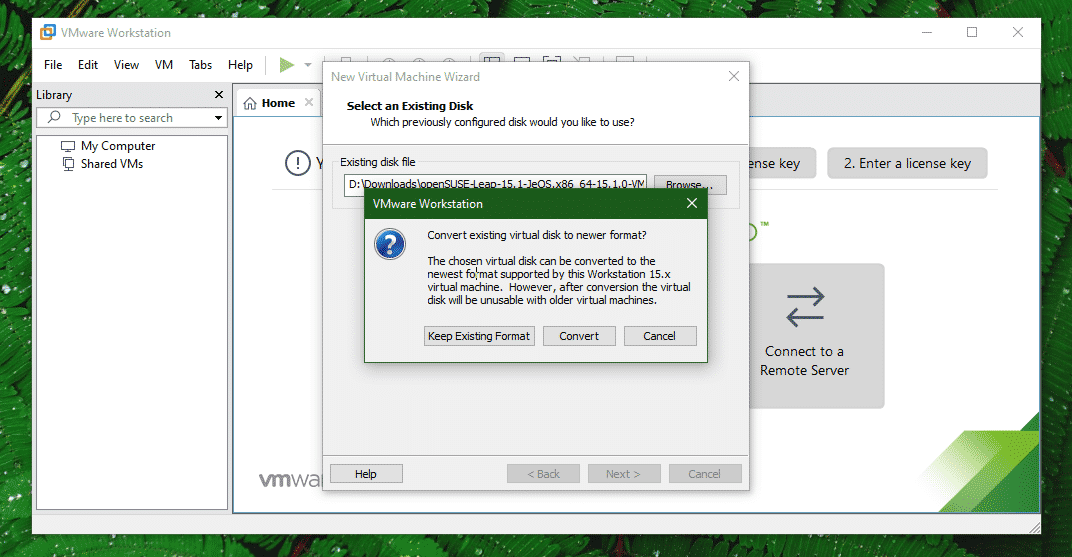
When prompted to convert, there’s no need to convert. However, if you wish to convert, the VMDK won’t be compatible with older VMs.
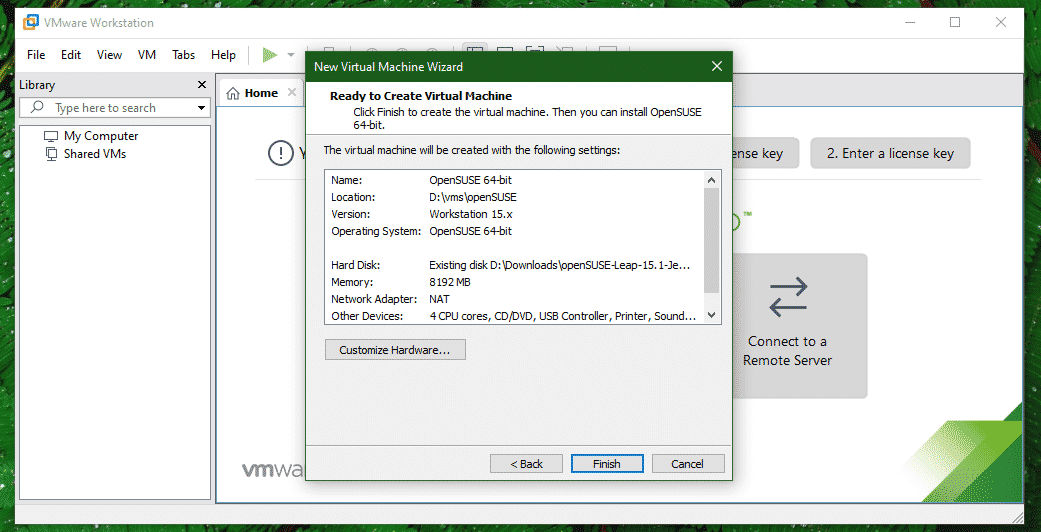
Click “Finish” to complete the VM creation.
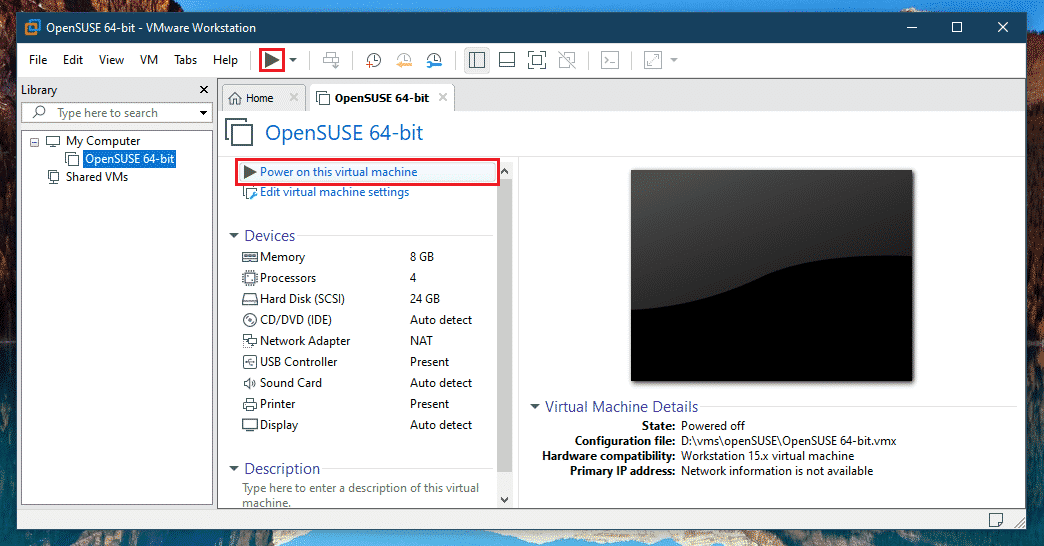
Voila! The VM is ready to go! Click “Power on this virtual machine” or the start icon from the top ribbon.
Select “openSUSE Leap 15.1 JeOS” from the menu and hit Enter.

The default locale is set to en_US.UTF-8. If you want to change it, you have to follow the on-screen instruction. Hit Enter.

Select the appropriate keyboard layout.

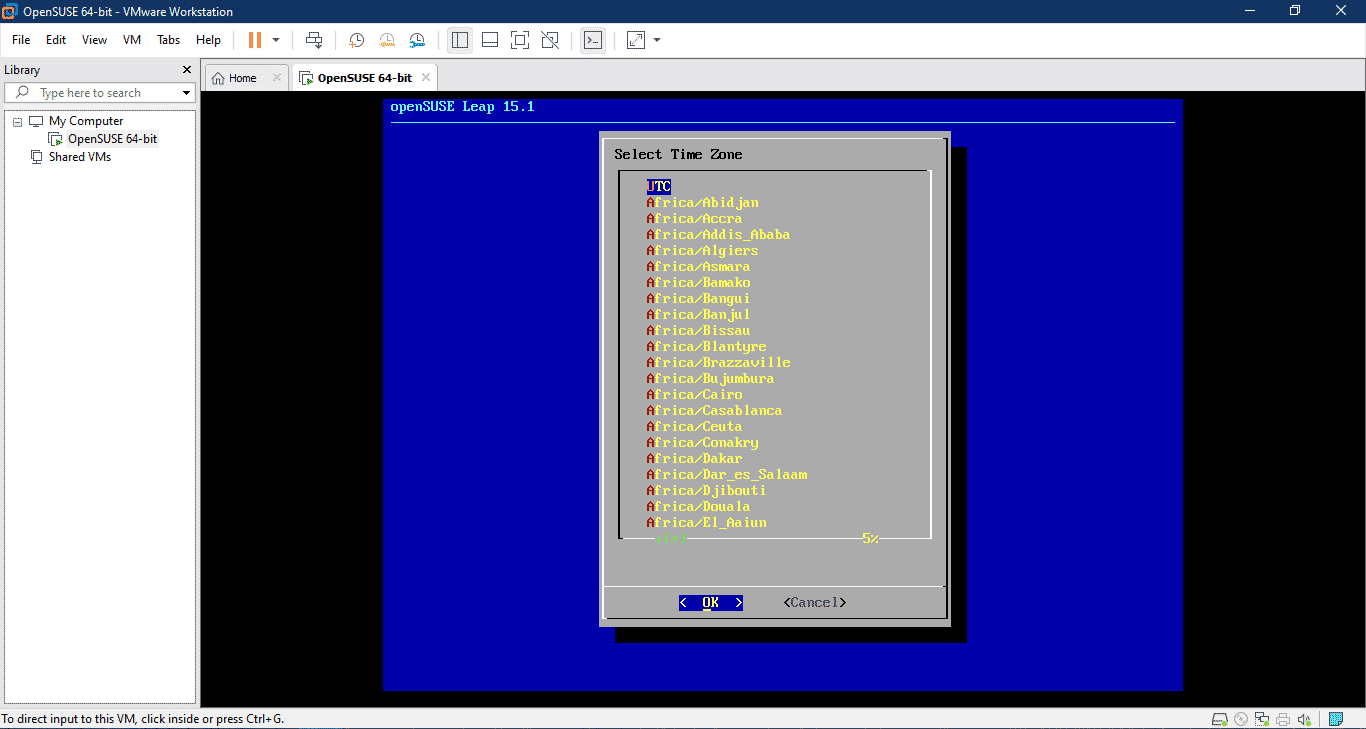
Select the time zone.
Enter a root password that’s difficult to break but easy to remember.

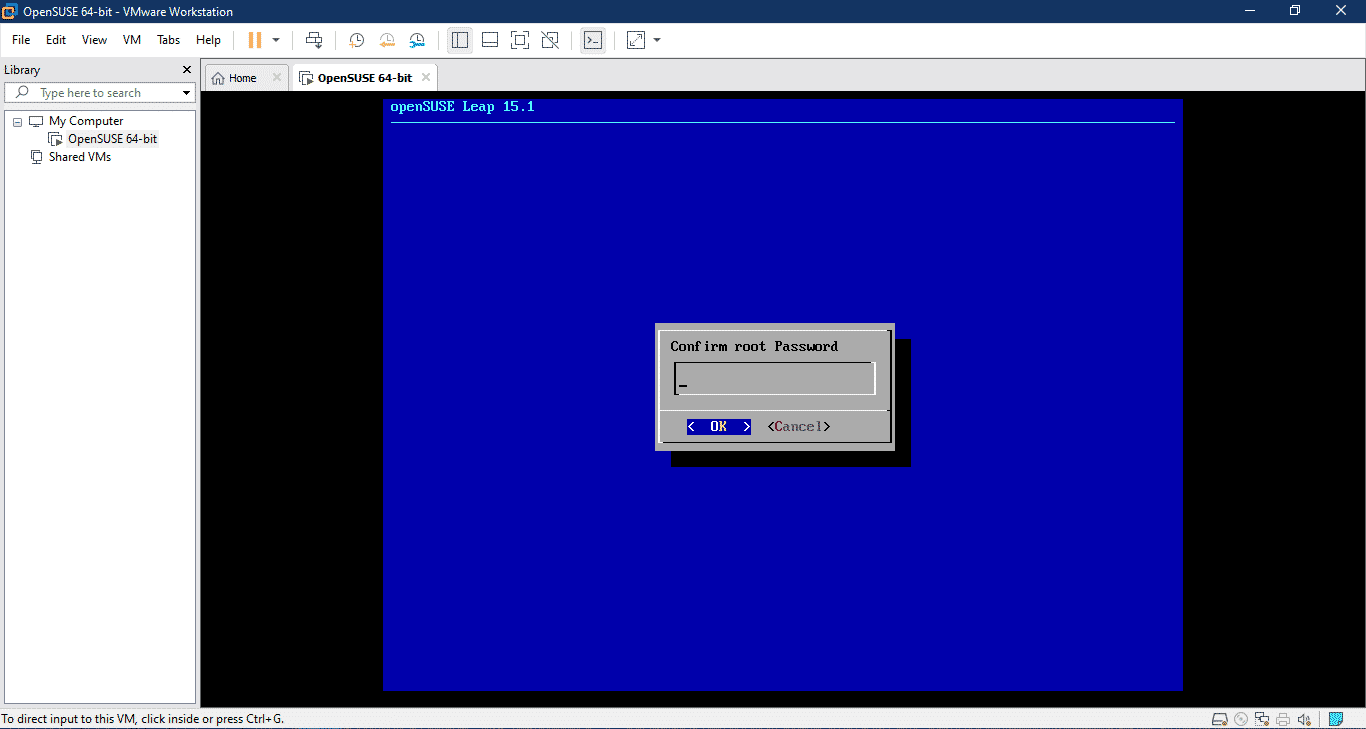
Re-enter the password to confirm.
It’s time to log into the root account.
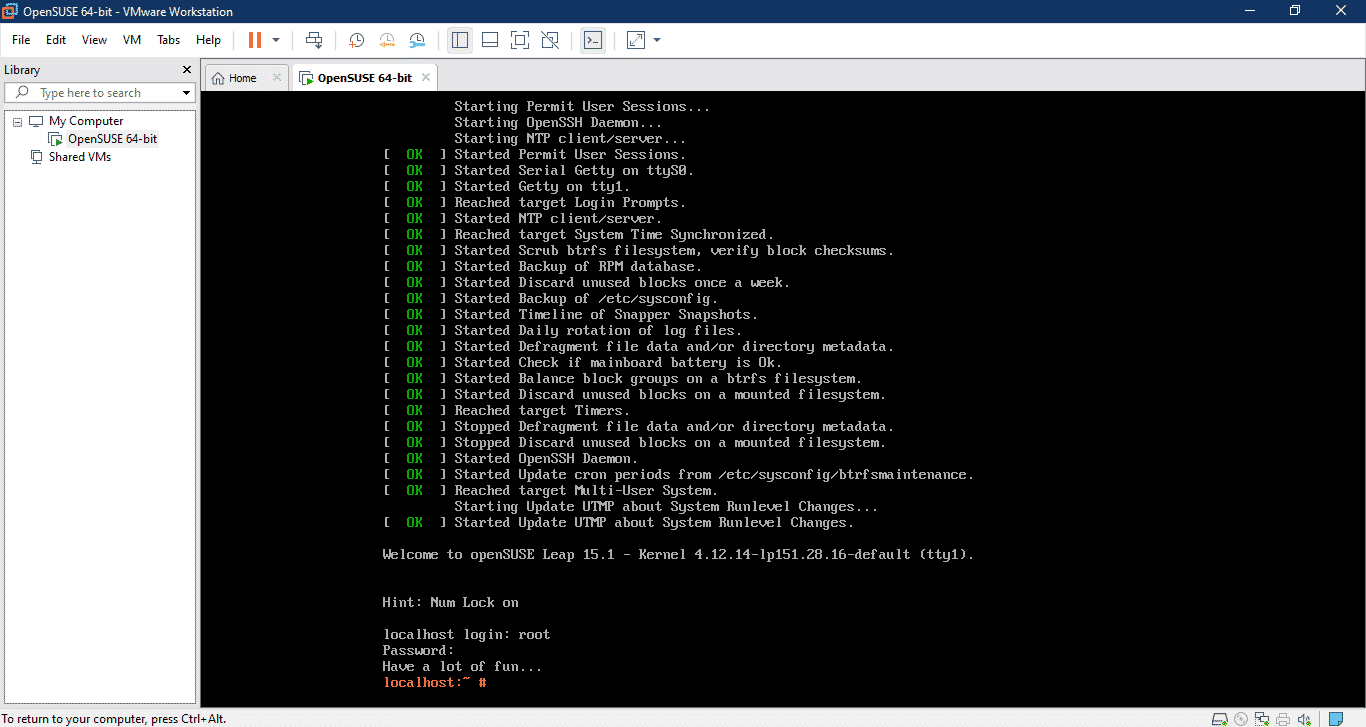
Voila! OpenSUSE JeOS is ready to be used!
Final thoughts
Once the installation is complete, just run the following command to make sure that everything is up-to-date.

OpenSUSE JeOS comes up with just the package manager (with the standard repos) and other basic components. To make it useful for a specific purpose, one needs to manually install the packages.
Whatever change made to the openSUSE JeOS is written down into the VMDK file. Thus, to create a custom image for mass deployment, all one needs to do is make the change once and distribute the modified copy.
Enjoy!