Installing Flatpak:
Dropbox is not available in the official package repository of CentOS 8. But, you can easily install Dropbox from Flathub using Flatpak.
Flatpak is available in the official package repository of CentOS 8.
You can install Flatpak on CentOS 8 with the following command:

Flatpak should be installed by default on CentOS 8. If not, DNF package manager should install Flatpak on your CentOS 8 machine.
In my case, it’s already installed.

Now, verify whether Flatpak is working correctly with the following command:
The command above should print the Flatpak version number, which is 1.0.6 at the time of this writing as you can see in the screenshot below. So, Flatpak is working correctly.

Now, add Flathub Flatpak package repository with the following command:
https://flathub.org/repo/flathub.flatpakrepo

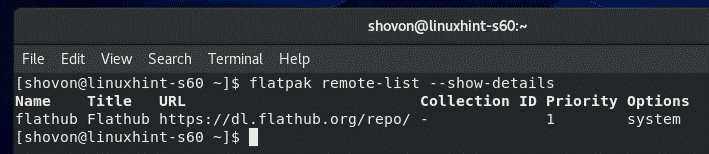
Once the Flathub package repository is added, run the following command to list all the Flatpak repository configured on your CentOS 8 machine.
The Flathub package repository that you’ve added should be in the list as shown in the screenshot below.
Installing Dropbox:
Now, search for Dropbox Flatpak package with the following command:

Dropbox client package should be listed. So, Dropbox client can be installed with Flatpak.

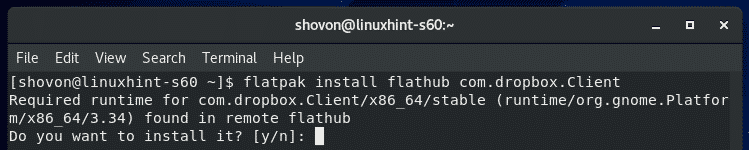
Now, install Dropbox Flatpak package with the following command:

Now, press Y and then press <Enter> to confirm the installation.
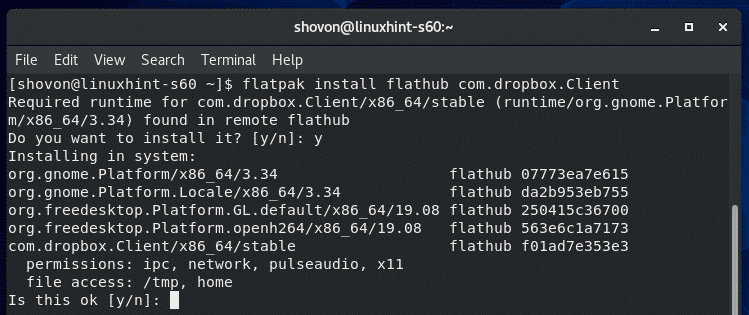
Now, press Y and then press <Enter> to give Flatpak the required permissions.
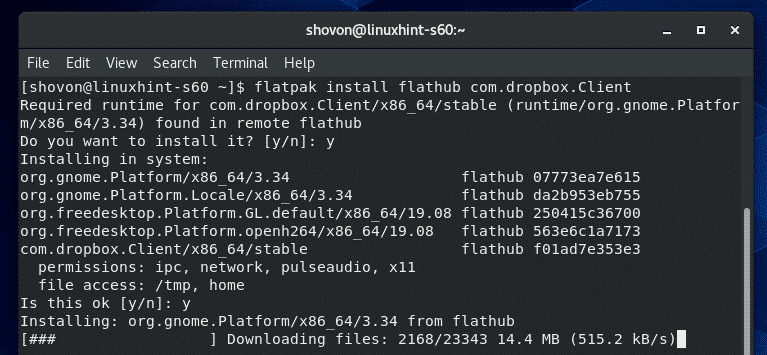
Flatpak should download all the required files from Flathub. It may take a while to complete.
At this point, Dropbox should be installed.

Configuring Dropbox:
Once Dropbox client is installed, you can start Dropbox from the Application Menu of CentOS 8.

Once you start Dropbox app for the first time, it will open the login page of Dropbox in a web browser.
If you already have a Dropbox account, type in your email and password and click on Sign in to login to your Dropbox account from here.
If you don’t have a Dropbox account, click on create an account and create a new Dropbox account. It’s free.

Once you login to your Dropbox account, click on Continue to Dropbox.

Your web browser should take you to your Dropbox account. Now, you can close the browser if you want.
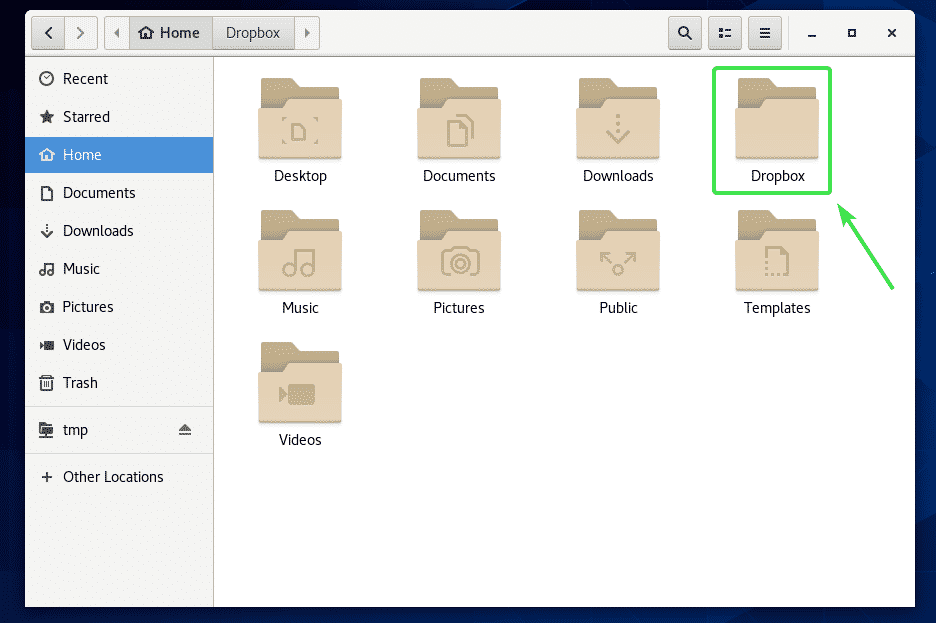
A new directory ~/Dropbox should be created in your HOME directory. This is the directory which will be synced to your Dropbox account.
As you can see, all my Dropbox files are in the ~/Dropbox directory.
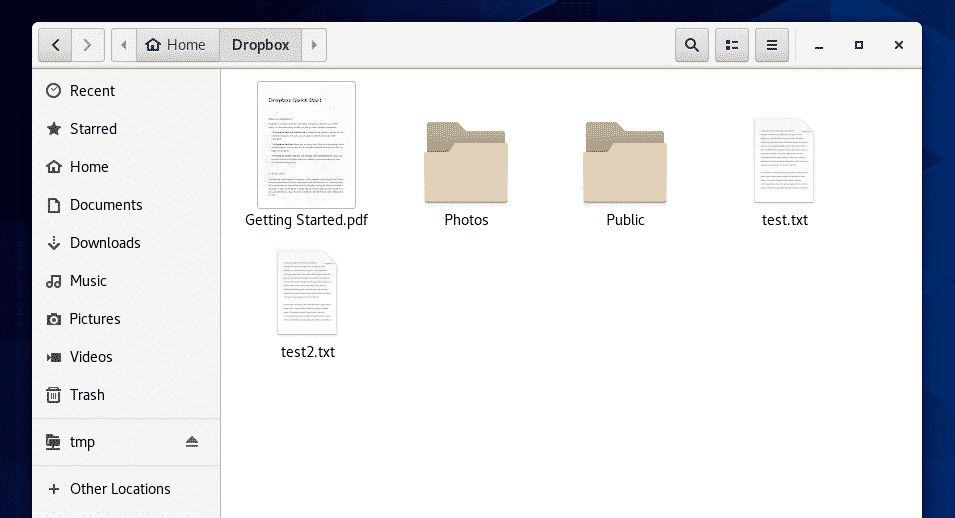
You can cut/copy files to this directory, remove files from this directory etc. Basically, you use this directory as you do any other directories. All the changes to this directory will be synced to your Dropbox account.
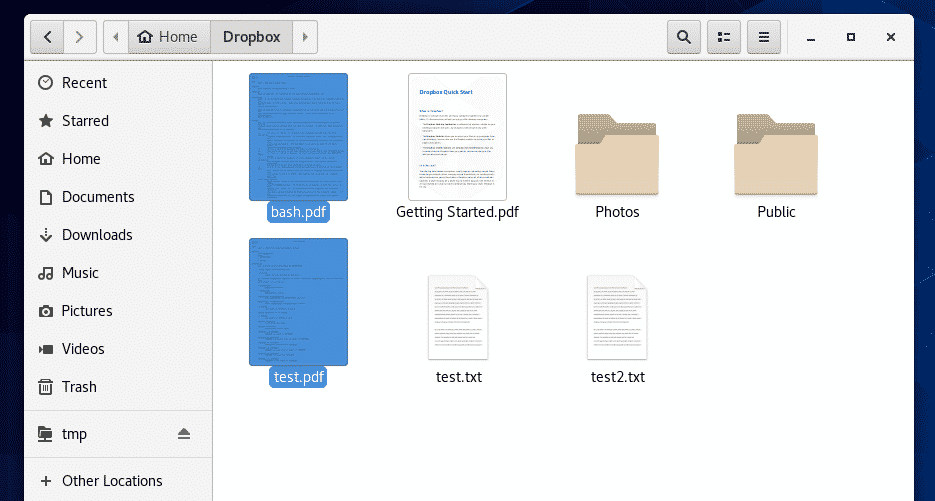
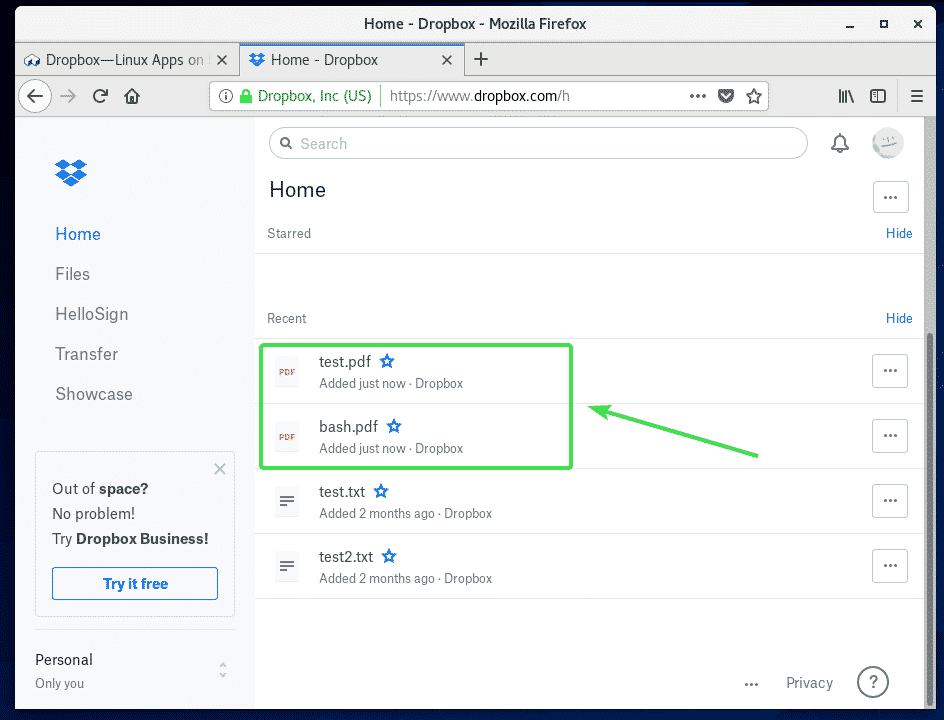
For the demonstration, I copied 2 new PDF files in my ~/Dropbox directory.
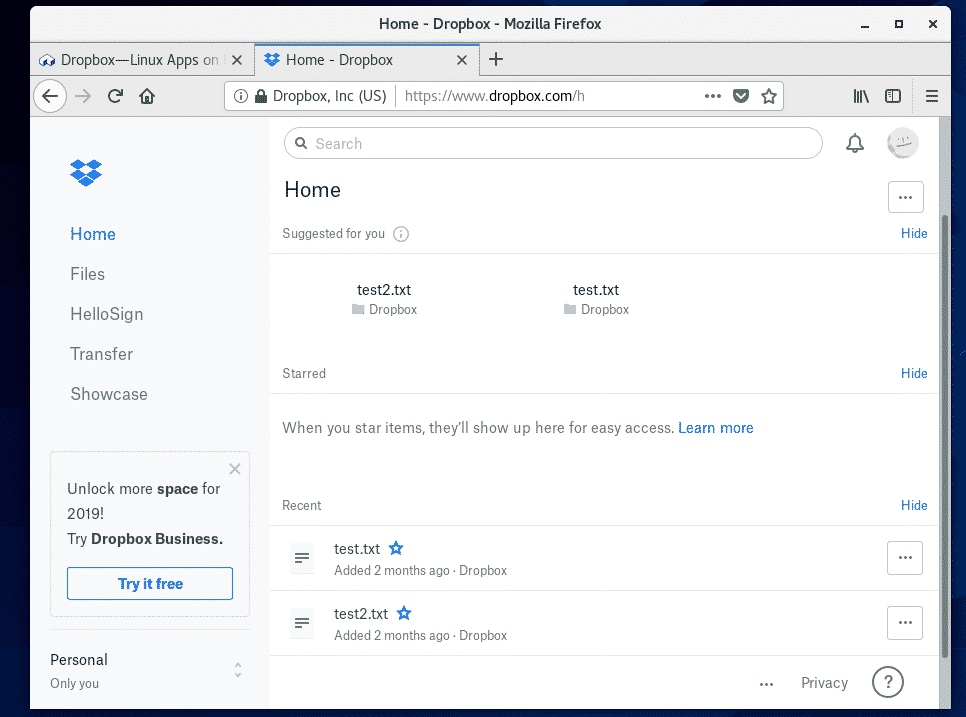
As you can see, I can also access these files from my Dropbox web app.
Changing Dropbox Account:
If you want to logout of your Dropbox account or use another Dropbox account, all you have to do is to delete the ~/Dropbox and ~/.dropbox directories from your HOME directory and restart your computer.
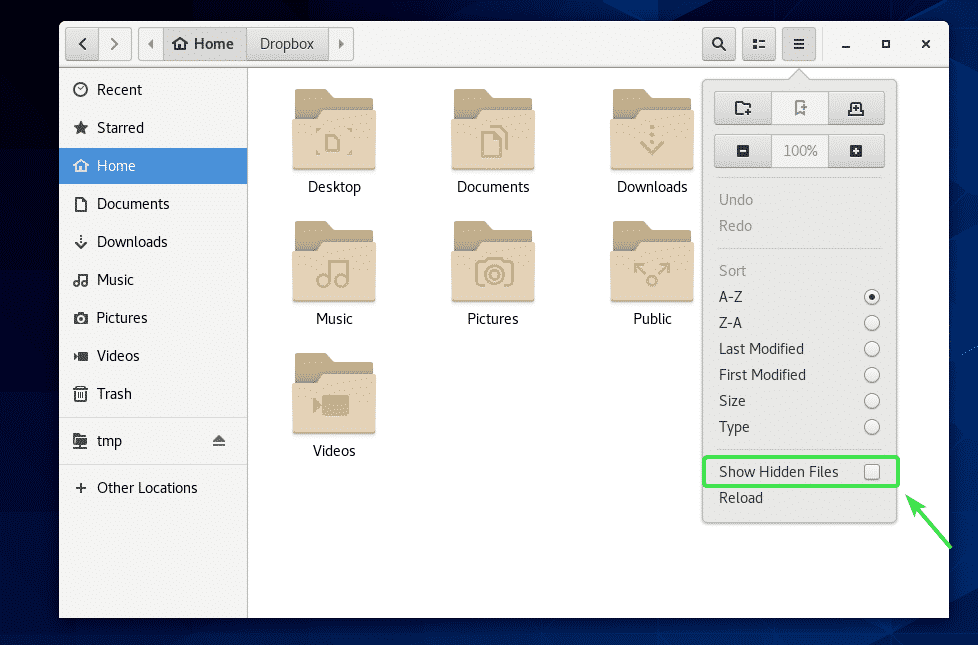
First, open Nautilus file manager and check Show Hidden Files from the hamburger menu as shown in the screenshot below.
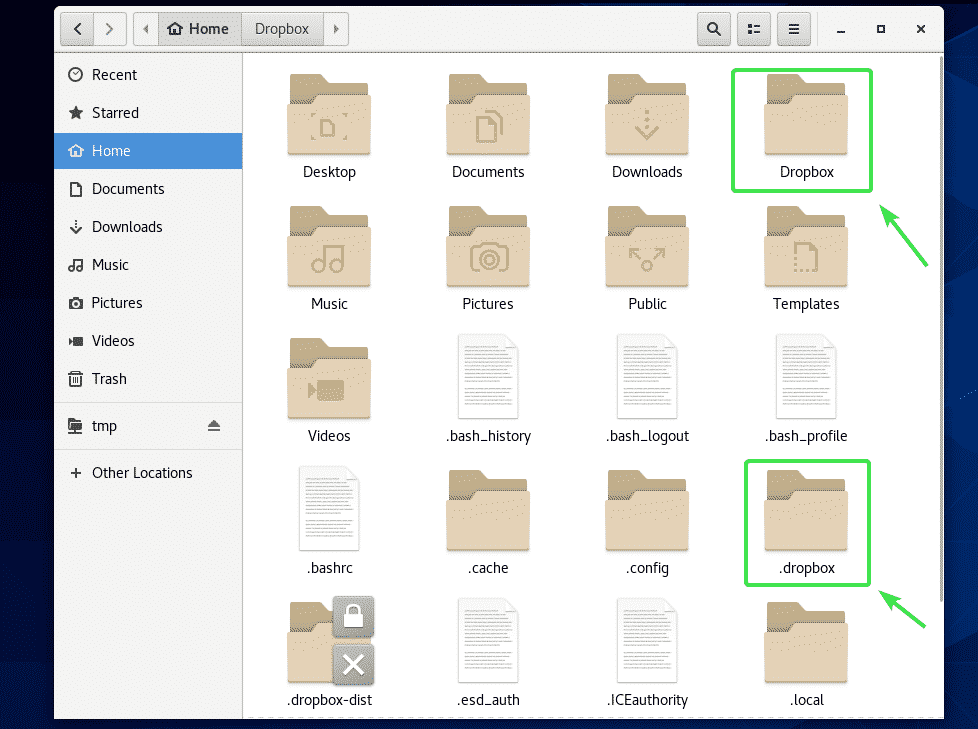
Now, remove ~/Dropbox and ~/.dropbox directories as marked in the screenshot below.
You can just press <Ctrl> and click (LMB) to select these directories at the same time. Then, press <Shift> + <Delete> to permanently remove them from your computer.
Once you remove the ~/Dropbox and ~/.dropbox directories from your computer, restart your computer with the following command:

Once your computer boots, start the Dropbox app from the Application Menu of CentOS 8.

It should open up a web browser and show you the Dropbox login page as it did the first time. Now, you can login to Dropbox using a different user account.

So, that’s how you install Dropbox on CentOS 8. Thanks for reading this article.