Installing Python 3:
You don’t need to do anything in order to install Python 3 on CentOS 8 as it is installed by default.
You can check what version of Python 3 programming language interpreter is installed with the following command:

As you can see, at the time of this writing, Python 3.6.8 is the default Python 3 programming language interpreter on CentOS 8.

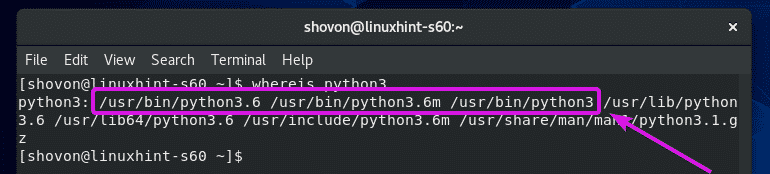
You can find the path of your Python 3 interpreter with the following command:

As you can see, you can access Python 3 as either python3 (/usr/bin/python3), or python3.6m (/usr/bin/python3.6m), or python3.6 (/usr/bin/python3.6) command.
You can also access Python 3 interpreter in path /bin/python3, /bin/python3.7 and /bin/python3.7m
The Python 3 interpreter paths are useful when you write Python 3 scripts. I will talk about that later in this article.
If for some reason, you don’t have Python 3 installed (very unlikely), you can install it with the following command:

Installing Python 2:
On CentOS 8, Python 2 is not installed by default. But, you can easily install it from the official package repository of CentOS 8.
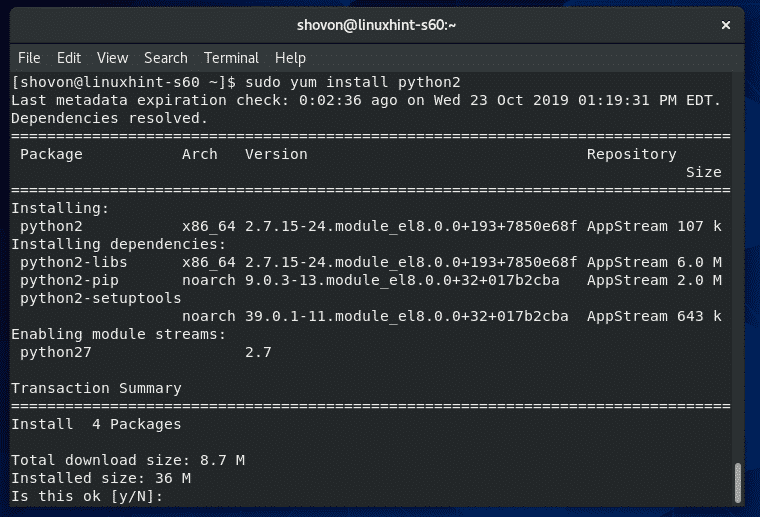
To install Python 2 on CentOS 8, run the following command:

Now, press Y and then press <Enter> to confirm the installation.
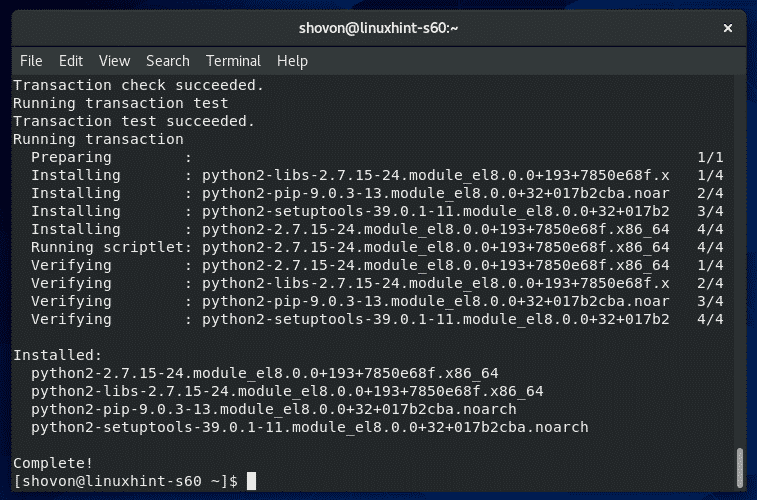
Python 2 should be installed.
Now, run the following command to confirm that Python 2 is installed correctly.

As you can see, Python 2.7.15 is installed and working correctly.

You can also find the path of the Python 2 programming language interpreter with the following command:

As you can see, the path of the Python 2 interpreter is /usr/bin/python2 and /usr/bin/python2.7
You can also access Python 2 interpreter in path /bin/python2 and /bin/python2.7
The Python 2 interpreter paths are useful when you write Python 2 scripts. I will talk about that later in this article.

Writing Your First Python Script:
Before you start writing a Python script, you must decide what version (2 or 3) of Python programming language you are going to use.
These days, most likely you will want to start your program in the latest version of Python, which is Python 3. Unless you have some specific purpose, you will not use Python 2.
I have created a python script hello.py in the ~/codes directory.
The first line of your Python script should have a shebang! line. This line defines what interpreter to use for running the Python script.
The shebang line starts with #! followed by the path of the Python programming language interpreter.
For Python 3, the shebang line can be either one of the followings:
#!/usr/bin/python3
#!/bin/python3.6
#!/usr/bin/python3.6
#!/bin/python3.6m
#!/usr/bin/python3.6m
For Python 2, the shebang line can be either one of the followings:
#!/usr/bin/python2
#!/bin/python2.7
#!/usr/bin/python2.7
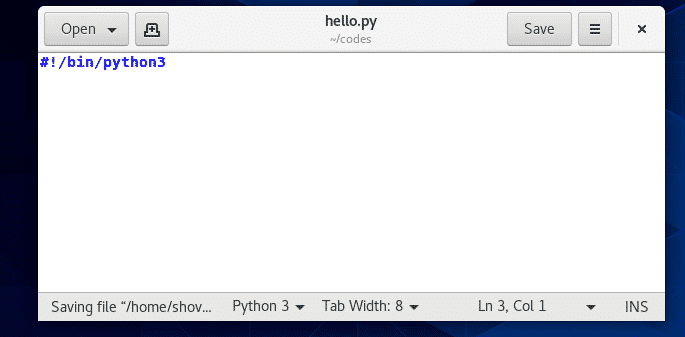
Here is how a shebang line actually looks like in our hello.py script.
You can also use the env command in the shebang line to start the Python programming language interpreter. If you use the env command, then you don’t have to memorize/find out the Python programming language interpreter paths.
The env command is in the path /bin/env and /usr/bin/env, this is all you need to know. I prefer the env style shebang lines.
For Python 3, the shebang line if env is used can be either one of the followings:
#!/usr/bin/env python3
#!/bin/env python3.6
#!/usr/bin/env python3.6
#!/bin/env python3.6m
#!/usr/bin/env python3.6m
For Python 2, the shebang line if env is used can be either one of the followings:
#!/usr/bin/env python2
#!/bin/env python2.7
#!/usr/bin/env python2.7
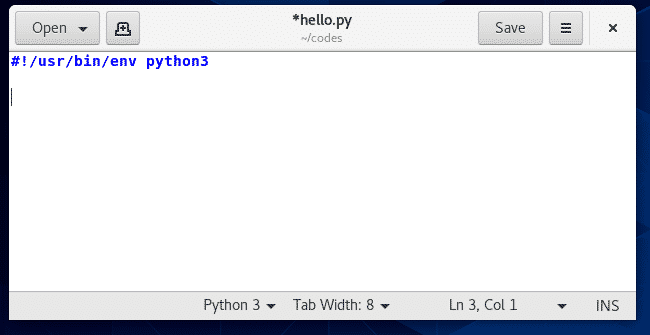
Here is how a shebang line actually looks like in our hello.py script if env command is used.
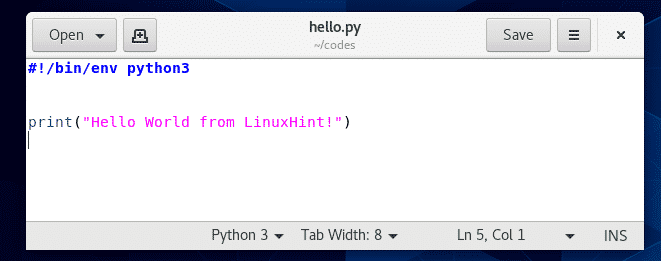
I wrote a hello world Python 3 script hello.py. Let’s run this Python script.
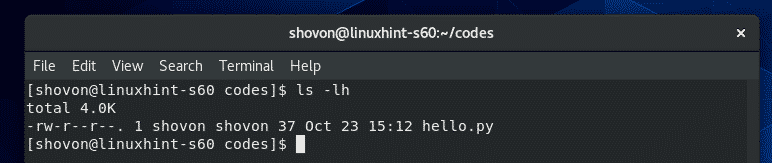
First, navigate to the ~/codes directory as follows:

As you can see, hello.py Python script is there.
Now, add executable permission to the Python script hello.py as follows:

Now, you can run the Python script as follows:

As you can see, the correct output is printed on the terminal.

So, that’s how you install Python 2/3 programming language on CentOS 8 and write your first Python 2/3 script. Thanks for reading this article.