This tutorial shows the installation process through the .deb package available at VirtualBox official website omitting the process related to apt or aptitude package managers though keeping it to fix dependencies.
How to Install VirtualBox 6 on Debian 10
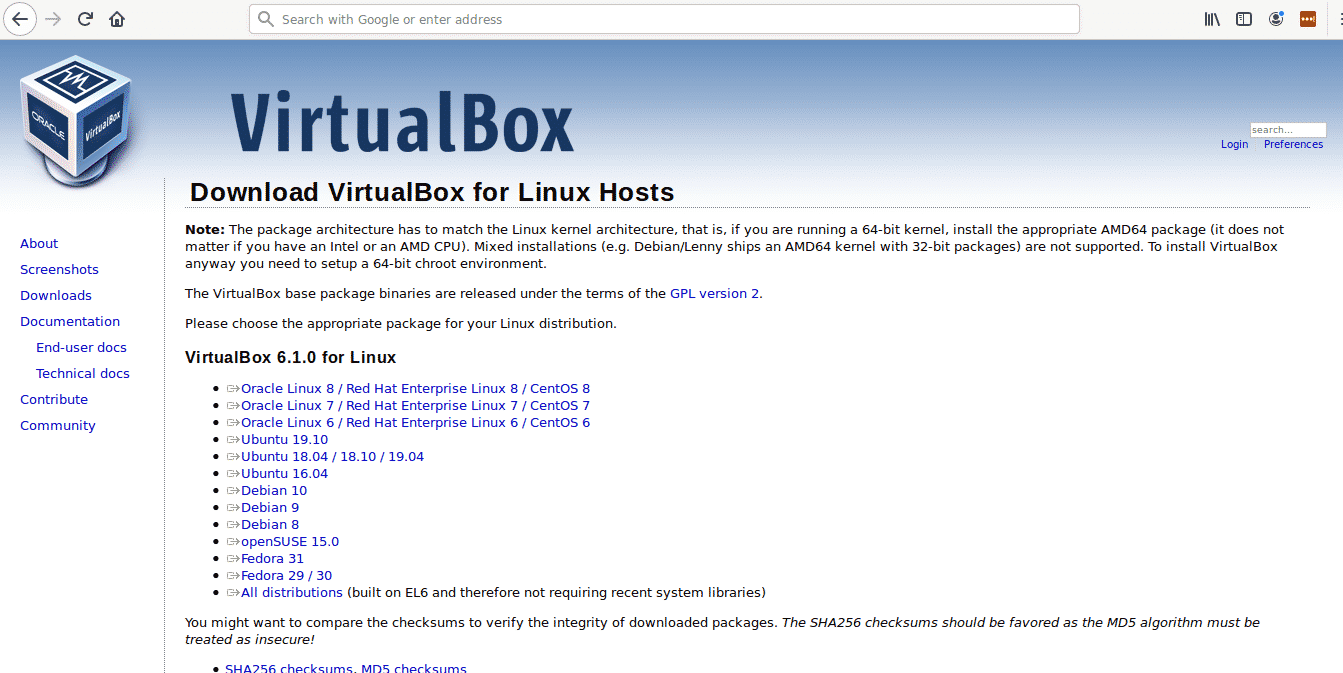
To begin downloading VirtualBox from the official website select it from https://www.virtualbox.org/wiki/Linux_Downloads.
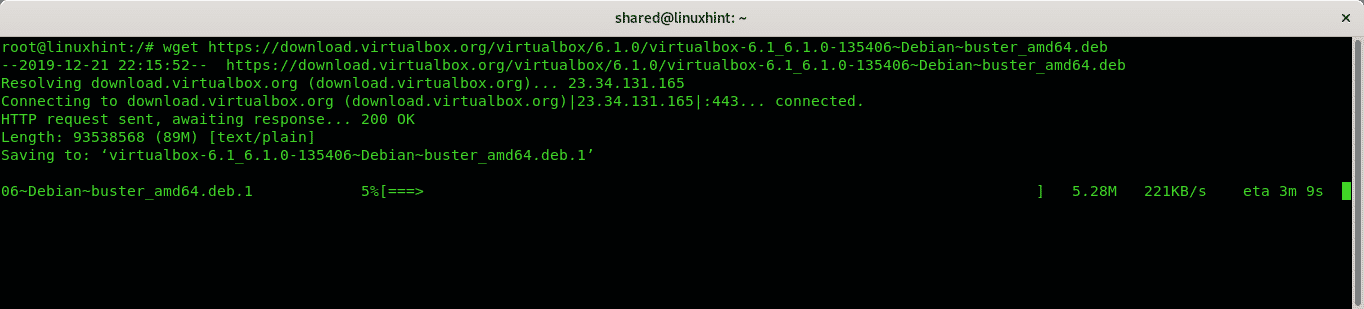
You can also download it through console using the command wget:
–135406~Debian~buster_amd64.deb
Install it using the dpkg command:
In my case I run:
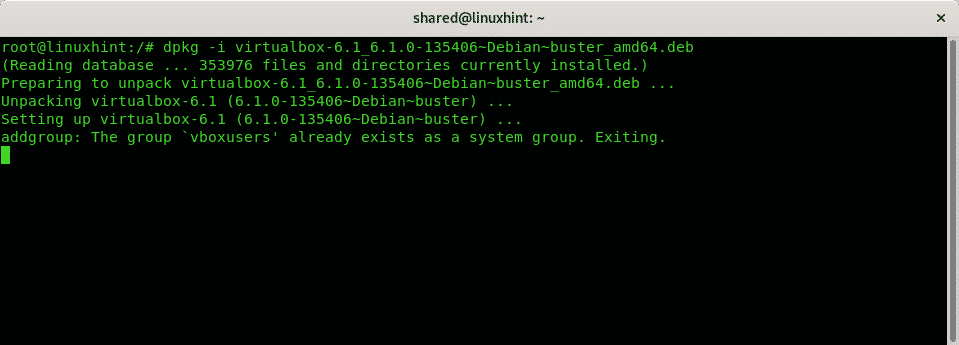
Note: for more information on dpkg command you can read All about the debian package managers: dpkg, apt and aptitude explained.
At some point the installer may stop returning a dependency error, if that’s your case and your installation doesn’t finish successfully run:
# apt install -f
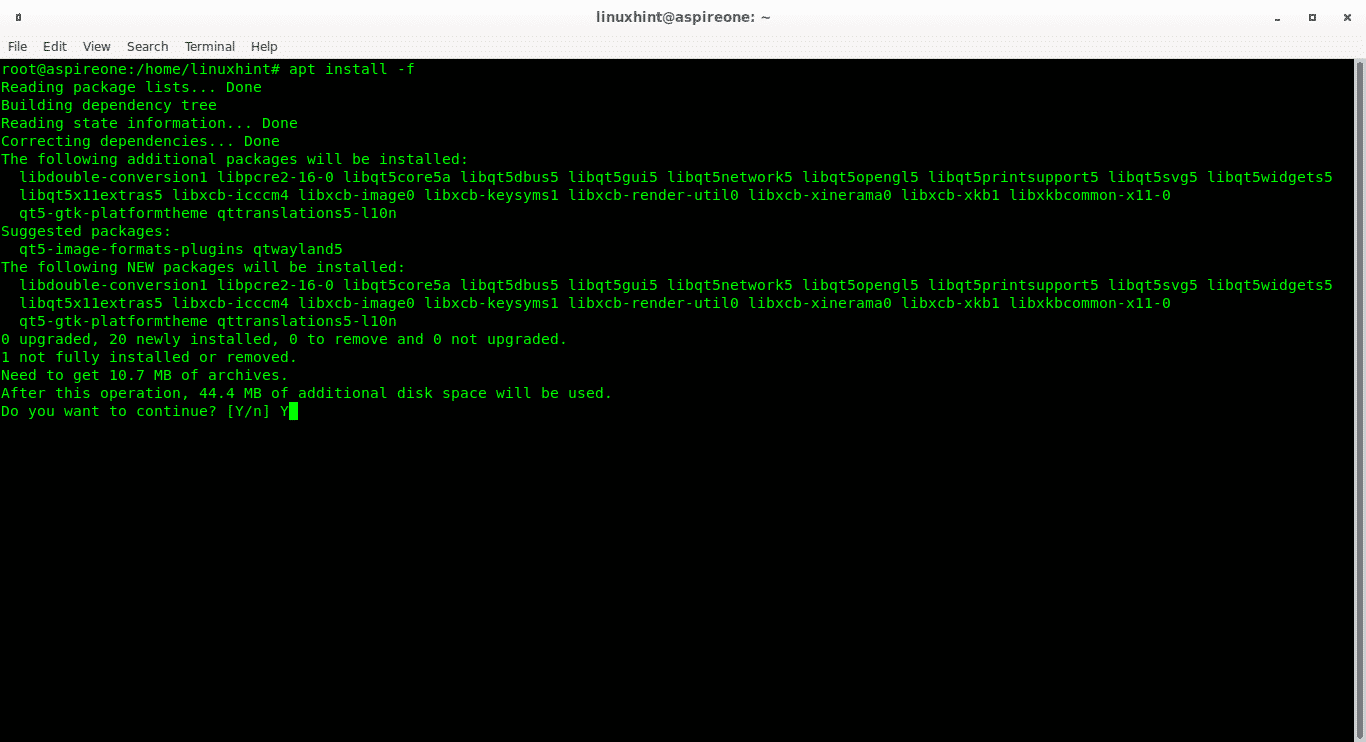
The step above should troubleshoot some possible dependency problems.
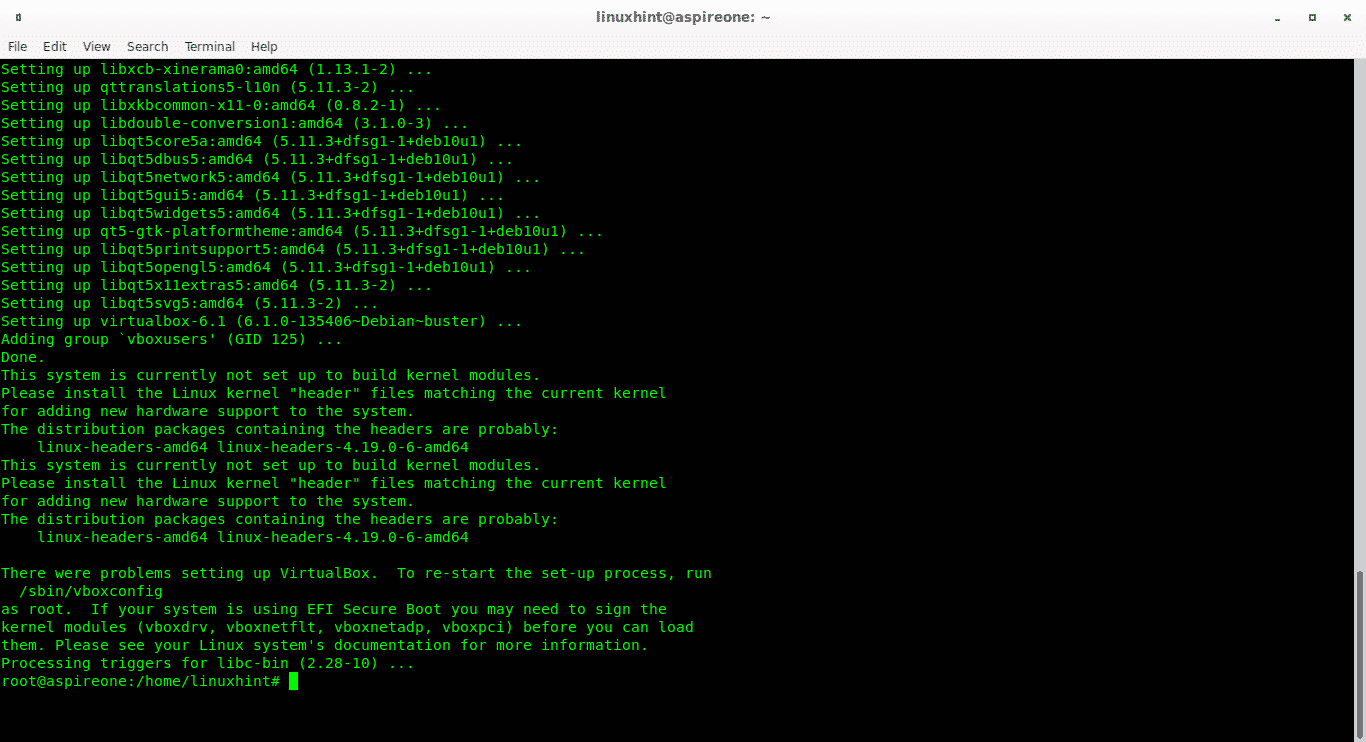
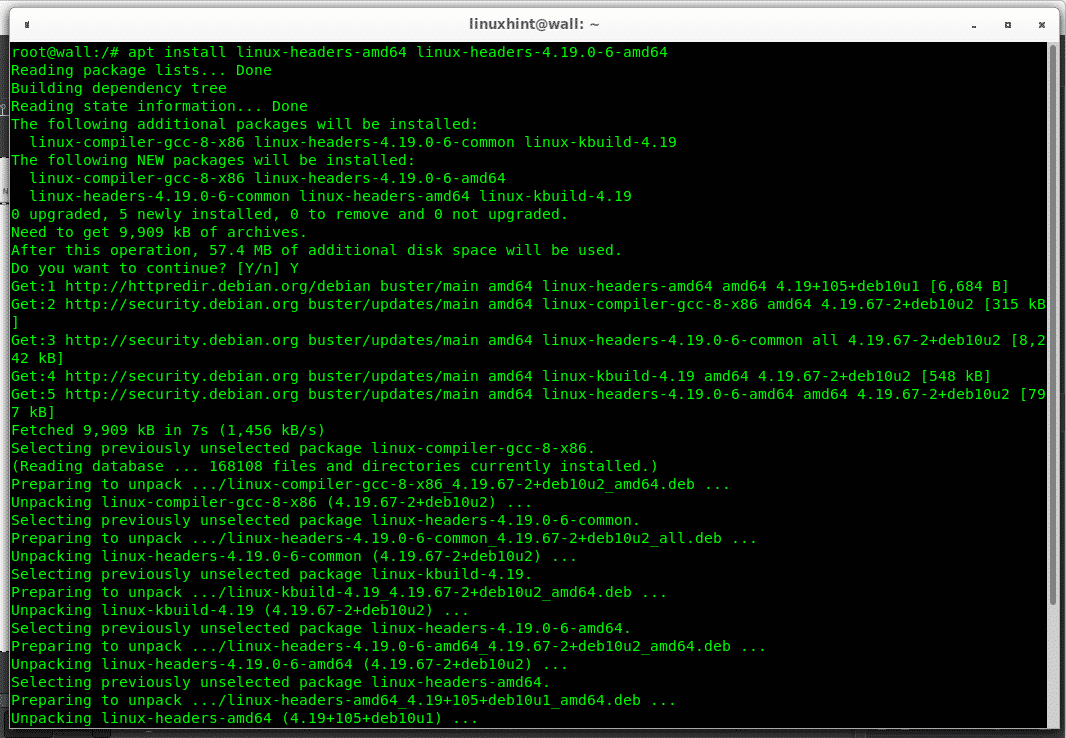
Now install the kernel headers by running:
Build VirtualBox kernel modules by running:

Then launch Virtualbox as non root user
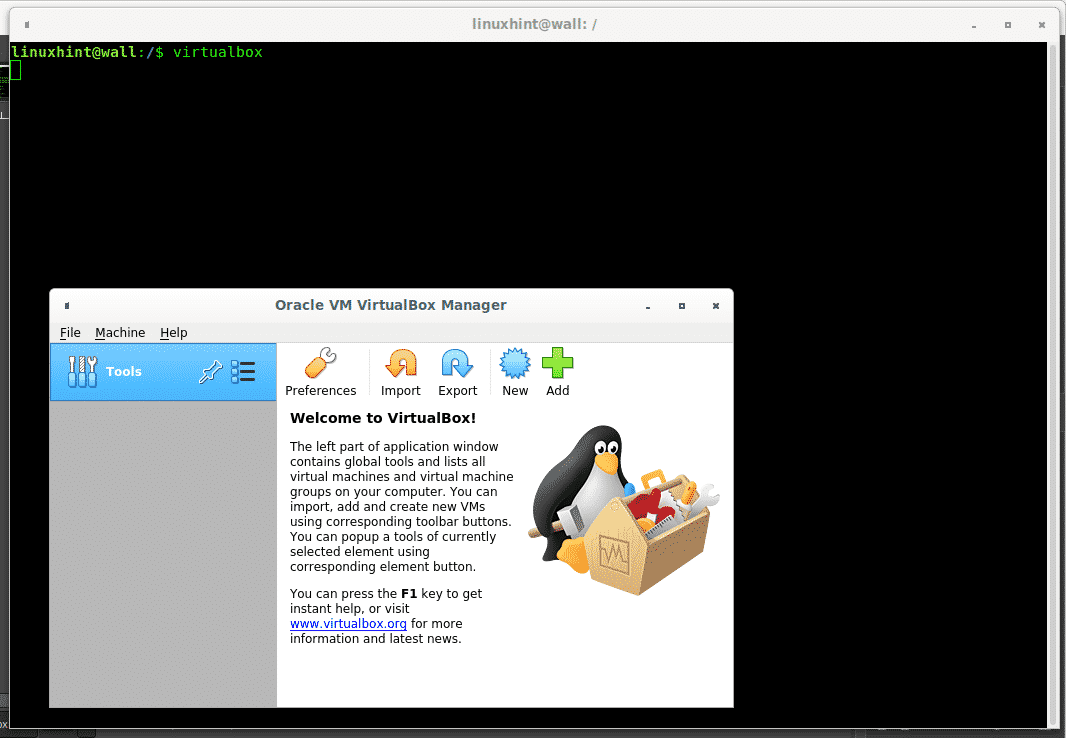
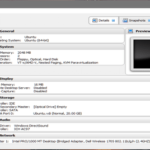
The image above shows VirtualBox’s main window without defined virtual devices.
Creating a Windows XP Virtual PC under Debian 10 Buster
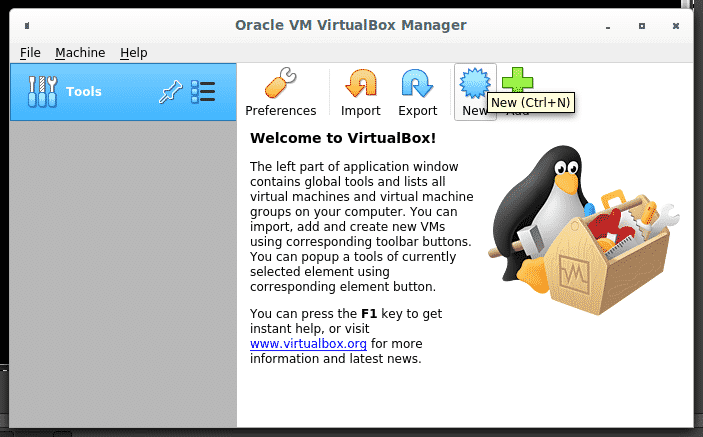
To get started setting up a virtual OS from its ISO image click on the icon “NEW”, the following example shows a Windows XP installation from an ISO installable image, if you prefer to install a Linux distribution you can read Installing Debian 10 on VirtualBox.

Choose your virtual computer name and press on Next.
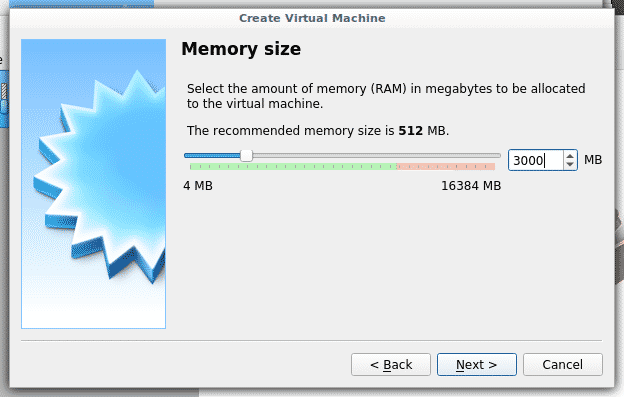
Select the ram memory amount you can to assign your virtual device and press on Next.
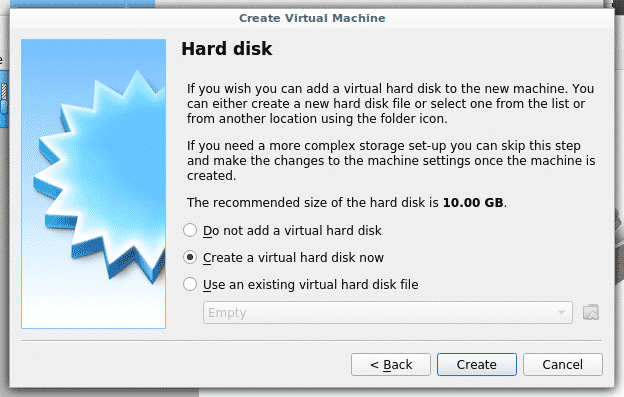
Press Create leaving the default option to continue.
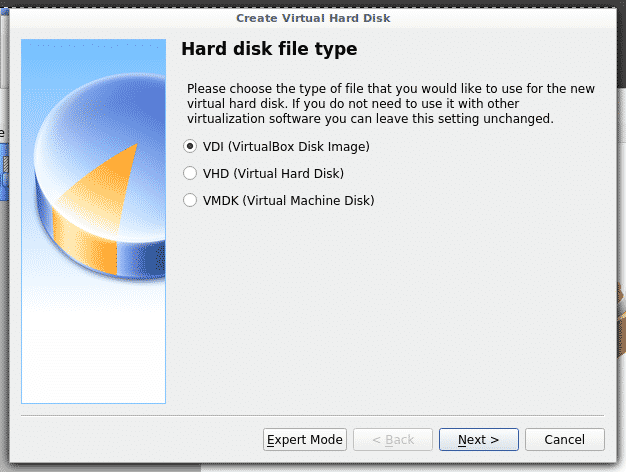
Leave the default VDI option and press Next.
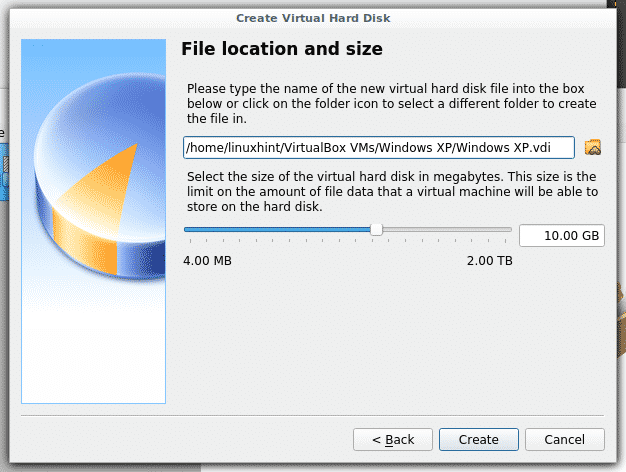
The last step allows us to define the space allocation, press on Create to end the process and start the OS installation.
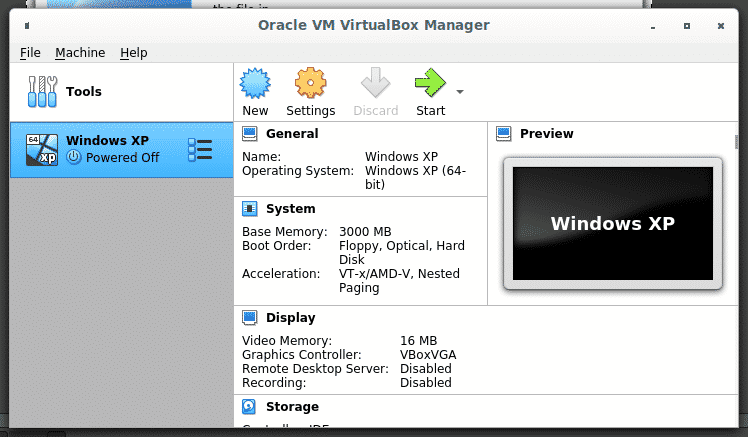
Once the process is finished, VirtualBox will show the new virtual device on the left menu.
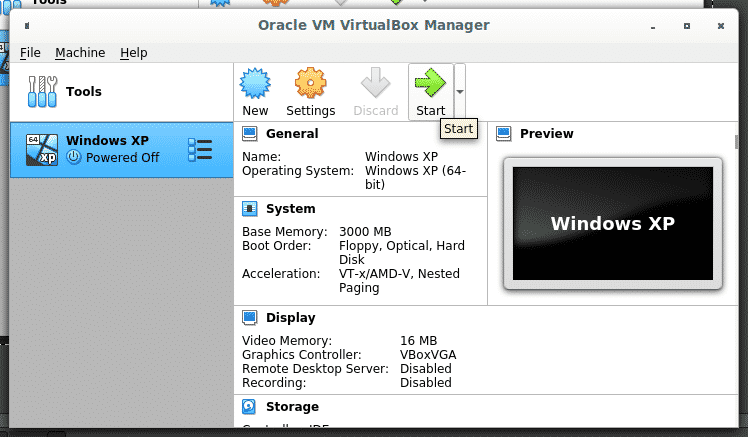
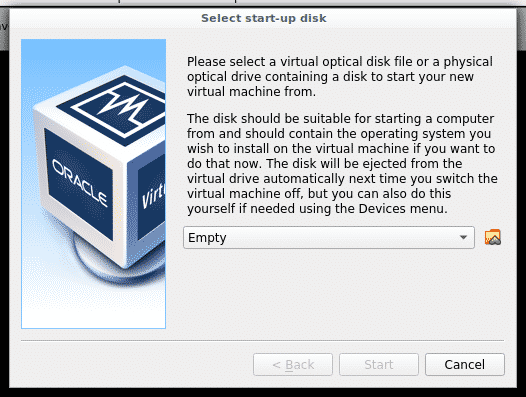
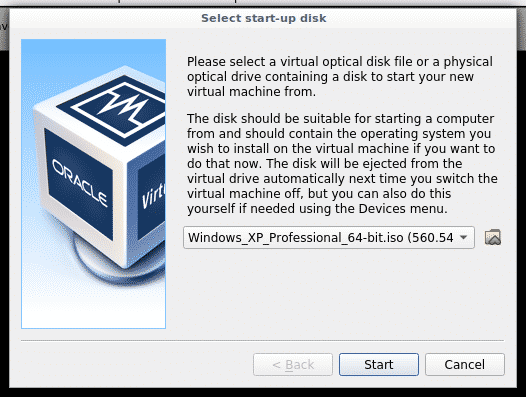
To start installing the OS click on START.
In the next screen select the folder icon to browse searching your OS ISO image.
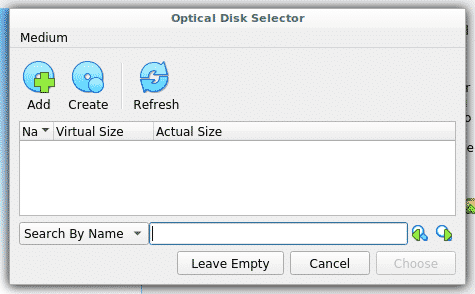
A new window will prompt in which you need to press on the “Add” icon with a + symbol to select the ISO image.
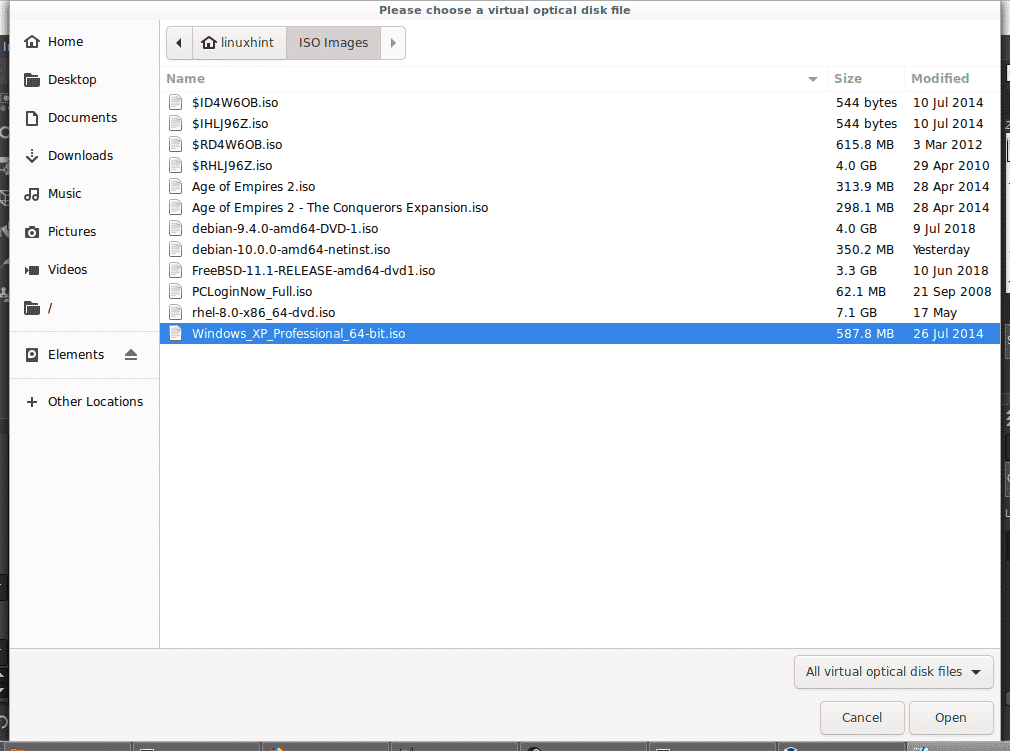
Select your ISO location and file and press Open to continue.
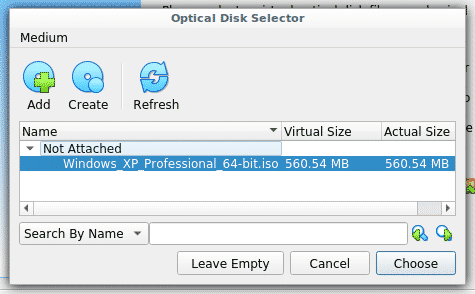
Press on Choose to confirm and continue the process.
Then press on START to run the Windows installator.
The installator will start requesting you to press ENTER and F8 to begin the process.
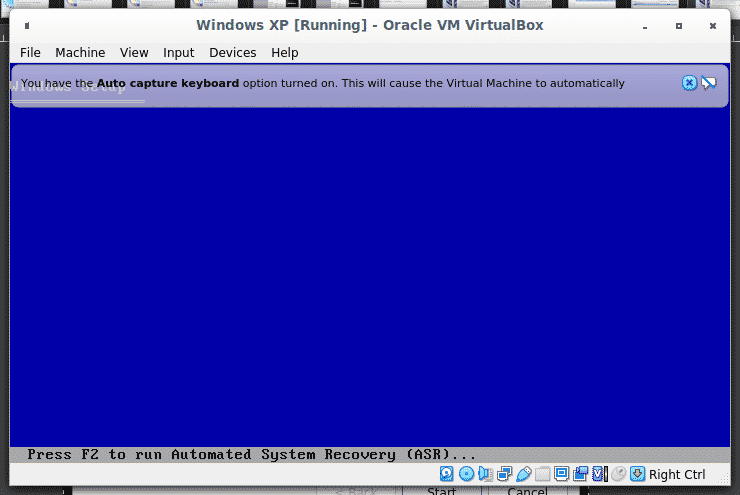
Note: during the process the mouse pointer may be captured by the virtual pc, you can press your right CTRL to release your mouse.
Give the total amount of available space and format it as NTFS (Quick).
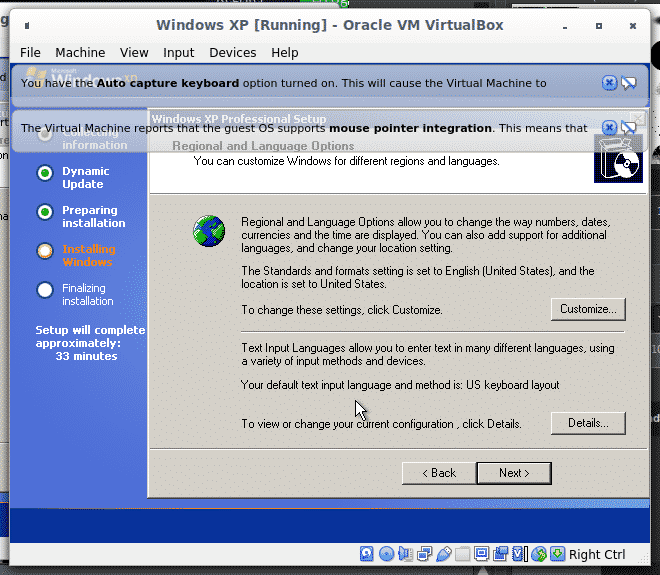
The first GUI screen will ask for location and language settings, after chosen press on Next.
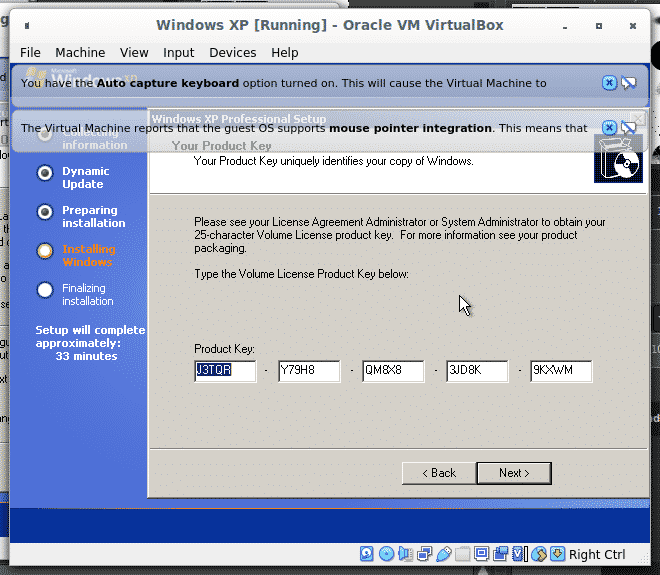
Then fill the Windows CD key serial.
Set the virtual computer name and press on Continue.
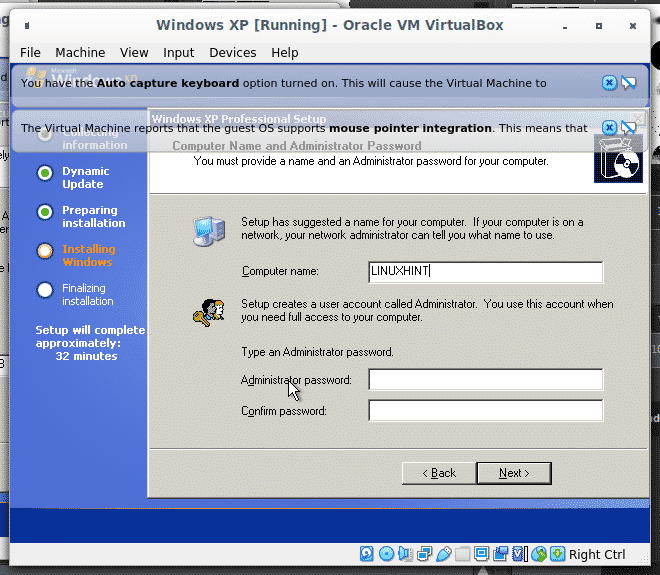
Optionally you can set an Administrator password, contrary to Linux Windows formerly didn’t require a password as mandatory, and even if defined it could be avoided by pressing “cancel”.
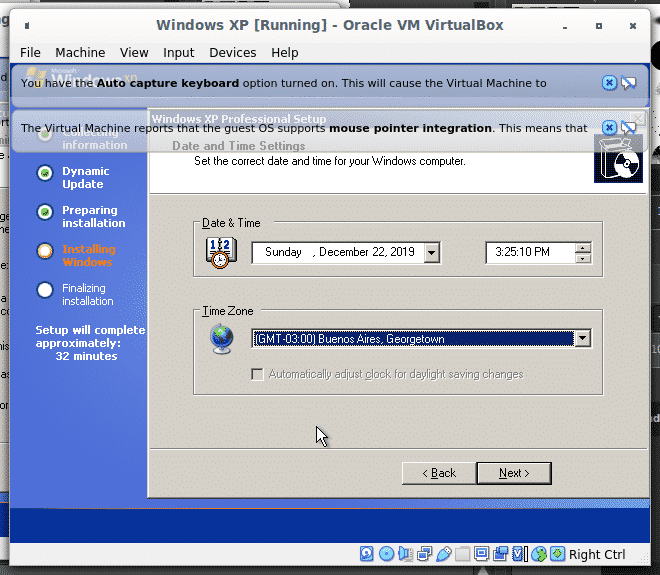
On the next screen you need to select your time and location settings:
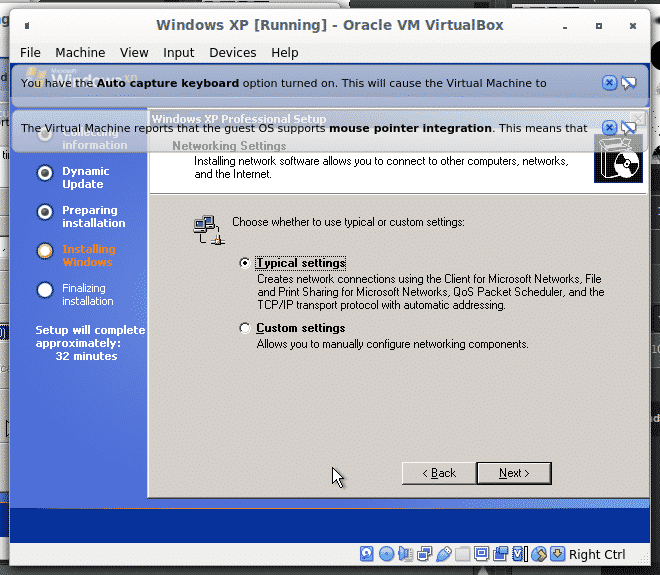
In the following screen leave “Typical settings” and press Next to continue.
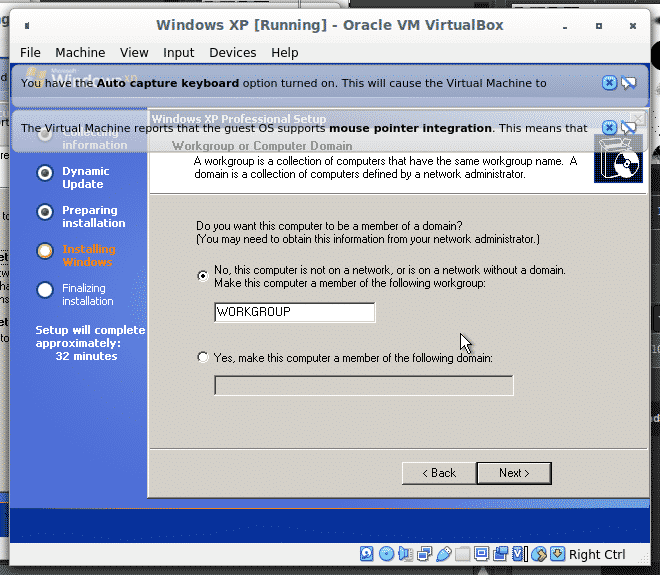
The next step will ask for the Workgroup name, press Next to continue.
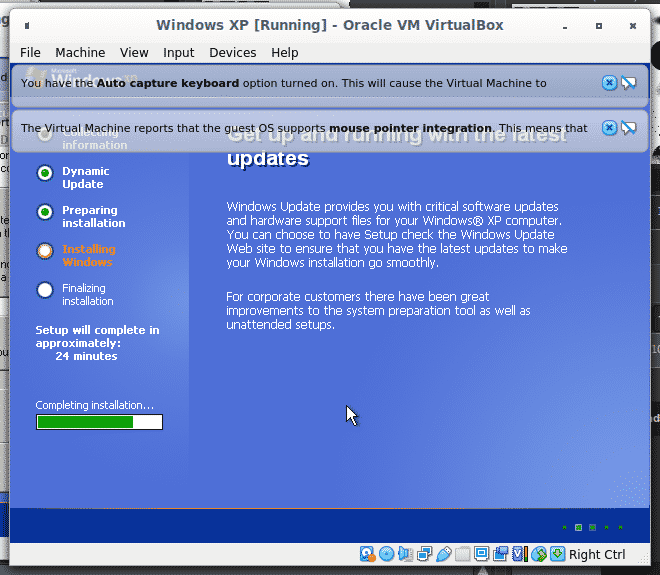
Now let Windows installer to finish
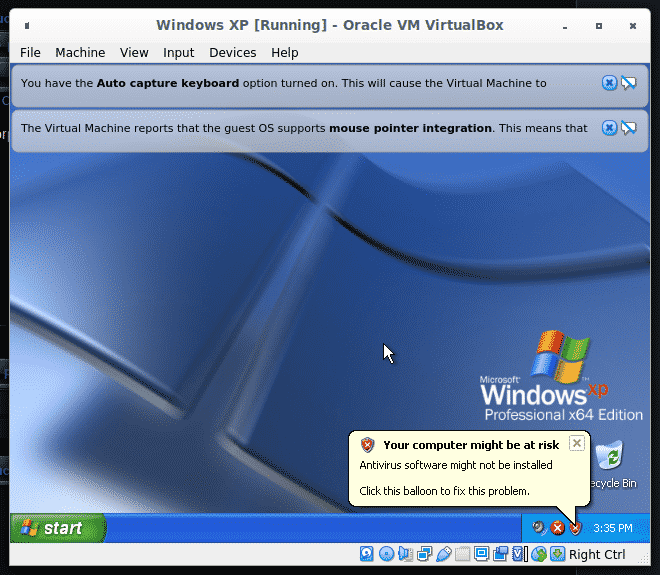
Finally Windows XP main screen will show up.
Adding the VirtualBox 6.1.0 Oracle VM VirtualBox Extension Pack
Additional packages can increase VirtualBox functionalities by adding features such as:
- Virtual USB 2.0 (EHCI) device. See Section 3.11.1, “USB Settings”.
- The virtual USB 3.0 (xHCI) device. See Section 3.11.1, “USB Settings”.
- VirtualBox Remote Desktop Protocol (VRDP) support. See Section 7.1, “Remote Display (VRDP Support)”.
- Host webcam passthrough. See Section 9.5, “Webcam Passthrough”.
- Intel PXE boot ROM.
- Disk image encryption with AES algorithm. See Section 9.28, “Encryption of Disk Images”.
(Source: https://www.virtualbox.org/manual/ch01.html#intro-installing)
You can download the extension pack from the link:
https://www.virtualbox.org/wiki/Downloads
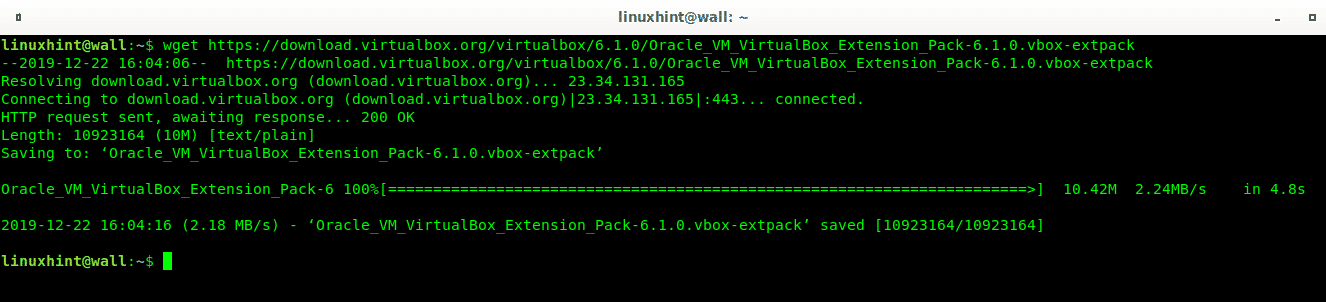
Or using wget by running:
VM_VirtualBox_Extension_Pack-6.1.0.vbox-extpack
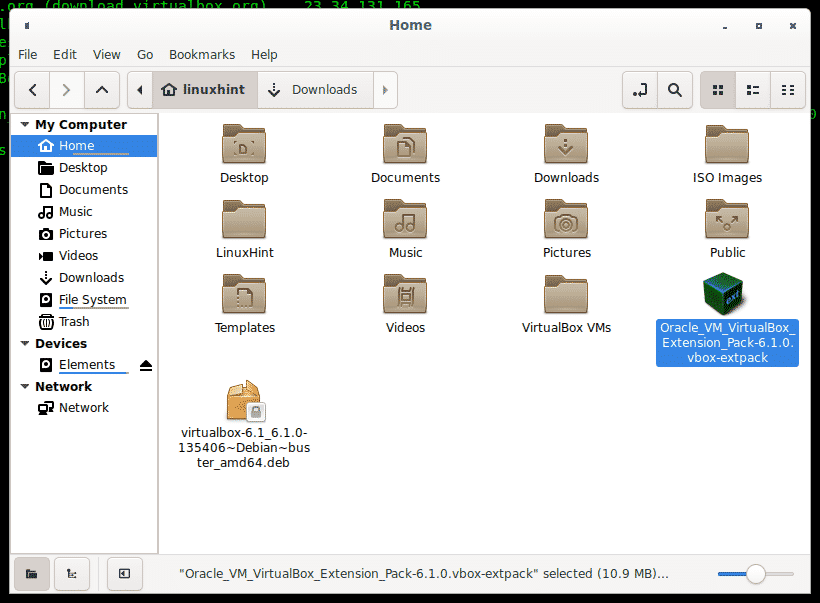
Then just double click on the downloaded file:
The Extension Pack installer will prompt, press on Install to confirm

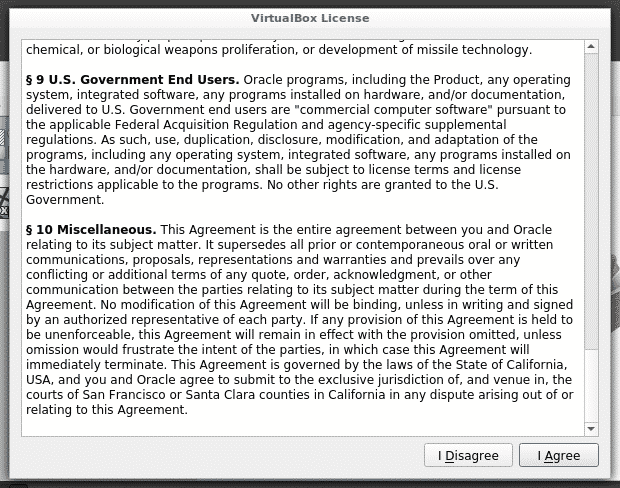
On the License screen scroll down and press on I Agree to continue.
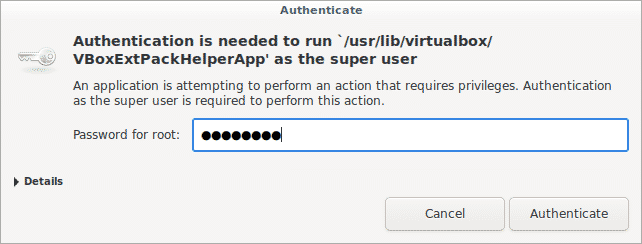
If asked, fill your root password to allow the installation.
Once ended the process will show if installed successfully.

Press OK, the Extension Pack is already installed.
I hope you found this brief tutorial on Installing VirtualBox 6 on Debian 10 Buster useful, thank you for reading it.