Free and open source software have always been popular among mass tech audiences. It does not only cut the cost of running a business but also increase the security due to the open source nature of the software. In the open source world, the two of the most widely used and popular software are WordPress and Ubuntu. WordPress is a content management system which is often used by blog authors for writing their blogs, whereas Ubuntu is an operating system software to provide the base platform for the entire system to depend on. This article demonstrates how to install WordPress on Ubuntu with ease.
Before installing WordPress, it’s important to prepare behind the scene for it to run properly. Usually, WordPress by default uses Apache/Nginx as the web server, Mysql as the database server, PHP as the dynamic content processor, and thus they all have to be installed before WordPress can function as it’s intended.
How to Install Apache
WordPress is usually installed on either LAMP or LEMP setup. Respectively LAMP means Linux Apache MySQL and PHP, and LEMP means Linux Nginx, MySQL and PHP. This segment teaches how to install both Apache and Nginx in Ubuntu with ease over SSH.
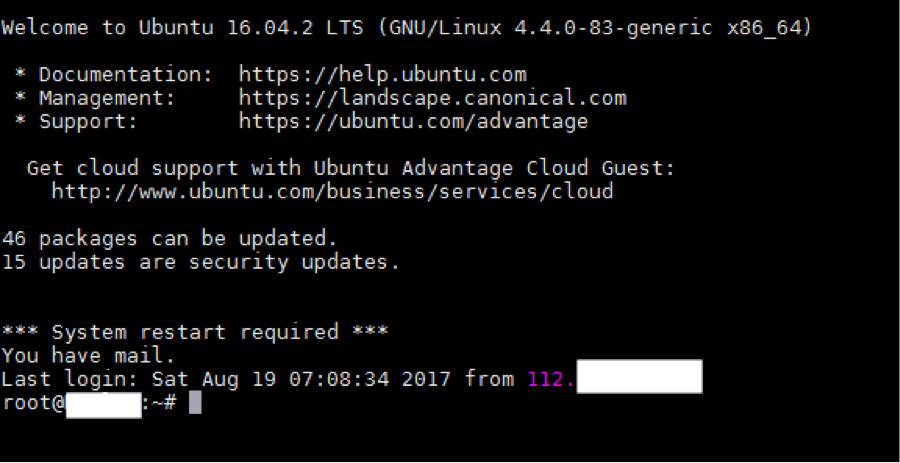
- To access SSH (Secure Shell), one must have a SSH client installed in their computer. As the SSH client this tutorial utilizes Putty for Linux. If only the server uses Ubuntu, and client side uses Windows, free version of MobaXterm does the job well better than Putty. Either way, install one of the clients, launch it, use the SSH username and the password to access the server. Once the access is granted, SSH client will display the welcome message as following.
- Ubuntu uses the apt package manager to install software straight from the repository maintained by Ubuntu. Use the following two commands with administrative rights to install apache with ease. The first command updates package information in the local side to receive latest updates from the repository, the second command install Apache package.
sudo apt-get update sudo apt-get install apache2
- Now configure apache to associate the server’s public IP or the domain with the apache web server. Type all the following bolded commands one by one. First command is for accessing the apache configuration file, then use the server name directive along with the server’s public IP or the domain, then test the configuration file for any syntax errors, then restart the apache web server to make changes to take effect.
sudo nano /etc/apache2/apache2.conf ServerName server_domain_or_IP
sudo apache2ctl configtest sudo systemctl restart apache2
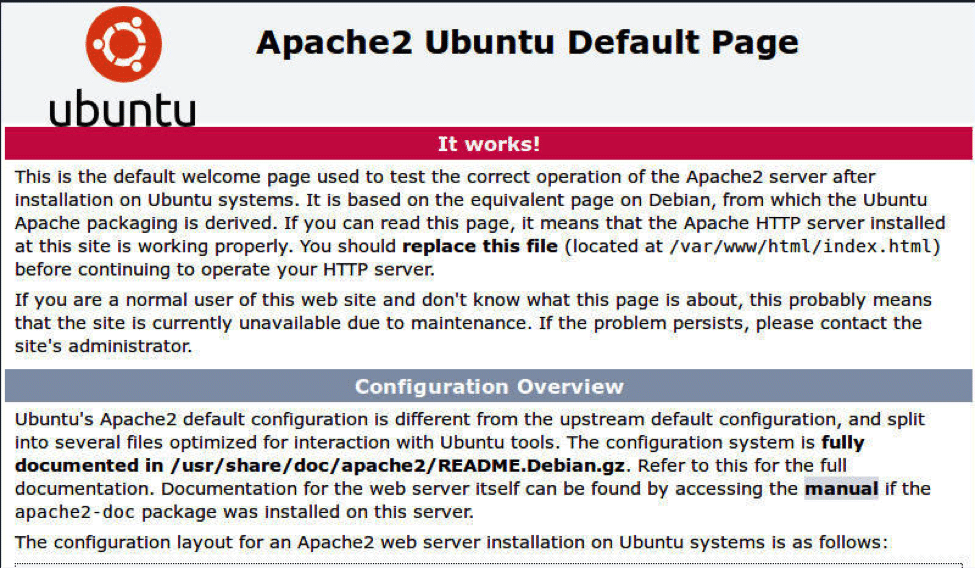
- Once the web server is installed, type the server’s public address or the domain to see whether apache server is installed properly or not. The default page for Apache looks like as seen below.
How to Install Nginx
- In the same way as you installed Apache, use the following two shell commands to install Nginx on Ubuntu.
sudo apt-get update sudo apt-get install nginx
- In Nginx configuration of the server block is required to associate the domain name with the web server. Use the following command to open the default server block via shell
sudo nano /etc/nginx/sites-available/default
- Once it’s opened via Nano. Replace the existing server block with the following. Make sure to use appropriate domain name in <Your Domain> place holders. After installing WordPress, use this try_files portion instead of the one in the following code. try_files $uri $uri/ /index.php$is_args$args;
server { listen 80 default_server; listen [::]:80 default_server; root /var/www/html; index index.html index.php; server_name <YOUR DOMAIN> www.<YOURDOMAIN>; location / { try_files $uri $uri/ =404; } } - Nginx uses site-enabled folder to register the active domain names within the server, and thus a symbolic link has to be created between site available and site enabled to let nginx to uses the default file in site available folder. Once it’s completed, restart the web server with the command that comes thereafter.
sudo ln -s /etc/nginx/sites-available/default /etc/nginx/sites-enabled/ sudo systemctl restart nginx
- Then use the public IP or the domain of the server to access the welcome page which should look like as seen below.

Install MySQL
WordPress uses MySQL to store data, and thus it has to be installed just as the web server prior to the install the WordPress. This article teaches how to install one of the spinoff versions of MySQL known as MariaDB, which is completely open source and secure as much as its parent.
-
- Use the following commands to install MariaDB on Ubuntu. The first command installs both mariadb server and its client version, the second one starts the mysql service, then it’s enabled with the third, and the last makes sure the mysql installation is harden enough. It will ask a series of questions, make sure to give the database server a root password, thereafter use enter key for each question.
sudo apt-get install mariadb-server mariadb-client sudo systemctl start mysql sudo systemctl enable mysql sudo mysql_secure_installation
- Use the following commands to install MariaDB on Ubuntu. The first command installs both mariadb server and its client version, the second one starts the mysql service, then it’s enabled with the third, and the last makes sure the mysql installation is harden enough. It will ask a series of questions, make sure to give the database server a root password, thereafter use enter key for each question.
Install PHP7
PHP is the scripting language which is needed to execute the php scripts that come along with the WordPress. This guide teaches how to install the latest version of PHP, which is version 7 on Ubuntu.
- Installing php on Ubuntu is as easy as installing any other package on Linux. Use the following commands on shell. The first commands install the PHP7 core module and the supporting modules, second one enables the web module for php, and third one restart the apache server. If Nginx is used use the fourth command instead of the third.
sudo apt-get install php7.0-fpm php7.0-mysql php7.0-common php7.0-gd php7.0-json php7.0-cli php7.0-curl libapache2-mod-php7.0 sudo a2enmod php7.0 sudo systemctl restart apache2 sudo systemctl restart nginx
Install WordPress
Installing WordPress requires a bit more time and effort compared to the above installations, but with the right instructions the frustration can be relieved. Use the following descriptive instructions to install WordPress on Ubuntu. Note that before following this segment, it’s important to finish all of the installations mentioned above, otherwise WordPress may not function as intended.
- As usual open the SSH client, and use the following commands. What it does is prepare the database in the MySQL server (here we use mariaDB spinoff but its almost the same as MySQL). The first command is for entering the mysql interface, then when it prompts the password use the aforesaid used one for the root username. Second one creates the database and enables the UTF8 character format, and thus enabling Unicode texts to store in the database without being corrupted. The third one creates a new username along with its password and grants its access to the newly created database. The fourth ones saves the changes, and the fifth exits from the mysql interface.
mysql -u root -p CREATE DATABASE wordpress DEFAULT CHARACTER SET utf8 COLLATE utf8_unicode_ci; GRANT ALL ON wordpress.* TO 'wordpressuser'@'localhost' IDENTIFIED BY 'password'; FLUSH PRIVILEGES; EXIT;
- WordPress is installed at this step, for that use the following Shell commands. The first command redirects the focus to a temporary folder for storing the WordPress installation files, the second one downloads the WordPress installation files directly from the WordPress server, the third one extracts the downloaded archive, the fourth one copies the config file, which holds the configuration details of WordPress, to a new folder in the tmp folder while renaming it to wp-config.php, the fifth one creates a new folder in tmp folder under wp-content, and the final commands moves the whole WordPress folder created in tmp folder to /var/www/html folder where public can access.
cd /tmp curl -O https://wordpress.org/latest.tar.gz tar xzvf latest.tar.gz cp /tmp/wordpress/wp-config-sample.php /tmp/wordpress/wp-config.php mkdir /tmp/wordpress/wp-content/upgrade sudo cp -a /tmp/wordpress/. /var/www/html
- Once WordPress is installed in the file server, the ownership information has to be specified. The following commands assign the proper ownership to WordPress installed in the html folder. The first command assigns the user www-data to the html folder so WordPress can make changes to itself (like when updating the core files automatically), and the user can install themes and plugins directly from the WordPress interface without ever accessing the file server. The second command sets the setgid flag to sub folders of html folder, and thus any file created thereafter in html folder inherits its parent folder’s group instead of user’s primary group.
sudo chown -R www-data:www-data /var/www/html sudo find /var/www/html -type d -exec chmod g+s {} ; - At this point WordPress is already installed and its files are assigned the proper ownership, now the remaining steps are configuring its settings, and finalization. This step demonstrates how to configure its wp-config.php The first shell command generates the salt values to secure the WordPress installation, the second command opens the actual wp-config.php file, now there, type the generated salt values in the appropriate placeholders, then the following define() directives along with information stated right above the each one.
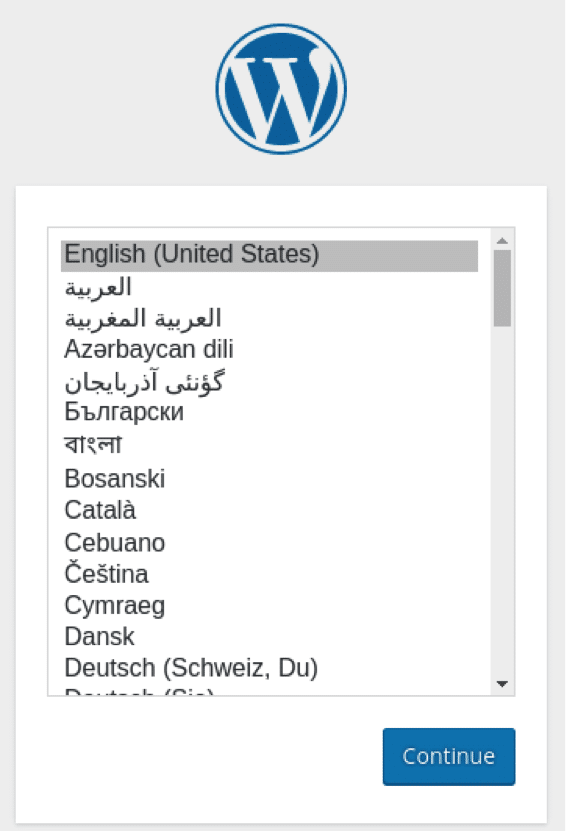
curl -s https://api.wordpress.org/secret-key/1.1/salt/ nano /var/www/html/wp-config.php define('DB_NAME', 'wordpress'); /** MySQL database username */ define('DB_USER', 'wordpressusername'); /** MySQL database password */ define('DB_PASSWORD', 'password'); define('FS_METHOD', 'direct'); - Now type the public ip address or the domain name in any web browser to install the WordPress website on the web server. Upon typing it, the following message will display, simply click “Continue” to proceed the installation.
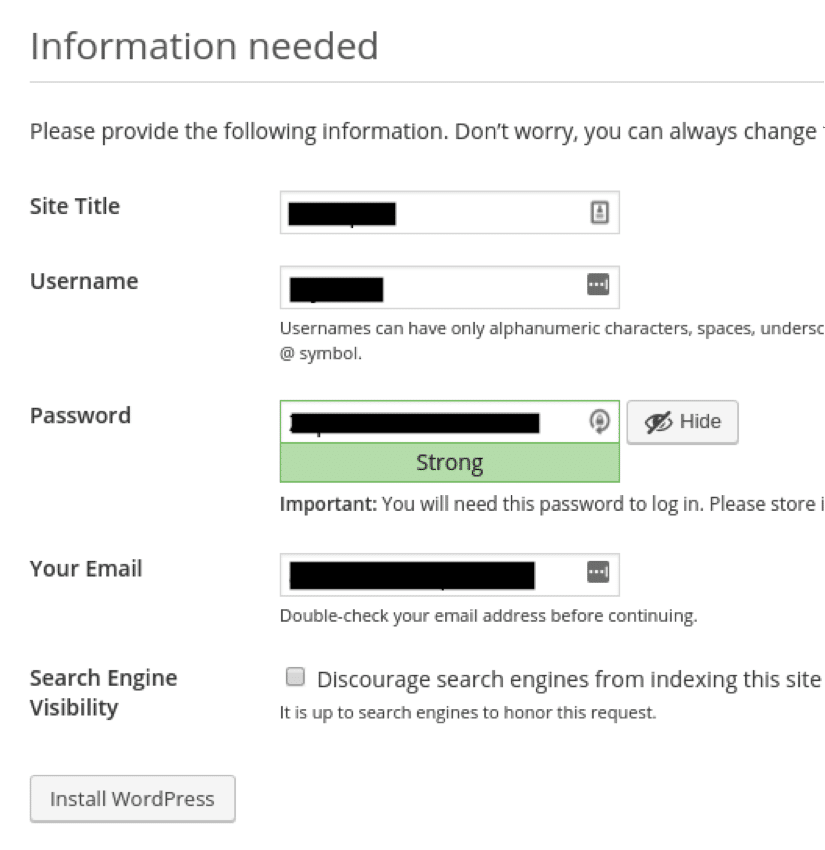
- In the next section, use the Site Title which appears in top of the website, then administrative username to access WordPress once it’s installed, the password for the aforesaid username, the email address to verify the account or for recovery purpose, and finally when all the information is provided, click “Install WordPress” to install it.
- Since now the WordPress blog is accessible with either its public ip or the domain, and to login to it use the http://<yourDomain>.com/wp-login.php