When you install Ubuntu from a ISO image, the operating system is not up to date. Because the ISO is not updated on the official website of Ubuntu. But Ubuntu releases updates, patches, security updates regularly. Keeping your Ubuntu operating system Up to Date is crucial. As doing so gets rid of bugs, adds new features and so on. In this article I will talk about ways you can update your Ubuntu 17.10 Artful Aardvark operating system. I will show you how to update Ubuntu using a graphical user interface (GUI) and from the command line. You might need to do it from the command line, if you’re using a server version of Ubuntu 17.10. Most of the things in this article applies to other versions of Ubuntu as well. So let’s get started.
Types of updates:
Ubuntu has 3 repositories where Ubuntu releases its updates. They are ‘updates’, ‘backports’, and ‘security’. Most of the times you want to use the ‘updates’ and ‘security’ repositories as these repositories don’t change the version of the installed softwares, they just provide bug fixes and security updates. The ‘backports’ repository provides updates from the next Ubuntu release, which is for Ubuntu 17.10, 18.04 LTS. This is called the testing release now. So enabling backports repository is not recommended, as new bugs and system instability may arise.
Setting up Updates:
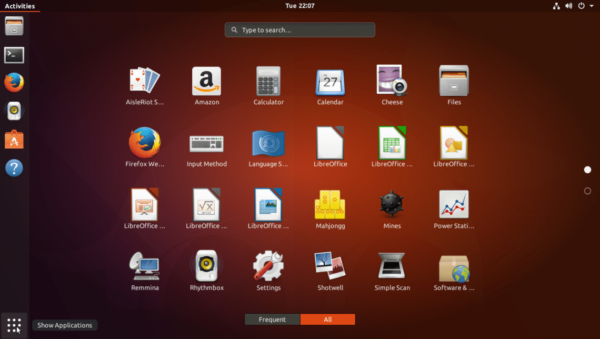
Now to enable updates, click on “Show Applications”.
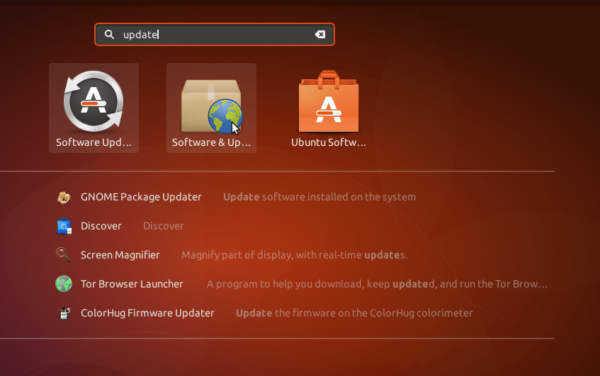
Search for ‘update’ and click on “Software & Updates”.
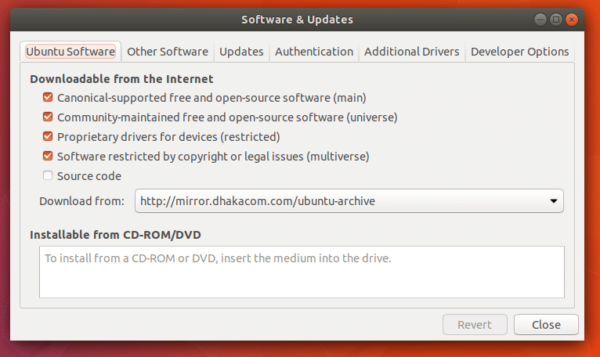
You should see the following window. Here you can see that, main, universe, restricted and multiverse repositories are enabled.
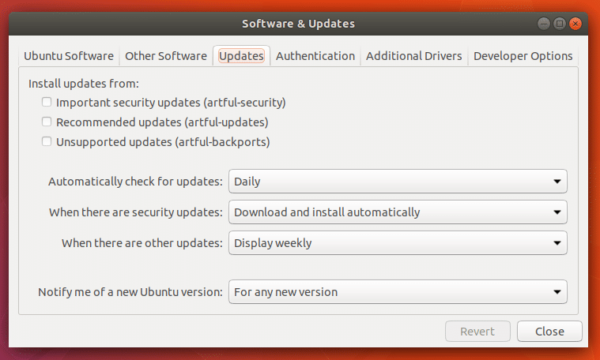
To enable updates, click on Updates tab. You should see the following window. From here you can enable ‘security’ and ‘updates’ repository.
Click on “Important security updates (artful-security)” to enable security updates and Click on “Recommended updates (artful-updates)” to enable other updates as shown below:
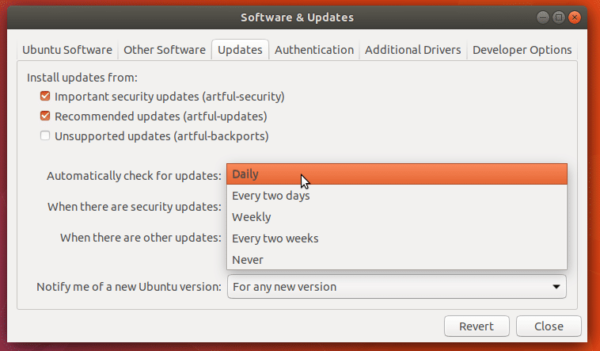
You can also configure the interval at which Ubuntu checks for new updates. Click on “Automatically check for updates:” selector. You should see the following options. You can check updates daily, or every two days, or weekly, or every two weeks, or you can never check for updates. If you choose to never check for updates, Ubuntu won’t show you any notifications when new updates are available.
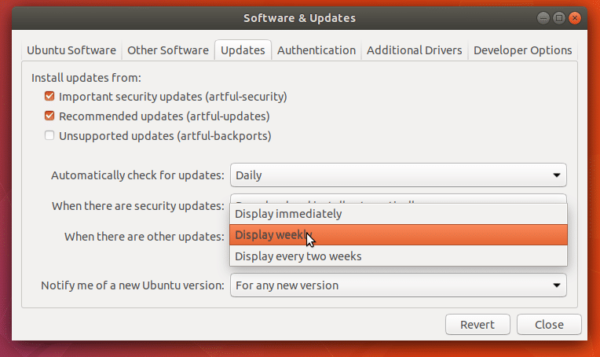
Security updates are really important. So Ubuntu gives you an option to automatically download and install them. This is the default behavior. If you don’t want Ubuntu to do that, click on “When there are security updates” selector and select one of the 3 options as shown in the screenshot. I prefer to keep the default “Download and Install automatically”.
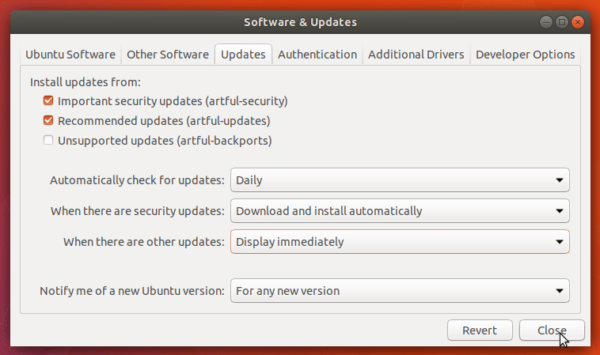
You can also set when to notify you of new updates. Click on “When there are other updates” selector and select any one of the three options you like.
Once you’re done, click on “Close”.
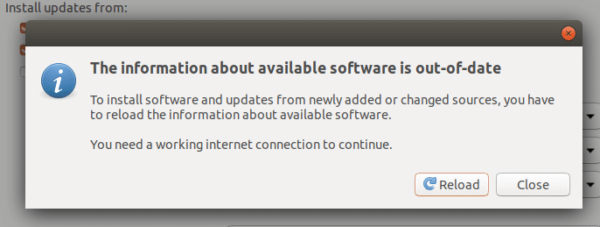
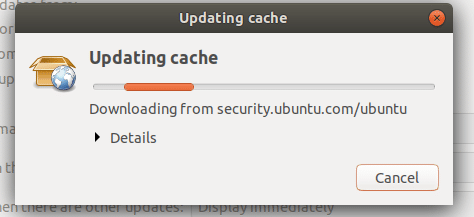
Now click on “Reload”, Ubuntu should now update its package repository cache.
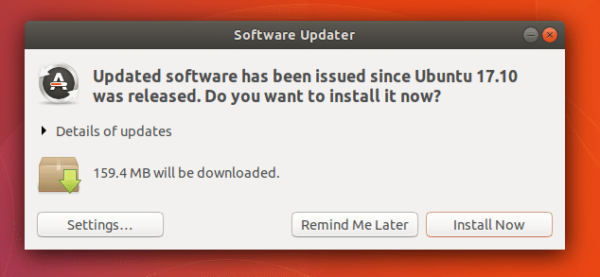
Once it’s done, Ubuntu should notify you if new updates are available. It did for me.
Manually Checking for Updates:
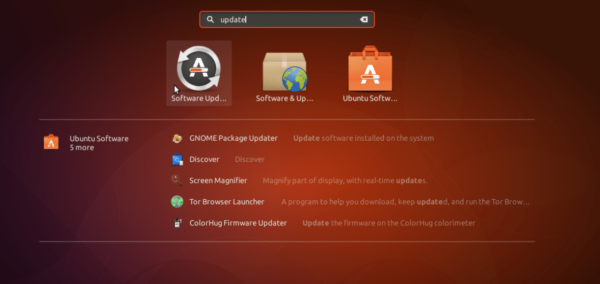
You can also check for updates manually. Click on “Show Applications” and search for ‘update’.
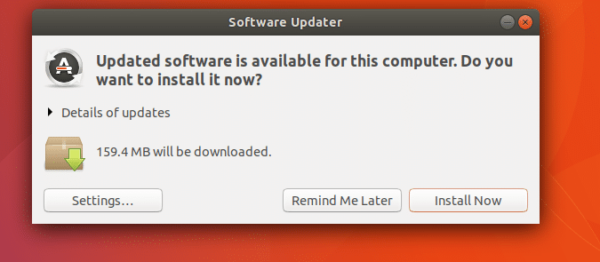
Then select “Software Updater”. It should automatically check and prompt you to update the system for you.
Updating from the Command Line:
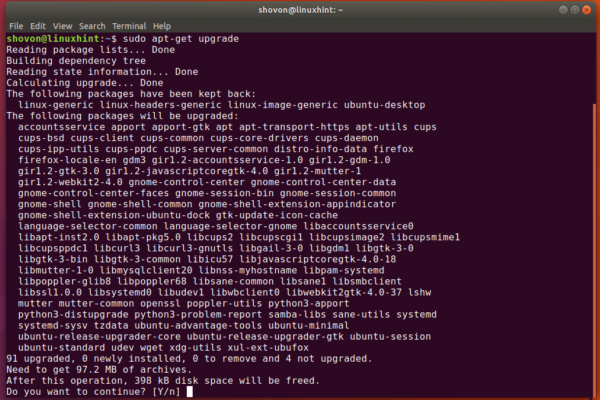
You can also update the system from the command line. Open a terminal (Ctrl+Alt+T on Ubuntu). Now run the following commands:
$ sudo apt-get update
$ sudo apt-get upgrade
You can see that, it prompted you to update the system. Just press ‘y’ and press <Enter> to continue.
So that’s how you keep your Ubuntu 17.10 up to date. Thanks for reading this article.

