This article will explain how to create, delete and manage users and groups in Linux (tested with Ubuntu 19.10)
What is a User?
A “user” is an entity who has rights to access and modify a Linux system in full or limited capacity. There can be many users in a typical Linux system. In fact, during the installation of a Linux based OS like Ubuntu, your default user with login and password as well as many system level users are automatically created.
What is a Group?
A “group” is a broad collection of various users in a Linux system. Groups are usually created to define the same set of rules and security policies for each user that falls under them. These groups allow better user organization by restricting privileges and system access.
Difference Between a System User and a Normal User
Normal users and system users are essentially the same. Some people use them for organizational purposes by classifying them on the basis of assigned user IDs (UIDs), as system users and normal users usually have different ID ranges.
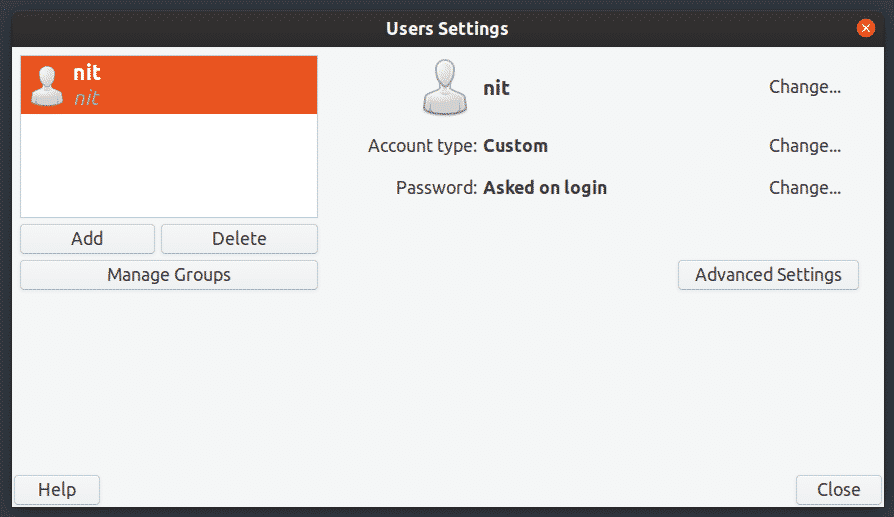
Graphical Application for Managing Users and Groups
A “User and Groups” app comes pre-installed by default on most GNOME based distributions. If not, install it in Ubuntu by running the command below:
Just launch it from application launcher and click on visible buttons to manage users and groups.


List Users Using Command Line
To see a detailed list of all users on Ubuntu, run one of the following commands:
$ getent passwd
To see only usernames, run the following command:

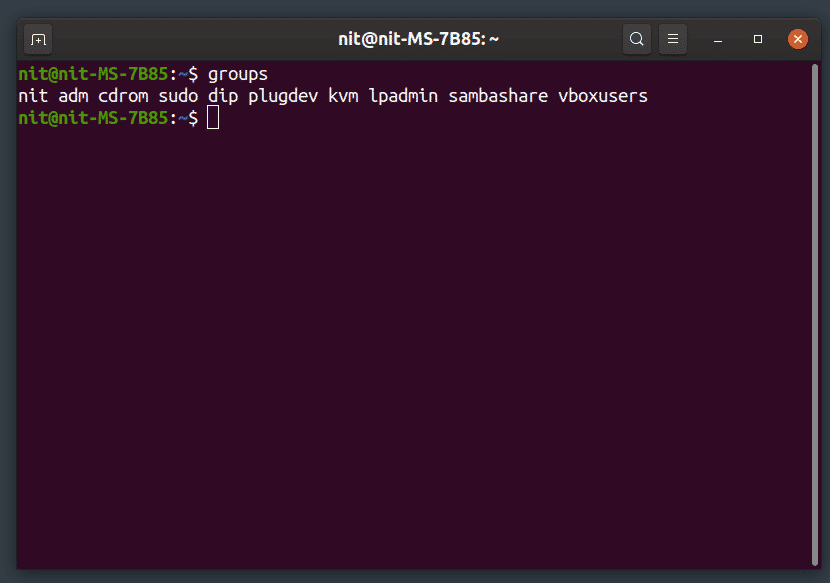
List All Groups
To list all groups, run the command below:
Add a New User
To add a new normal user, run the command below (replace “user_name”):
To add a new system user, run the command below (replace “user_name”):
A new home directory will be created for any new user created using the commands above.

Remove an Existing User
To delete a user, run the command below (replace “user_name”):
To delete a user along with its home folder, run the command below (replace “user_name”):
To delete a user along with all files associated with it, run the command below (replace “user_name”):
Add a New User to an Existing Group
To add a new user to an existing group, run the command below (replace “user_name” and “group_name”):
Remove a User from an Existing Group
To remove a user from an existing group, run the command below (replace “user_name” and “group_name”):
Rename Existing User
To rename existing user, run the command below (replace “new_name” and “old_name”):
Change Password of an Existing User
To change the password of an existing user, run the command below (replace “user_name”):
Create a New Group
To create a new group, run the command below (replace “group_name”):
To create a new system level group, run the command below (replace “group_name”):
Delete an Existing Group
To delete an existing group, run the command below (replace “group_name”):
To delete an existing system level group, run the command below (replace “group_name”):
Conclusion
These are few commands that you can use to manage users and groups on your system. Be careful when renaming and removing users, as a wrong command can lead to permanent removal of files of another user or may restrict its login. If you want to preserve files of a user, make sure to take a backup of its home directory before deleting the user.