Today, let’s tinker with the lock screen on the latest version of Ubuntu – Ubuntu 18.04. I’ll also be showcasing Xubuntu 18.04 – my current host system.
Enabling/disabling the lock screen
At first, let’s make sure that we have the basic knowledge of enabling and disabling the awesome feature. In some cases, you may want to disable the lock screen. For example, there’s nothing serious going on with your computer. Maybe it’s a family PC that is being used by everyone. In cases, the lock screen can become a nuisance.
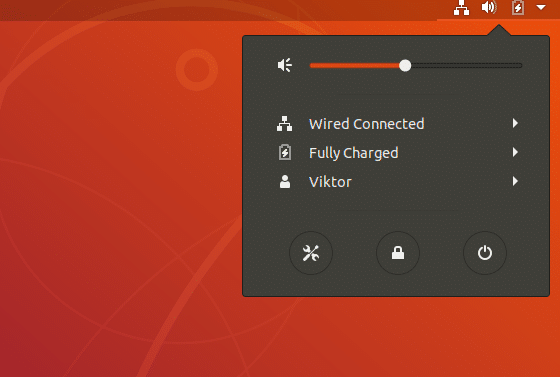
So, how do you disable the lock screen? From the top-right corner, click the down arrow >> toolkit icon.
This will land you on the “Settings” app where you can change system settings. From the left panel, go to “Privacy” section.
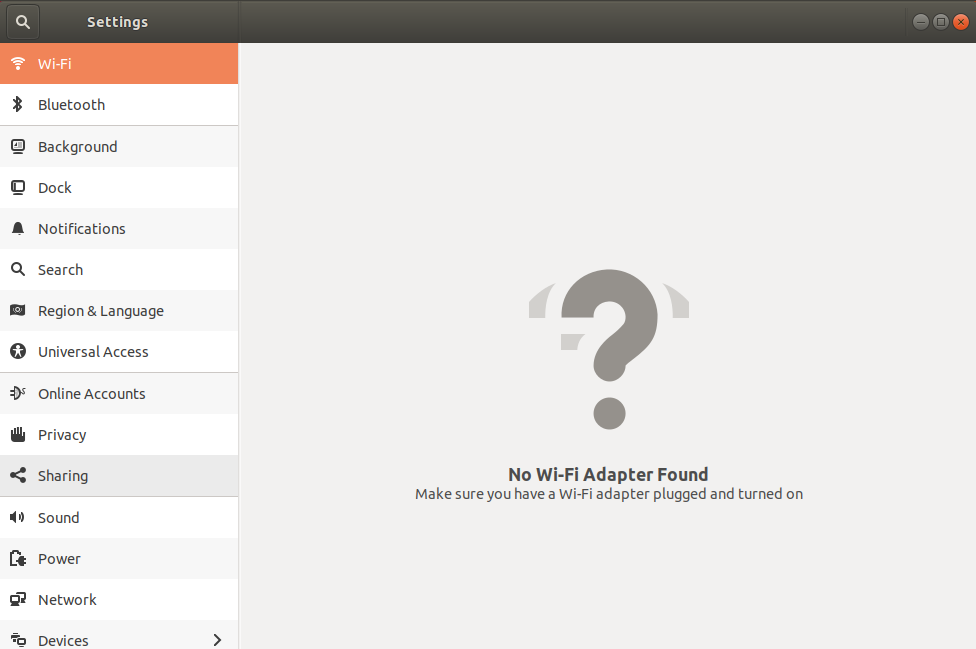
There, you’ll notice that you have the option to enable/disable the “Screen Lock”.

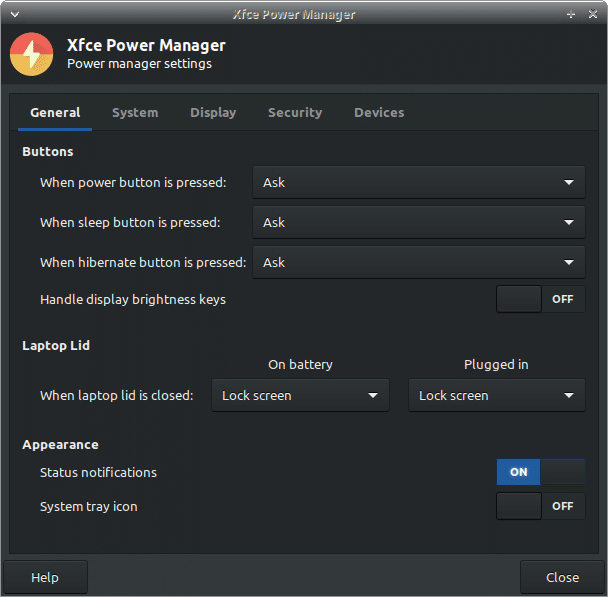
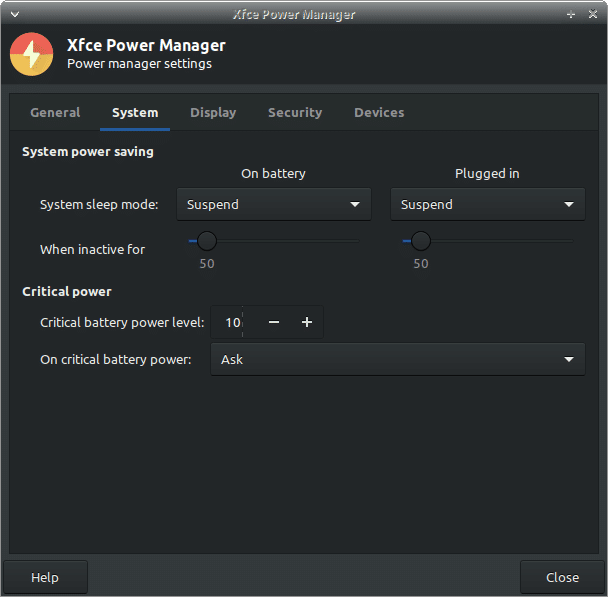
If you’re a Xubuntu user like me, you may need to access to “Xfce Power Manager” for this purpose.
Changing the lock screen wallpaper
Each time you lock your system, it’s always the same, dull look, right? It’s time to add some spice to life! Let’s see how we can change the wallpaper of the lock screen.
For Ubuntu users, go to Activities >> type “Background”.

Open “Background”.
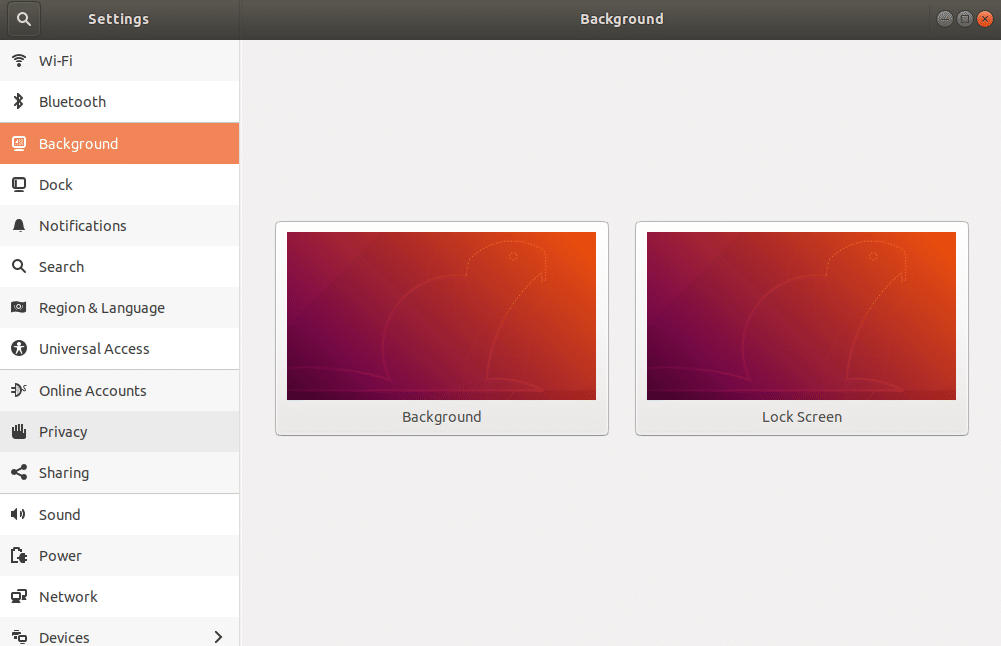
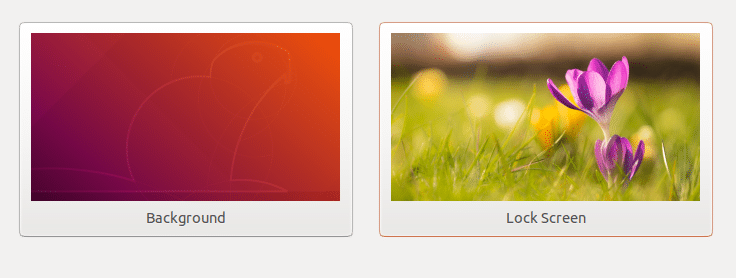
Now, you’ll see that there’re options for both – the general background and the lock screen. Let’s go ahead with the lock screen option.

Select your favorite background.

Voila! Background changed!

For Xubuntu users, make sure to change your background as you wish. The lock screen background will change accordingly.

Change lock screen time
Need to lock the screen automatically? Then it’s also necessary that you manage the timing properly. Otherwise, your screen may lock down unexpectedly in the middle of a movie or while listening to your favorite music.
In Ubuntu, let’s follow the following steps –
Go to Activities >> search for “Privacy”.
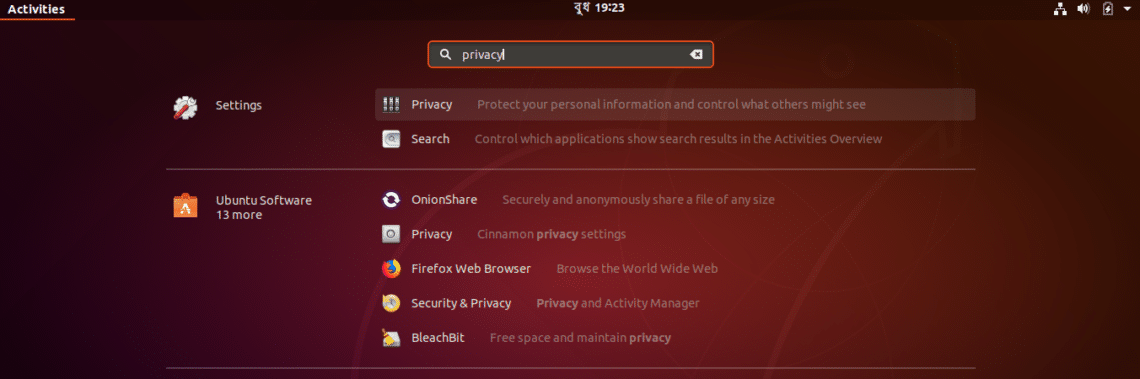
Start “Privacy” option.
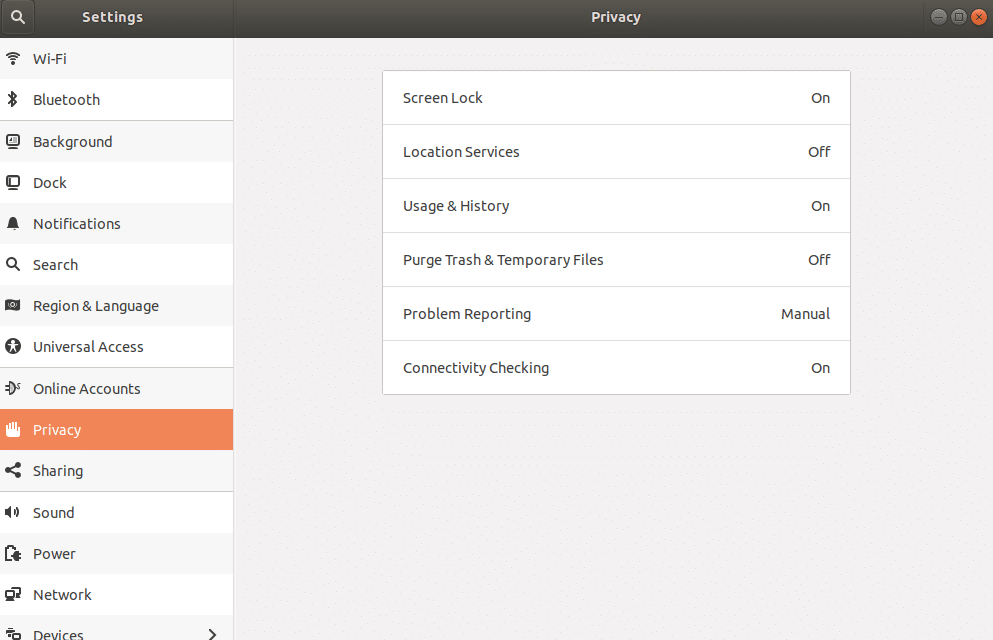
Click on the “Screen Lock” option.

From the drop-down option, you can select the timing easily.
In the case of Xubuntu, you can select the option from the “Xfce Power Management” panel.
Enjoy!