Sending email using PHPMailer
PHPMailer is a very useful class library that contains collection of functions to send email using PHP. You can create and send email in various ways from local server using this library. Run the following command to install PHPMailer in Ubuntu operating system.
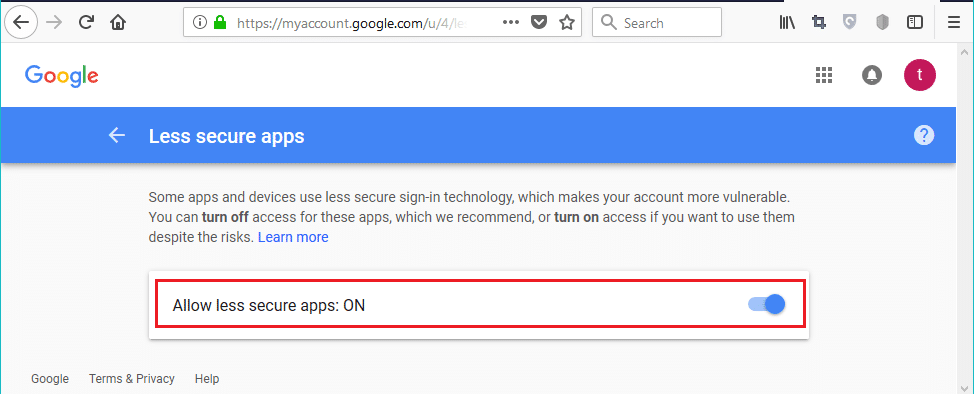
You must have a gmail account to use email sending facility of PHPMailer. After installing PHPMailer, you have to enable the option ‘Allow less secure apps’ of your gmail account.
Example-1:
The following script shows the way to send simple email using PHPMailer. In this script, four essential parts of any email (from, to, subject, body) are assigned. setFrom and addAddress methods are used to set sender and receiver email address. Subject and Body properties are used to set subject and body of the email. Set other configurations of gmail account properly using methods and properties of PHPMailer class. If the email can send properly then the success message will print and if the email can’t send then the failure message will print.
require ‘/usr/share/php/libphp-phpmailer/class.phpmailer.php’;
require ‘/usr/share/php/libphp-phpmailer/class.smtp.php’;
$mail = new PHPMailer;
$mail->setFrom(‘[email protected]’);
$mail->addAddress(‘[email protected]’);
$mail->Subject = ‘Message sent by PHPMailer’;
$mail->Body = ‘Hello! use PHPMailer to send email using PHP’;
$mail->IsSMTP();
$mail->SMTPSecure = ‘ssl’;
$mail->Host = ‘ssl://smtp.gmail.com’;
$mail->SMTPAuth = true;
$mail->Port = 465;
//Set your existing gmail address as user name
$mail->Username = <a href="mailto:’[email protected]">‘[email protected]</a>’;
//Set the password of your gmail address here
$mail->Password = ‘password’;
if(!$mail->send()) {
echo ‘Email is not sent.’;
echo ‘Email error: ‘ . $mail->ErrorInfo;
} else {
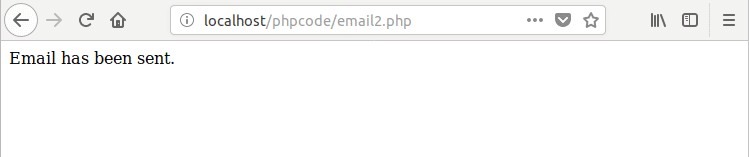
echo ‘Email has been sent.’;
}
?>
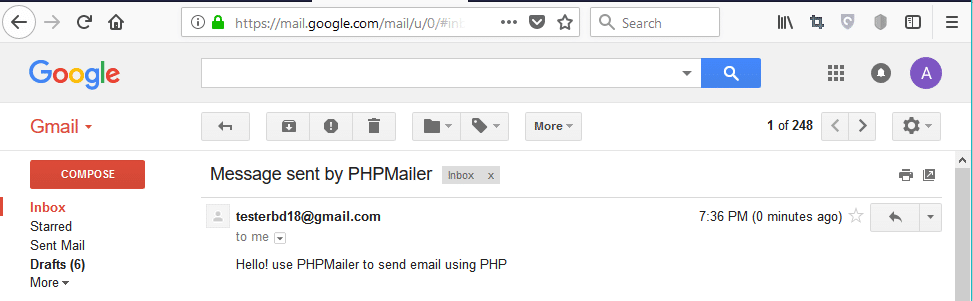
Output:

if the check the receiver email address then following output will be shown
Example-2:
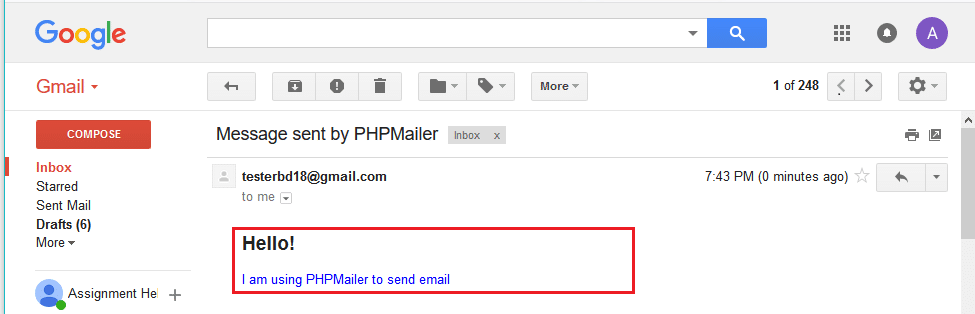
You can send HTML formatted email using PHPMailer. You have to use isHTML() with true parameter value for sending HTML formatted email. Here, another method AltBody() is used to sent email content as plain text if the user are not able to receive the email with HTML content.
require ‘/usr/share/php/libphp-phpmailer/class.smtp.php’;
$mail = new PHPMailer;
$mail->setFrom(‘[email protected]’);
$mail->addAddress(‘[email protected]’);
$mail->Subject = ‘Message sent by PHPMailer’;
$mail->Body = ‘<h2>Hello!</h2><p style="color:Blue;">
I am using PHPMailer to send email</p>’;
$mail->isHTML(true);
$mail->AltBody = "This message is generated by plain text !";
$mail->IsSMTP();
$mail->SMTPSecure = ‘ssl’;
$mail->Host = ‘ssl://smtp.gmail.com’;
$mail->SMTPAuth = true;
$mail->Port = 465;
$mail->Username = ‘[email protected]’;
$mail->Password = ‘password’;
if(!$mail->send()) {
echo ‘Email is not sent.’;
echo ‘Email error: ‘ . $mail->ErrorInfo;
} else {
echo ‘Email has been sent.’;
}
?>
Output:
if you check the receiver email address then the following HTML formatted output will be shown.
Example-3:
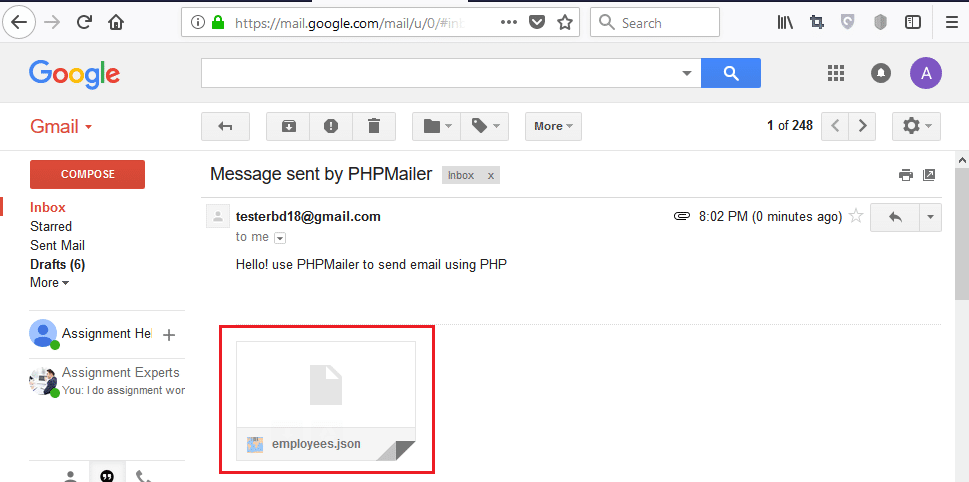
Many methods are available in PHPMailer class to send attached content with the email. AddAttachment() method is one of them which is used in the following script. This method has one mandatory parameter and three optional parameters.
Only mandatory parameter is used in the script which is used to attach ‘employees.json’ file with mail.
require ‘/usr/share/php/libphp-phpmailer/class.phpmailer.php’;
require ‘/usr/share/php/libphp-phpmailer/class.smtp.php’;
$mail = new PHPMailer;
$mail->setFrom(‘[email protected]’);
$mail->addAddress(‘[email protected]’);
$mail->Subject = ‘Message sent by PHPMailer’;
$mail->Body = ‘Hello! use PHPMailer to send email using PHP’;
$mail->addAttachment(’employees.json’);
$mail->IsSMTP();
$mail->SMTPSecure = ‘ssl’;
$mail->Host = ‘ssl://smtp.gmail.com’;
$mail->SMTPAuth = true;
$mail->Port = 465;
$mail->Username = ‘[email protected]’;
$mail->Password = ‘password’;
if(!$mail->send()) {
echo ‘Email is not sent.’;
echo ‘Email error: ‘ . $mail->ErrorInfo;
} else {
echo ‘Email has been sent.’;
}
?>
Output:

When you check the receiver email address then the attached file will be shown if the file is attached properly with the email.
Example-4:
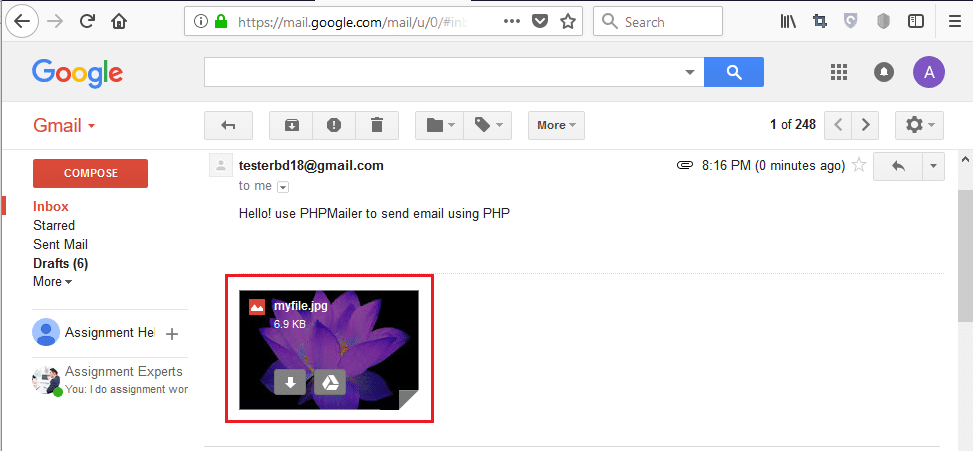
if you want to attach content from remote location then you can use addStringAttachment() method for this purpose. This method has two parameters. First parameter is used to get content from particular URL location and second parameter is used to set the name of the attached file.
In the following script, the URL address of an image file is set in the first parameter and ‘myfile.jpg’ is set in the second parameter of this method to set the name of the attach file.
require ‘/usr/share/php/libphp-phpmailer/class.phpmailer.php’;
require ‘/usr/share/php/libphp-phpmailer/class.smtp.php’;
$mail = new PHPMailer;
$mail->setFrom(‘[email protected]’);
$mail->addAddress(‘[email protected]’);
$mail->Subject = ‘Message sent by PHPMailer’;
$mail->Body = ‘Hello! use PHPMailer to send email using PHP’;
$mail->addStringAttachment(file_get_contents(‘http://localhost/f3.jpg’), ‘myfile.jpg’);
$mail->IsSMTP();
$mail->SMTPSecure = ‘ssl’;
$mail->Host = ‘ssl://smtp.gmail.com’;
$mail->SMTPAuth = true;
$mail->Port = 465;
$mail->Username = ‘[email protected]’;
$mail->Password = ‘password’;
if(!$mail->send()) {
echo ‘Email is not sent.’;
echo ‘Email error: ‘ . $mail->ErrorInfo;
} else {
echo ‘Email has been sent.’;
}
?>
Output:
The following message will be appeared if the script runs properly.

When you check the receiver email address then the attached file will be shown if the file is attached properly with the email.
After practicing the above examples, you will be able to send email from localhost by using your gmail account and PHPMailer class according to your requirements in PHP.
Also please check the video below for more information: