Whatever the reason is, it’s useful to have the ability to take screenshot at any time. In today’s tutorial, we’ll be checking out on taking screenshots on Arch Linux.
Screenshot on Arch Linux
There are a handful of ways you take screenshots on Arch Linux. By default, Arch Linux doesn’t come up with any desktop environment. If you’ve installed any popular desktop environment, you have to check out whether it contains a default screenshot capturing tool. Depending on your purpose of taking screenshots, you might want to get the help of a good 3rd-party screenshot tool.
Desktop environment screenshot tool
For example, GNOME includes a default screenshot tool for capturing almost all the basic and important screenshots.

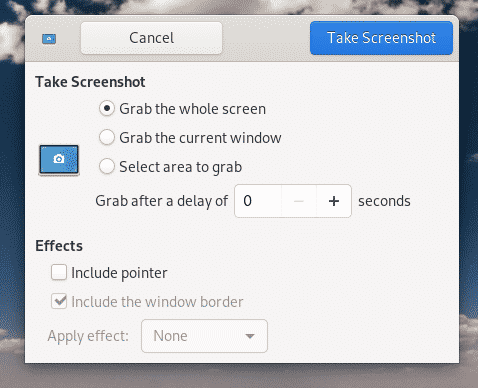
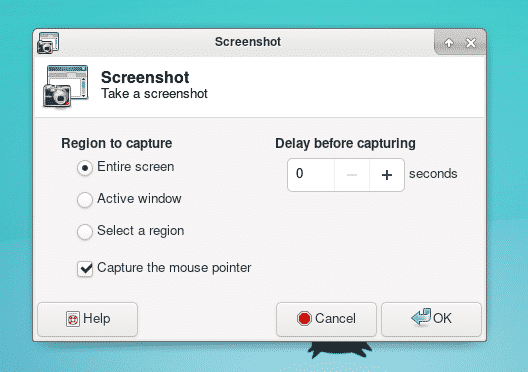
If you’re on XFCE, then there’s also a default “Screenshot” tool for the purpose. It looks and acts just like the GNOME one, so nothing to be confused about.

However, on KDE Plasma, the default screenshot app is named different. It’s “Spectacle” instead of just plain “screenshot”. It also looks better than the classic screenshot tools.


If you’re using any other desktop environment, just make sure to check out associated tutorials. The list of supported desktop environment for Arch Linux is so HUGE! It’s literally impossible for me to check out every single one of them.
3rd-party software
This is a more convenient way to follow. According to the official Arch Linux wiki, there are literally a plethora of tools available for the purpose.
My personal favorite one is Flameshot. It’s so powerful! With all the features packed into it, you will barely need to think of any other software.

There are also other good tools like Shutter, GIMP, gscreenshot, etc. Shutter is a quite good alternative to Flameshot, to be honest.
Desktop environment screenshot tools
At first, let’s take a screenshot with the default screenshot tool that’s bundled with the desktop environment. I’ll be showcasing the GNOME and KDE Plasma one as almost all the other screenshot tools from other desktop environments follow a similar principle.
GNOME Screenshot
Launch the tool from the menu.

There are 3 different options to choose from. You can choose whether you want to capture the entire screen, a specific window or just a part of the screen. In each case, you have the option of adding a delay of a number of seconds. The tool also allows whether the mouse pointer will be visible or not.
Once you take the screenshot, the tool will prompt where you want to save it. The screenshot can also be copied to clipboard or discarded.

After deciding the action, the tool will terminate. If you’re in need of additional screenshots, you’ll have to re-launch the app from the menu.
KDE Spectacle
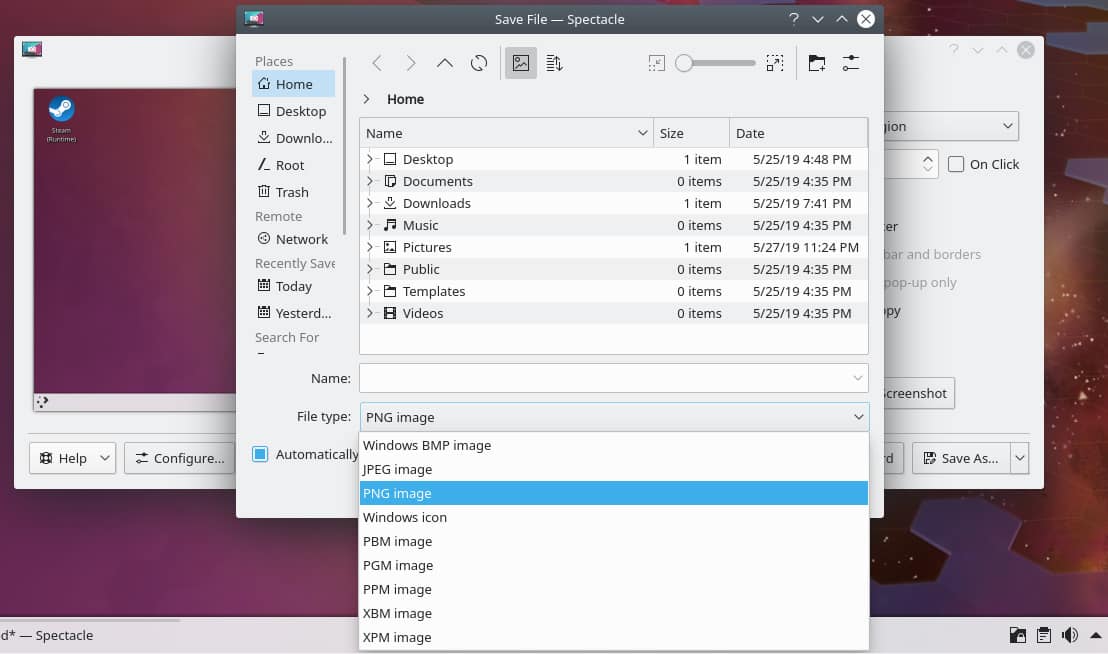
In the case of Spectacle, it’s nothing so special. Almost all the features are identical to GNOME Screenshot. However, it comes up with a better UI and additional features. Before capturing the screenshot, you can specify how the action is going to be performed.


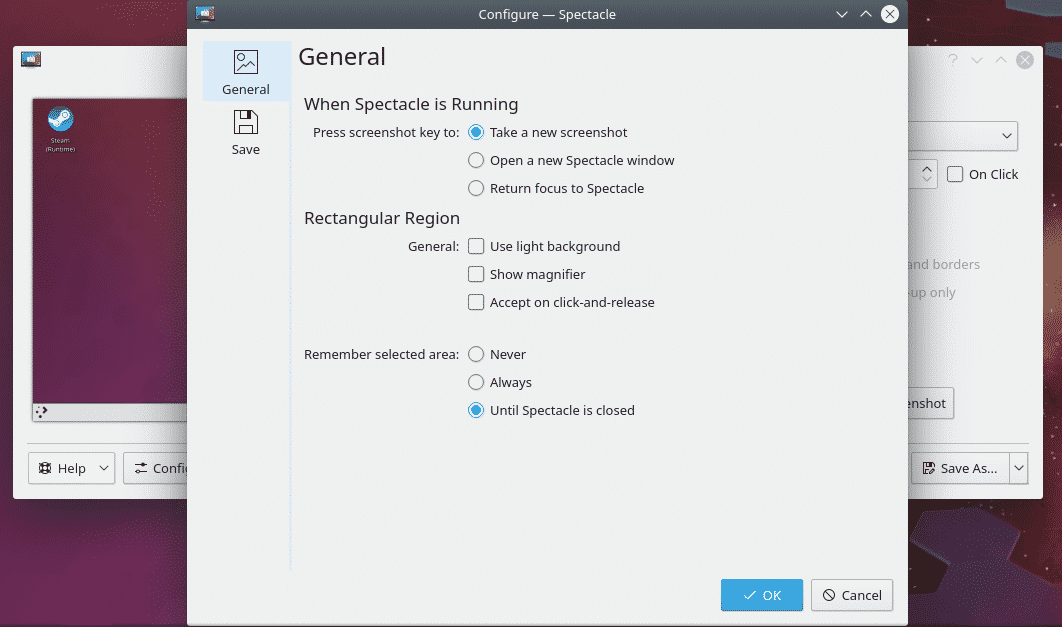
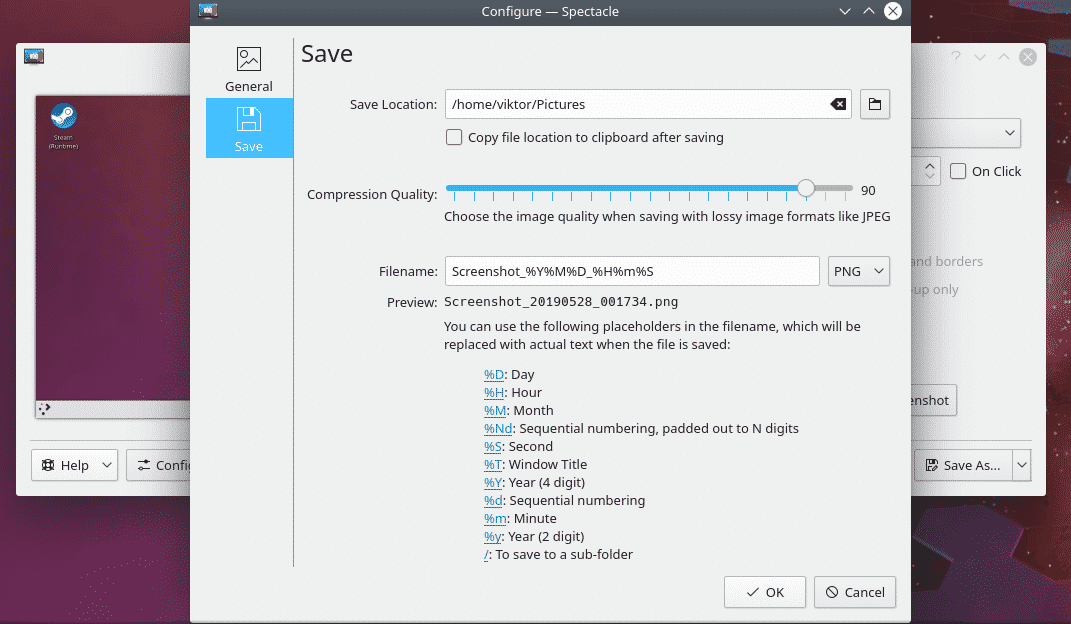

Probably the biggest part of this tool is, you can start recording your screen right away! No need for any additional 3rd-party software.

3rd-party tools
Flameshot
Let’s check out Flameshot, shall we?
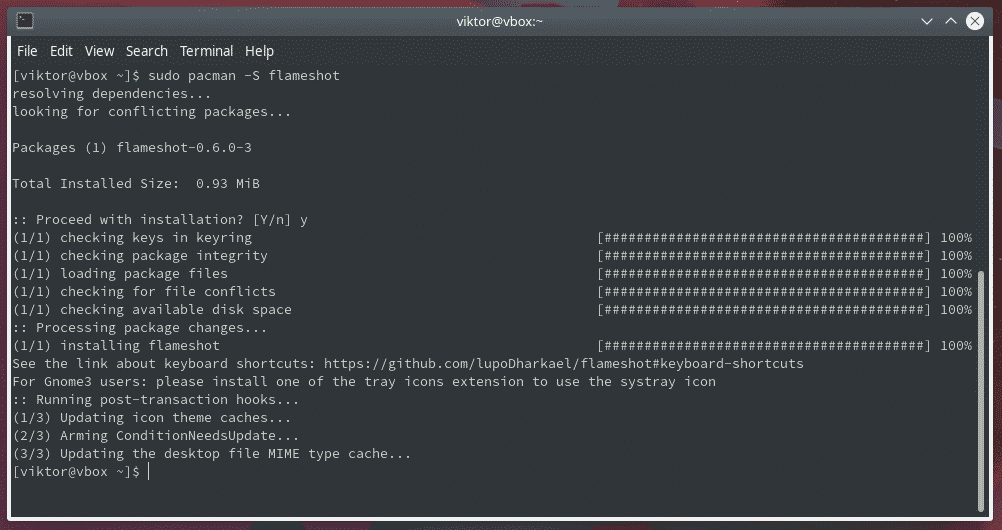
Installing Flameshot is quite easy. Fire up the terminal and tell pacman to perform the installation. It’s in the official Arch Linux repository.
Once you launch Flameshot, it’ll stick at the corner of the panel.

When clicked, it’ll trigger the tool and let you take a screenshot.
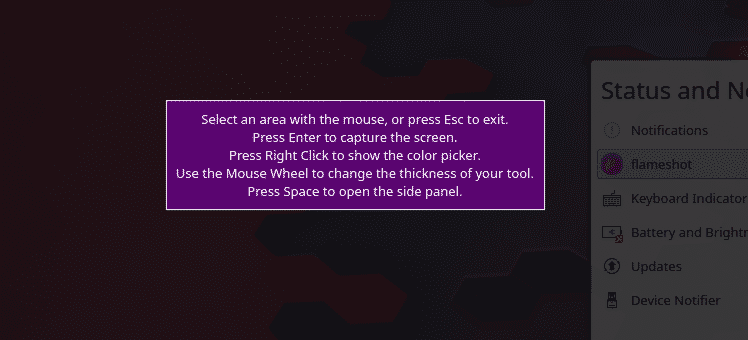
As the message shows, you can capture an area or, the entire screen.
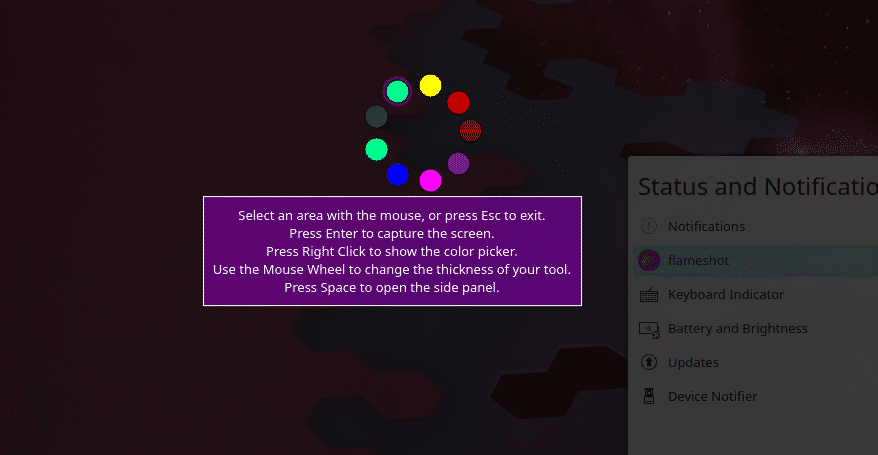
Interestingly, you can also choose the color of the pen from a handful of colors. Needless to say, for a quick highlight, those are more than enough.
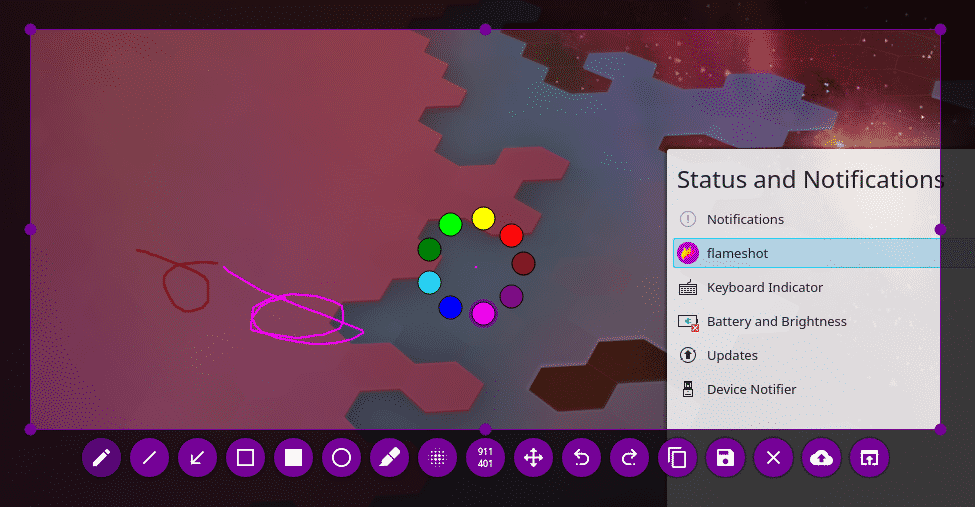
You’ll also notice the whole bunch of additional tools for editing the screenshot. Hover the cursor on the tools for seeing what that tool does.

When you’re ready, you can save the image to your local storage or upload to Imgur!
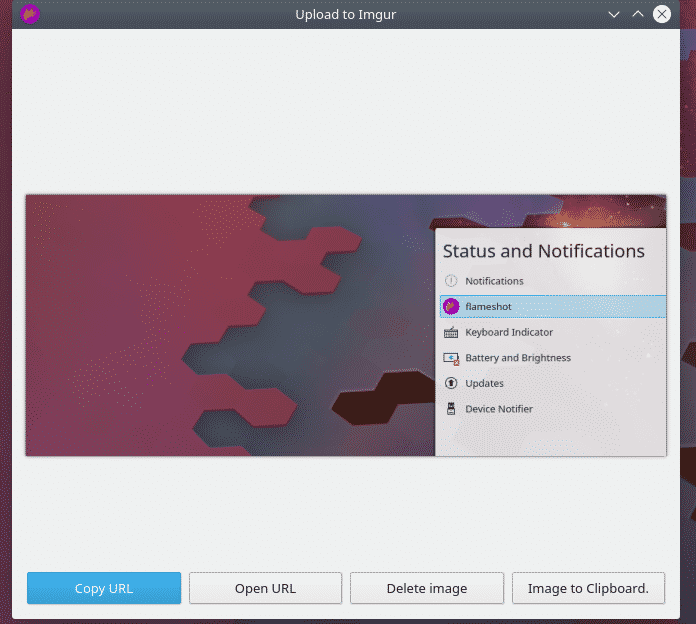
Shutter
It’s not available on the official Arch repository. Instead, it has to be installed from AUR. Don’t worry; it’s quite simple.
Prepare your system for building packages from AUR.
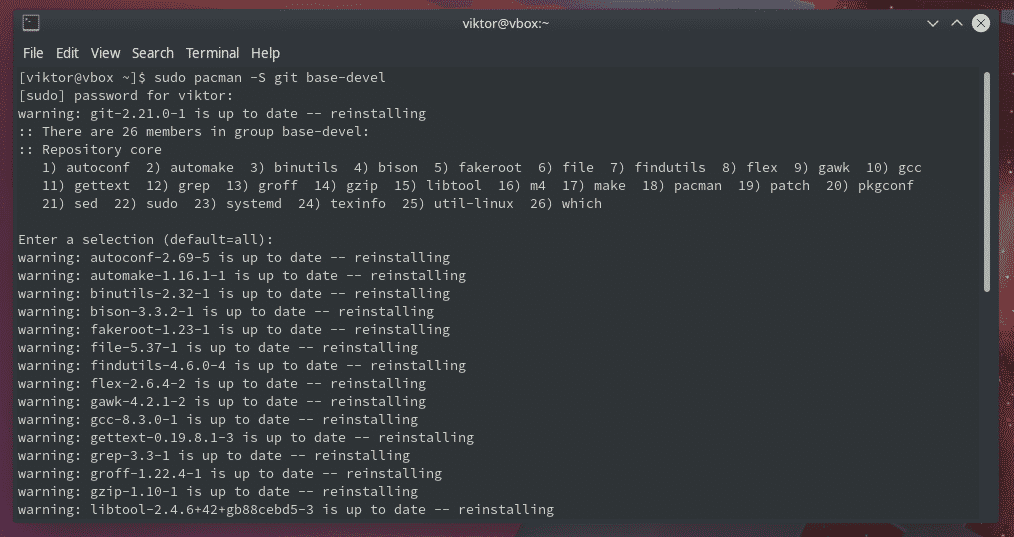
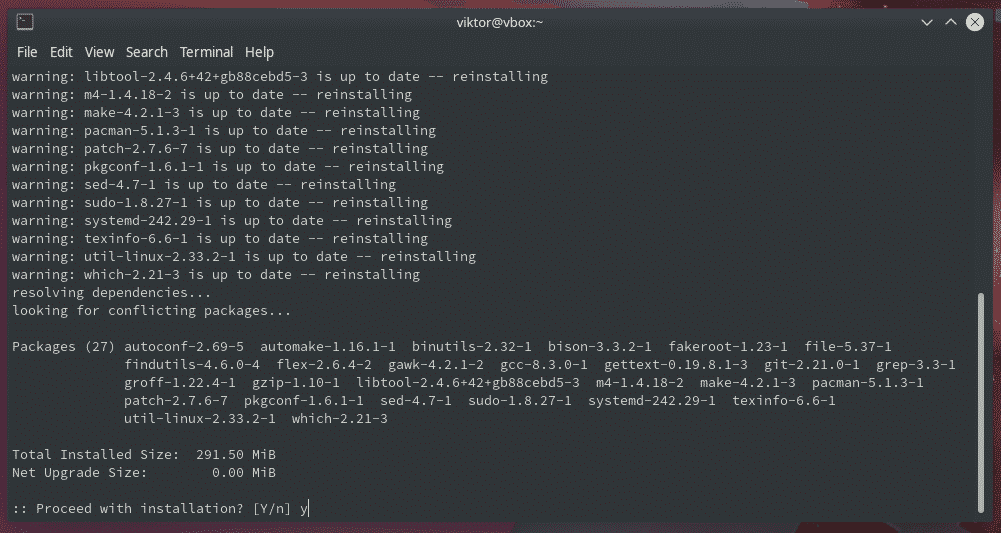
It seems like manual building of Shutter is troublesome for dependency issue. So, you need a suitable AUR helper to do the job. I recommend using Yay.

makepkg -si
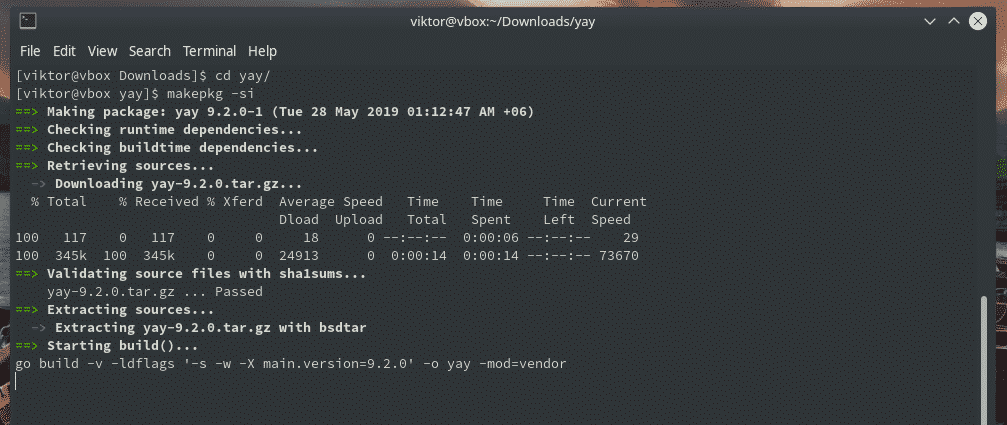
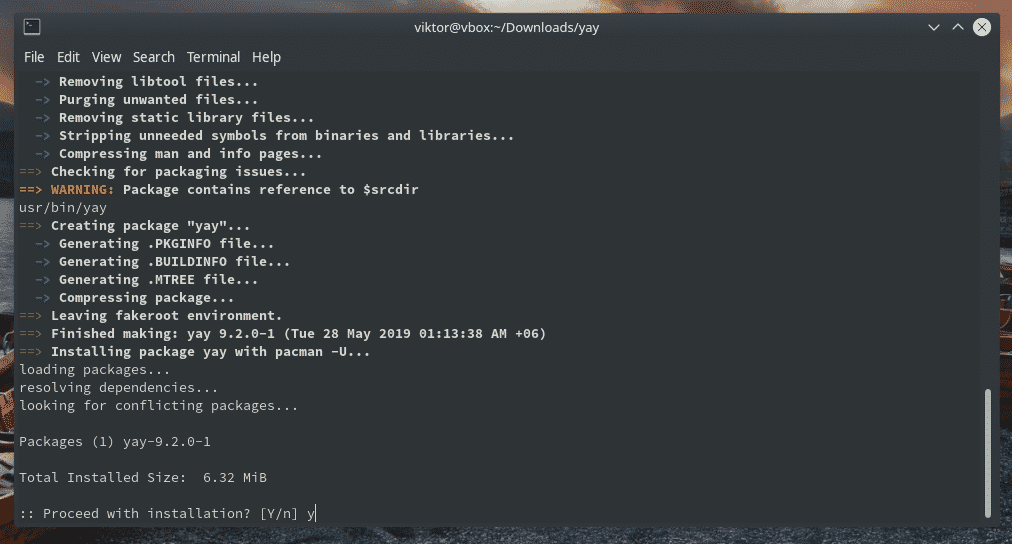
Use Yay to install Shutter.
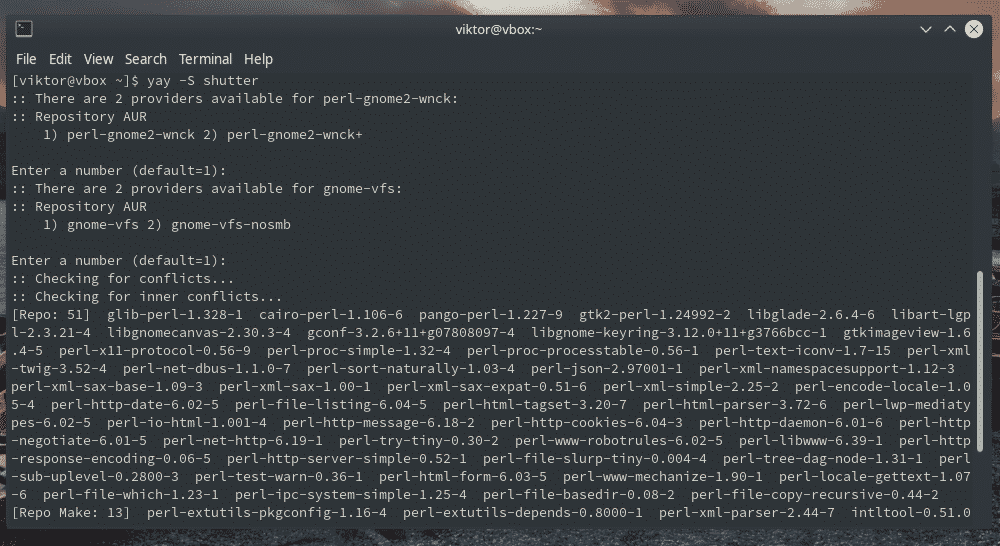
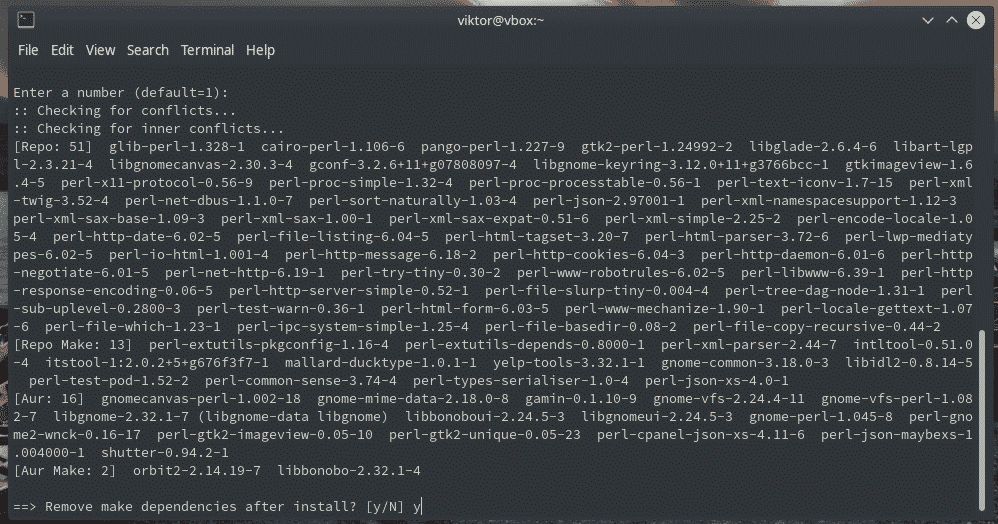
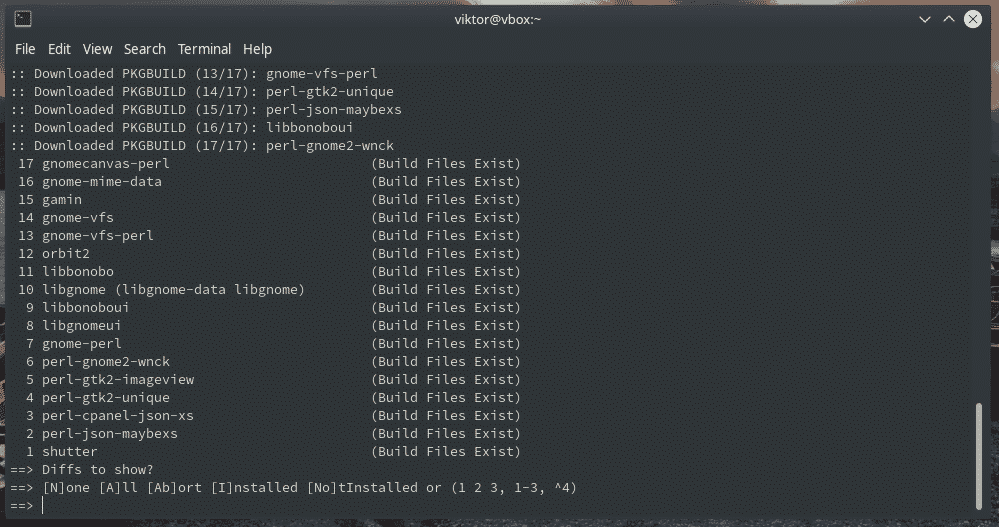
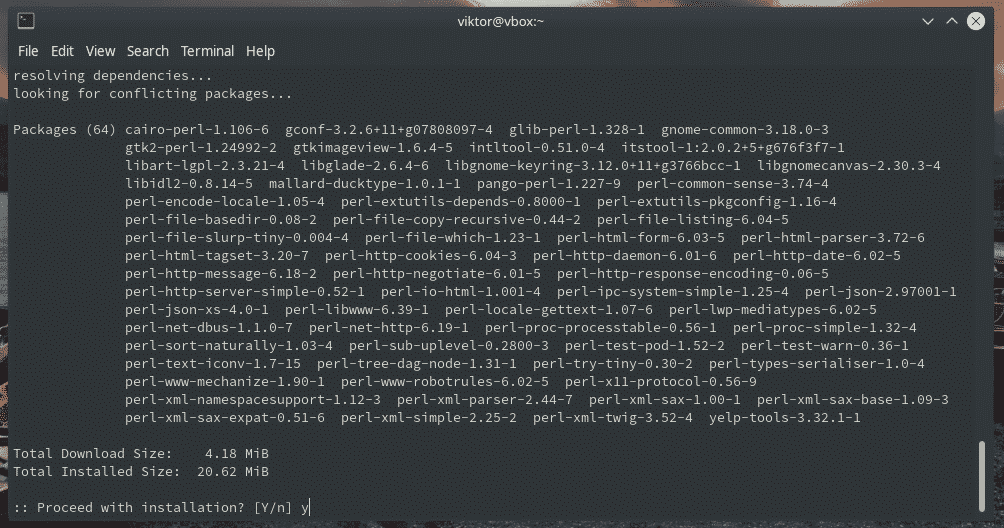
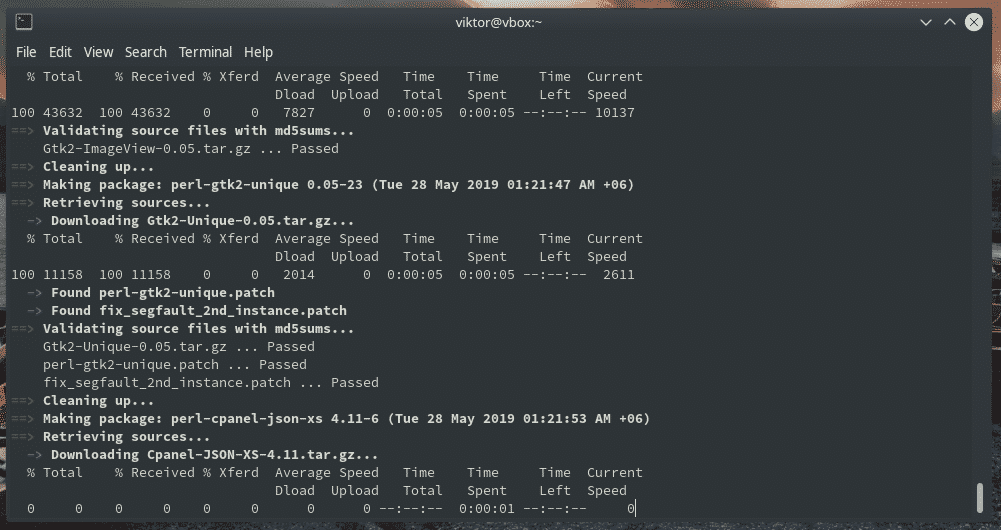
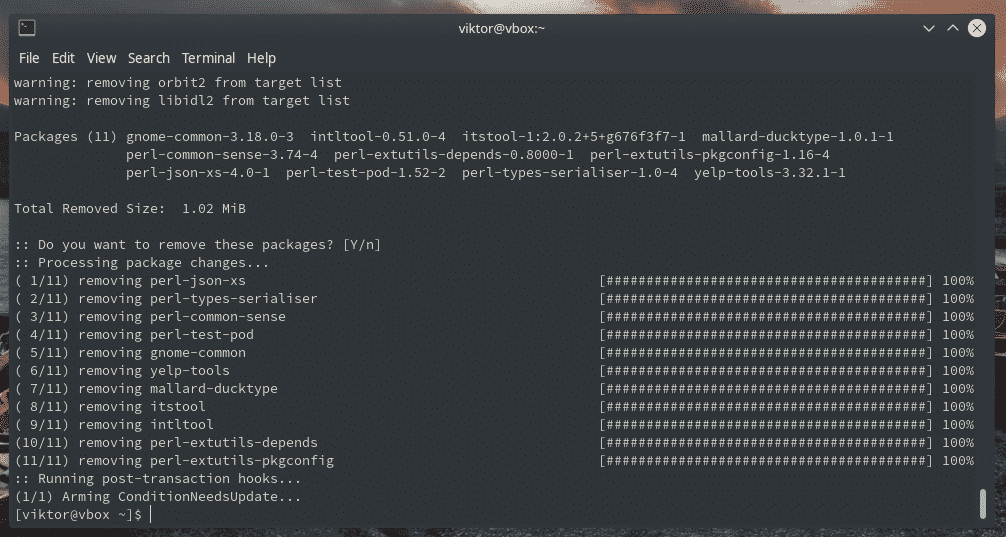
Once the installation is complete, you can start Shutter from the menu.
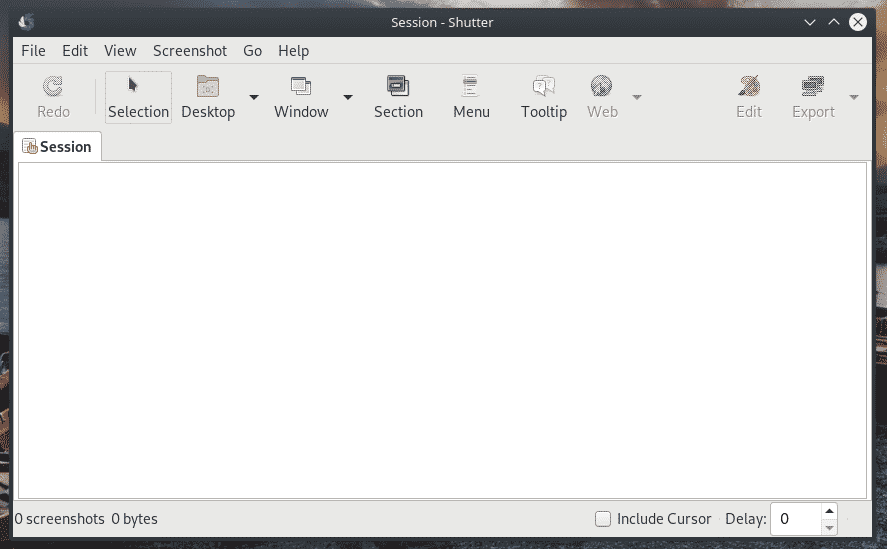
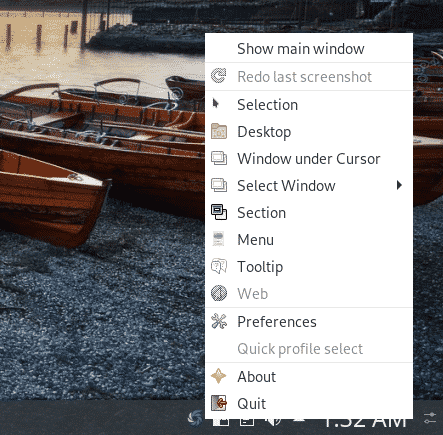
We’ll be focusing on the Shutter icon at the corner of the panel.

Right-click on it and you’ll have a handful of options for taking screenshots.
The screenshot is captured. Now, you can do whatever you want with the tool. Shutter is a powerful image editor.

Kazam
It’s another simplistic screenshot tool with an interesting ability. Besides taking screenshots, you can live stream directly on YouTube!
Getting Kazam is quite simple if you have any good AUR helper (like Yay). Check out “Shutter” where we had to install Yay for easier Shutter installation.
Tell Yay to install Kazam.
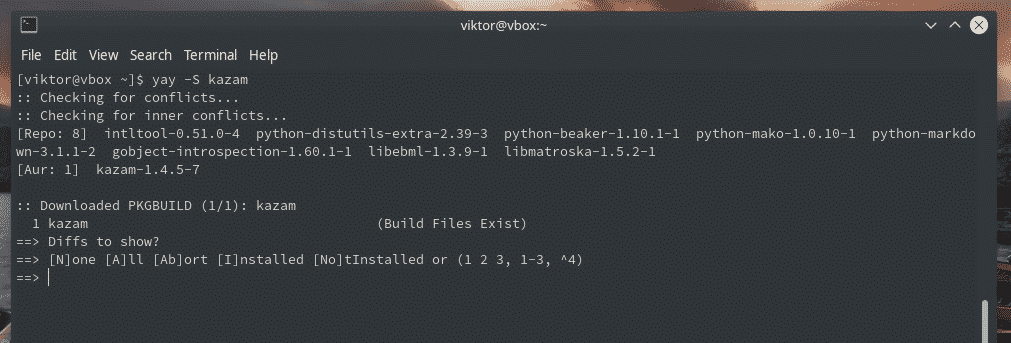
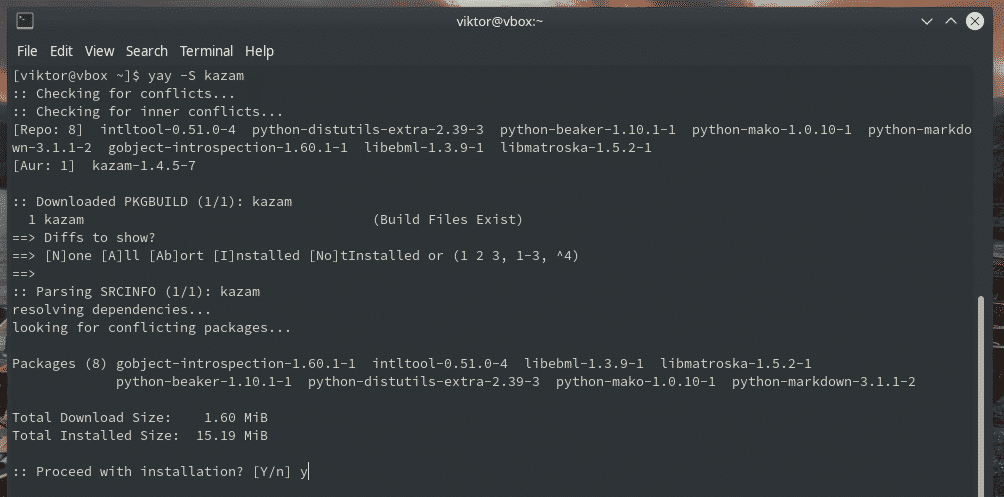
Installation complete? Start Kazam.
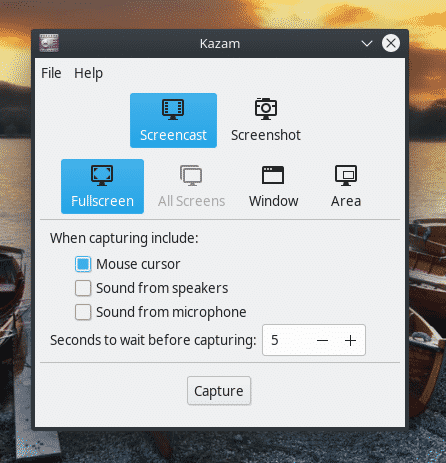
As you can see, it offers both options: screenshot and screencast. It acts just like the classic GNOME Screenshot but a slightly beefed up edition.
Final thoughts
Taking screenshot is a regular thing for a lot of us. With these screenshot tools at hand, there’s no need to worry about. Of course, there are other apps for taking screenshots. If you’re interested, feel free to explore your way around.


