Installing Quota Management Utilities on Ubuntu:
On Ubuntu/Debian, you can install the quota package from the official package repository of Ubuntu/Debian. The quota package installs the required programs which are essential to work with quotas.
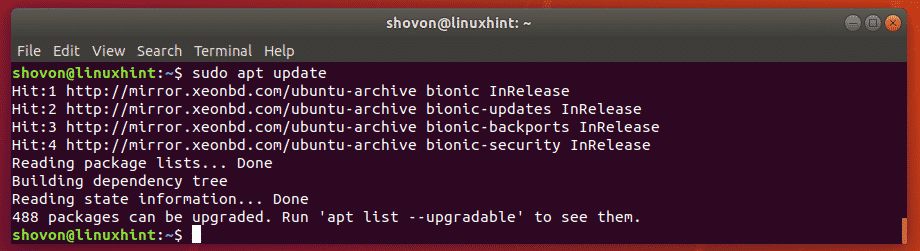
First, update the APT package repository cache with the following command:
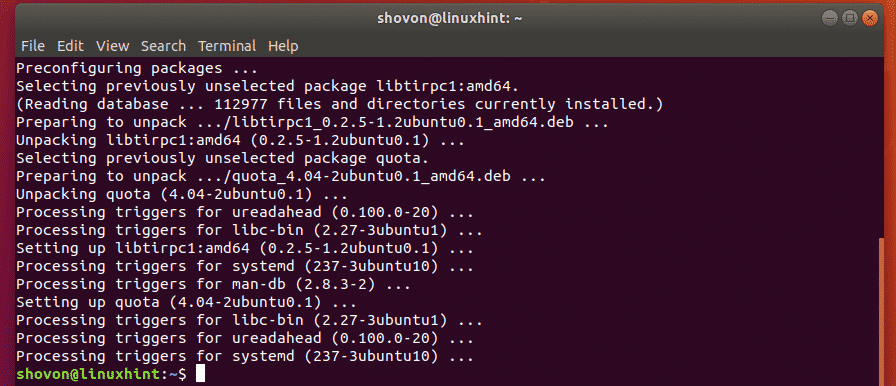
Now, install the quota package with the following command:

Now, press y and then press <Enter>.

The quota package should be installed.
Enabling Filesystem Quota:
I’ve already told you that there are 2 types of quota, user quota and group quota. You can enable either user quota, or group quota or both depending on your need.
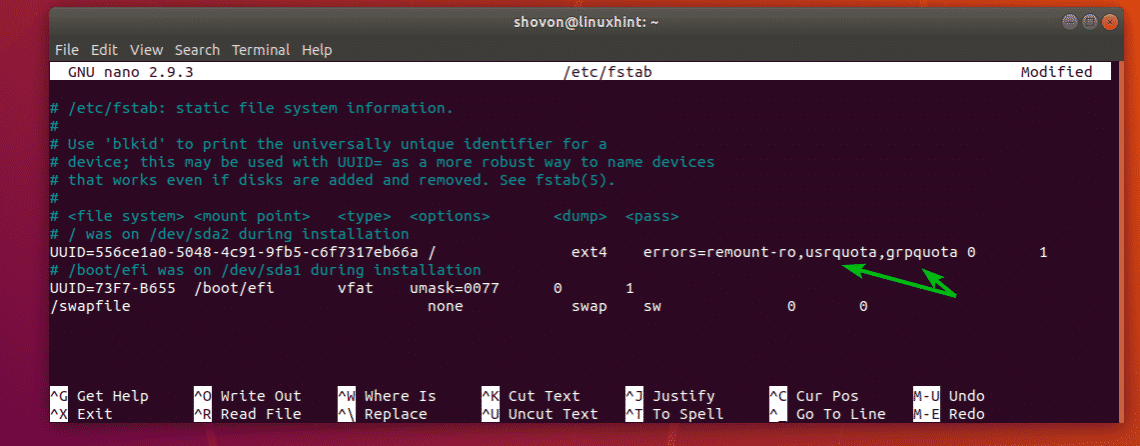
To permanently enable quota on a filesystem, open /etc/fstab file with the following command:

Now, add usrquota and/or grpquota options in the options field (4th) of the filesystem for which you want to enable quota in the /etc/fstab file. Once you’re done, save the file by pressing <Ctrl> + x followed by y and then press <Enter>.
NOTE: To enable only user quota, use the usrquota option only. To enable only group quota, use the grpquota option only. To enable both user and group quota, use usrquota,grpquota option.
Now, reboot your computer for the changes to take effect.
If you just want to try out quota, then you can use the mount command to temporarily enable quota on a filesystem.
To temporarily enable quota on the root filesystem, run the following command:

Initializing Quota on Filesystems:
Now, to get the filesystems ready to use quota, you have to run the quotacheck command on each one of filesystem you want to use quota on.
Let’s say, you want to use only user quota on the root (/) filesystem. To do that, initialize quota as follows:
If you want to use group quota only, then the command would be,
If you want to use both user and group quota, then run the following command:

Now, turn on quota on the root (/) filesystem with the following command:

As you can see, quota is turned on.

If you for some reason decide to turn off quota, then you can do so with the following command:
Working with User Quota:
Now, let’s say you want to add disk quota for the user bob. To do that, run the following command:

You should see the following window.
There are some terms that you should know.
Filesystem: It is the disk partition where this quota is to be applied. In my case, it’s /dev/sda2, the root (/) filesystem partition. Don’t try to change it.
Blocks: This is the number of disk blocks the user bob can use. You can find the block size of your disk partition with the following command:
As you can see, the block size in my case is 4096 bytes or 4KB.

You can’t use megabyte or gigabyte unit here directly. You have to convert it to equivalent block size first. Then, use the block size here.
Let’s say, you want to let the user bob use only 1 GB of disk space. 1 GB = 1024 MB = 1024 * 1024 KB.
How many blocks? Well, (1024 * 1024 / 4) = 262144 blocks for each gigabyte
There are 262144 blocks for each gigabyte. So, for 5 GB of disk space, the block size is 5 * 262144 = 1310720
Easy right?
Inode: It is the number of files you can create in a filesystem. So, if the user bob is allowed to have 1000 inodes, then he can create only 1000 files or directories. Even if the total size of 1000 files or directories is less than the number of blocks he can use, he won’t still be able to create any new files or directories. So, I would keep it a little high.
A good measure is keeping it about 60-70% of the total block size.
So, for a block size of 262144, a good enough inode number is 157280 or 183500.
Soft and Hard Limit: Both block and inode can have a soft and a hard limit. A user or group can exceed soft limit for a certain number of days called grace period. But in no means they are allowed to exceed the hard limit. You can put 0 for soft limit to disable soft limit if you want. In this case, only hard limit will be used.
NOTE: You should only set the soft and hard limit. Don’t modify the values of the blocks and inode columns. They represent the blocks and inodes that the user is currently using.
I set the quota for the user bob as follows. Once you’re done, save the file. The quota should be applied.

Working with Group Quota:
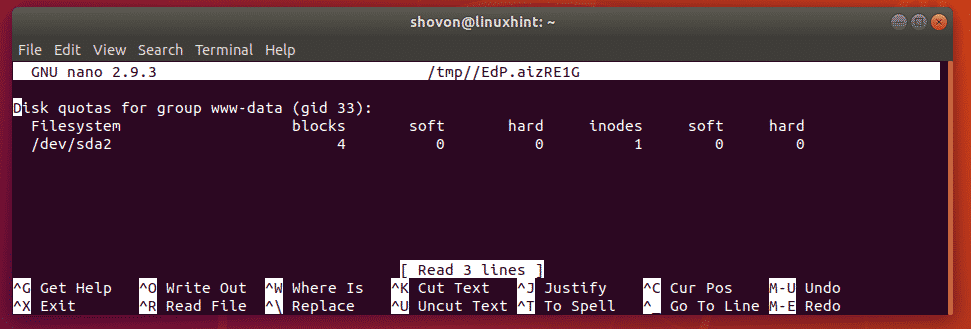
To set a group quota for the group www-data (let’s say), run the following command:

Now, you can set group quota the same way as user quota.
Changing Grace Period:
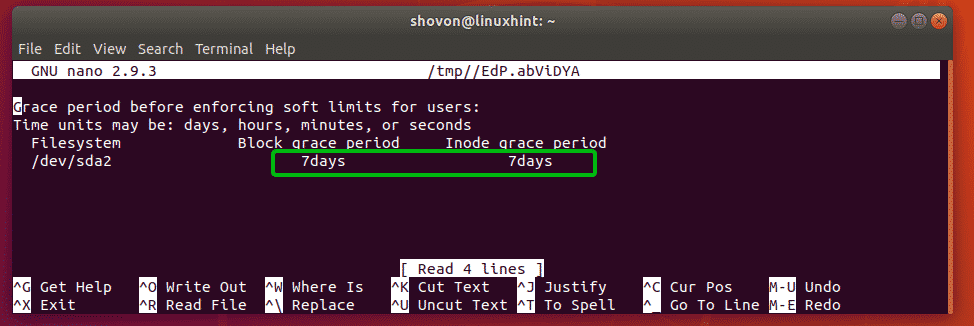
To change the grace period for the soft limit, run the following command:

Now, change the number of days for block and inode grace period depending on your need. Once you’re done, save the file.
Generating Quota Reports:
To generate quota usage reports, run the following command:
As you can see, the user and group quota report is generated.
If you only want to generate user quota reports, then run the following command:
The same way, if you only want to generate group quota reports, then run the following command:
So, that’s how you use quota on Ubuntu. Thanks for reading this article.