Requirements
To get started, we have a lab setup as shown:
- RHEL 8 (Ansible Control Node) IP: 192.168.43.44
- Ubuntu 18.04 Server (Managed host) IP: 192.168.43.103
- A stable internet and network connection
The RHEL 8 system will serve as our Ansible Control node, from where we will connect to and manage the remote Ubuntu 18.04 Server.
Install Ansible on RHEL 8
Let’s jump right in!
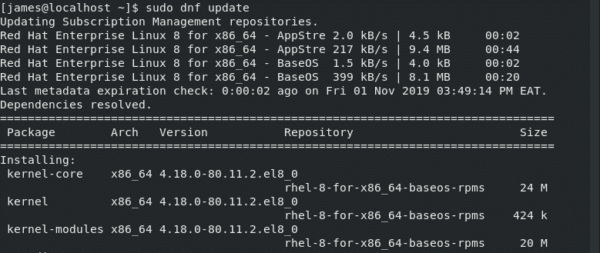
Step 1: Update RHEL 8
To install Ansible, first log in to your system and update the system packages using the command:
Sample output
After successfully updating the system, you should get the prompt below

Step 2: Install Python3 on RHEL 8
By default, RHEL 8 comes with Python3 installed. If by any chance Python3 is missing from your system, simply run the command:
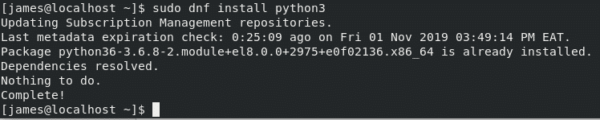
As you can see from the output above, Python3 is already installed. To verify its installation, run the command:
Sample output

From the output above, the latest version of Python – 3.6.8 – is installed by default.
Step 3: Install Ansible
With the prerequisites in check, now proceed and install Ansible using the commands:
Sample output

Next, run the command below to install Ansible:
Sample output
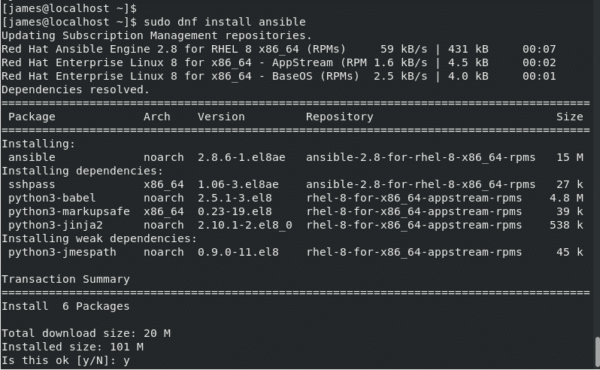
After successful installation, you should get the following output:

To check Ansible version simply use the command:
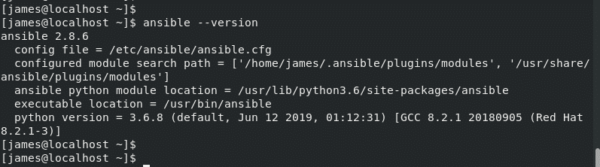
Ansible’s configuration file is ansible.cfg located at /etc/ansible/ansible.cfg.
Great! we have successfully installed Ansible on RHEL 8.
In the next section, we shall configure our Ansible Control node to communicate with and manage the remote Ubuntu 18.04 server system.
Step 4: Configure Passwordless SSH connection to the remote host
To efficiently manage our remote node, we need to configure Passwordless SSH login to it.
First, let’s check whether SSH is up and running on the Ansible Control. Run the command:
Sample output

Great! SSH service is up and running as expected. Verify the same on the remote Ubuntu server host.

With SSH running on both systems, let’s configure passwordless SSH login from the control node to the remote host.
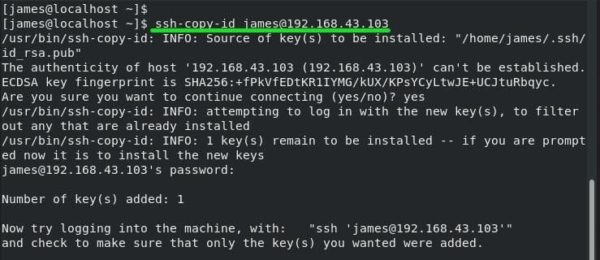
From the Ansible control node (RHEL 8) generate SSH keys as shown:
Press ENTER for all the prompts. You should get the output as shown:
Sample output

The command generates an SSH key-pair i.e Private and Public key. The private key resides on the Ansible control node while the public key is copied to the managed node. To copy the public key to the managed node run the command:
To continue, type Yes and provided the user’s login password.
Thereafter, you will get the notification that the key has been added.
Sample output
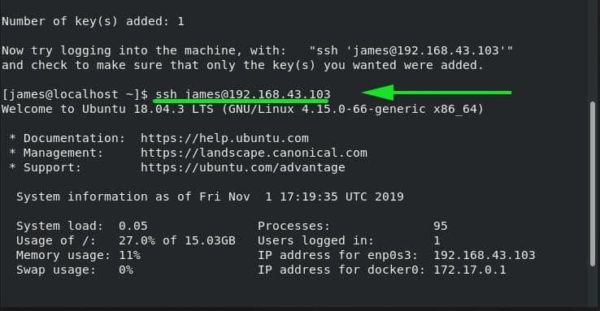
To verify that the Password less login was a success, try logging in using the syntax
For this case, the command will be:
Step 5: Configure Ansible to communicate with Hosts
For Ansible to control and manage remote hosts, we need to define the remote host system in Ansible’s inventory file located at /etc/ansible/hosts.
So, proceed and open the ‘hosts’ inventory file using vim editor
At the very end of the inventory file, specify an arbitrary group name for your host system and add the host’s IP address. For example, webserver is the group name and the IP address defined is the IP address of the remote host.
192.168.43.103

Save and close the inventory file.
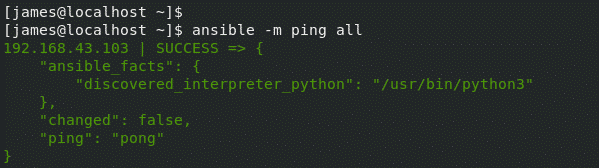
We’re now set to manage our host system. To test connectivity using the ping module , run the Ansible adhoc command as shown.
OR
# ansible -m ping 192.168.43.103
Sample output

If there were hundreds or even thousands of servers, we would use the ping module with the all attribute to test connectivity to the systems using a single command.
And this wraps up this topic on Installing and configuring Ansible automation tool. We have installed Ansible and set it up to manage the remote host system. Your feedback is most welcome.