Ansible is a configuration management and provisioning tool. It is very similar to Chef or Puppet.
The good thing about Ansible is that, you don’t have to install anything on the server you want to manage with Ansible. You just install Ansible on the machine from where you want to manage other servers, usually your Laptop or Desktop.
In this article, I will show you how to install and use Ansible on Arch Linux. Let’s get started.
Installing Ansible
Ansible is available in the official package repository of Arch Linux.
To install Ansible, run the following command:

Now Press ‘y’ and then press <Enter> to continue.

Ansible should be installed.

Now to check whether Ansible is working correctly or not, run the following command:
As you can see from the screenshot below, the version of Ansible installed on my Arch machine is 2.4.3.0. So it is working correctly.

Ansible works using the SSH protocol to connect to different machines for auto management. So you must make sure that SSH is installed on the server or machine that you want to manage or administer with Ansible. I will for the sake of simplicity manage the same Arch Linux machine that has Ansible installed.
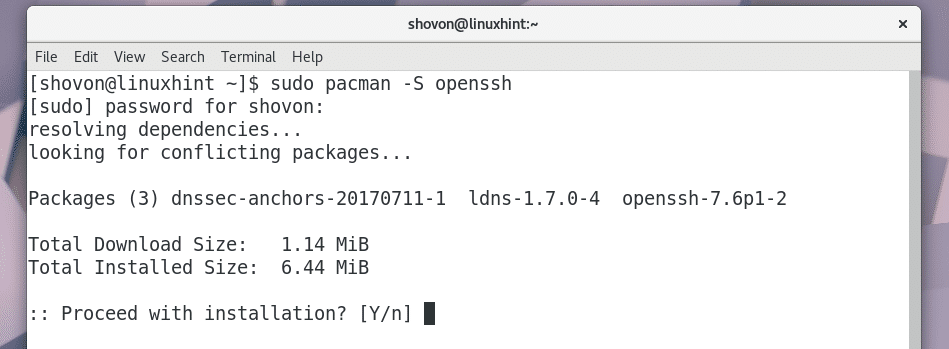
If you don’t have SSH installed on your Arch Linux machine, run the following command to install it:

Press ‘y’ and then press <Enter> to continue.
SSH should be installed.

Now check whether SSH service is running or not with the following command:
As you can see from the screenshot below that it is not running.

You must add SSH to startup. So that it starts automatically on the server you want to manage with Ansible.
Run the following command to add SSH to startup:

SSH should be added to the startup.

Now start SSH with the following command:

Now you can check the status of SSH again and it should be running as shown in the screenshot below.

Using Ansible
The configuration file of Ansible is: /etc/ansible/ansible.cfg.
This is how the default configuration file of Ansible on Arch Linux looks like.

Uncomment (by removing the hash symbol) the marked line from the configuration file and save it.

If inventory = /etc/ansible/hosts configuration is enabled, then you can specify what hosts you want to manage in /etc/ansible/hosts file.
Now create a new file /etc/ansible/hosts with the following command:

Now add the IP address or hostname of the servers that you want to manage with Ansible. In my case, I am adding linuxhint and 127.0.0.1 to the file as shown in the screenshot below.

Now you have to generate a SSH key with the following command:

Press <Enter> to continue.

Press <Enter> to continue.

Press <Enter> to continue.

A SSH key has been generated.

Now you have to copy the public key to the linuxhint and 127.0.0.1 servers. So that you can login to these servers without any password. If the servers prompt for a password every time, then it will be hard to automate tasks with Ansible.
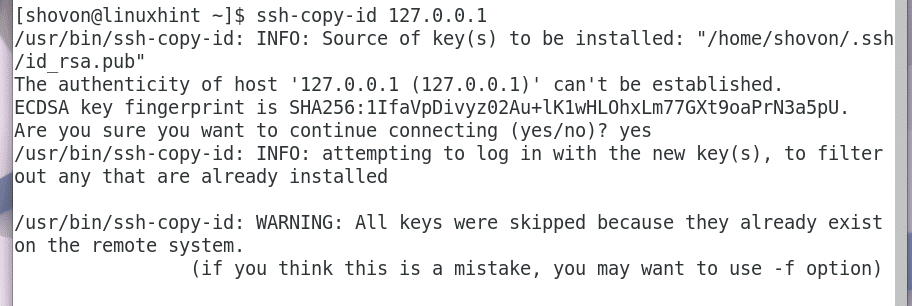
Run the following command to copy the SSH key to linuxhint server:

Press ‘yes’ and then press <Enter> to continue.

Enter the password and then press <Enter>.

The SSH key should be added.

Now you can login to linuxhint server without password as you can see in the screenshot below.

I will do the same for 127.0.0.1 server.
Now you can check whether all the configured servers are up and running with the following command:

As you can see from the screenshot below, the pings were successful for both servers.

You can execute a shell command in all of your servers. The format of the command is:
If you want to execute a shell command in a single server, the format would be:
As you can see from the screenshot below, I execute df -h command in all the configured servers, linuxhint and 127.0.0.1 and the results are displayed.

If you want, you can also execute a shell command in any single configured server as you can see from the screenshot below.

That’s how you install and get started with Ansible on Arch Linux. Thanks for reading this article.