It’s easy to say than performing a task, right? You can ensure that you’ve removed all your unnecessary photos, documents and other files including unnecessary apps. Yet, your system seems burdened. Now what? Time to invite BleachBit – the perfect cleanser for your system.
What BleachBit is
BleachBit is a great tool that knows EXACTLY where all those unnecessary system files are hiding. This is a specialized tool that can help you find out outdated and unwanted files like system cache, system logs, memory dumps and much more. Of course, the files that BleachBit detect are so old that you shouldn’t worry about them anymore.
For Ubuntu, BleachBit is a marvelous tool. Let’s install and cleanse your Ubuntu with BleachBit.
Installing BleachBit
- Method 1
As we’re running Ubuntu, it’s ridiculously easy to get and enjoy BleachBit.
Download BleachBit from the official site. As we’re on Ubuntu, we need the DEB package.
Not sure what version of Ubuntu you’re using? Just run this command on the terminal –
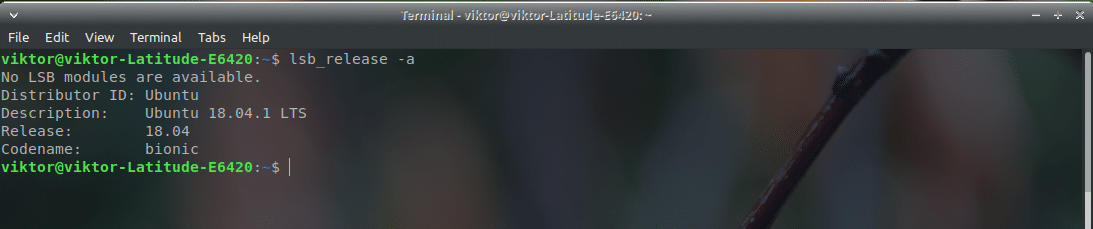
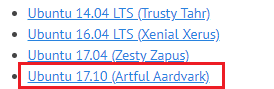
Note that in the BleachBit Linux downloads section, there are a number of Ubuntu packages. Currently, I’m running Xubuntu 18.04 LTS. If your system is older than v18.04 LTS, you should choose the proper one. However, for newer systems (>17.10), use the latest available DEB package. In my case, it’s the Ubuntu 17.10 package.
Download complete? Great! Let’s install it right away!
Launch a terminal and run the following commands –
sudo dpkg -i bleachbit_2.0_all_ubuntu1710.deb
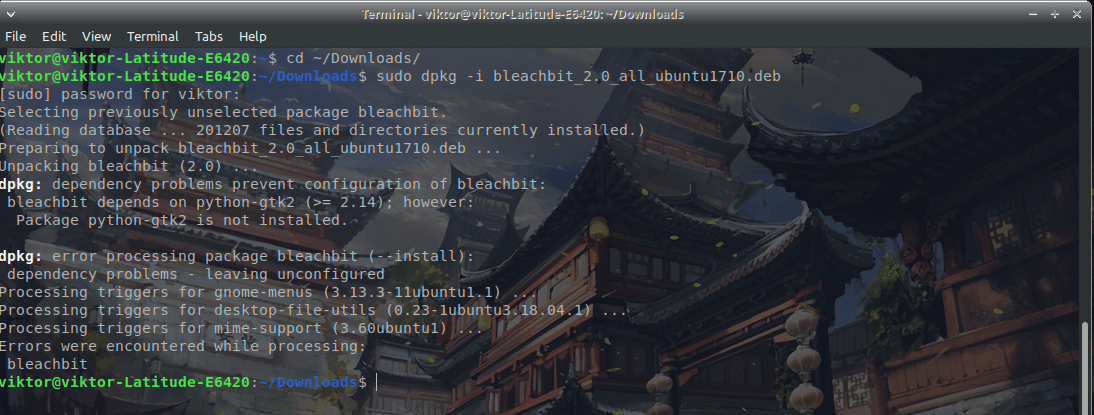
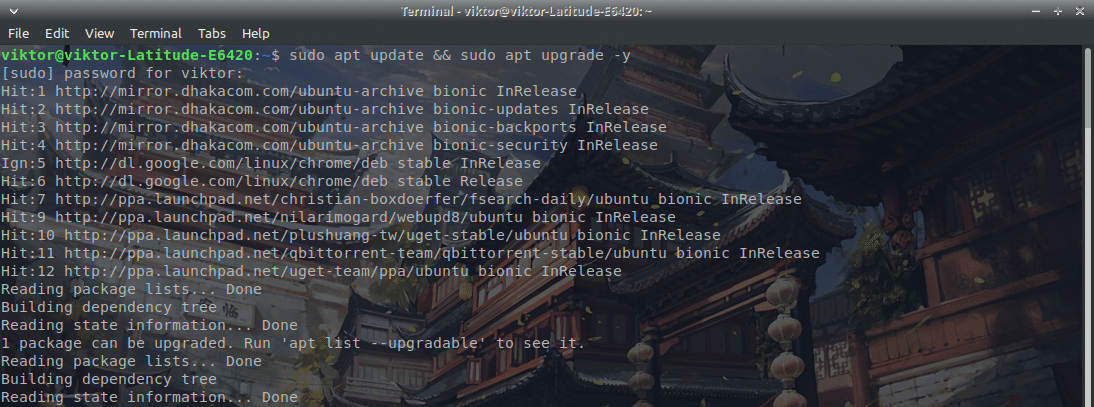
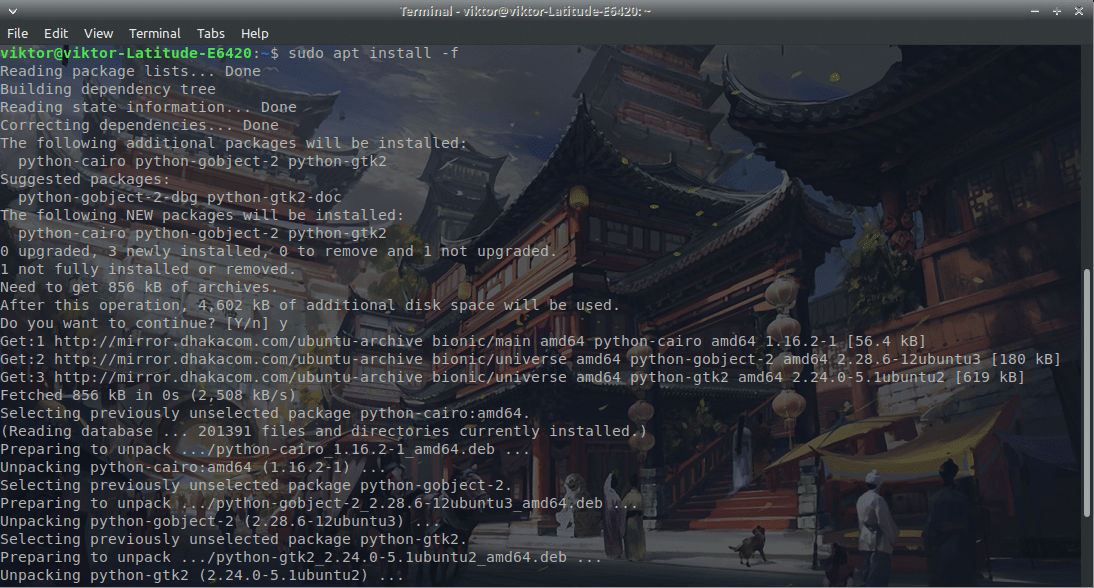
You’ve noticed that there are a number of dependency problems. For installing all the missing dependency for BleachBit, run the following command –
sudo apt install -f
Yahoo! BleachBit installation is complete!
- Method 2
This is the easiest one, to be honest. Just run the following command –
sudo apt install bleachbit

Using BleachBit
We have to make use of this amazing tool. Start the app from the launcher. I recommend running the command in terminal to start BleachBit to avoid any type of permission problem –
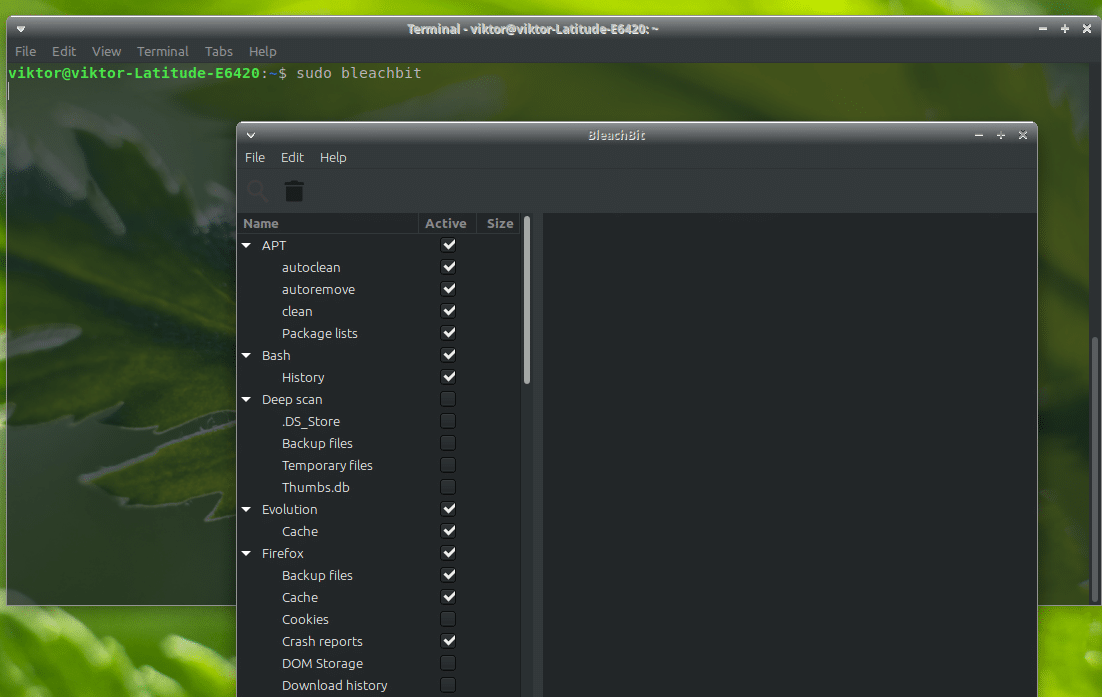
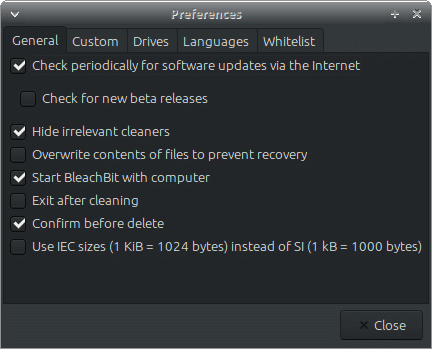
When the program first starts, you’ll have the “Preferences” popup. I recommend checking the option so that BleachBit starts with the system every time.

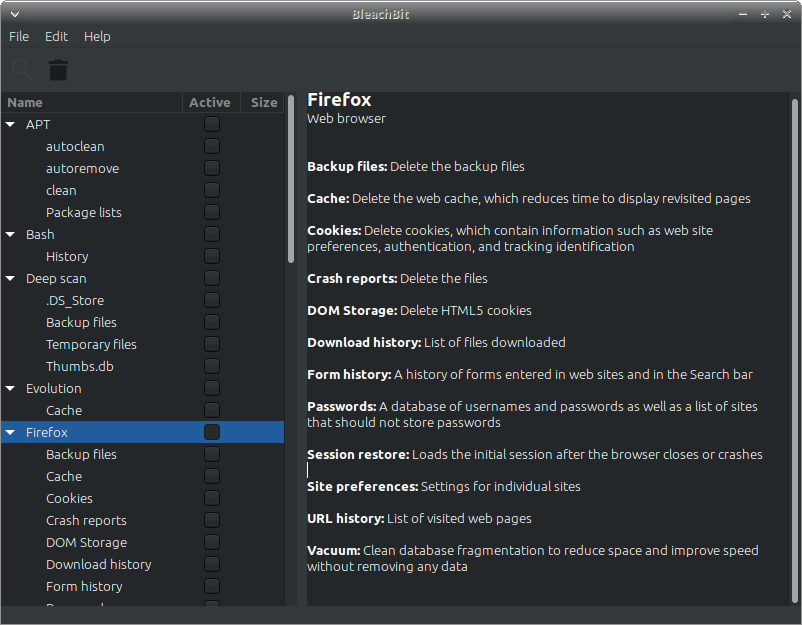
Now, the main window. At the left panel, you’ll see the options. These are the available criteria of all the unwanted files.
I understand that there are a lot to choose from. If you’re not sure, go ahead and click on the option. BleachBit will explain what that criterion is.
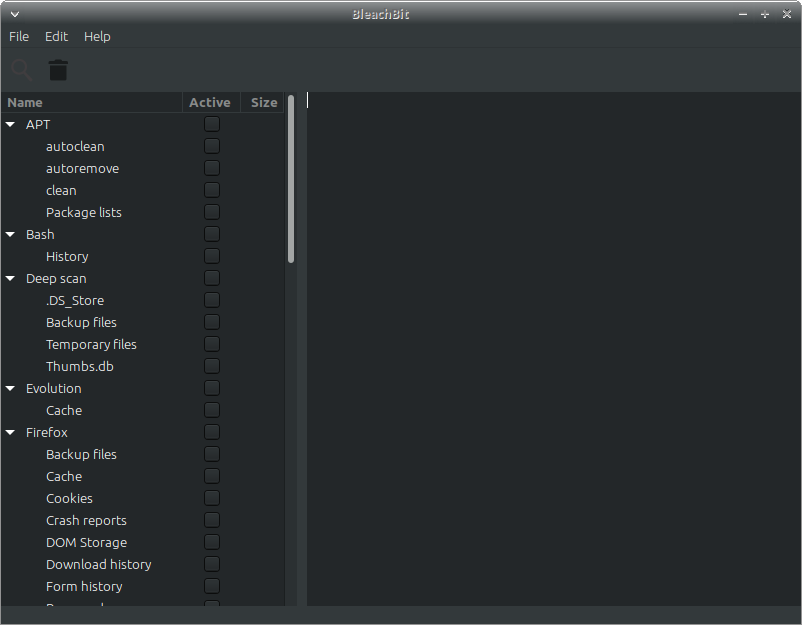
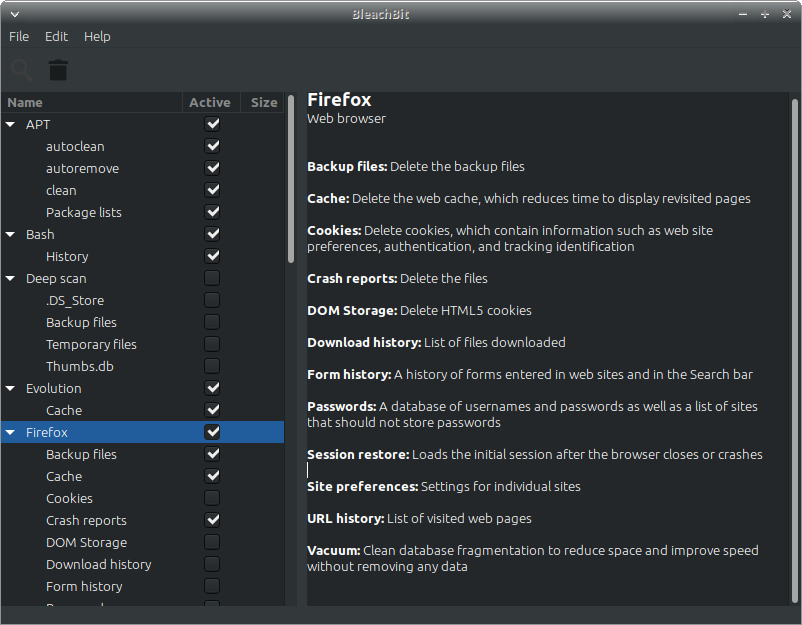
Once you’ve determined what you need to clean, check them out properly.
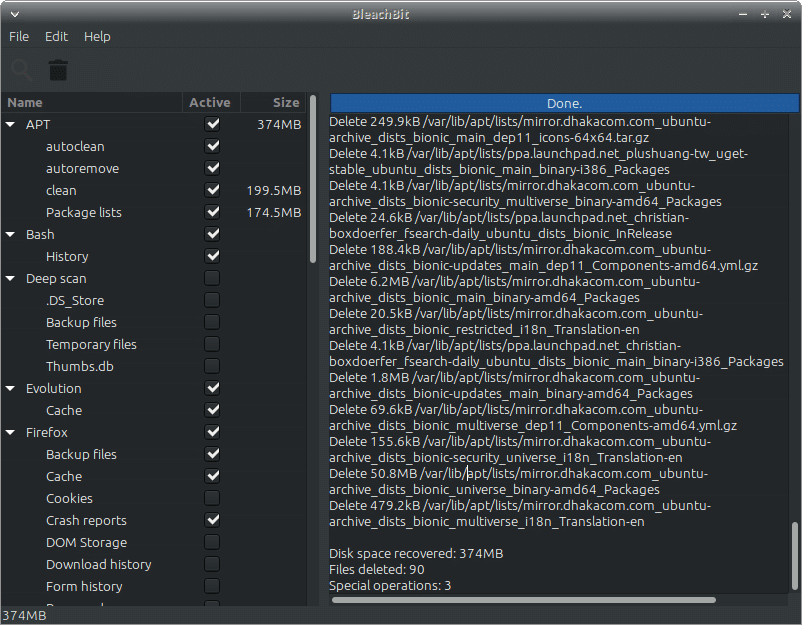
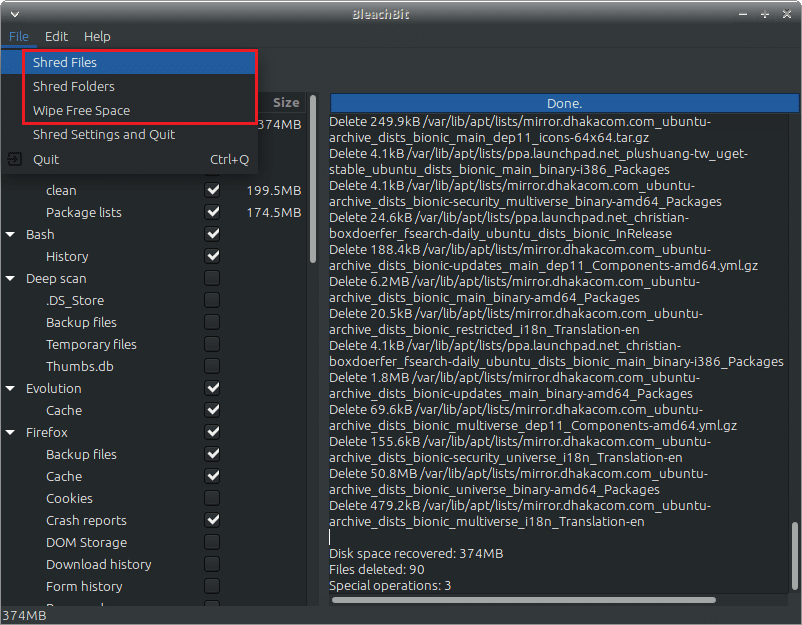
After the selection is complete, click on the delete icon at the top-left corner.
See? The process is complete within seconds! Note that depending on your selections, the cleansing speed will vary. The number and size of junk files also matter a lot.
BleachBit is capable of performing more operations than it seems. You can shred files and folders so that they are not recoverable anymore. Wiping free space will ensure no data is recoverable from the storage. Depending on drive size and storage type, the speed may vary dramatically.
For accessing options, go to Edit >> Preferences. All the options are self-explanatory.
Happy bleaching!


