Docker is an open source containerization system. It is widely used for high density deployment of applications on the cloud. It uses the same kernel as the host operating system to virtualize an operating system. It has a big image repository that you can use to get a container up and running within a few minutes. The Docker image repository has a pre-configured Docker image for almost any type of application and operating system. Let’s say you want to run a PHP web server. You can find it on the Docker image repository and the base operating system might be Ubuntu, Debian or CentOS. There are different images for PHP for each different OS. In this article, I will show you how to install Docker on CentOS 7. Let’s get started.
Installing Docker
I am using CentOS 7.4 as you can see from the output of the following command:
The version of kernel I am using is 3.10.0 as you can see from the output of the following command:
You need yum-config-manager to enable CentOS 7 extras and Docker CE repository to your CentOS 7 machine. yum-config-manager is provided by yum-utils package.
You can install yum-utils package with the following command:
As you can see from the screenshot below, I already have yum-utils package installed on my machine. If you don’t have it, it will be installed.
Now you can enable the CentOS 7 extras repository with the following command:
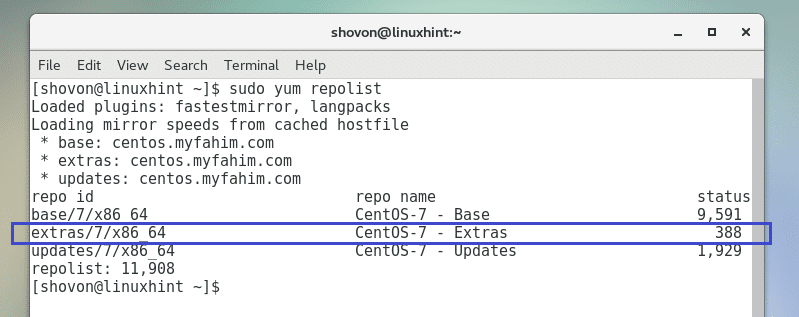
Now run the following command to check whether extras repo is enabled:
As you can see from the marked section in the screenshot below, the extras repo is enabled.
Docker depends on device-mapper-persistent-data and lvm2 package. You can install these packages with the following command:
Now press ‘y’ and then press <Enter> to continue.
device-mapper-persistent-data and lvm2 packages should be installed.
Now you have to add the Docker official repository to your CentOS 7 machine.
You can run the following command to add Docker repository to CentOS 7 using yum-config-manager:
The Docker repository should be added.
Now you can install Docker.
To install Docker on your CentOS 7 machine, run the following command:
Press ‘y’ and then press <Enter> to continue.
Yum package manager should start downloading the Docker packages as shown in the screenshot below.
At a point, you may be asked to accept the GPG key of Docker. Press ‘y’ and then press <Enter> to continue.
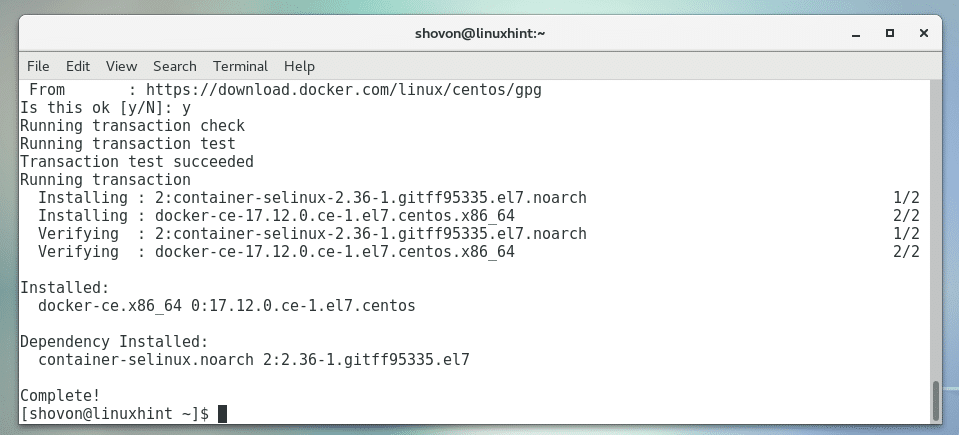
The installation should continue as shown in the screenshot below.
Docker should be installed.
Now you can start Docker system service with the following command:
You should also add Docker service to system startup. So it will start automatically on boot.
You can run the following command to add Docker service to system startup:
As you can see from the screenshot below, Docker system service is added to the startup.
Now add your user to the docker system group. That way you can access all the Docker commands without using sudo.
To add your user to docker group, run the following command:
NOTE: Here shovon is the user of my CentOS 7 machine. Your user name should be different.
Now restart your CentOS 7 machine with the following command:
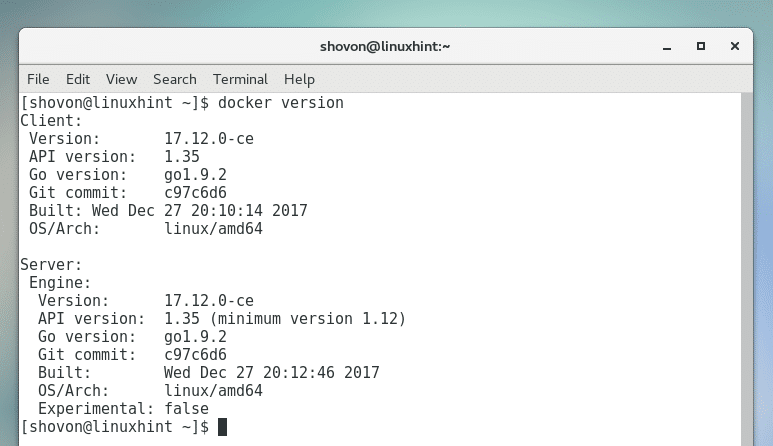
Once your computer starts, you can check whether Docker is working with the following command:
As you can see from the screenshot below, the version of Docker installed on my CentOS 7 machine is 17.12. It is working correctly.
Basic Usage of Docker
You can run a default hello-world container of Docker to test whether it’s working or not.
You can run the following command to run the hello-world Docker container:
The hello-world container image will be searched on the local disk. For the first time, Docker will not find it. So it will be downloaded from the Docker repository. After the image is downloaded, Docker will make a container out of the image and run it as you can see from the screenshot below.
You can list the available Docker containers with the following command:
You can run the following command to find any information you might need about Docker on your system:
As you can see from the output of this command, the status of Docker is printed. Like how many containers you have, how many of them are running, how many of them are paused or stopped, how many Docker images you have downloaded, your configured storage driver, available disk space and many more. It’s a long list of information.
That’s how you install Docker on CentOS 7 and use it. Thanks for reading this article.


