Downloading Elementary OS 5 Juno:
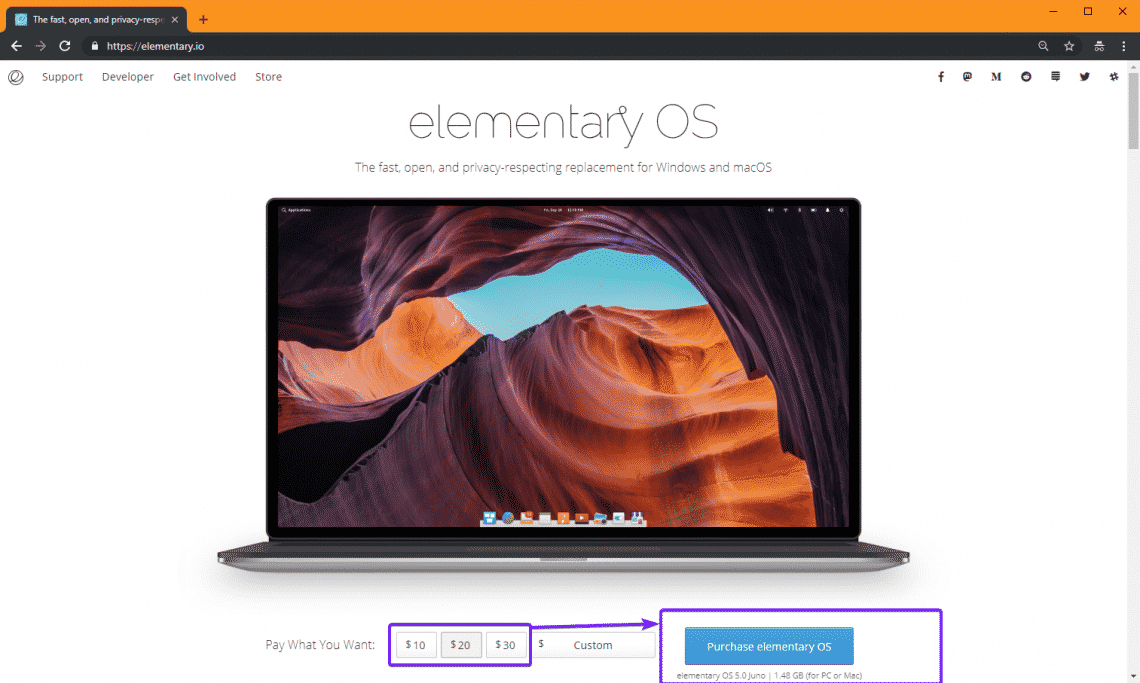
First, go to the official website of Elementary OS at https://elementary.io/ and you should see the following page.
You can pay the Elementary OS project $10, $20 or $30 to download Elementary OS. Just click on the amount and then click on the Purchase elementary OS button as marked in the screenshot below.
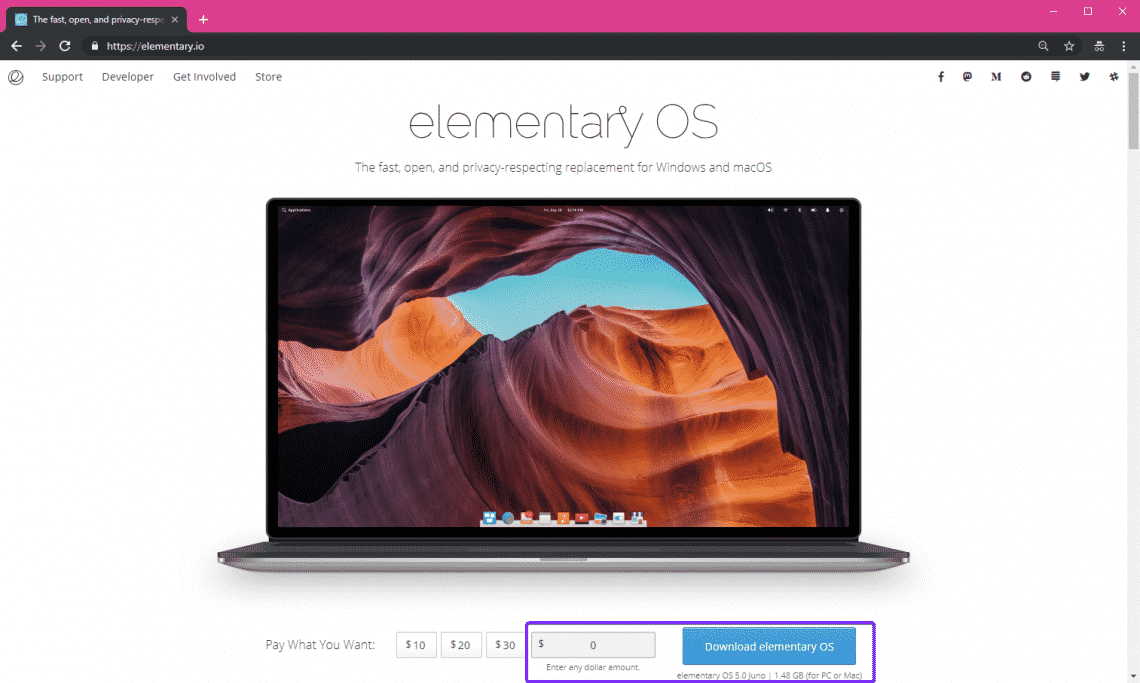
If you want to download Elementary OS for free, click on Custom. Now, type in 0 and Download elementary OS button should show up. Click on it.
Now, click on Download. If you prefer Torrent download, click on the Magnet icon.

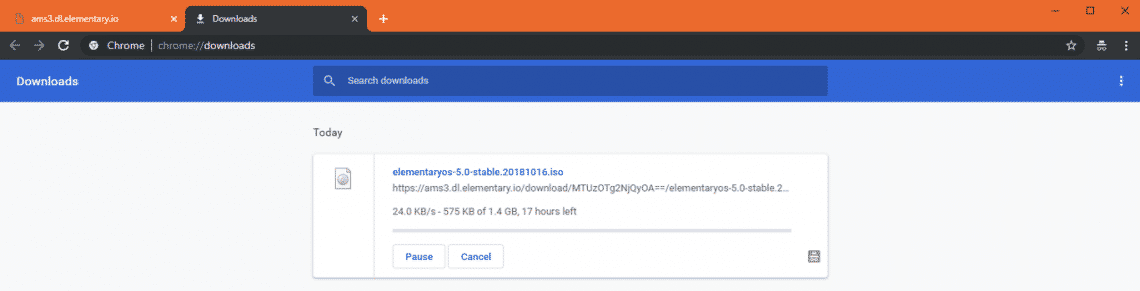
Your download should start.
Making Bootable USB of Elementary OS 5 Juno:
If you’re using Windows operating system, you can easily make a bootable USB thumb drive of Elementary OS 5 Juno with Rufus.
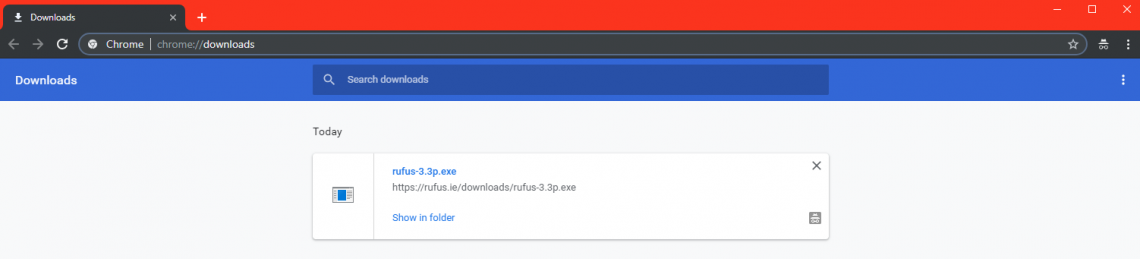
First, go to the official website of Rufus at https://rufus.ie/en_IE.html and scroll down to the Download section. Now click on the Rufus Portable link as marked in the screenshot below.

Rufus Portable should be downloaded.
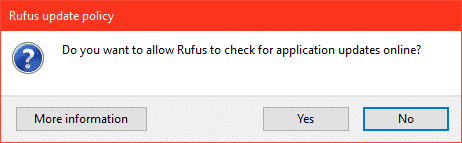
Now open Rufus portable. Click on No.
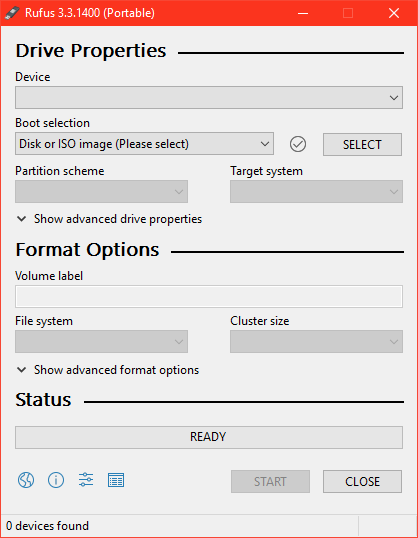
Rufus Portable should start.
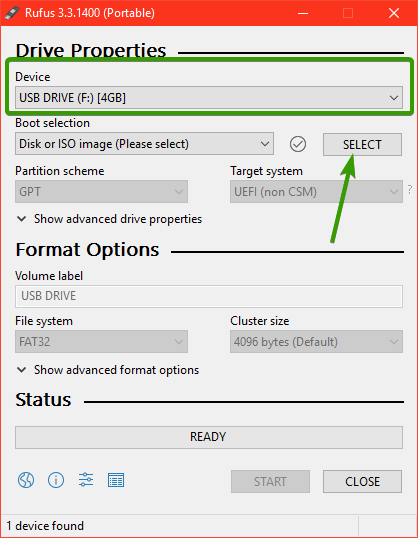
Now insert your USB thumb drive. Rufus Portable should detect it as you can see in the screenshot below. Now click on SELECT.
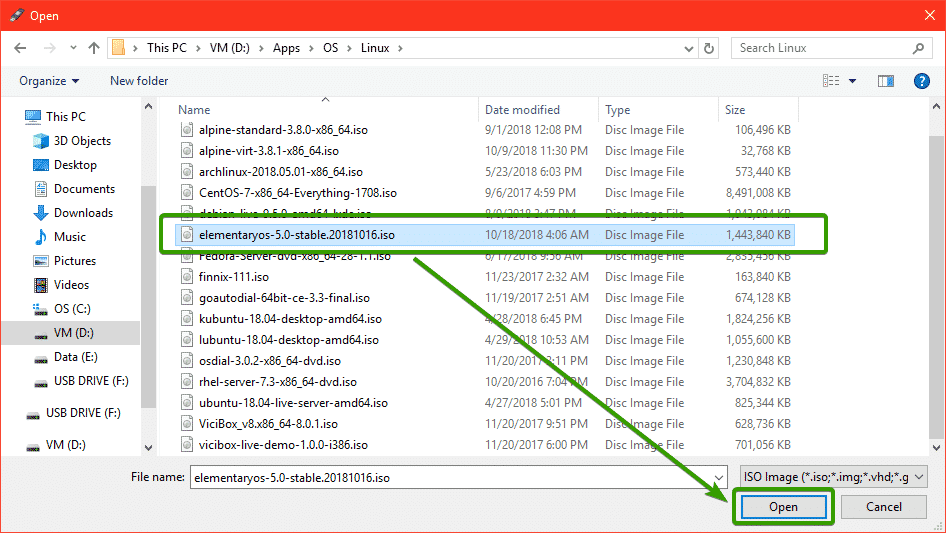
A File Picker should be opened. Now, select the Elementary OS 5.0 Juno ISO file and click on Open.
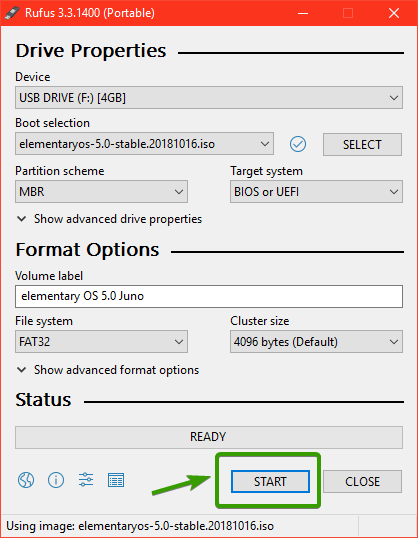
Now, click on START.
Now, click on YES.

Now, click on OK.

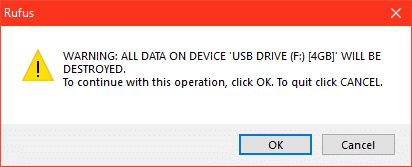
If you have important data on your USB thumb drive, it’s time to move them in a safe place now. Once, you’re sure that you have nothing important on your USB drive, click on OK.
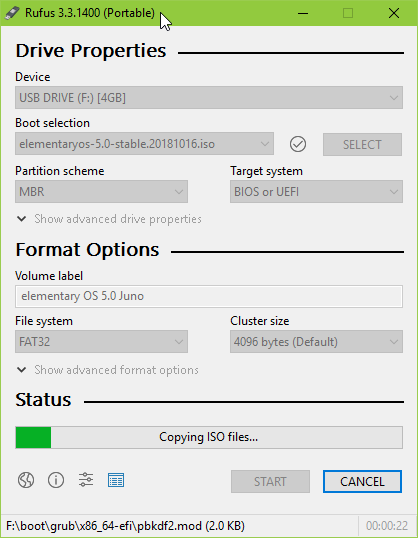
Rufus should start making USB bootable thumb drive of Elementary OS 5 Juno.
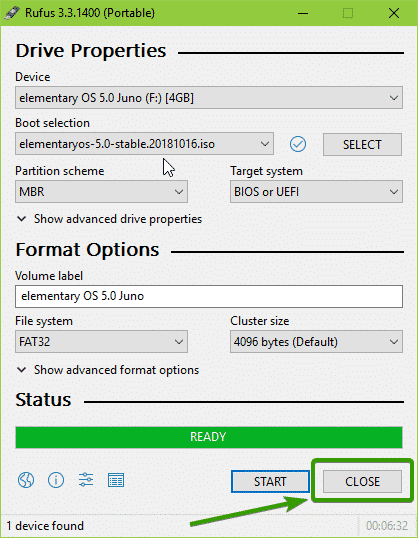
Once it’s complete, click on CLOSE and eject your USB thumb drive.
Now, you can install Elementary OS 5 Juno with your USB Thumb drive.
Booting Elementary OS 5 Juno from USB:
Now, shutdown your computer and insert your USB thumb drive. Now start your computer and press special hotkeys to go to the BIOS of your computer. The key combination that you have to use should be written on the manual of your Motherboard. From the BIOS of your computer, select to boot from your USB thumb drive.
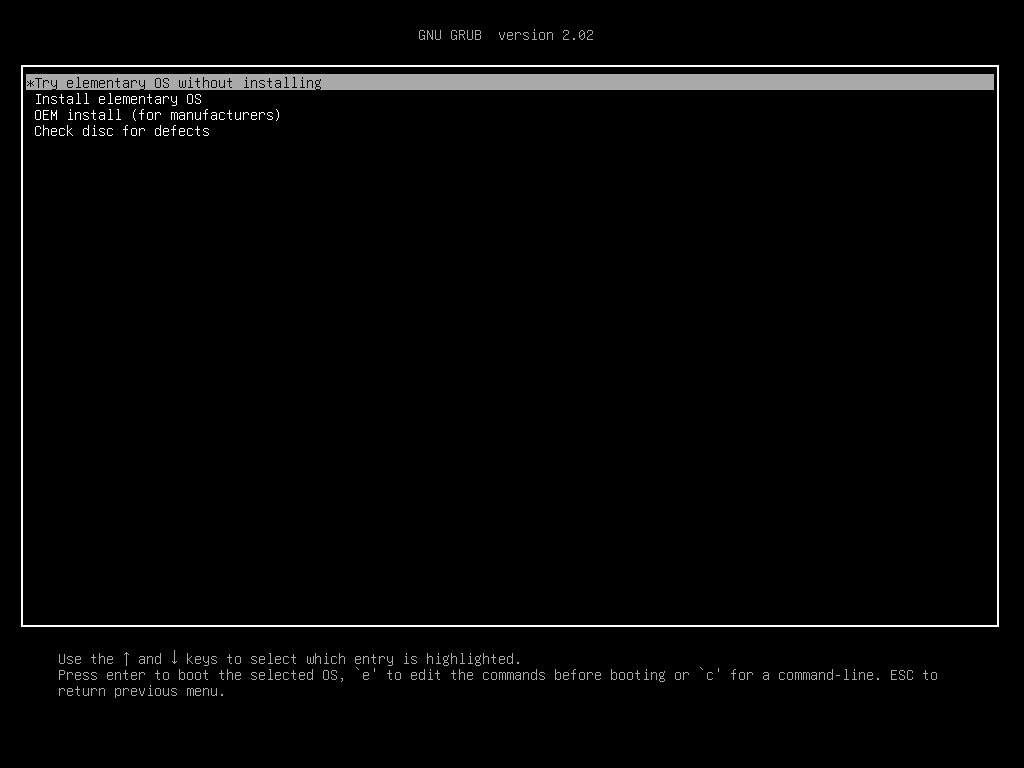
Now, you should see the following GRUB menu. Select Try elementary OS without installing and press <Enter>.
You should be booted into the Elementary OS 5 Juno Live Mode. Now test to see if everything is working. If it does, you can easily install Elementary OS 5 Juno from here.

Installing Elementary OS 5 Juno:
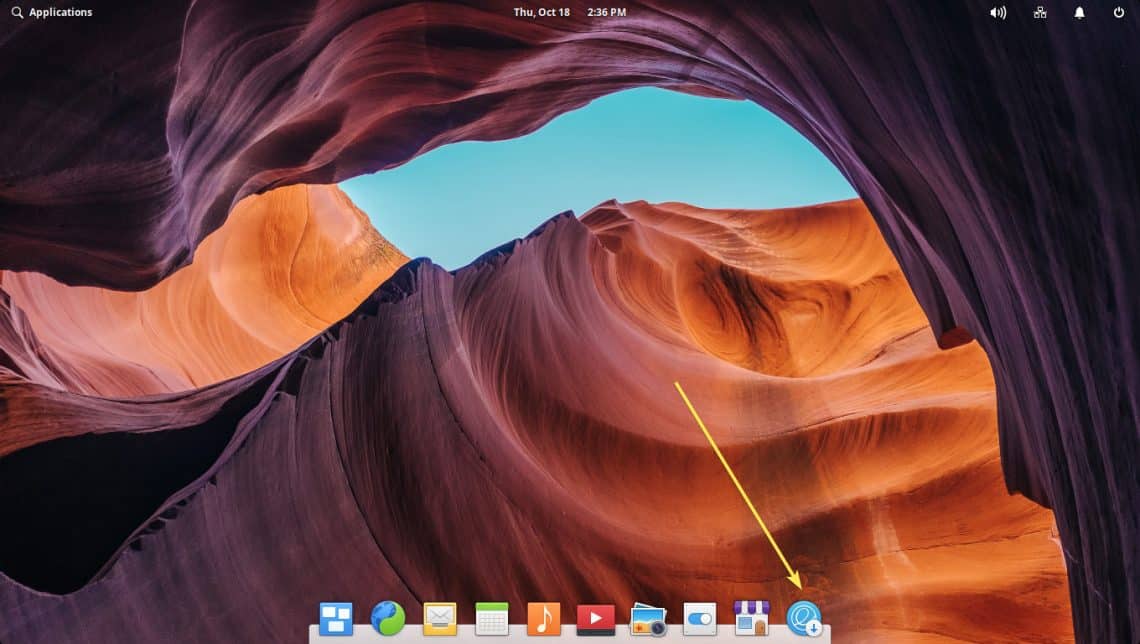
To install Elementary OS 5 Juno, click on the elementary OS logo as marked in the screenshot below.
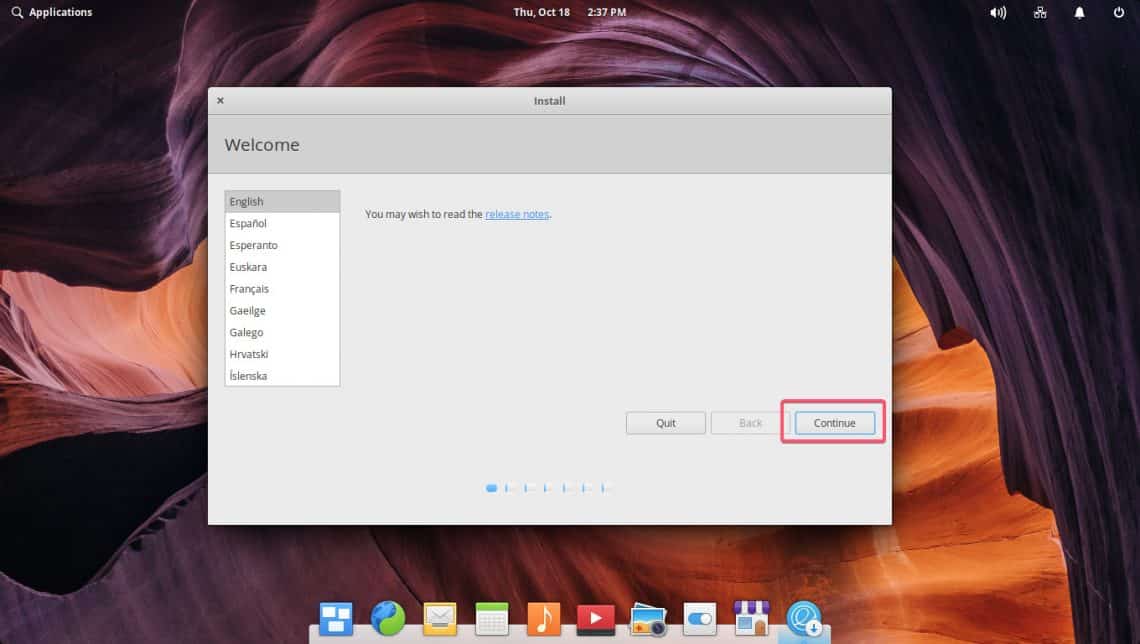
The installer should start. Now, click on Continue.
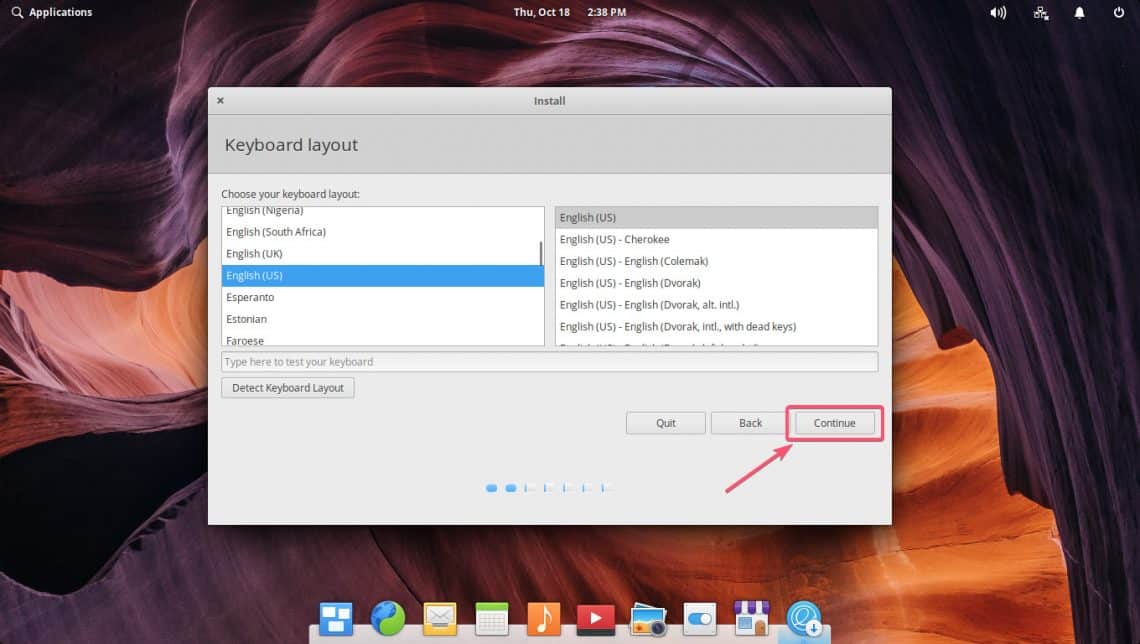
Now, select your keyboard layout and click on Continue.
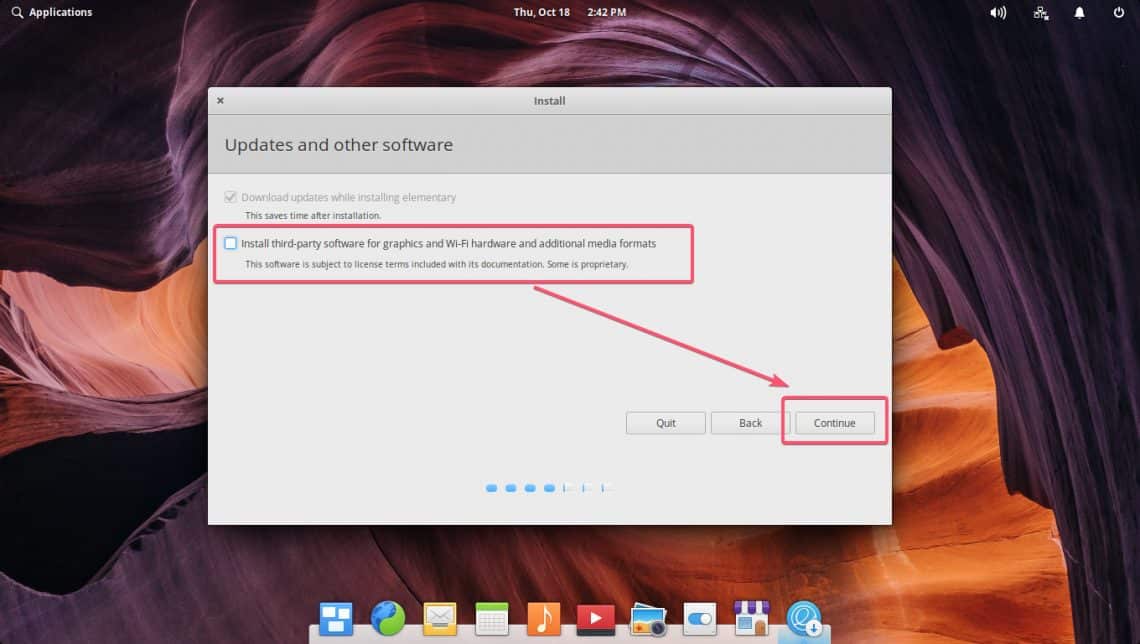
If you want to install multimedia codes and third party proprietary drivers for your hardware, check the Install third-party sofrware for graphics and Wi-Fi hardware and additional media formats checkbox. Now, click on Continue.
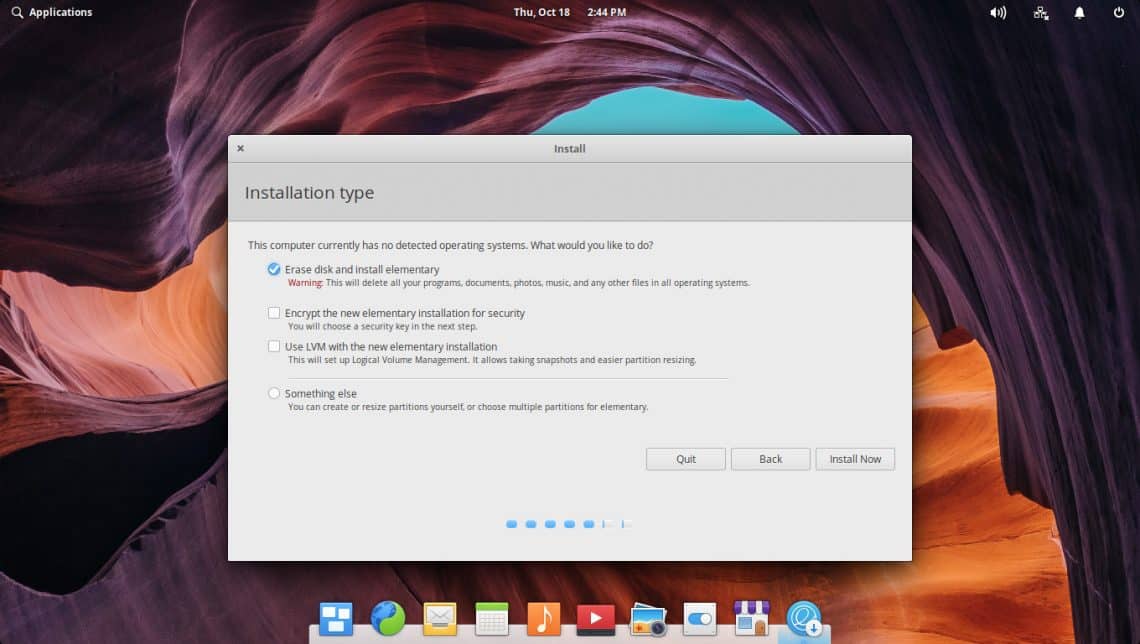
Now, pick how you want to install Elementary OS 5 Juno on your hard drive.
If you don’t have anything important on your hard drive, then select Erase disk and install elementary and click on Install Now.
If you have other operating systems installed, it should show up here and you can install Elementary OS alongside them.
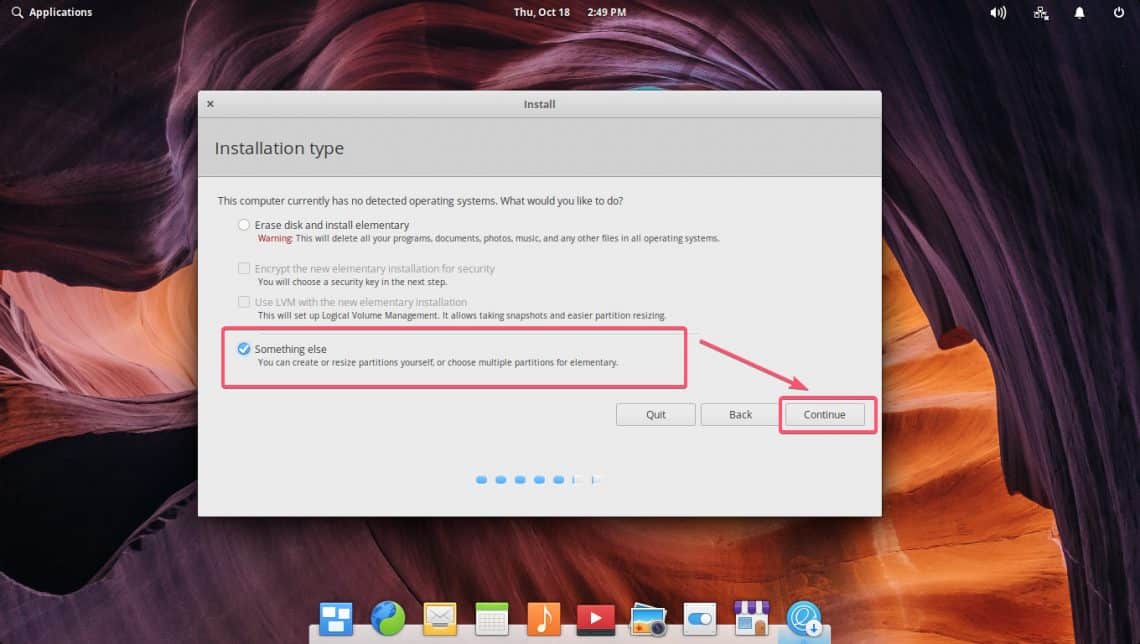
If you want to manually partition your hard drive, then select Something else and click on Continue. This is what I am going to focus on in this article as this is where most people get stuck.
If your hard drive is brand new, it may not have a partition table. In that case, select it and click New Partition Table…
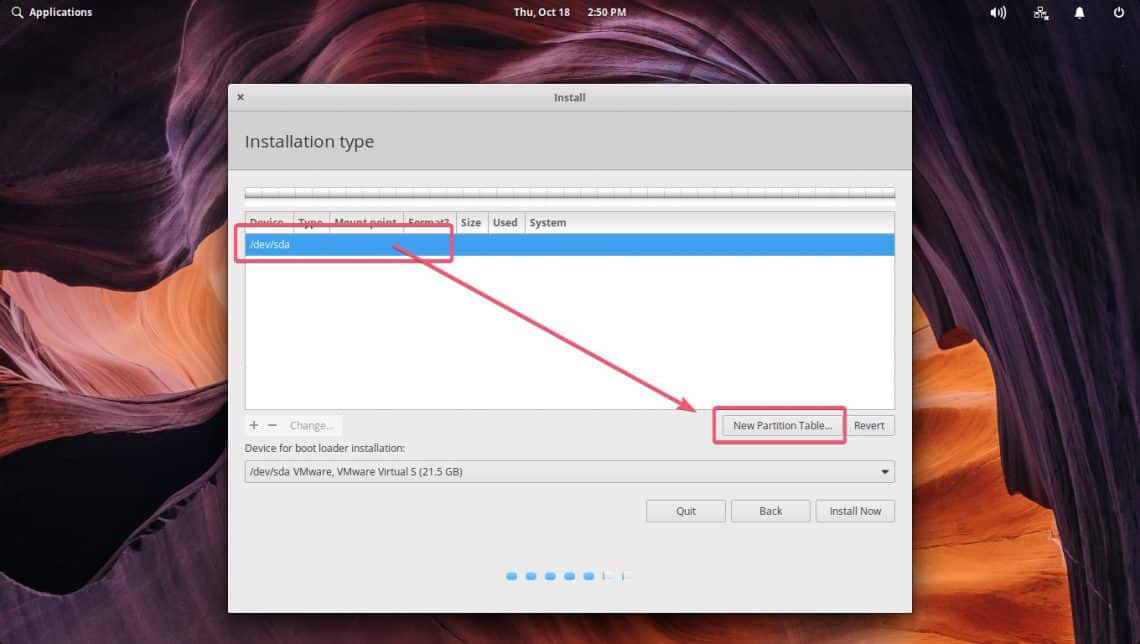
Now click on Continue.
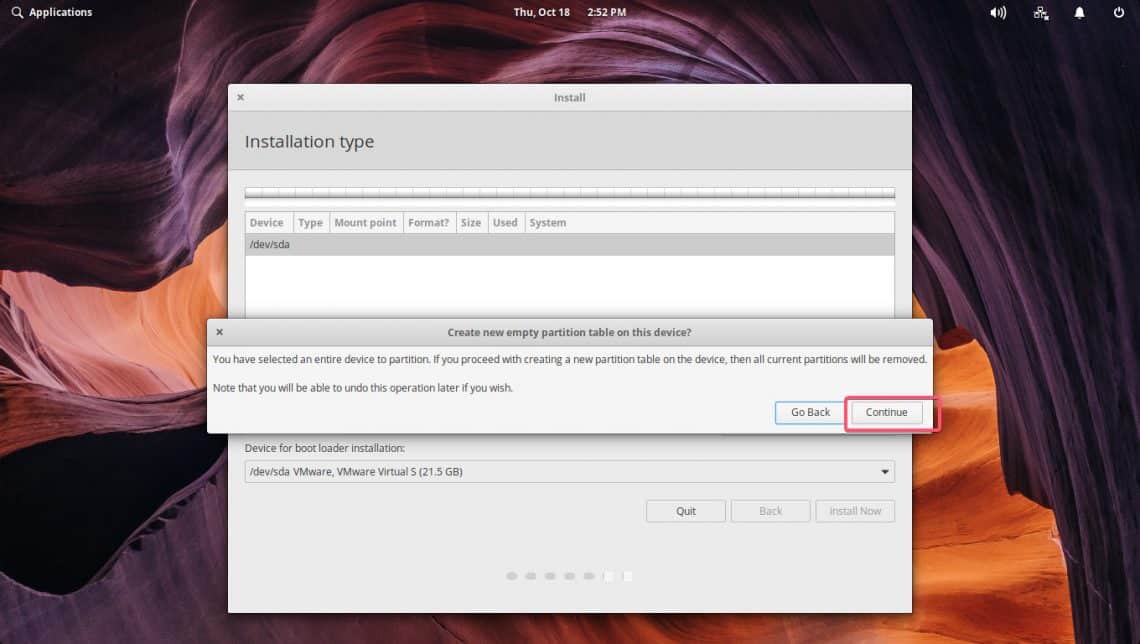
A new partition table should be created.
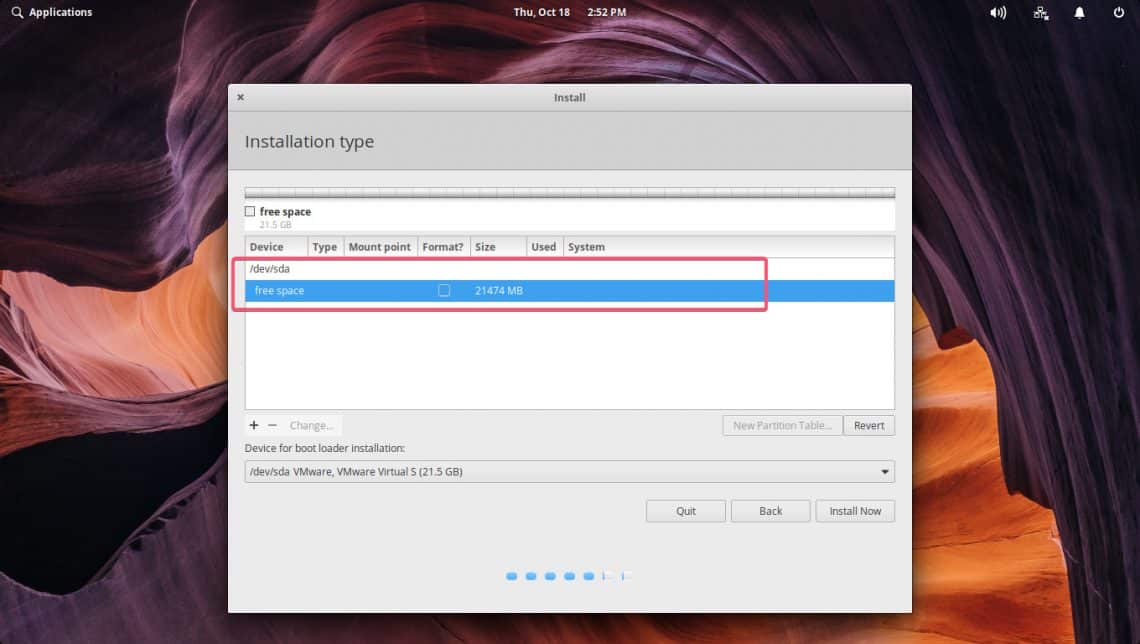
Now you have to create necessary partitions in order to install Elementary OS 5 Juno on your computer.
If you’re using BIOS based motherboard, then you need at least a root partition (/) to install Elementary OS 5 Juno. You can allocate as much disk space as you want in your root partition (/).
If you’re using UEFI based motherboard, then you need at least a small (about 256MB or 512MB of disk space) EFI System Partition and a root partition (/).
What is said is given in the table below.
|
Mount Point |
File System |
Minimum Size |
|
BIOS Based Motherboard |
||
|
/ |
EXT4 |
20 GB |
|
UEFI Based Motherboard |
||
|
/boot/efi |
EFI System Partition |
256 MB |
|
/ |
EXT4 |
20 GB |
NOTE: If you’re planning to use file based SWAP on Linux, then don’t use anything other than EXT4 file system unless you’re extremely sure that it supports file based SWAP. Other file systems such as BTRFS don’t have support for file based SWAP.
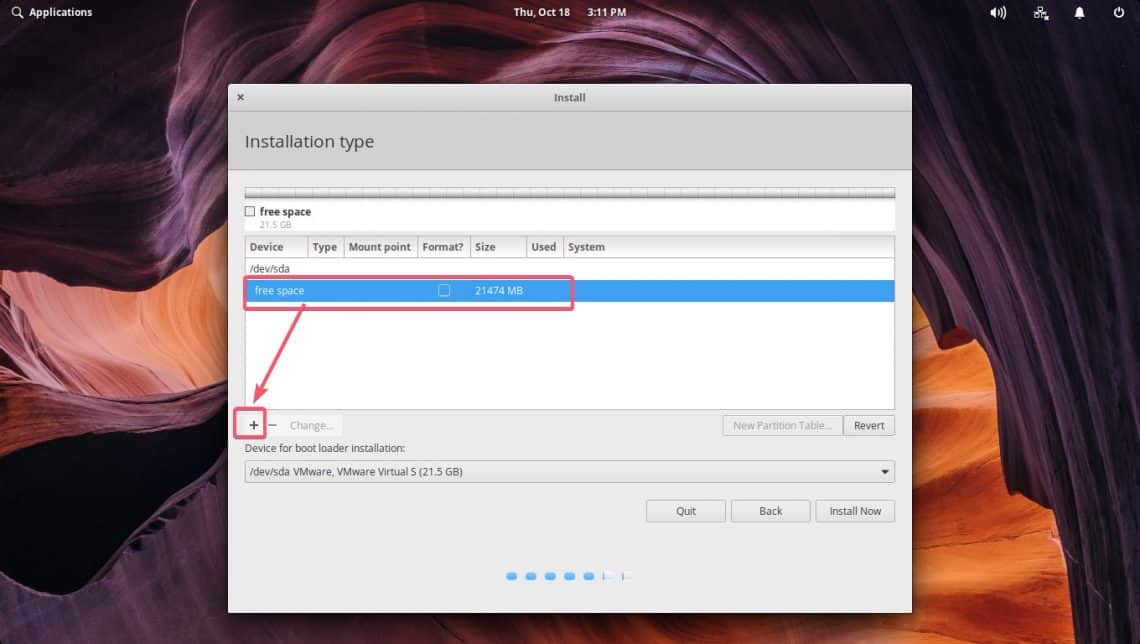
Now, to create a new partition, select the free space of your hard drive and click on the + icon.
Now change what you need from the Create partition window. Once you’re done, click on OK. I am using UEFI based motherboard, so the first partition for me is the EFI System Partition.
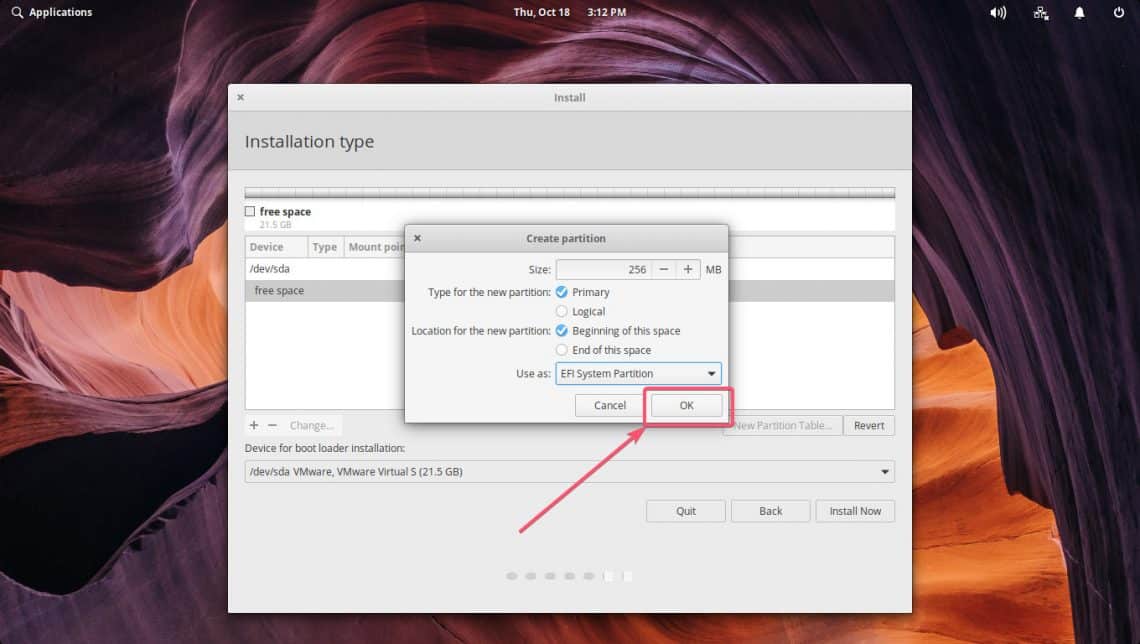
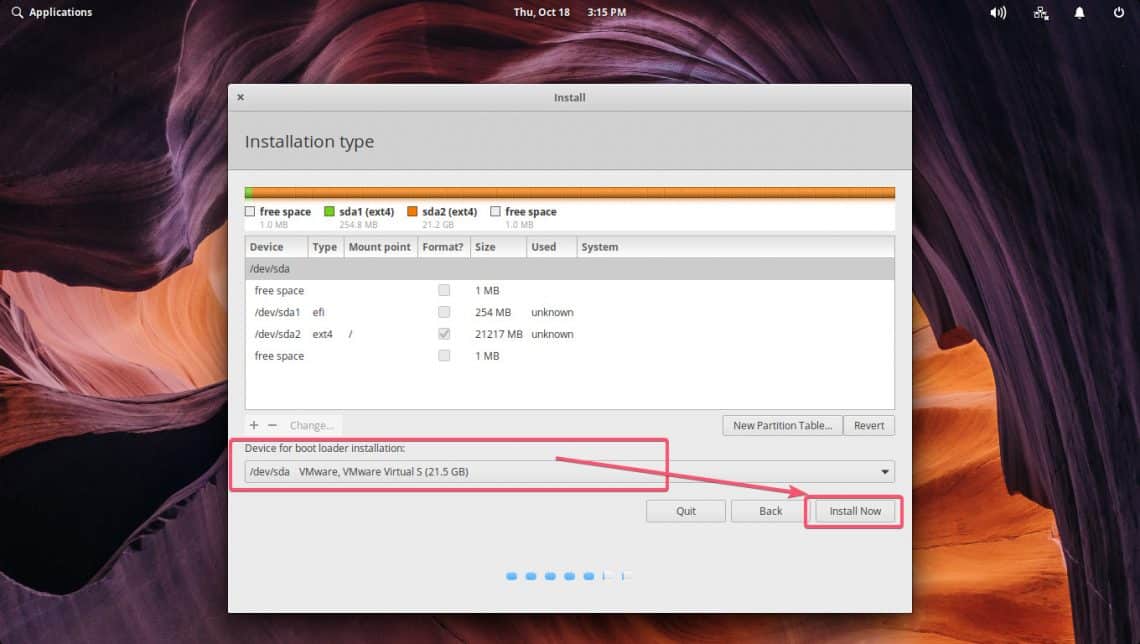
Just like this, create the required partitions. My second partition is the root (/) partition.

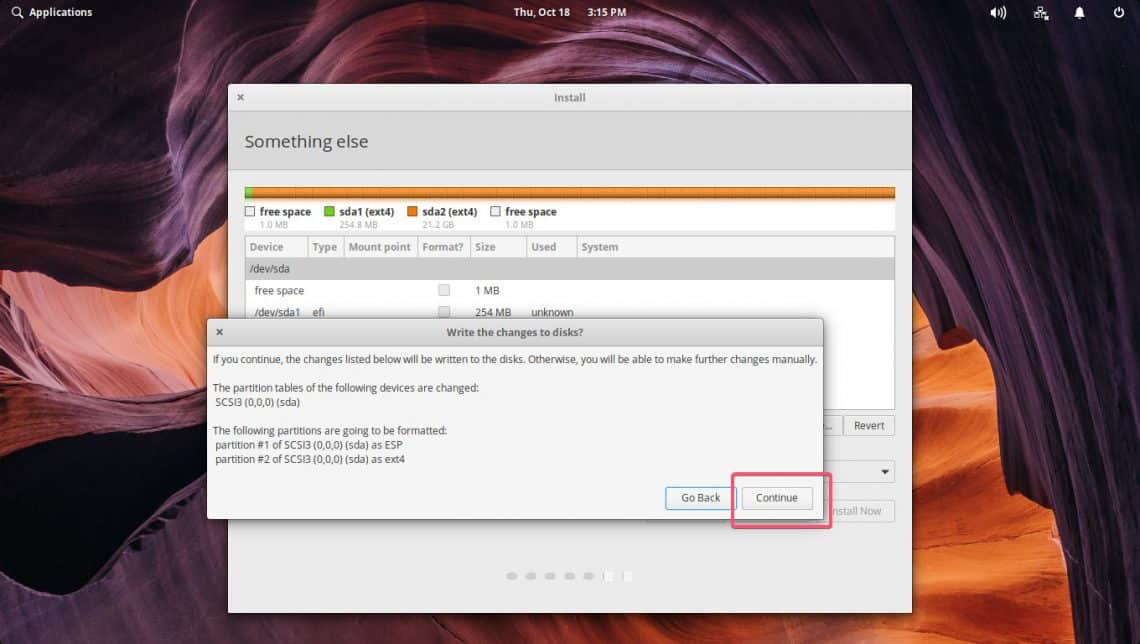
Once you’re done, select your hard drive in the Device for boot loader installation section and click on Install Now.
Click on Continue.
Now, select your location and click on Continue.

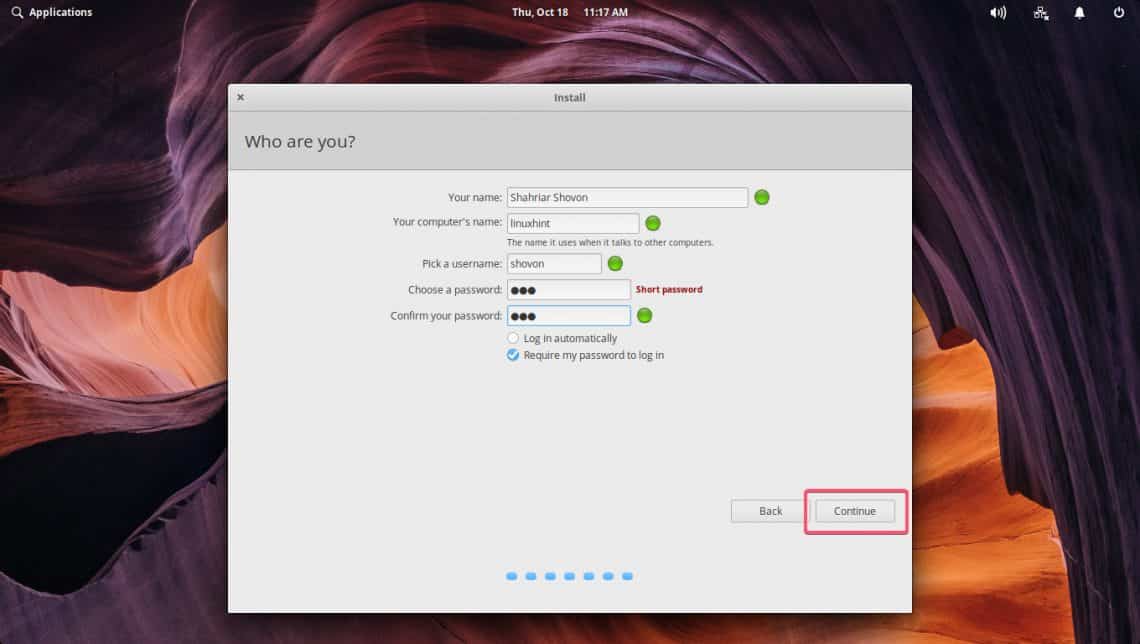
Now, type in your personal details and click on Continue.
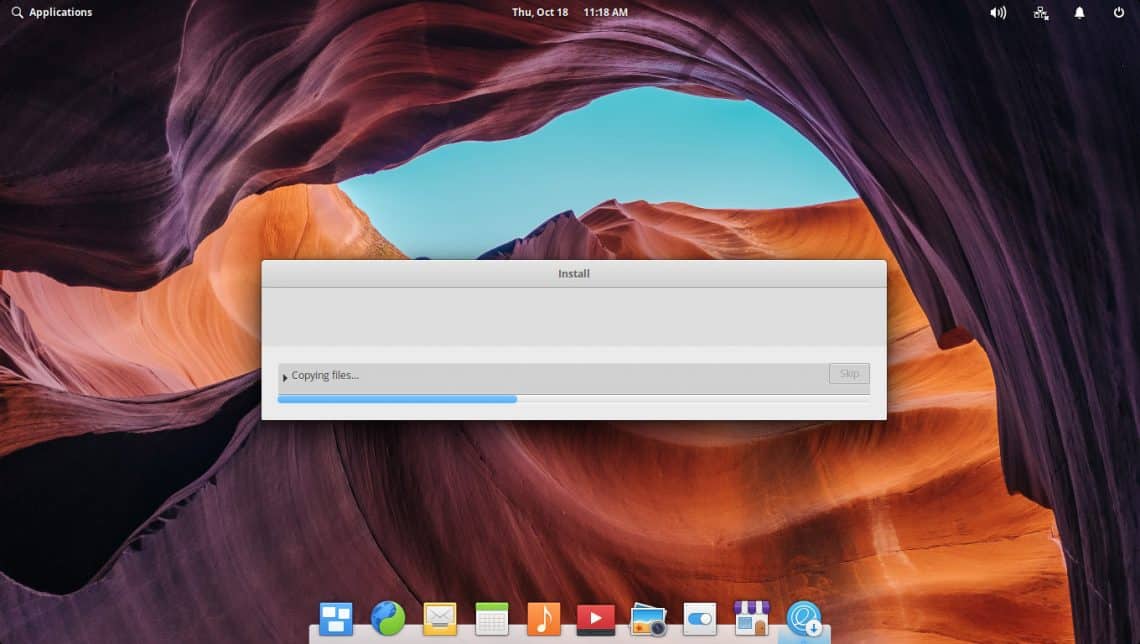
Elementary OS 5 Juno is being installed.
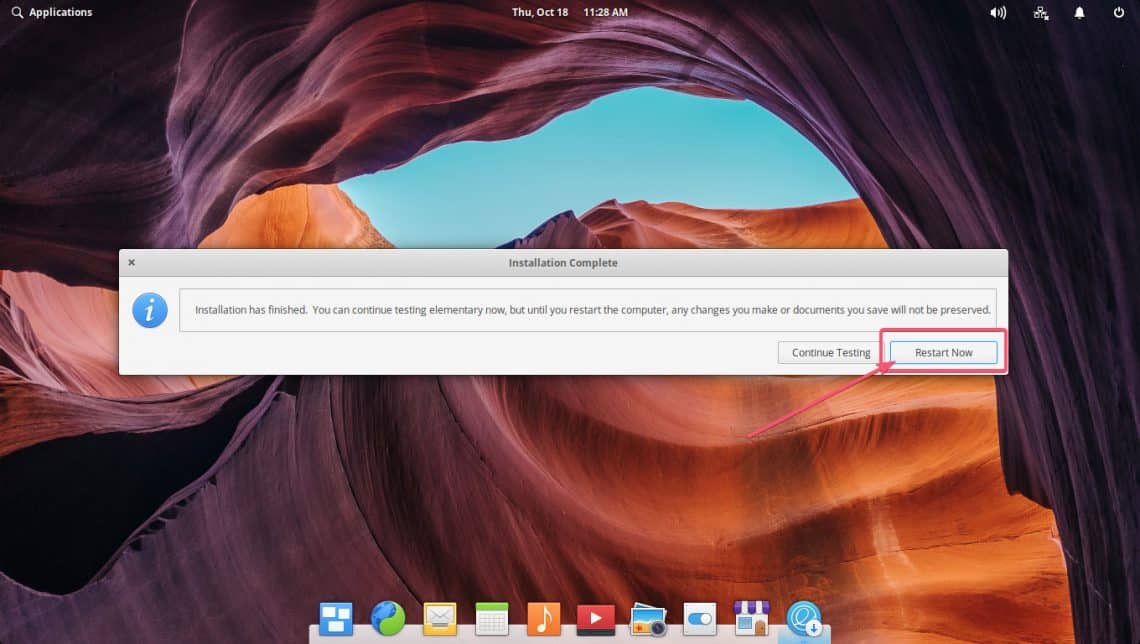
Once the installation is complete, click on Restart Now.
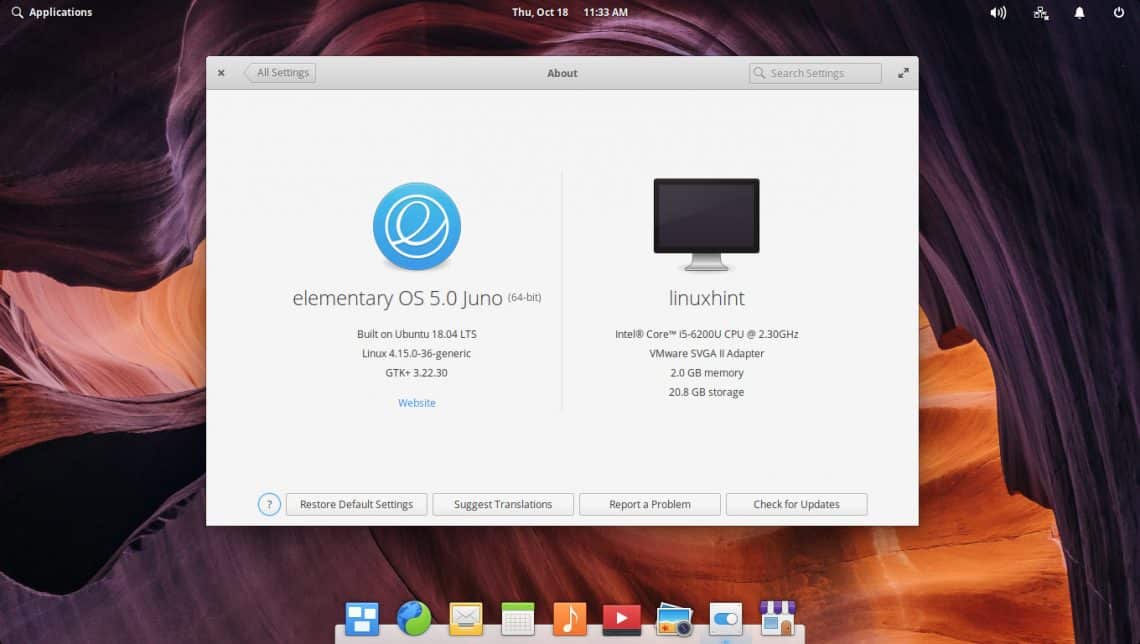
You should be booted into your Elementary OS 5 Juno. Type in the password and press <Enter> in the login window.

You should be logged into your brand new, shiny and lovely Elementary OS 5 Juno.
So that’s how you install Elementary OS 5 Juno on your computer. Thanks for reading this article.