Install MySQL on CentOS 7.5

29/12/2020
In this tutorial I will show you how to install MySQL Database on CentOS 7.5 operating system using the yum commands and the built in utilities of CentOS. It can be installed from source, or additional ways, but we will do it using CentOS native commands.

Firstly let’s make sure to update our system before starting in case of any out of date dependencies.

[root@centos7-linuxhint ~]# yum update

There are numerous packages available on CentOS related to MySQL without having to add the EPEL extra package repository. To see a list of them all try this command for yum search:

[root@centos7-linuxhint ~]# yum search mysql

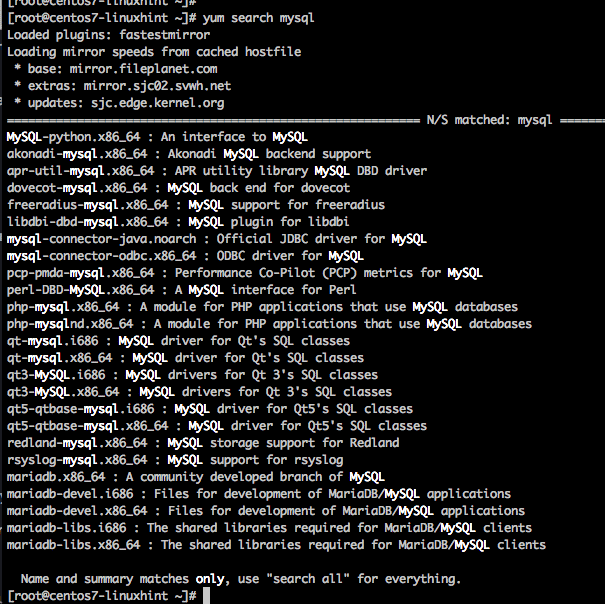
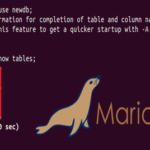
Looking down the list, you can see there is no option for mysql, itself, just various related packages. The reason is that Oracle purchased MySQL when they bought Sun Microsystems, and the founders of MySQL restarted the pure open source initiative with a new name called mariadb, but its still basically MySQL but fully open source.

So lets install mariadb package.

Installing Mariadb Server

Run the yum install command for mariadb as such:

[root@centos7-linuxhint ~]# yum install mariadb
[root@centos7-linuxhint ~]# yum install mariadb-server

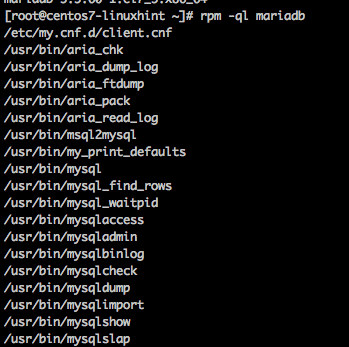
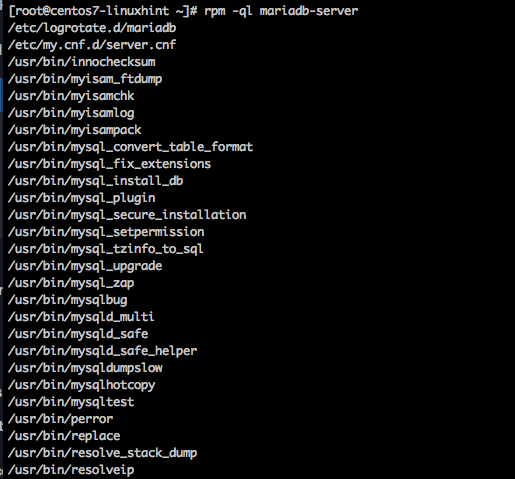
Run the following command to check which files were actually installed:

[root@centos7-linuxhint ~]# rpm -ql mariadb
[root@centos7-linuxhint ~]# rpm -ql mariadb-server

Using the MariaDB Service Controller

MySQL and MariaDB come with native utilities to initialize a database as well as starting and stopping a database. mysql_install_db and mysqladmin are two primary utilities. However given we are focused on the CentOS linux distribution lets look at the service file that comes with the RPM files and can be used for a native CentOS experience.

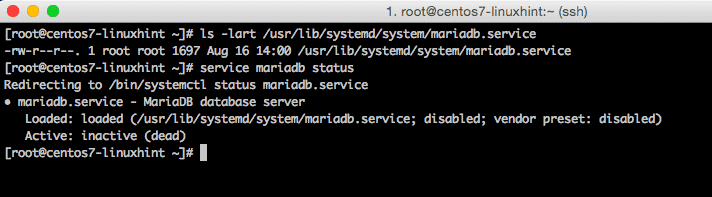
The service comes in a script file and also can be run with typical commands such as the following:

[root@centos7-linuxhint ~]# ls -lart /usr/lib/systemd/system/mariadb.service
[root@centos7-linuxhint ~]# service mariadb status

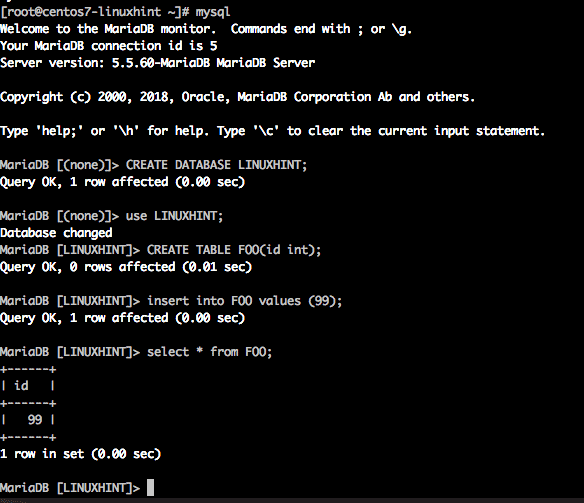
You can now start the mariadb service with the service script as shown:

[root@centos7-linuxhint ~]# service mariadb start

To verify the service is running lets connect to the DB with the mysql command line utility and run some basic commands once we are connected:

[root@centos7-linuxhint ~]# mysql

Conclusion

That’s all it takes to get started installing MySQL and using it on CentOS, but of course to be an advanced user you will want to learn a lot more. For more info check the links below:

ONET IDC thành lập vào năm 2012, là công ty chuyên nghiệp tại Việt Nam trong lĩnh vực cung cấp dịch vụ Hosting, VPS, máy chủ vật lý, dịch vụ Firewall Anti DDoS, SSL… Với 10 năm xây dựng và phát triển, ứng dụng nhiều công nghệ hiện đại, ONET IDC đã giúp hàng ngàn khách hàng tin tưởng lựa chọn, mang lại sự ổn định tuyệt đối cho website của khách hàng để thúc đẩy việc kinh doanh đạt được hiệu quả và thành công.
Bài viết liên quan

MySQL over TLS on Ubuntu 18.04

Traditionally, your database server and your frontend used to be on the same isolated network. This allowed frontend to...
29/12/2020

Installing phpMyAdmin on Debian 10

phpMyAdmin is a web based tool for managing MySQL/MariaDB databases. In this article, I am going to show you how to install...
29/12/2020

MySQL Commands Tutorial

MYSQL COMMANDS FROM THE LINUX TERMINAL MySQL is one of the most popular relational databases utilized in  applications...
28/12/2020
Bài Viết

Bài Viết Mới Cập Nhật

SỰ KHÁC BIỆT GIỮA RESIDENTIAL PROXY VÀ PROXY DATACENTER
17/02/2024

Mua Proxy v6 US Private chạy PRE, Face, Insta, Gmail
07/01/2024

Mua shadowsocks và hướng dẫn sữ dụng trên window
05/01/2024

Tại sao Proxy Socks lại được ưa chuộng hơn Proxy HTTP?
04/01/2024

Mua thuê proxy v4 nuôi zalo chất lượng cao, kinh nghiệm tránh quét tài khoản zalo
02/01/2024