Today we will be installing Nextcloud on FreeNAS. For those who don’t know, FreeNAS is a FreeBSD based operating system, specifically designed to be used as a NAS (Network-attached storage). It too comes with a frontend GUI and is often used to share files via SMB, NFS, etc or act as an LDAP server and offer directory services. The best thing about FreeNAS is that it relies on ZFS and so your data is in safe hands.
With FreeNAS as a robust and powerful backbone for managing your data and Nextcloud as a wonderful user-friendly cross platform product, you can have the ultimate cloud storage experience!
Prerequisites
To follow along, you need to have:
- A FreeNAS installation ready at hand
- Root access to the said FreeNAS installation
Installing Nextcloud Plugin
A nextcloud plugin can be installed from the FreeNAS web interface itself, in a couple of clicks. Just login to your server as root, go to plugins (from the top menu, if you are using the older UI) and from there to the list of available plugins:
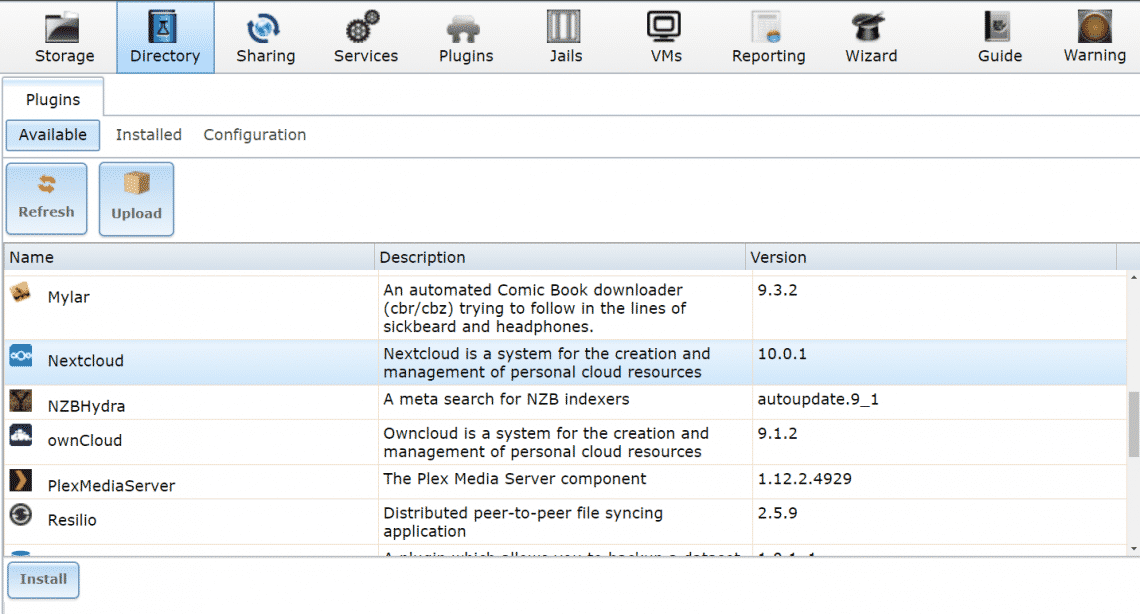
There you can find Nextcloud available for to download and install. Go ahead and install Nextcloud, it may take a few minutes to half an hour depending on your Internet connection and available computing resources.
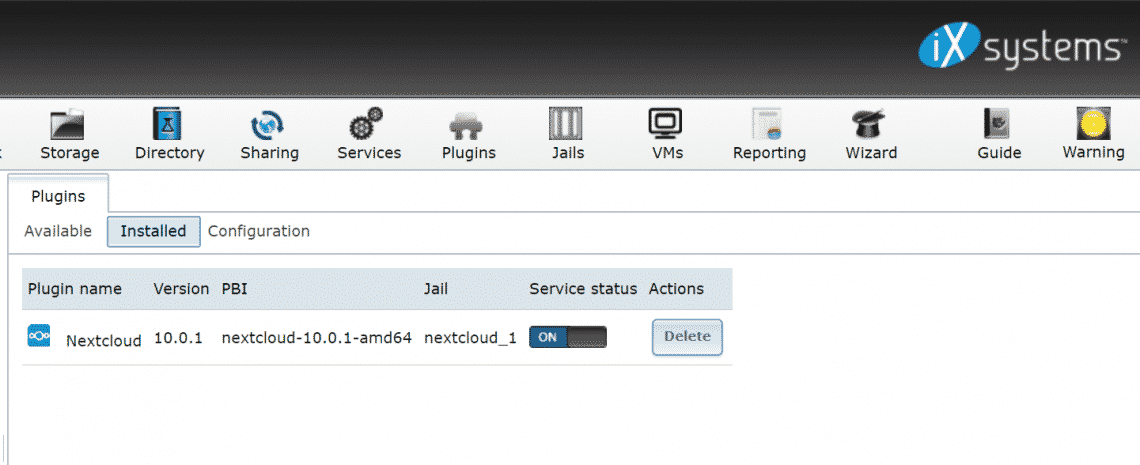
Then enable Nextcloud service. To do this switch to the Installed tab on the same plugins menu. And set the service status of Nextcloud Plugin to ON as shown below.
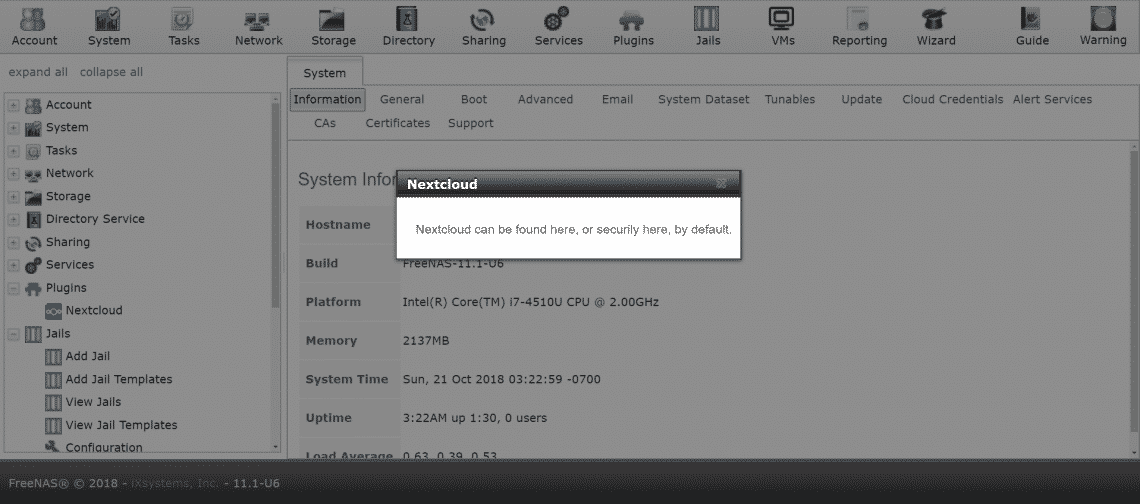
FreeNAS will assign the jail a random private IP address, select the Nextcloud plugin, under the plugin submenu from the left hand column, to get a link to this service:
If that works for you, it’s great. But I prefer to configure networking a little differently.
Configuring Networking
If your local network has a DHCP server (often your home router acts as one) you need to ensure that the Nextcloud gets an IP address of its own from this DHCP server. Or you can manually assign it an IP address, if you want.
We are going for the DHCP approach, since this is the most common setup in most households and small offices. Nextcloud is installed, on our FreeNAS box inside a Jail. Jails are the precursors to containerization technology that Linux later adopted as docker and LXC. Like any container, our Nextcloud plugin can also have an IP of its own, distinct from the FreeNAS IP.
To do this, go to the JAIL tab from the top menu.
Select the nextcloud jail, as it is named on your machine. Click on the red button below to stop the service temporarily and then edit the jail, by clicking the settings icon from the bottom left. Ignore the IP address assigned currently, and click on advanced mode.

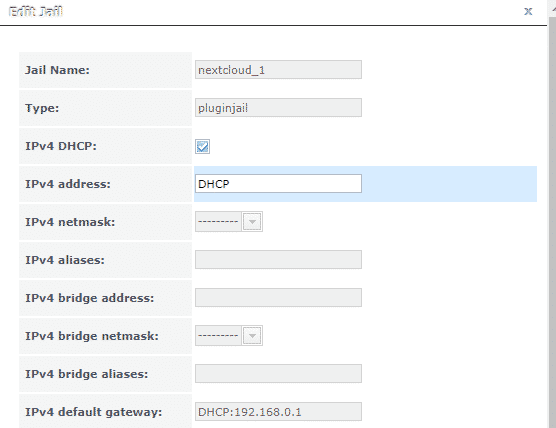
Within Advanced mode, select DHCP as your IPv4 option. You can verify the default gateway and a few other parameters too, if you want:
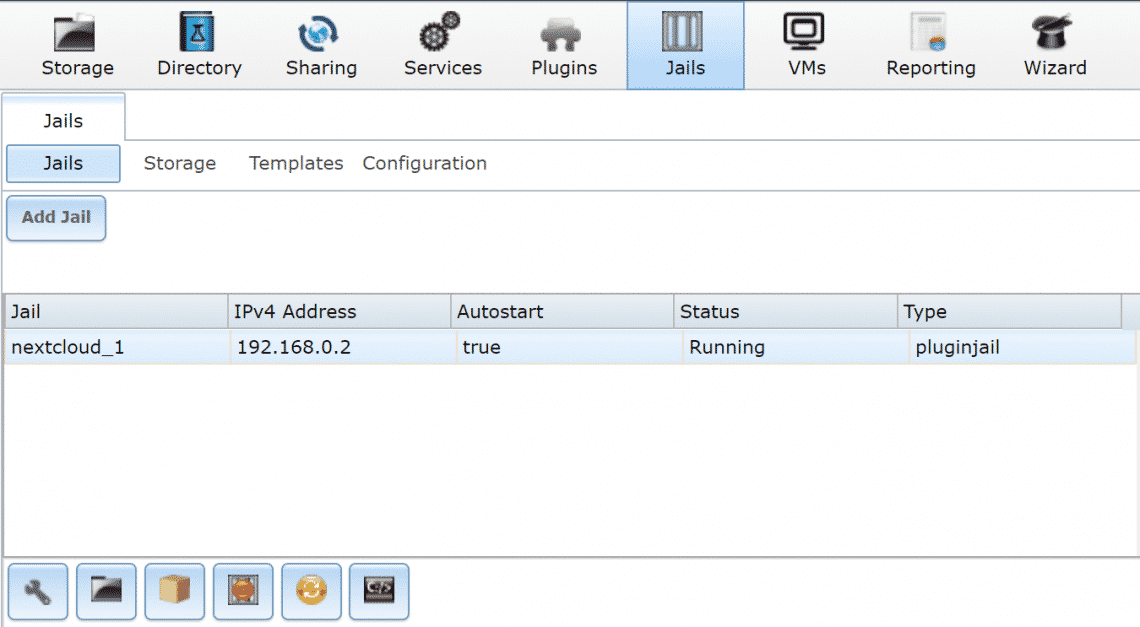
After this, restart your nextcloud jail and you can see your new IP. By selecting the Jails from the top menu and viewing the jails.
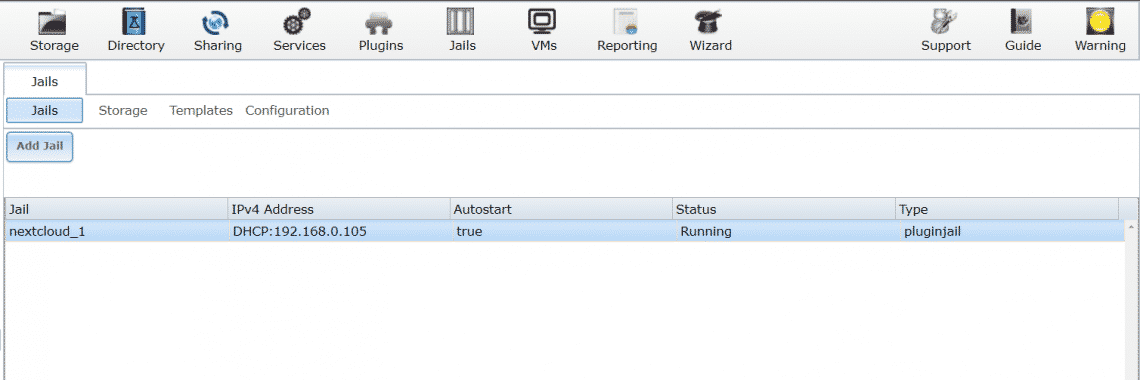
In my case the IP address was 192.168.0.105 which is where Nextcloud is running. But for some reason, which I haven’t been able to identify, this doesn’t work when you go to the browser and type in the IP address.
Circumventing the bug
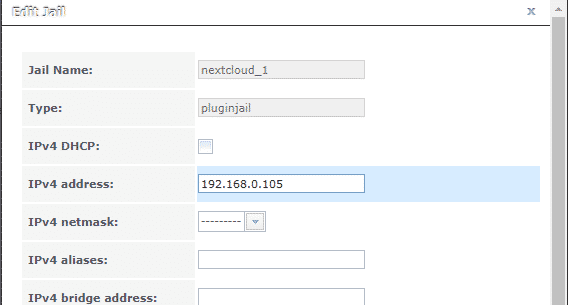
One way to circumvent this bug is to take note of the IP address that the DHCP server assigned your jail, for example, 192.168.0.105 in my case. Stop that jail again, open the edit jail menu and go to the advanced mode, like we did before.
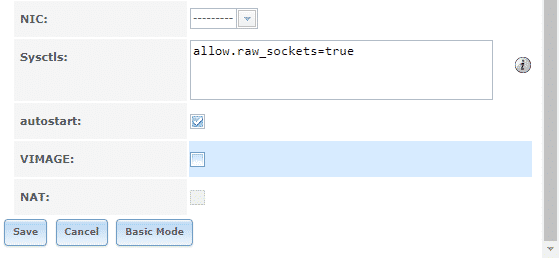
Here, you can again manually assign the DHCP assigned IP address to your jail. Scroll down the advanced menu and uncheck the box that says VIMAGE. This step is important.
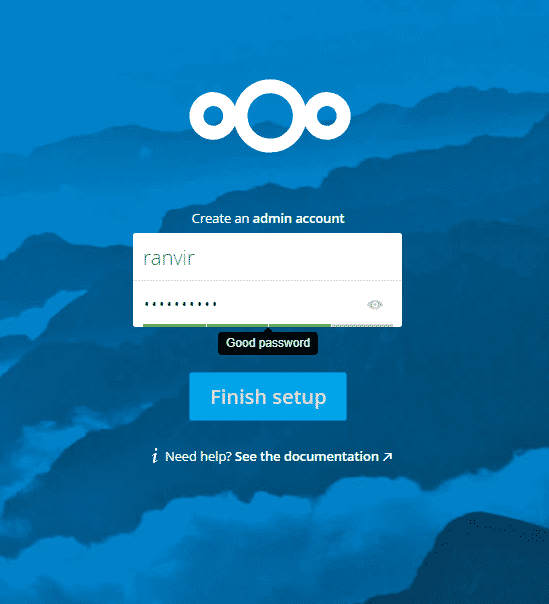
After this is done go to the plugin menu from the top bar and restart the plugin. If it was running already, you may have to stop and start it back again for the changes to take effect. And now, finally, if you open a browser from your desktop and open http://192.168.0.105 (or whatever the IP address was assigned in your case) you will be greeted by the Nextcloud menu.
Everything else from here on out is simple. You can create accounts for your employees, family members, access it from whatever device you choose and you can be assured that the data is safe with OpenZFS.
Make sure to go to your DHCP server settings (commonly listed as LAN setup in your home router settings) and assign nextcloud a static IP in there. Otherwise, once the DHCP lease expires, your router may end up assigning nextcloud a different IP which will be inaccessible to you. You should probably do the same for your main FreeNAS box as well.
Conclusion
The only tricky business with the nextcloud plugin is the bug where the IP address is not reachable despite being assigned. I have a strong suspicion that VIMAGE is the culprit here, but I don’t have any evidence to back that up, just yet.