Install Nvidia Optimus Graphics Drivers on Fedora 26
In this article, I will show you how to install Nvidia drivers on Fedora 26. Let’s get started. I am using Fedora 26 KDE Desktop. For other Fedora 26 desktops, the process is similar.
By default, the latest version of Fedora, which is Fedora 26 as of this writing, uses open source nouveau Nvidia drivers. In this article, I will show you how to install the proprietary Nvidia drivers on Fedora. I am using Nvidia GeForce 940M Graphics card on my laptop ASUS Zenbook UX303UB. It supports Nvidia Optimus technology. So I am able to run it alongside my Intel HD Graphics in a hybrid graphics configuration. All the new Nvidia cards should have this feature.
NOTE: Before you proceed with the driver installation, turn of secure boot from BIOS.
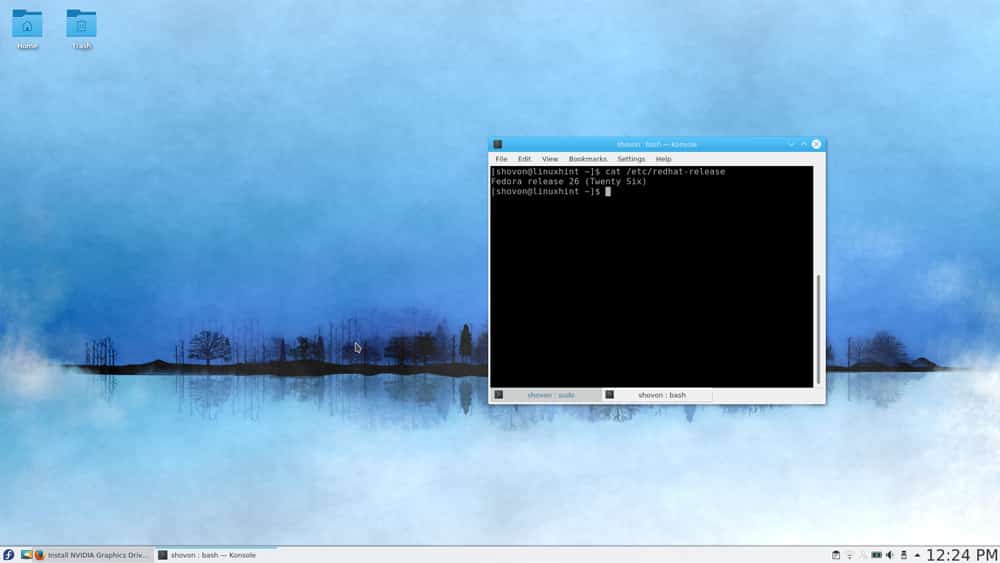
Let’s first check if our NVIDIA graphics card is detected by the operating system. To do that, run the following commands:
lspci | grep 'VGA|NVIDIA'

You can see that, Fedora 26 detected the Intel HD Graphics 520 and Nvidia GeForce 940M Graphics of my laptop. If you see 2 graphics cards like this, it means your Nvidia graphics card supports Optimus and you can follow this tutorial and expect everything to work. Otherwise, it may be that your graphics card is too new or Optimus is not supported.
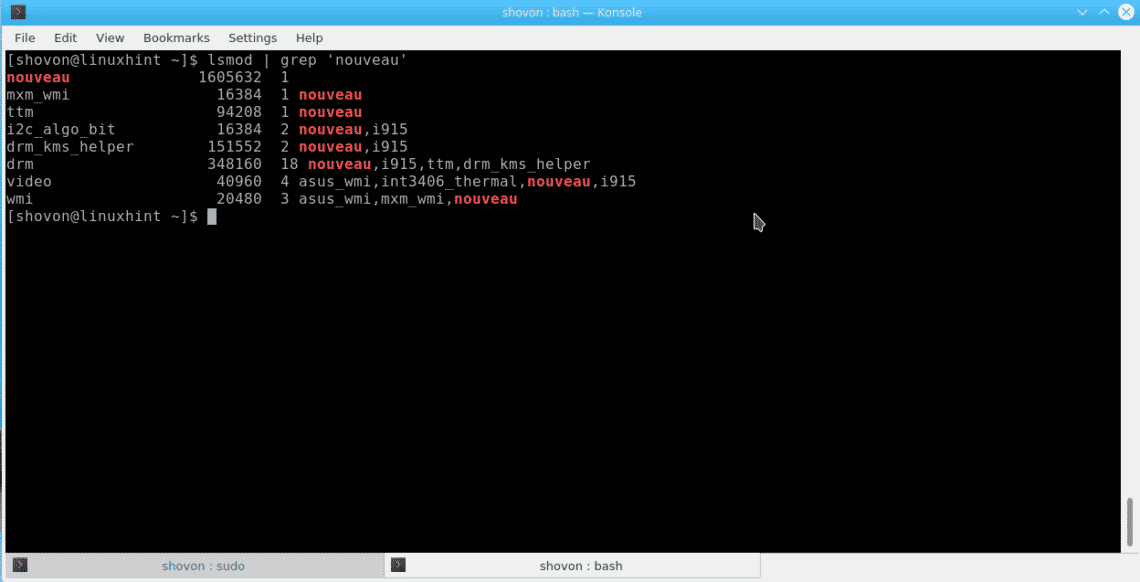
You can check that nouveau driver is in use with the following command:
“lsmod | grep ”nouveau’”
You can see that nouveau driver is active.
Now I am going to install the Nvidia proprietary graphics using bumblebee. If you want to know, bumblebee manages hybrid Nvidia graphics very well in Linux. It is sufficient for almost all the latest Nvidia graphics based laptops/notebooks.
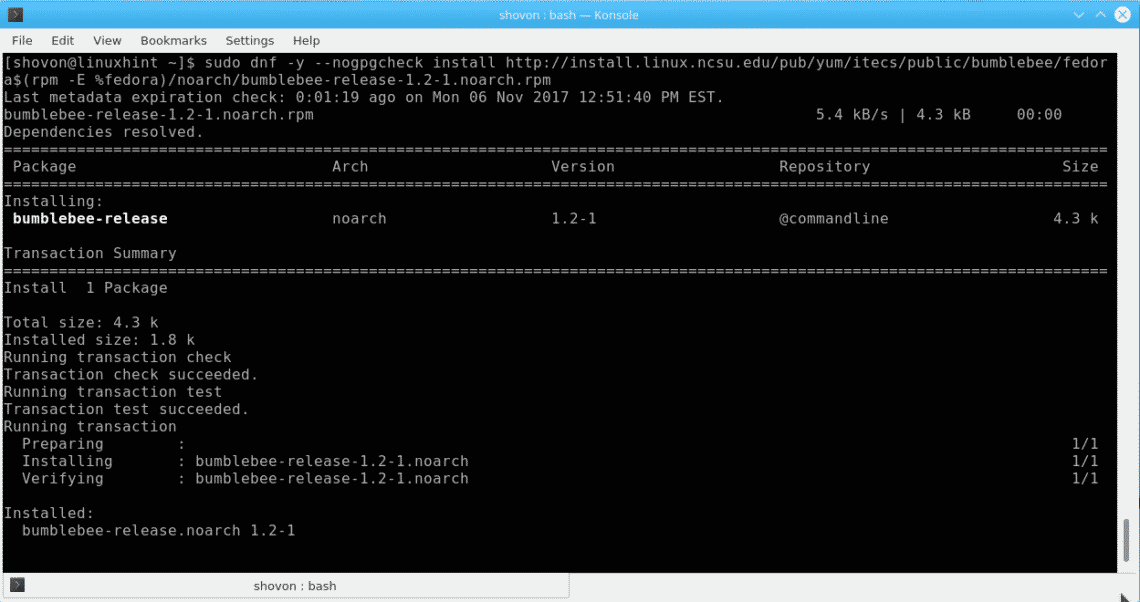
To install bumblebee, first we have to add the repository of bumblebee in Fedora 26.
To do that, run the following commands:
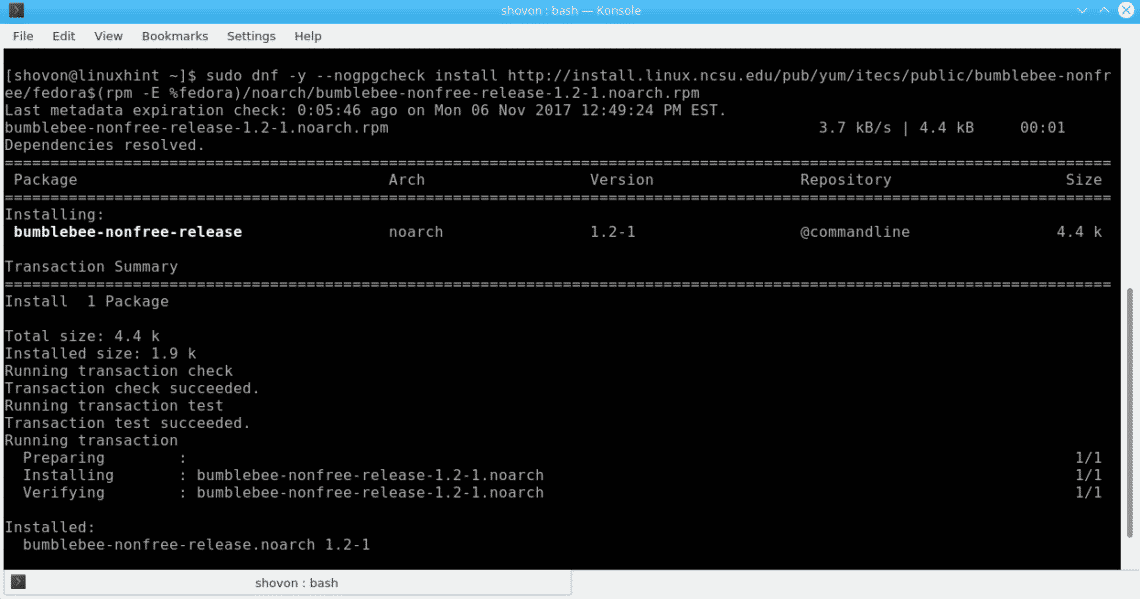
sudo dnf -y --nogpgcheck install http://install.linux.ncsu.edu/pub/yum/itecs/public/bumblebee/fedora$(rpm -E %fedora)/noarch/bumblebee-release-1.2-1.noarch.rpm
sudo dnf -y --nogpgcheck install http://install.linux.ncsu.edu/pub/yum/itecs/public/bumblebee-nonfree/fedora$(rpm -E %fedora)/noarch/bumblebee-nonfree-release-1.2-1.noarch.rpm
Before installing bumblebee, don’t forget to update your kernel. I had problems with not upgrading it in the first place. To update the kernel, run the following command:
sudo dnf update kernel kernel-core kernel-modules kernel-modules-extra
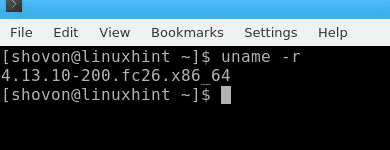
After you run this, restart your computer. You can check your current kernel version with the following command:
uanme -r
Now we can install bumblebee. To install bumblebee, run the following command and press <Enter>:
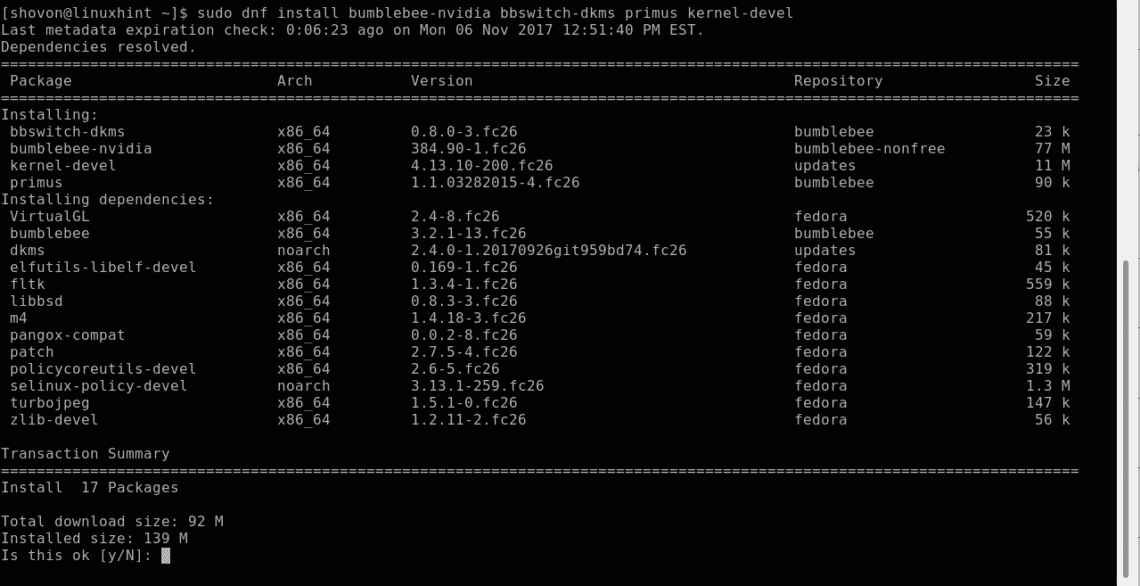
sudo dnf install bumblebee-nvidia bbswitch-dkms primus kernel-devel
If this command doesn’t work for you, then try the following command:
sudo dnf install bumblebee-nvidia bbswitch-dkms VirtualGL.x86_64 VirtualGL.i686 primus.x86_64 primus.i686 kernel-devel
You should see the following on the terminal. Press ‘y’ and press <Enter> to continue:
The installation should begin. It may ask you to verify the key, if in case it does, just type in ‘y’ and press <Enter> to continue.

Now add your user to the bumblebee group with the following command:
usermod -a -G bumblebee YOUR_USERNAME
Sometimes your installation will not work if you don’t pass ‘pcie_port_pm=off’ kernel parameter to your operating system. Doing this is really easy, just open /etc/default/grub file with the following command:
sudo nano /etc/default/grub

Add the highlighted section to GRUB_CMDLINE_LINE and save the file. Then update grub with the following command:
sudo grub2-mkconfig -o /boot/efi/EFI/fedora/grub.cfg

Once these steps are complete, restart your computer.
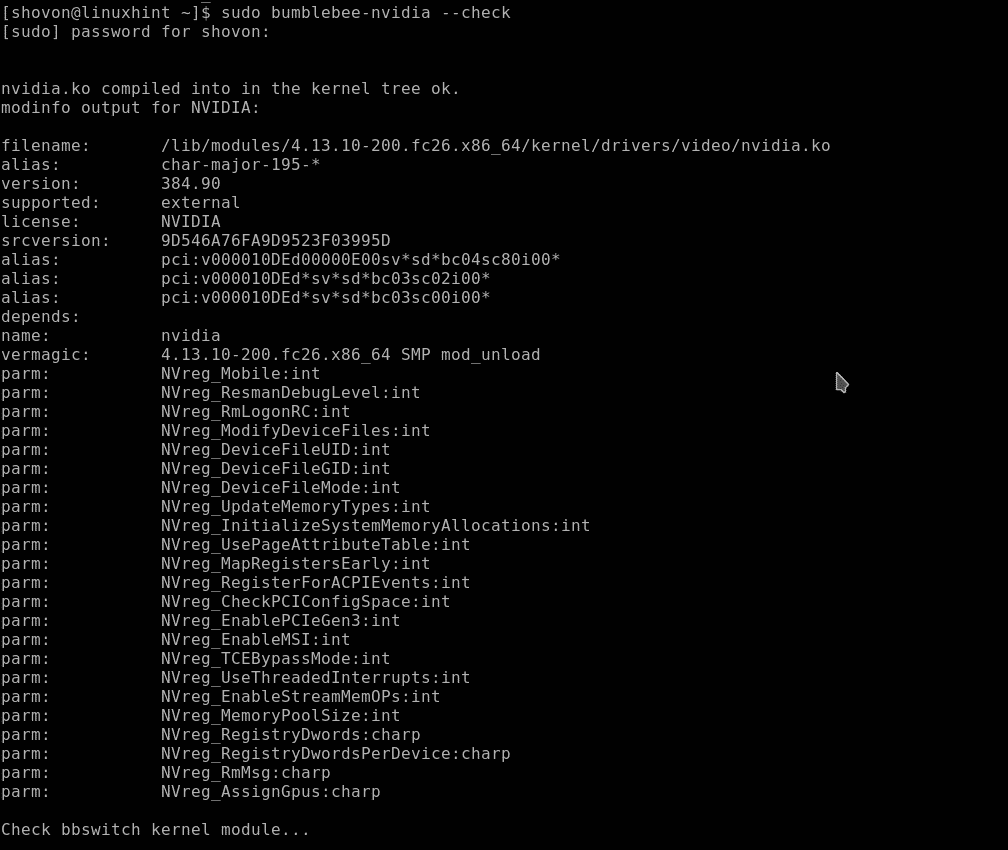
Now you can verify bumblebee installation with the following command:
sudo bumblebee-nvidia --check
You can also check that Nvidia driver is working from Nvidia Settings.

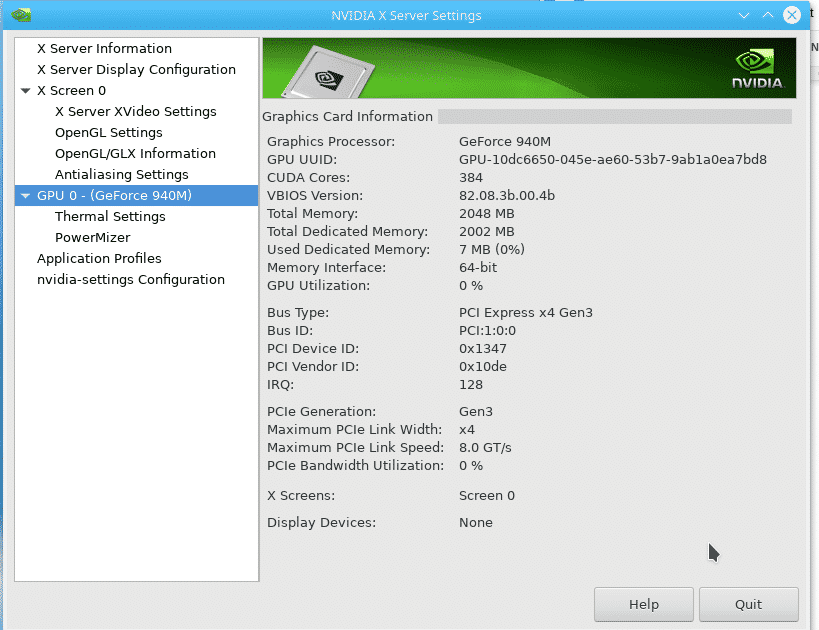
You can see from the following figure that its working correctly.
To uninstall Nvidia drivers, run the following command:
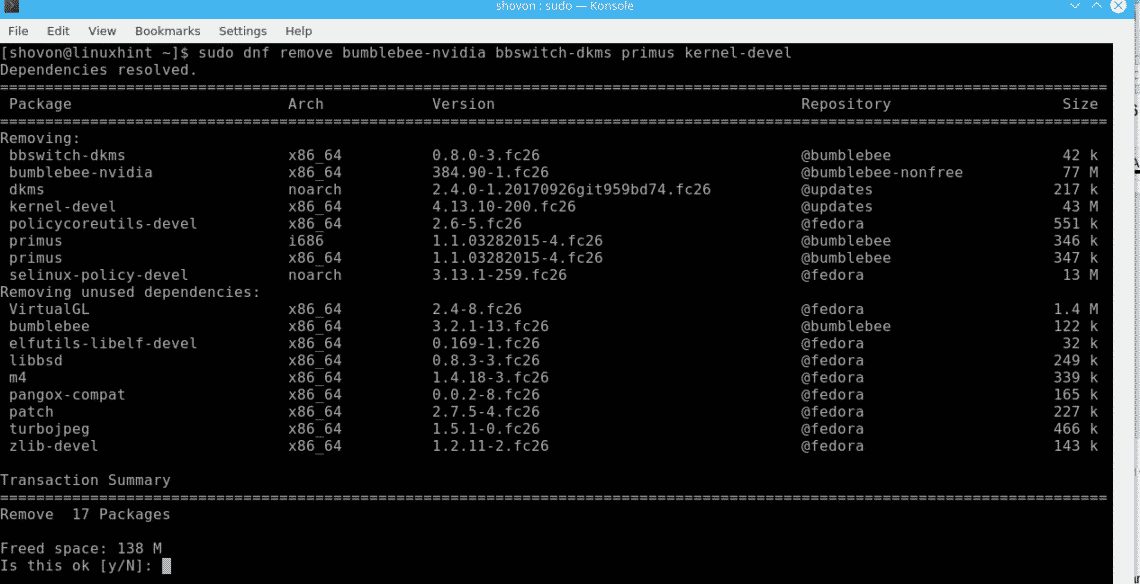
sudo dnf remove bumblebee-nvidia bbswitch-dkms primus kernel-devel
Press ‘y’ and then press <Enter> to continue.
Then run the following command to remove the rest of the dependencies of bumblebee:
sudo dnf autoremove
Now restart your computer, Nvidia driver should be removed and nouveau drivers will start to function again.

You can see that nouveau drivers are used again.
That’s how you install and uninstall Nvidia drivers on Fedora 26. Thanks for reading this article.