Installing Oracle JDK 10 from AUR
First install Git with the following command:

Press y and then press <Enter> to continue.
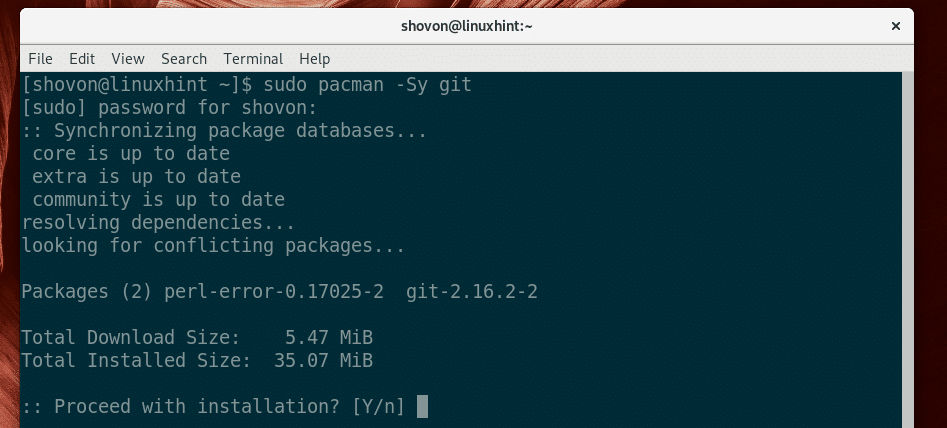
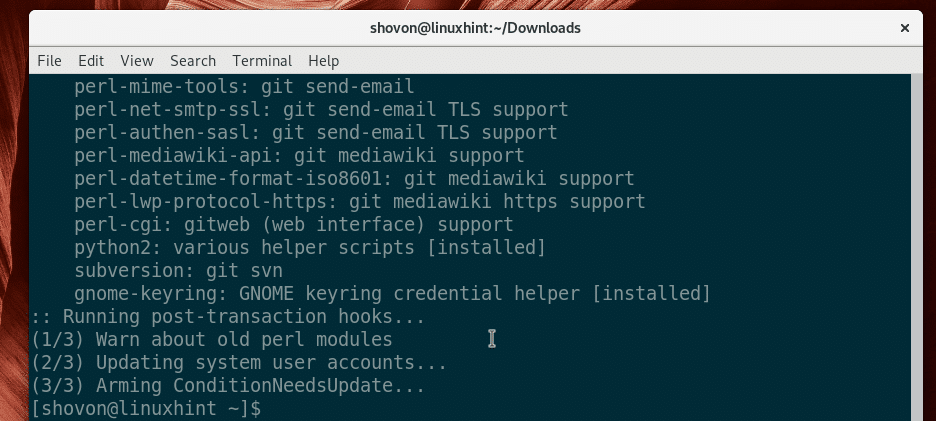
Git should be installed.
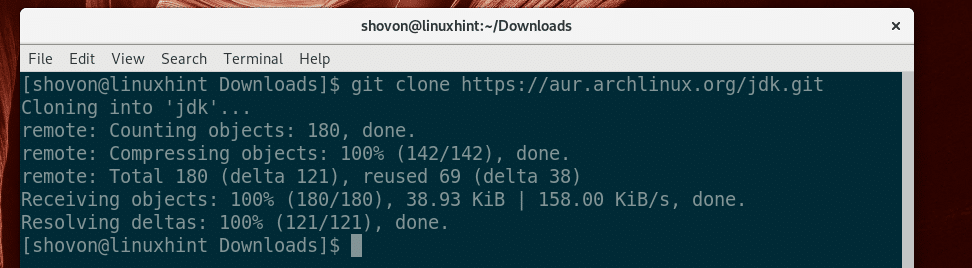
Now go to ~/Downloads directory with the following command:

Now clone the Oracle JDK AUR repository with the following command:

The Oracle JDK AUR repo should be cloned.
Now navigate to the jdk/ directory with the following command:

Now run the following command to create a pacman package of Oracle JDK 10:

Now press y and then press <Enter> to continue.
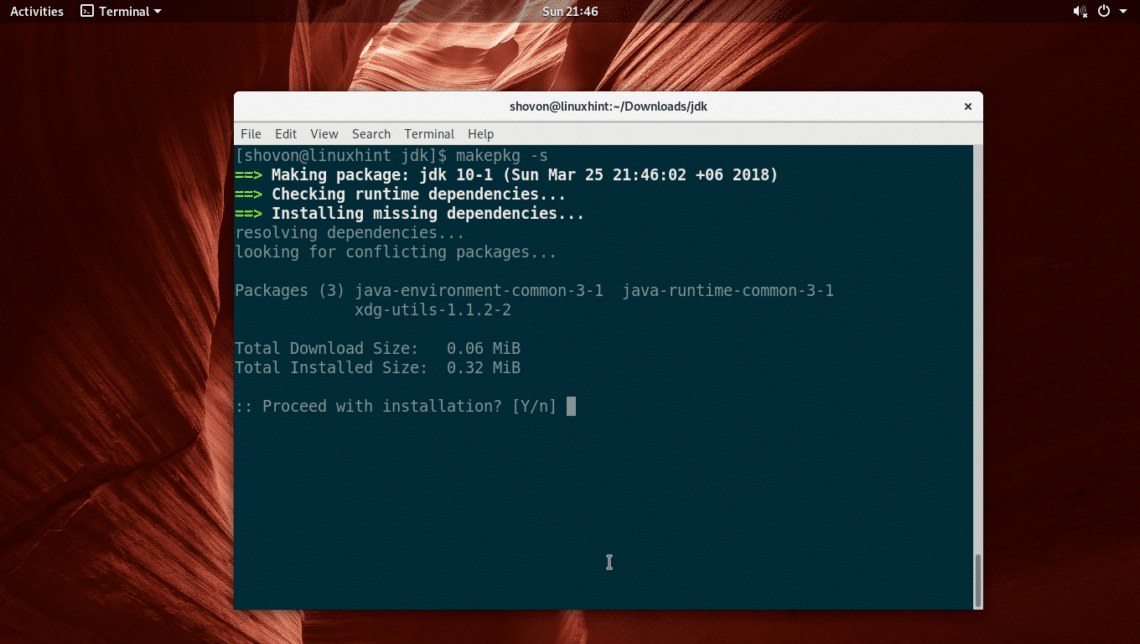
It should take a while to generate the pacman package.
Once the pacman package is created, install it with the following command:

Press y and then press <Enter> to continue.
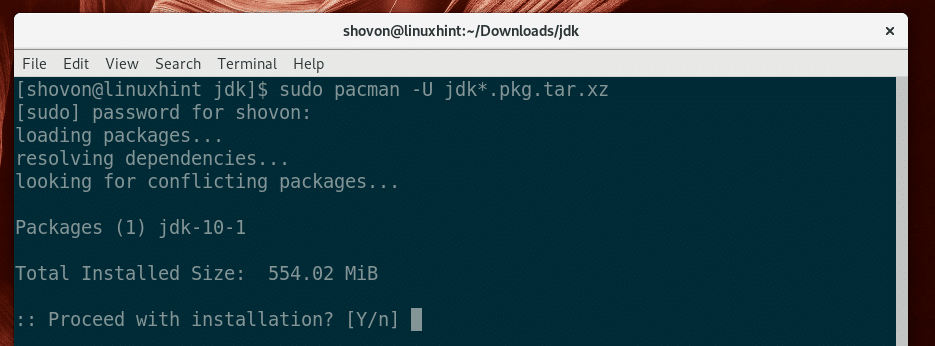
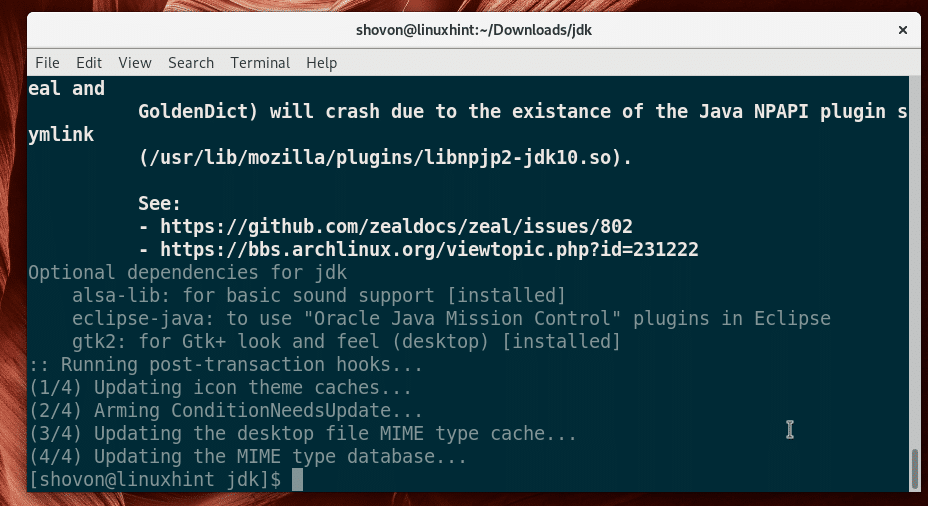
Oracle JDK 10 should be installed.
Installing Oracle JDK 10 Manually
If you don’t like AUR, this section is for you.
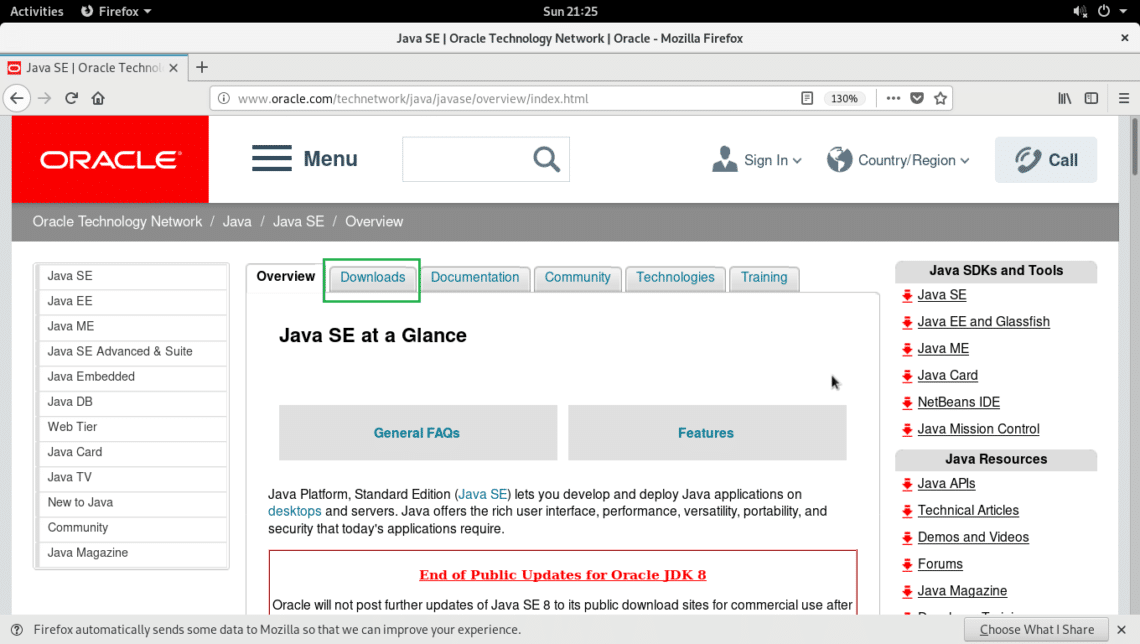
Go to the official website of Java SE at https://www.oracle.com/technetwork/java/javase/overview/index.html
You should see the following page. Click on Downlods as marked in the screenshot below.
Now you should see the following page. Click on Java Platform (JDK) 10 button as marked in the screenshot below.
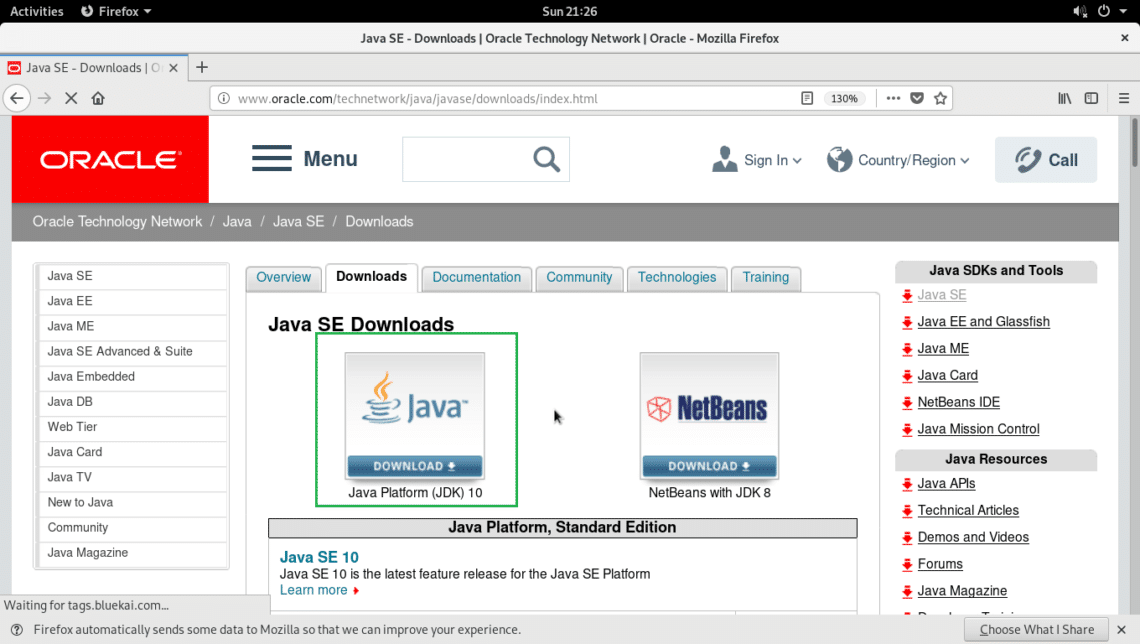
You should see the following page. Now scroll down a little bit to the Java SE Development Kit 10 section.
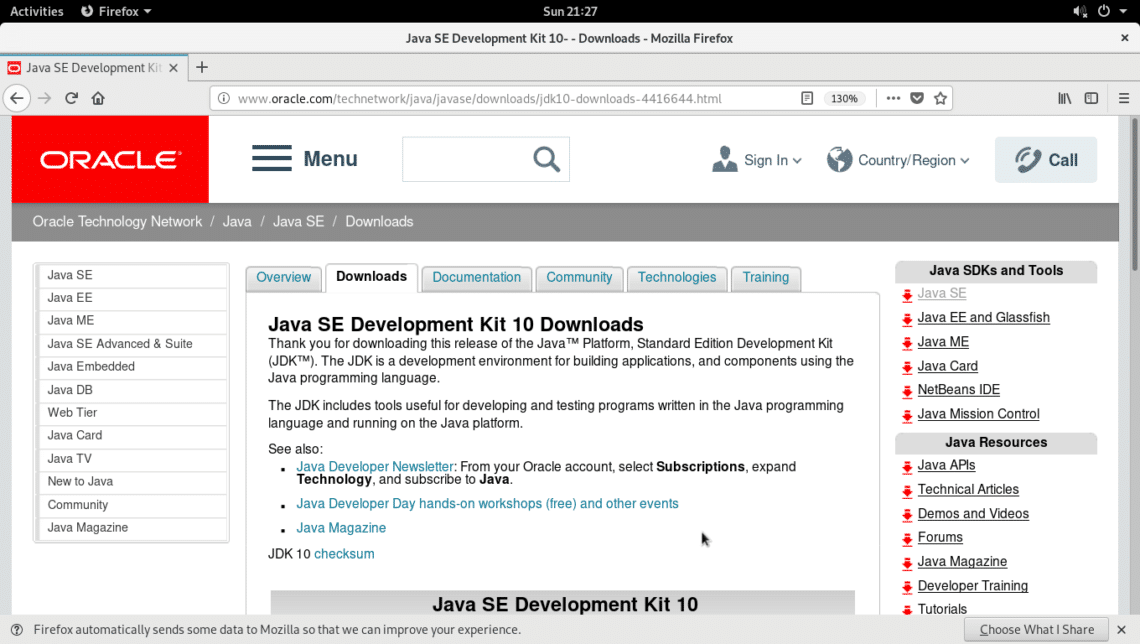
Now click on the Accept License Agreement radio button.
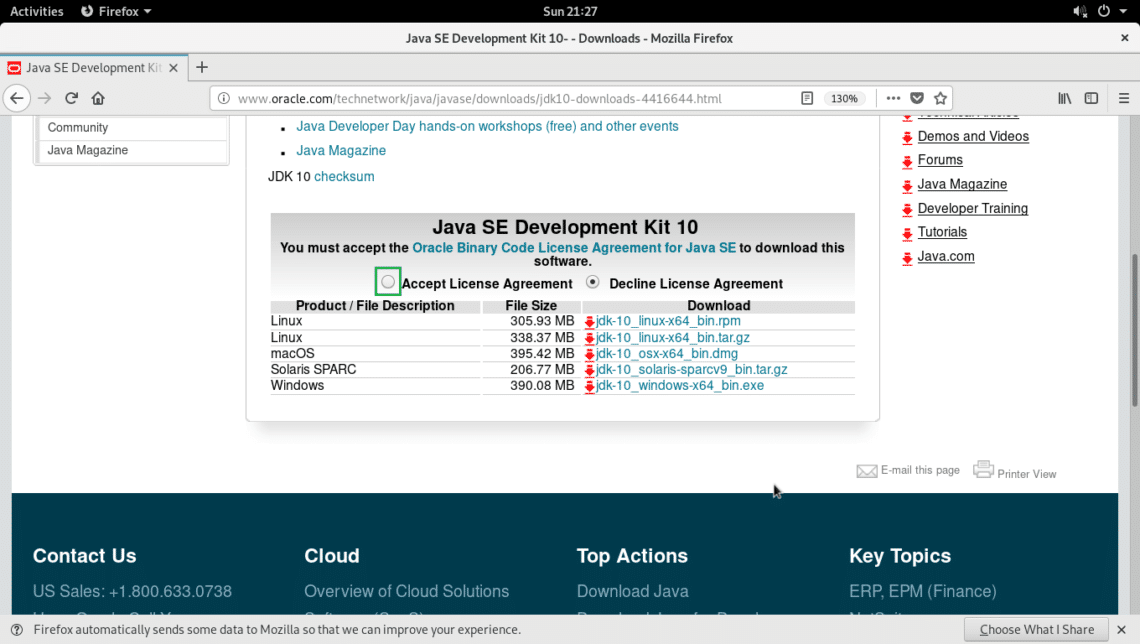
Now click on the file which has Linux as Product/File Description and ends with tar.gz as marked in the screenshot below.

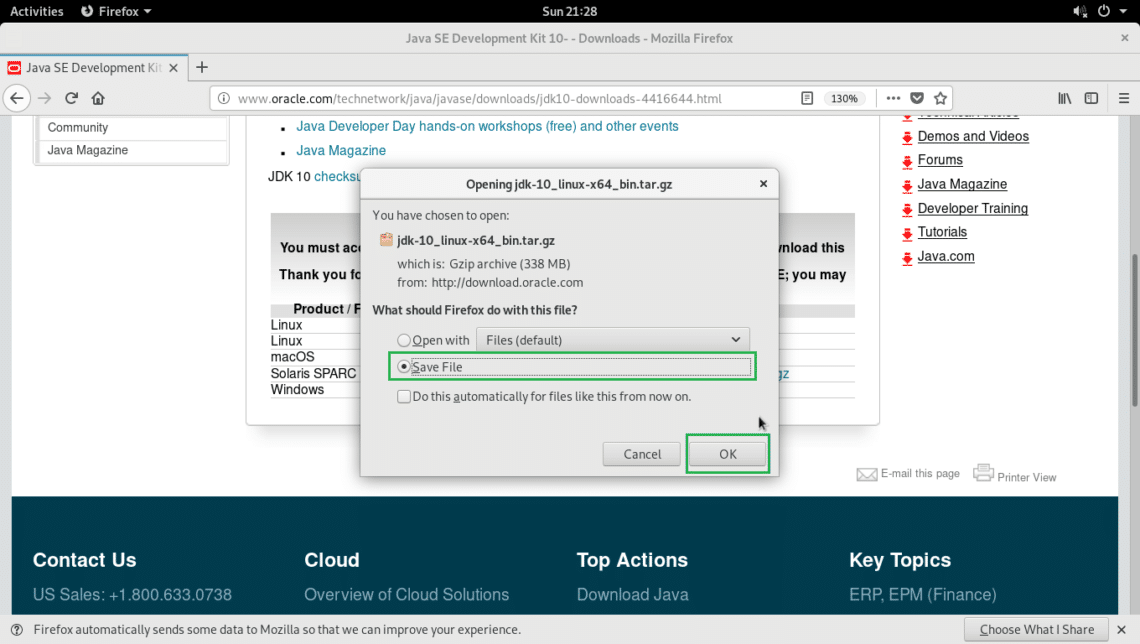
Your browser should prompt you to save the file. Click on Save File and click on OK.
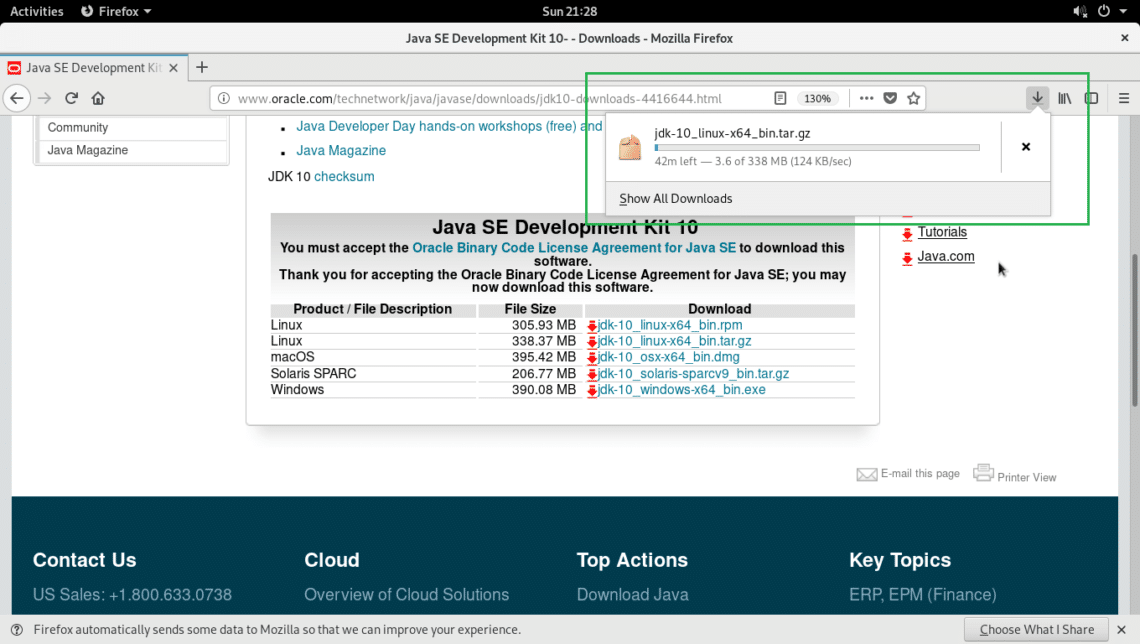
Your download should start.
Once the download is complete, navigate to the directory where you downloaded the file. For me it’s the ~/Downloads directory.

If you list the contents of the directory with ls -lh, you should see Oracle JDK 10 archive file as marked in the screenshot below.

Now extract the archive with the following command:
Here, INSTALL_DIR is the directory where you want to extract the archive. In my case, it is the /opt directory. You may choose another directory if you wish.

The archive should be extracted.
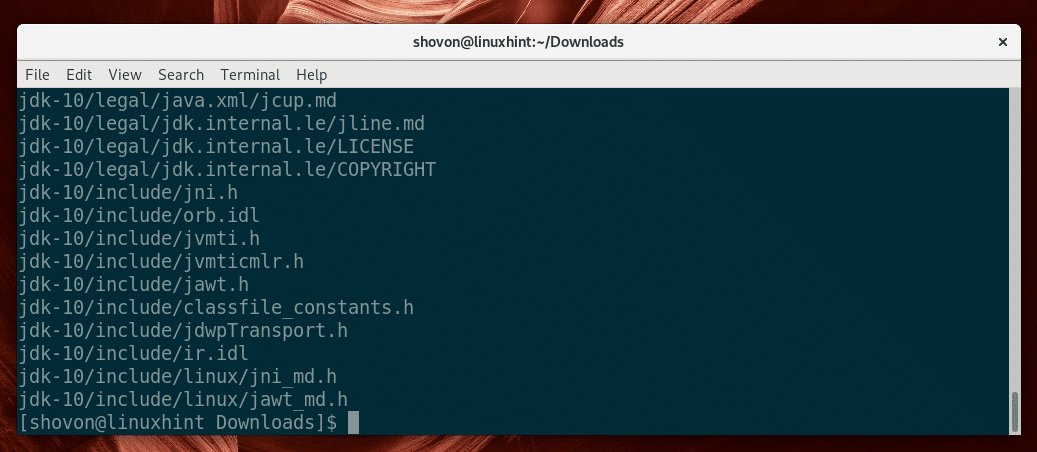
Now if you list the contents of INSTALL_DIR directory, you should see a jdk-10/ directory as marked in the screenshot below.

Now you have to add INSTALL_DIR/jdk-10/bin to your PATH environment variable.
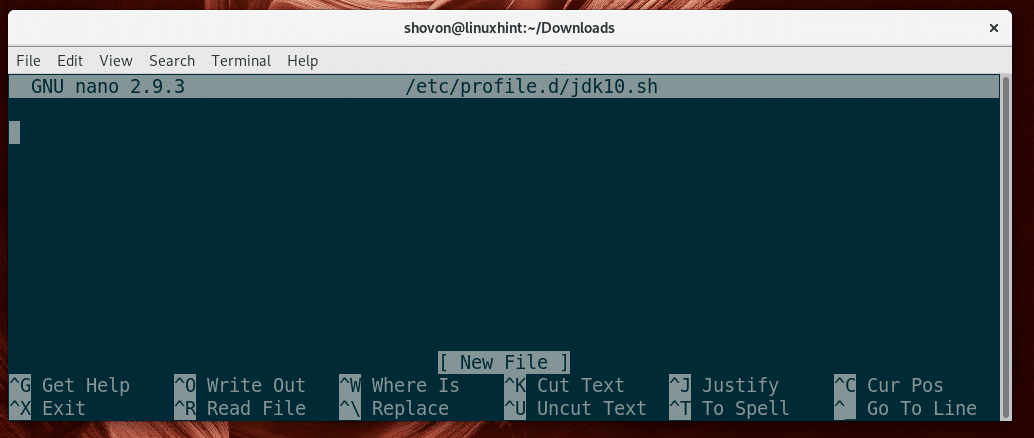
Run the following command to create a new file jdk10.sh in /etc/profile.d directory:

You should see the following window.
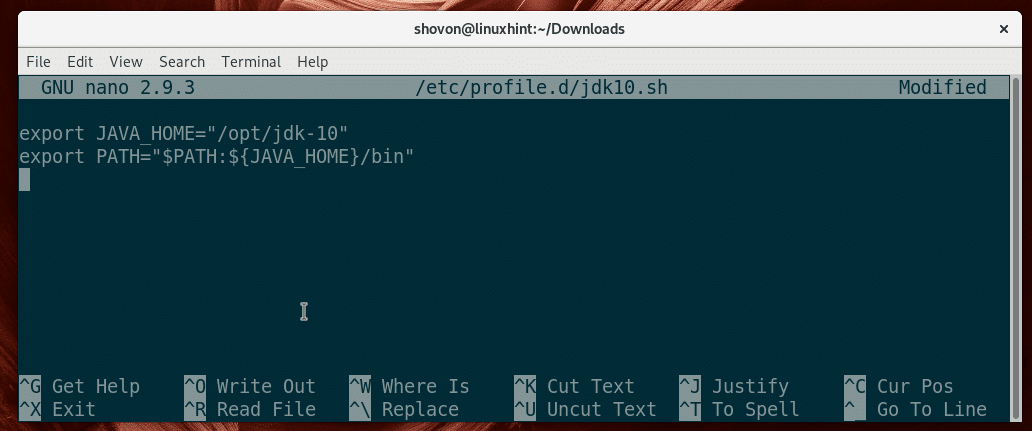
Now add the following lines to it.
export PATH="$PATH:${JAVA_HOME}/bin"
NOTE: Be sure to change INSTALL_DIR to your specified directory. For me it’s /opt
Once you’re done, press <Ctrl> + x and then press y and then press <Enter> to save the file.
Now restart your computer with the following command:

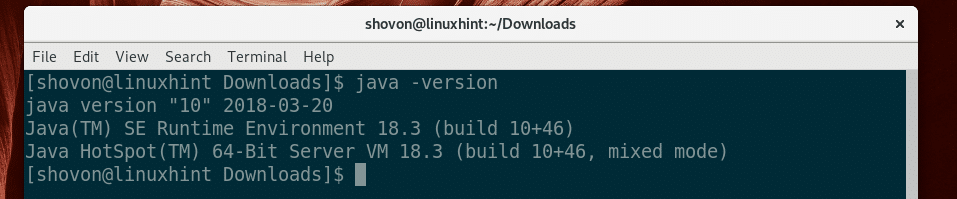
Once your computer starts, check whether JAVA_HOME is set with the following command:
As you can see it is set correctly.

Also check whether INSTALL_DIR/jdk-10/bin is in the PATH with the following command:
As you can see in the marked section of the screenshot below, it is in the PATH.

Testing Oracle JDK 10
Now run the following command to check whether Oracle JDK is working:
As you can see in the screenshot below, it is working correctly.
Now I will compile and run a simple Java program saved in HelloWorld.java file to show you that it works.
Contents of HelloWorld.java file:
First navigate to the directory where you saved HelloWorld.java file. In my case it is the ~/Documents/codes directory.
Now run the following command to compile the HelloWorld.java Java source file:

Once the file is compiled, a HelloWorld.class file should be generated. This is the file you run.
Now you can run the HelloWorld.class file with the following command:
NOTE: Remember not to include .class extension when you run a Java program. It will not work if you do.
As you can see from the screenshot below, the correct output is displayed.

That’s how you install Oracle JDK 10 on Arch Linux. Thanks for reading this article.