Let me give you an example, then you will understand why it is important. Let’s say you and your family had a trip on different places of the world. You took many pictures in each places you visited. Your camera is modern and tags all the photos it took with the geographical data of the place it took the photos from. Now when you come back home, you may want to build a map and locate the co-ordinates that you visited. Well, you can do it with QGIS. Just download and install QGIS, then install the Photo2Shape plugin on QGIS and finally import all the geo tagged photos in QGIS. You’re good to go.
In this article, I will show you how to install and use Photo2Shape plugin on QGIS. Let’s get started.
Prerequisites:
At the time of this writing, the Photo2Shape plugin can only installed on QGIS 2.x LTS (Long Term Support version. So you can’t install Photo2Shape plugin on QGIS 3, the latest stable release of QGIS.
Photo2Shape plugin on QGIS 2.x depends on exifread library. It is written in Python. exifread is used to extract EXIF meta data from JPEG and TIFF image files. The geo data is embedded to the image file as EXIF meta data. So exifread Python library must be installed in order for Photo2Shape plugin to work.
In this article, I am using QGIS 2.18 codename Las Palmas on Debian 9 Stretch for the demonstration. But any QGIS 2.x version installed on any Linux distribution should work.
Installing PIP on Debian 9 Stretch:
First, you have to install PIP. On Debian 9 Stretch, PIP is available in the official package repository.
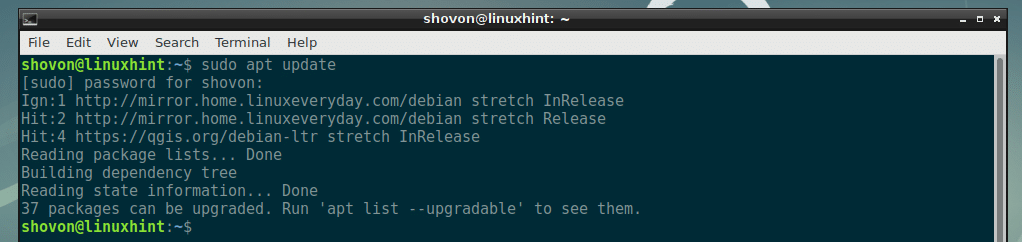
Before you install PIP, run the following command to update the APT package repository cache:
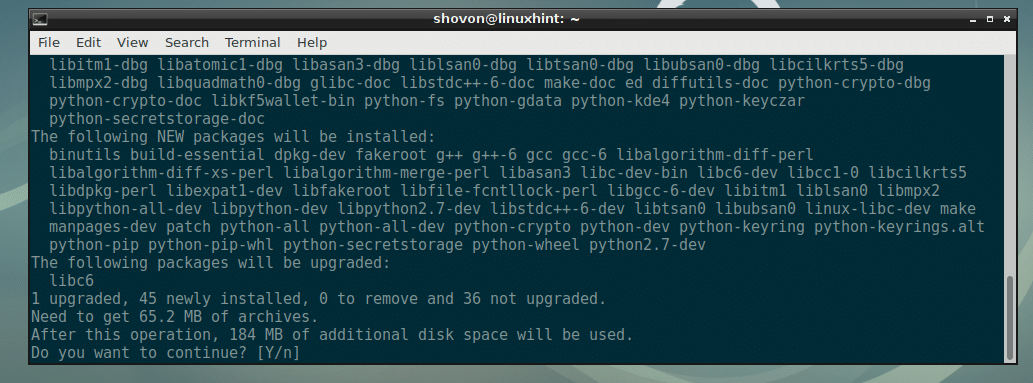
Now install PIP with the following command:

Now press y and then press <Enter> to continue.
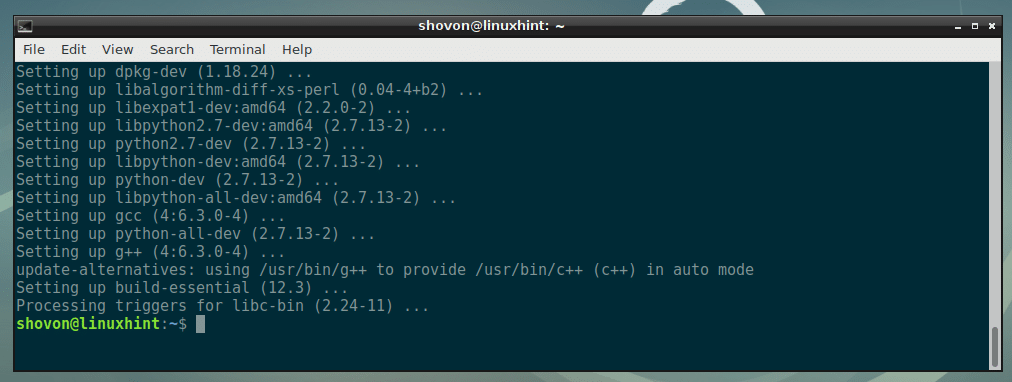
PIP should be installed.
Installing PIP on Ubuntu and CentOS 7:
If you’re using Ubuntu or CentOS 7, you may read the dedicated articles I wrote on how to install PIP on Ubuntu and CentOS 7. The links are given below.
- Install PIP on Ubuntu (https://linuxhint.com/install-pip-on-ubuntu/)
- Install PIP on CentOS 7 (https://linuxhint.com/install-python-pip-centos7/)
Installing exifread Using PIP:
Now that PIP is installed, you can install exifread Python library with the following command:

exifread Python library should be installed.

Installing Photo2Shape Plugin on QGIS 2.x:
Now that exifread Python library is installed, you’re ready to install Photo2Shape plugin on QGIS 2.x.
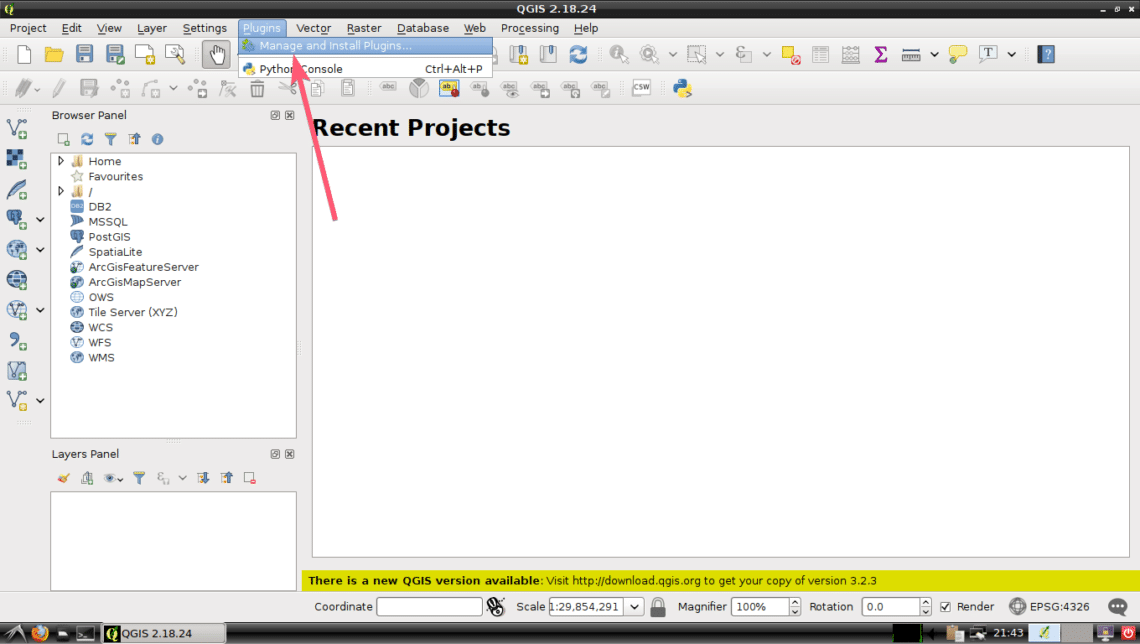
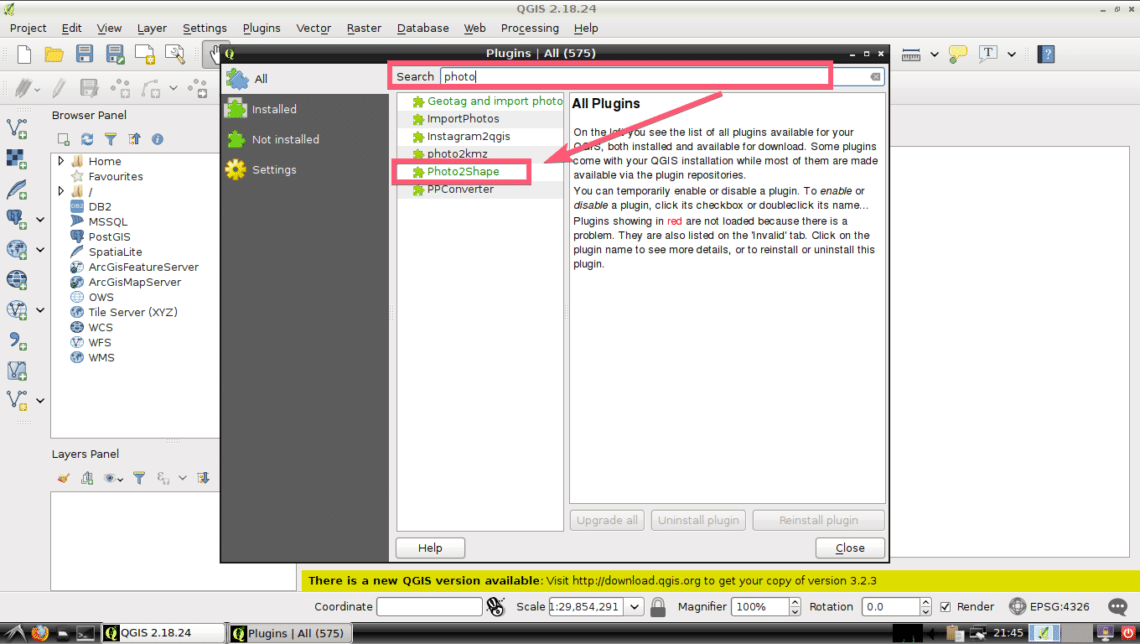
First, open QGIS 2.x and go to Plugins > Manage and Install Plugins… as shown in the screenshot below.
Now, search for Photo2Shape plugin here. You should be able to find it as you can see in the screenshot below.
Now click on Photo2Shape from the list and click on Install plugin button as marked in the screenshot below.
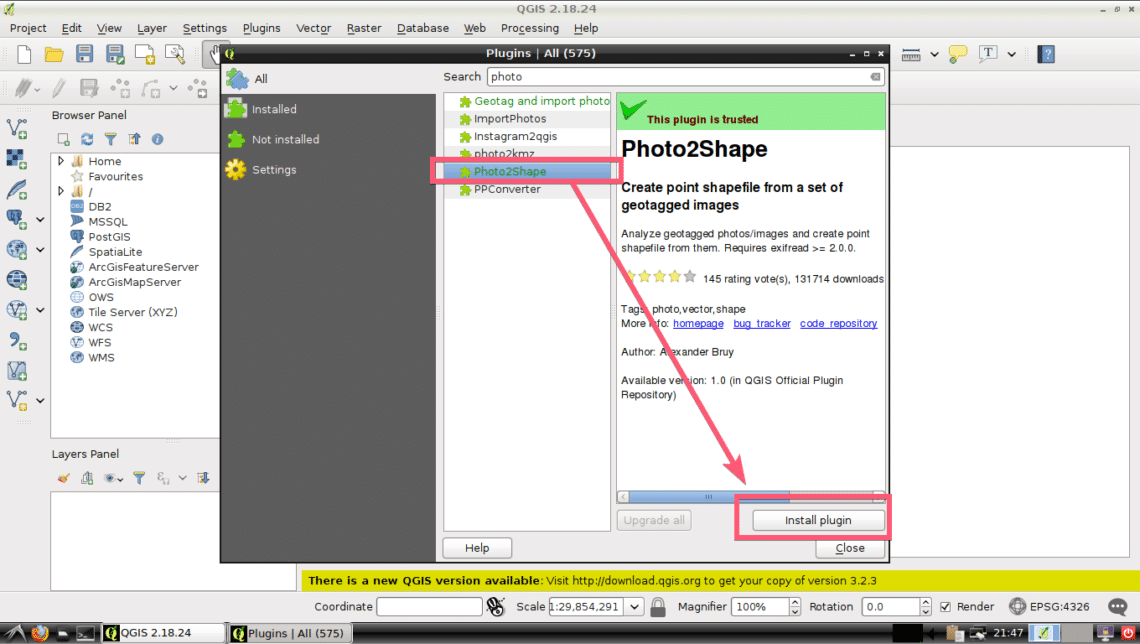
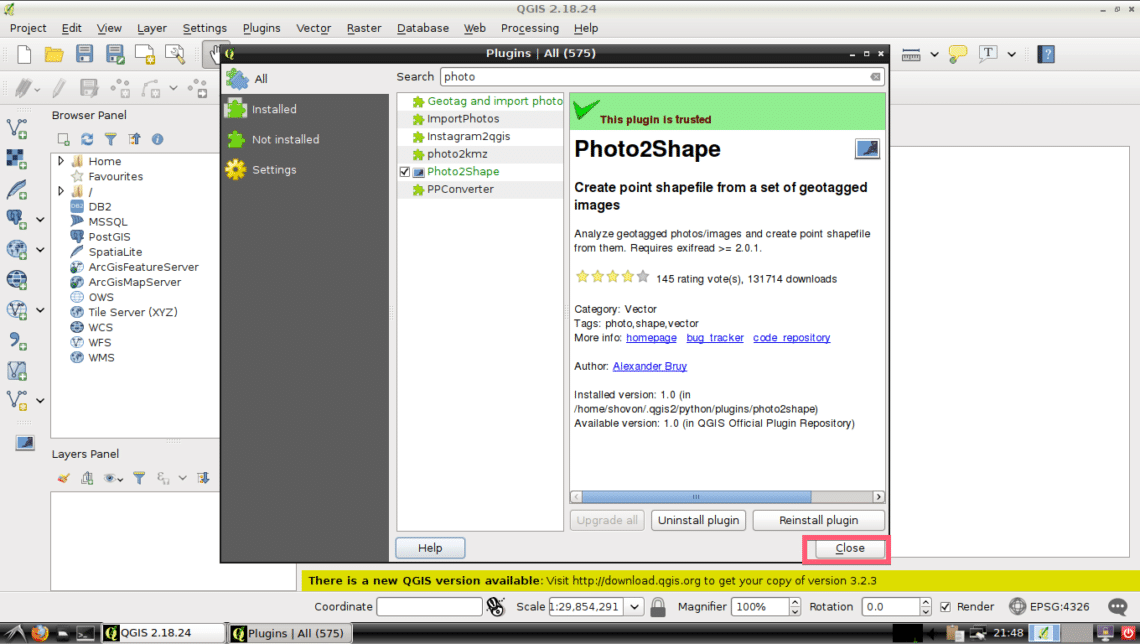
Photo2Shape plugin should be downloaded and installed. Once it’s complete, click on Close as marked in the screenshot below.
Using Photo2Shape Plugin on QGIS 2.x:
In this section, I will show you how to use the QGIS 2.x Photo2Shape plugin.
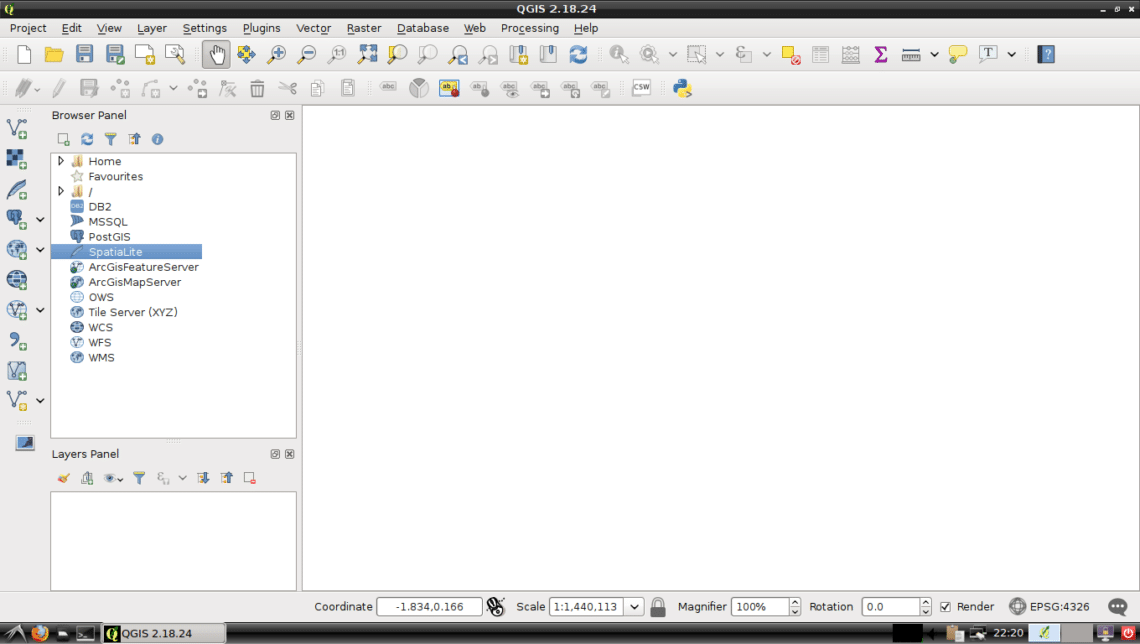
First, create a new project with <Ctrl> + n. As you can see, a blank project is opened.
Now click on the Photo2Shape icon as marked in the screenshot below.
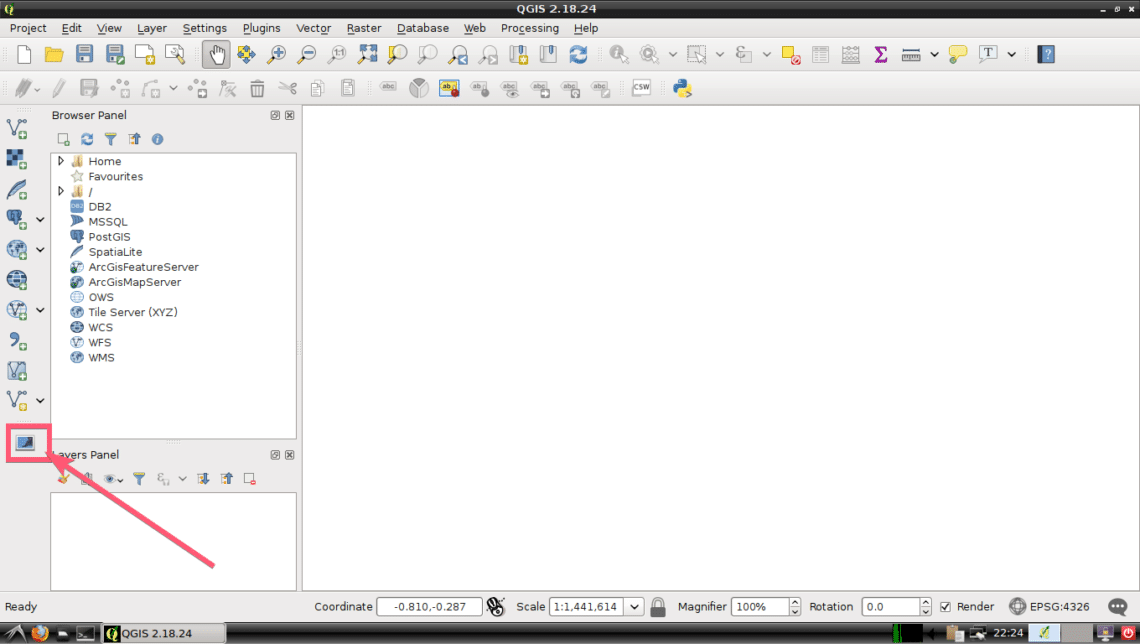
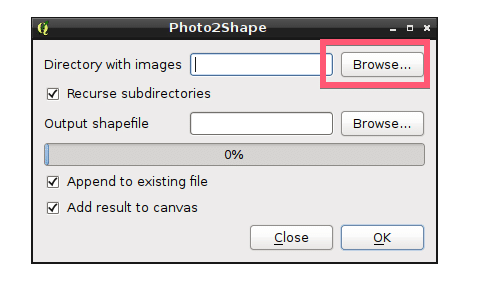
Photo2Shape window should open. Now you have to select a directory where all your geo tagged images are available. To do that, click on Browse… as marked in the screenshot below.
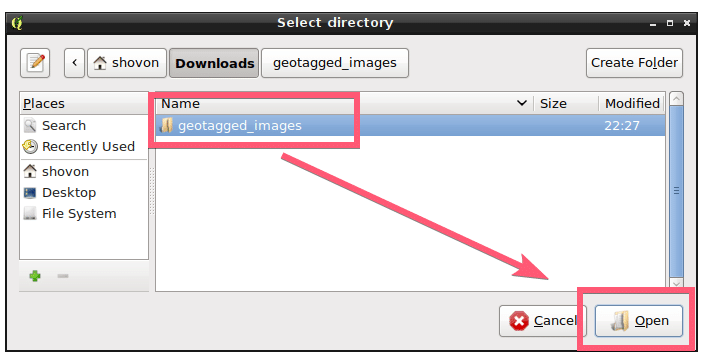
Now, select your desired directory and click on Open as marked in the screenshot below.
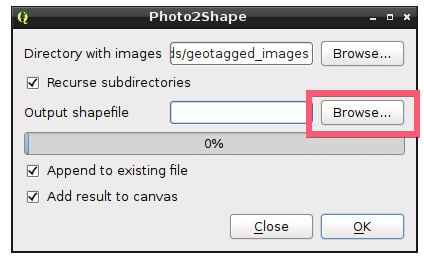
Now, you have to select a location where you want to save the generated Shapefile. To do that, click on Browse… button as marked in the screenshot below.
Now, select a directory location where you want to save the Shapefile, type in the name of the file (in my case geotagged_images), and once you’re done, click on Save. The whole process is illustrated in the screenshot below.

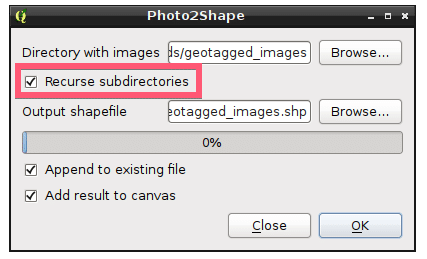
If you want to recursively search the directory (the directory you selected in Directory with images section) for geo tagged images, then leave the Recurse subdirectories checkbox checked, otherwise uncheck it. By default, it is checked.
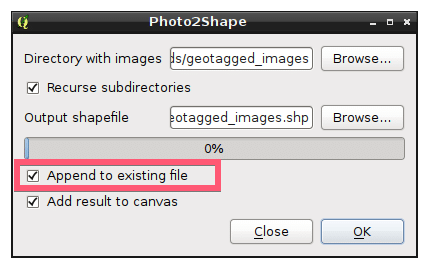
If you’re not replacing any existing Shapefile, just creating a new one, then uncheck the Append to existing file checkbox as marked in the screenshot below. if it is marked while you’re creating a new Shapefile, you may get an error. By default, it is marked. So, be careful not to replace important Shapefiles accidentally.
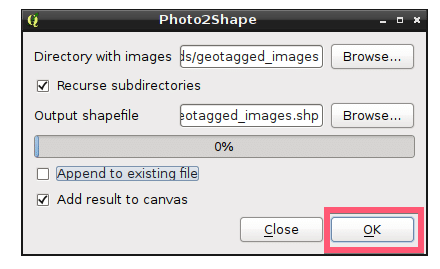
Finally, this is how the Photo2Shape window looks like for me. Now click on OK.
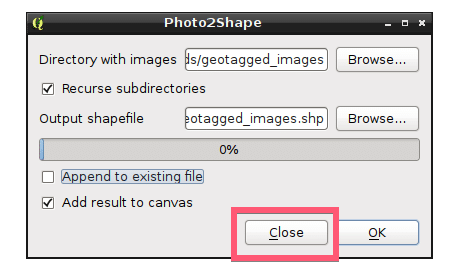
Once the process is complete, click on the Close button.
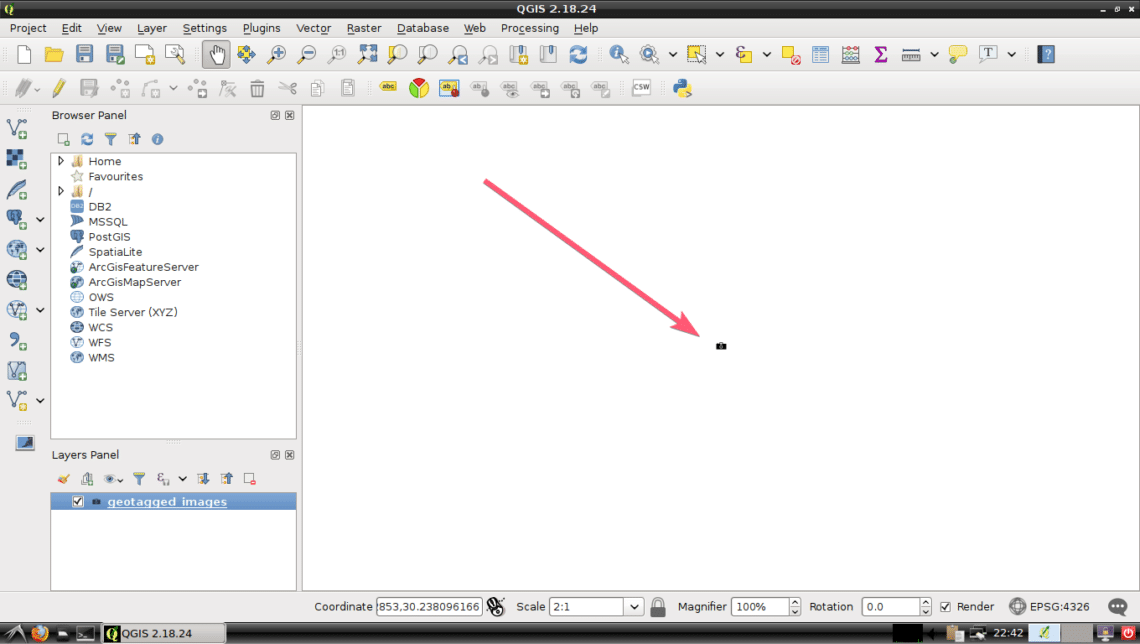
As you can see, a mark is placed on the project window. This is the co-ordinate of the geo tagged image I just converted to Shapefile using the Photo2Shape plugin in QGIS 2.x.
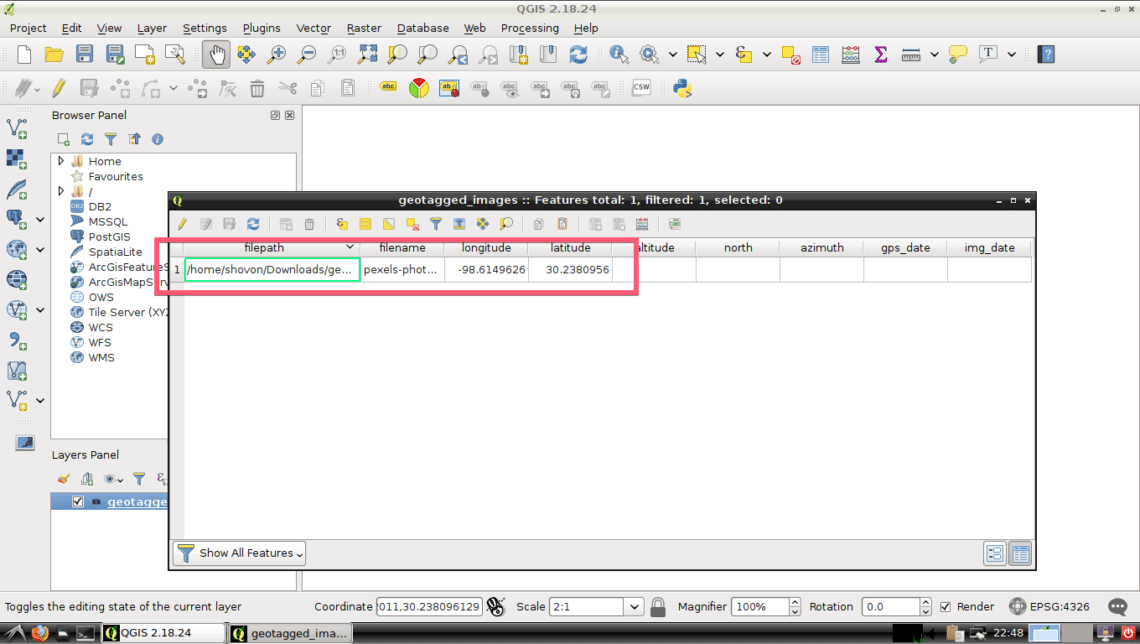
To learn more about the geolocation of the geo tagged photos you’ve imported, you can <Right Mouse Click> on the layer that was generated when you imported the geo tagged photos and click on Open Attribute Table as marked in the screenshot below.

As you can see, a lot of information about the geo tags of the photo I imported is revealed. I only imported one geo tagged photo. So it shows me only one entry. If you’ve imported many photos, it would show up here.
What’s Next:
You can use OpenLayers plugin to add Google maps and mark locations in the map according to the geo data in your geo tagged photos.
To learn more about how to add maps you may read the following articles on QGIS:
Thanks for reading this article.