Things You Need:
To successfully install Plex media server, you need,
- A microSD card (16GB or more) with Raspbian OS image flashed.
- A Raspberry Pi 3 single board computer.
- A self-powered USB hard drive or large enough USB thumb drive for storing media files.
- Internet connectivity on the Raspberry Pi using either Wi-Fi or LAN cable.
- Raspberry Pi configured to connect to it remotely via either SSH or VNC Viewer.
- An Android phone charger for powering up Raspberry Pi.
I’ve written articles on installing Raspbian on Raspberry Pi and enabling SSH and VNC on Raspberry Pi. Be sure to check them out here on LinuxHint.com if you need to.
Connecting to Raspberry Pi:
First, connect all the required components to your Raspberry Pi and power it up.
Now, to connect to your Raspberry Pi remotely via SSH, run the following command:
NOTE: Here, replace IP_ADDR_RPI with the IP address of your Raspberry Pi.
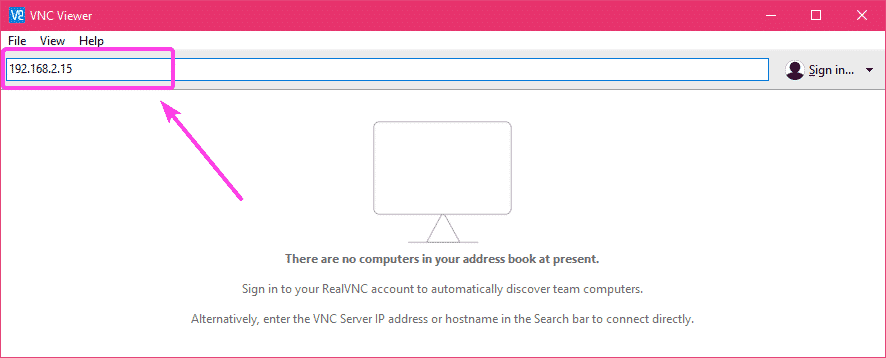
You can also connect to your Raspberry Pi via VNC if you want to interact with it graphically. To do that, you need to download and install VNC Viewer from RealVNC (https://www.realvnc.com/en/connect/download/viewer/).
Once you get it installed, just type in the IP address of your Raspberry Pi and press <Enter>.
Now, type in your credentials and click on OK.
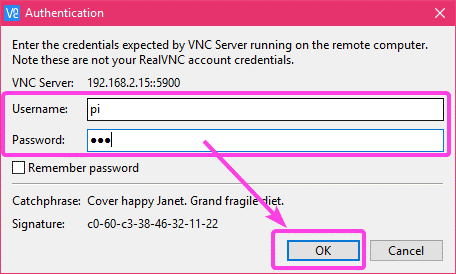
You should be connected.
Mounting External Hard Drive or USB Thumb Drive:
Before you go any further, it’s a good time to mount the USB self-powered external hard drive or USB thumb drive on your Raspberry Pi 3 device.
First, insert the hard drive or USB thumb drive on your Raspberry Pi 3 single board computer.
If you’re using the Standard Raspbian OS (comes with graphical desktop environment), then the device should automatically be mounted. But if you’re using the minimal version of Raspbian, then it may not be the case. You will have to manually mount the storage device or block device.
If you’re using Raspbian minimal, first create a mount point (let’s say /media/pi/Media) with the following command:
Now, mount the external hard drive or USB thumb drive to /media/pi/Media as follows:
If you reboot your Raspberry Pi, then you will have to do these steps again. If you want it to mount your external hard drive or USB thumb drive automatically, then you can do so using the /etc/fstab file.
Just edit /etc/fstab file and add the following line to the end of the file.
Here, vfat is the filesystem type. vfat is compatible with the FAT filesystem on Windows.
If you want, you can use other filesystems. I prefer vfat/FAT filesystem as it is compatible with Windows, Mac, Linux and Android. So you can add media files to your external hard drive from every device you have on your house.
Installing Plex on Raspberry Pi 3:
Now that you can connect to your Raspberry Pi remotely, let’s install Plex media server on it.
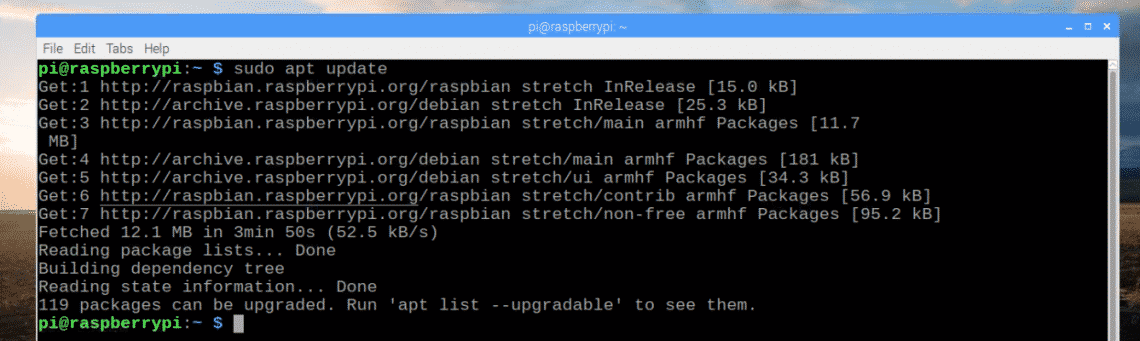
First, open up a Terminal and update the APT package repository cache with the following command:
Now, install apt-transport-https package with the following command:
It may already be installed as in my case. If not, it will be installed.

Plex media server is not available in the official package repository of Raspbian. So, you have to install it from a third-party package repository Dev2Day.de.
Now, add the GPG key of the Dev2Day.de package repository with the following command:

The GPG key should be added.

Now, add the Dev2Day package repository with the following command:
sudo tee /etc/apt/sources.list.d/pms.list

Now, update the APT package repository cache again as follows:

The APT package repository cache should be updated.

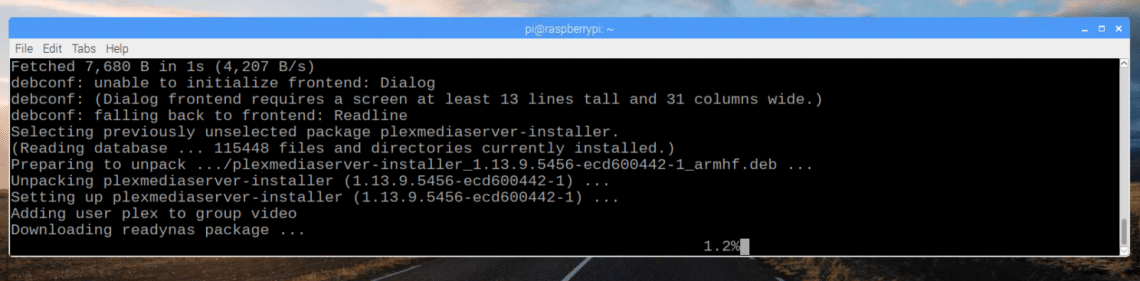
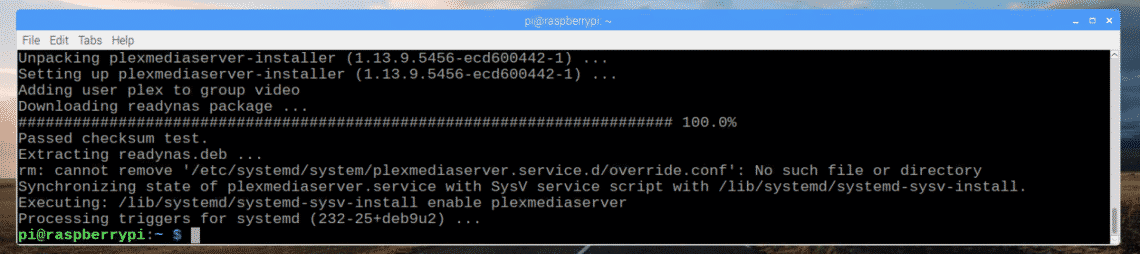
Now, install Plex media server with the following command:

Plex media server is being installed.
Plex media server should be installed.
Accessing Plex Media Server:
Now that Plex media server is installed, you can access it from the web browser.
Open a web browser and visit http://IP_ADDR_RPI:32400/web
NOTE: Change IP_ADDR_RPI to the IP address of your Raspberry Pi.
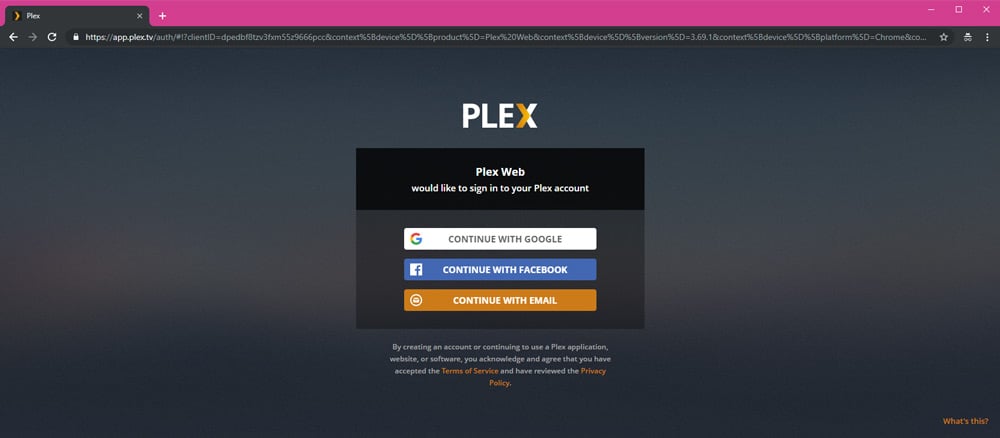
You should be redirected to the following page. Here, you have to login to the Plex media server.
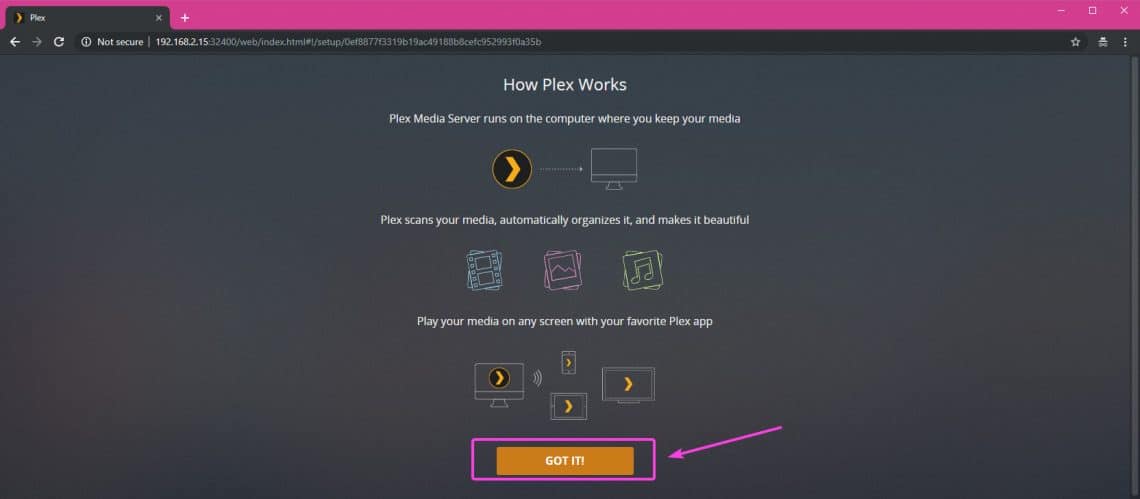
Once you’re logged in, click on GOT IT!.
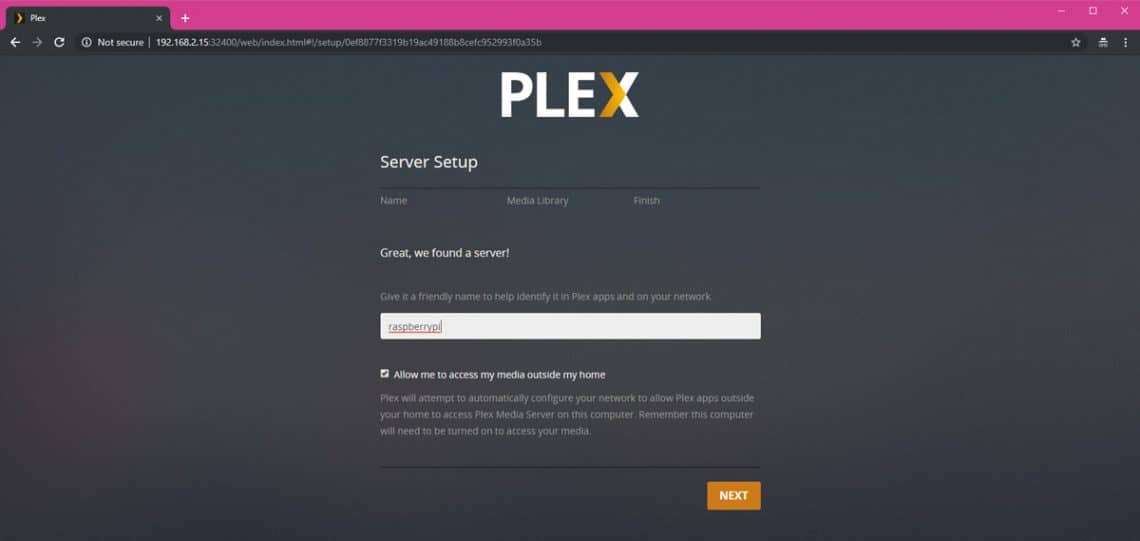
Now, set up a name for your Plex media server and click on NEXT.
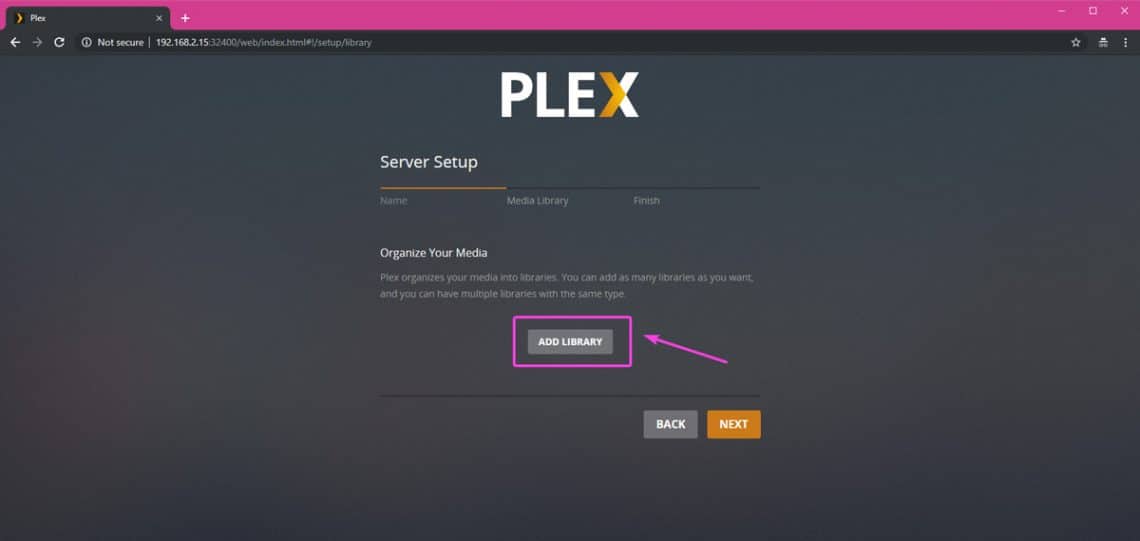
Now, you can add media files to your library. To do that, click on ADD LIBRARY.
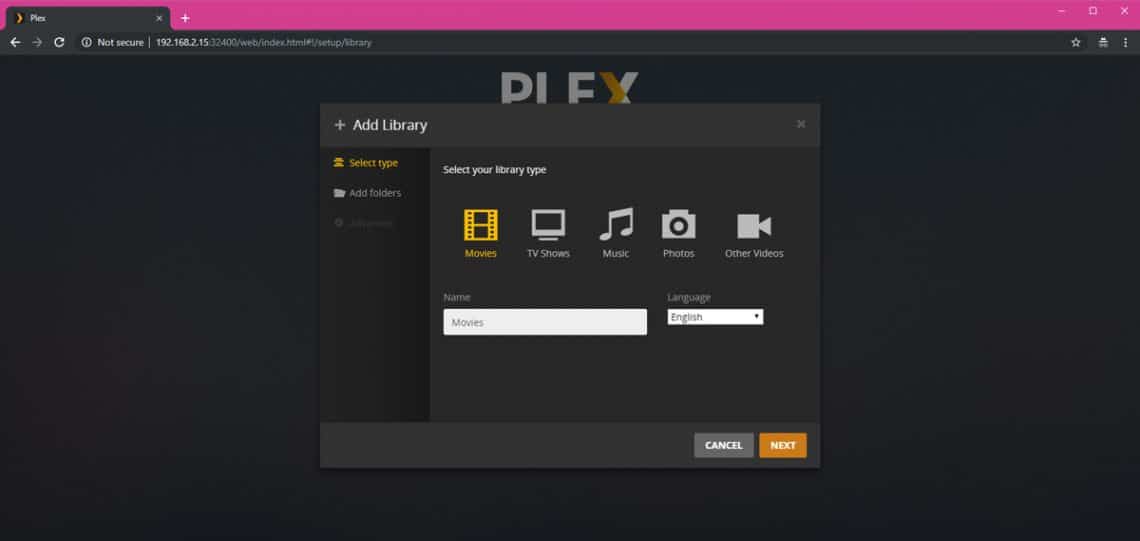
Now, select the type of media that you want to add, type in a name and language and finally, click on NEXT.
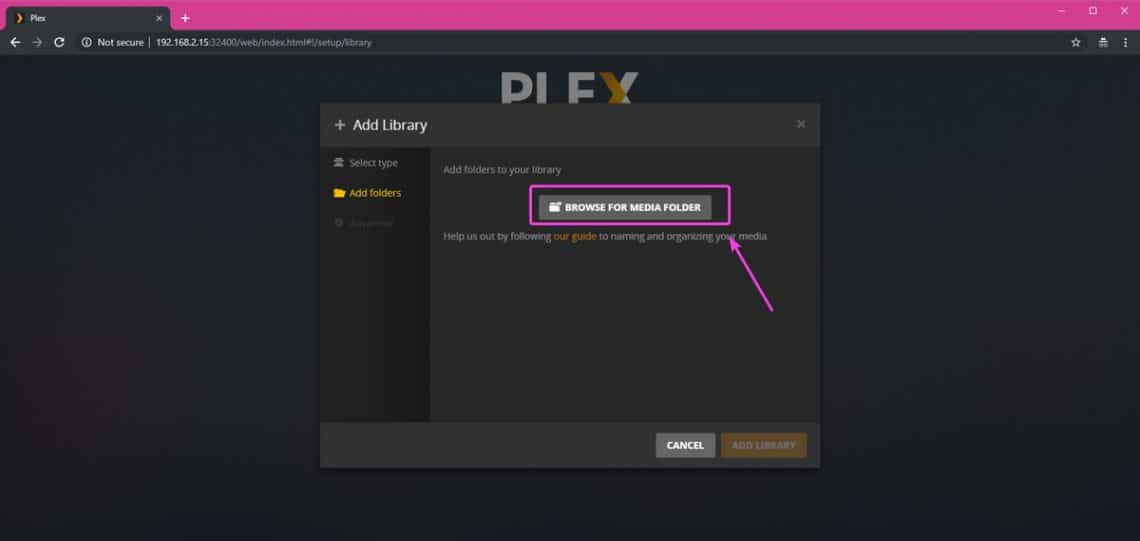
Now, click on BROWSER FOR MEDIA FOLDER to select a directory where your external hard drive or USB thumb drive is mounted.
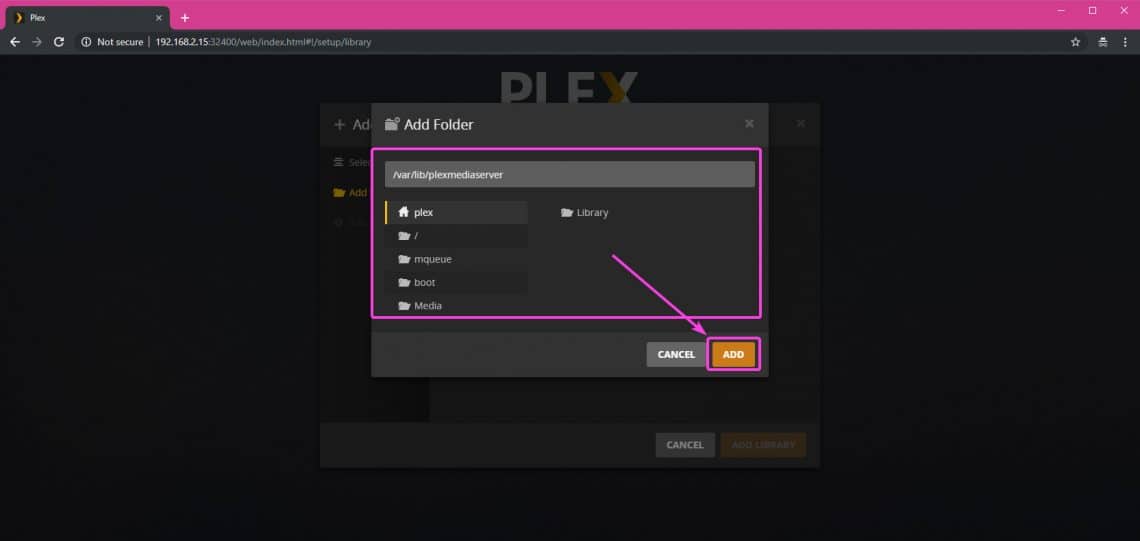
A file picker should show up. Just select the folder where you media files are located and click on ADD.
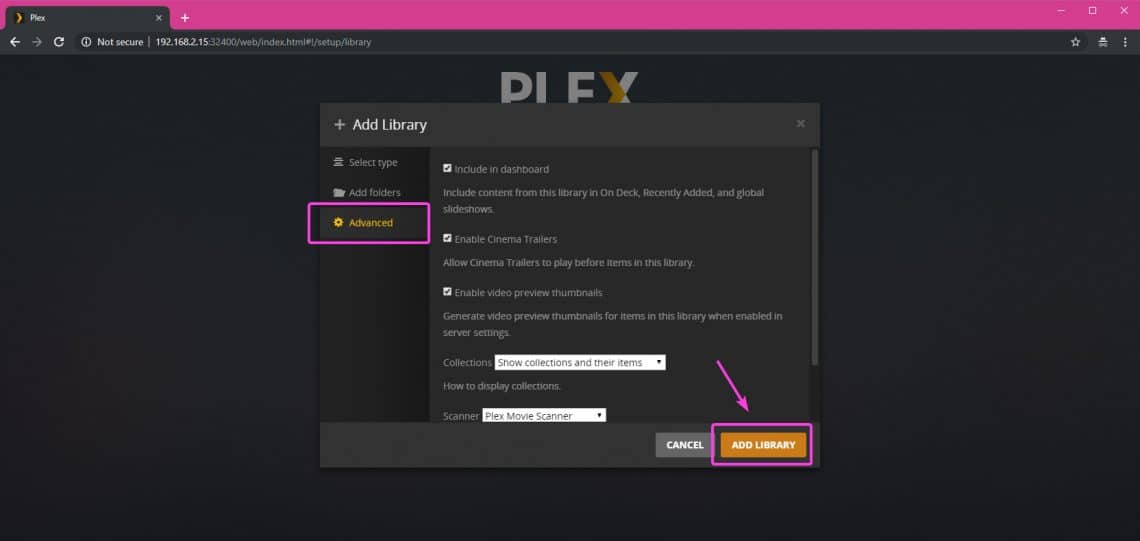
You can also click on the Advanced tab and configure some options for your media library. Once you’re done, click on ADD LIBRARY.
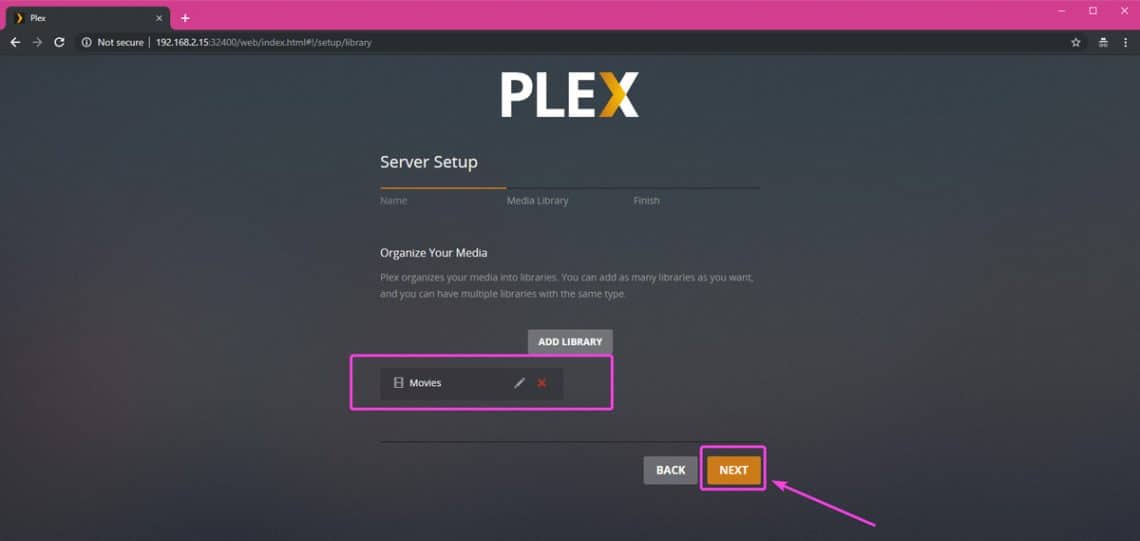
The library should be added as you can see. You can add as many libraries as you want. Once you’re done, click on NEXT.
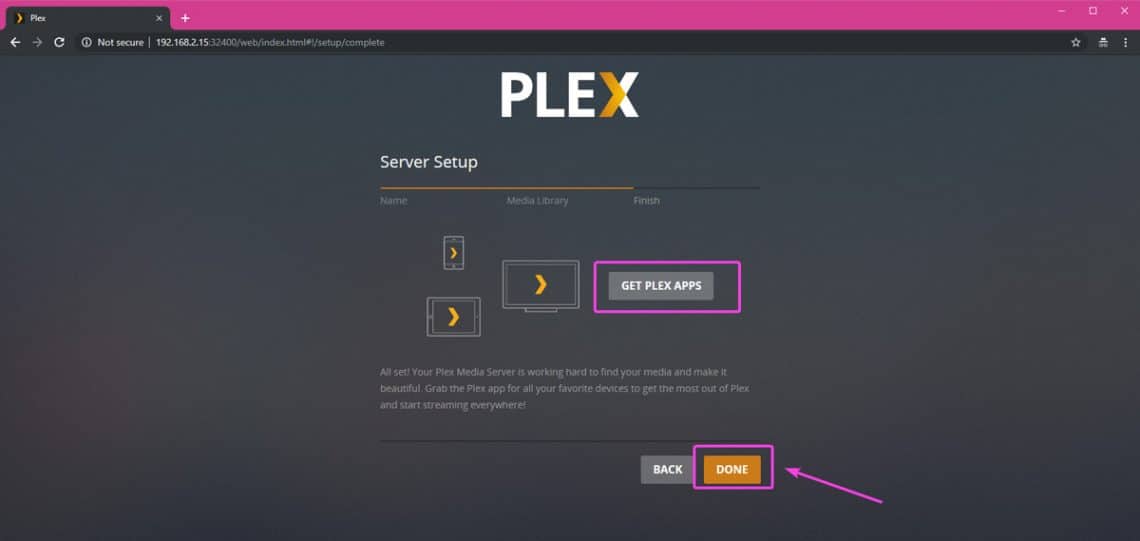
Now, you should see the following page. You can click on GET PLEX APPS to download Plex application that runs natively on your computer or mobile devices. If you don’t want to do that, you can still access Plex media server from the web. Once you’re done, click on DONE.
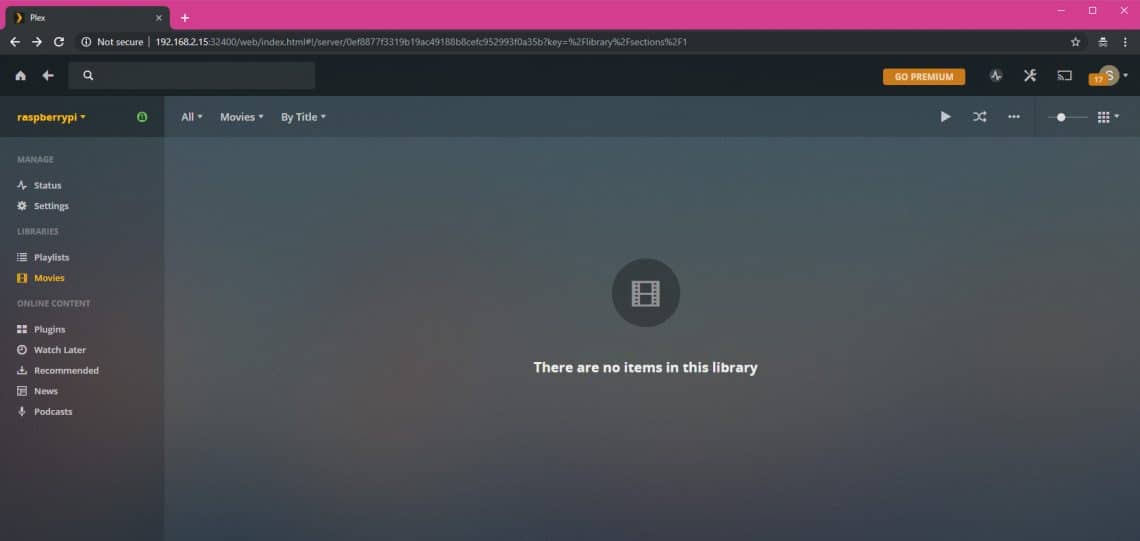
Once you’re done, you should see the Plex media server dashboard as in the screenshot below. I have no media on my external hard drive at the moment, so it shows nothing. But it should list all the media files from your hard drive or USB thumb drive in a nicely formatted way here.
So, that’s how you install Plex media server on Raspberry Pi 3. Thanks for reading this article.