How to Install SQLite on Arch Linux
SQLite is a lightweight file based database system. It does not have any dependencies like other big databases. SQLite uses less memory, so it is ideal for embedded systems like Android. You can also use SQLite for your websites and apps if it doesn’t need to store too much data.
SQLite is a great database. Since it’s a file based database system, it has some limitations. The file size of a single SQLite database file depends on the file system you created the file on. For example, on FAT 32 file system, the SQLite database file can be as big as 4GB. To avoid the limitations of SQLite, you should use a file system that supports a big file. That’s it.
If you think your database file might be larger than the largest file your file system supports, you should consider using another database system like MySQL or MariaDB or PostgreSQL.
SQLite is open source and a cross platform database.
In this article, I will show you how to install SQLite on Arch Linux. Let’s get started.
Installing SQLite
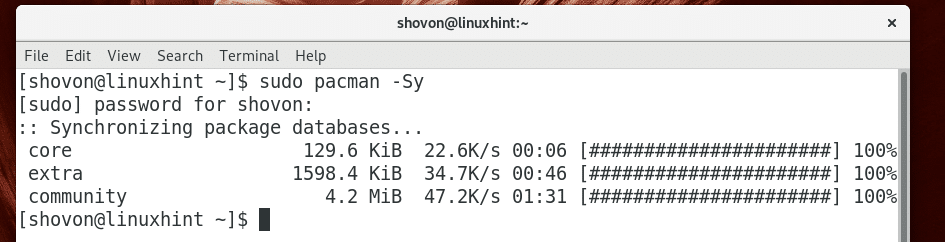
First update the pacman package repository cache of your Arch machine with the following command:

The pacman package repository cache should be updated.
SQLite version 3, which is the latest version at the time of this writing, is available in the official package repository of Arch Linux.
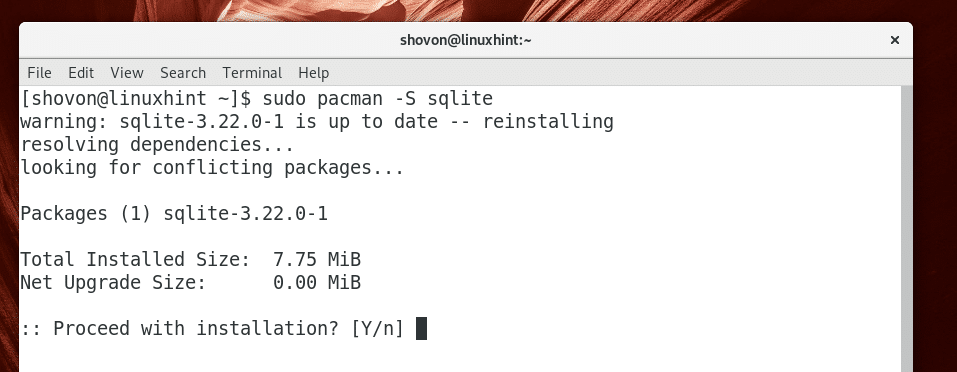
You can run the following command to install SQLite 3 on Arch Linux:

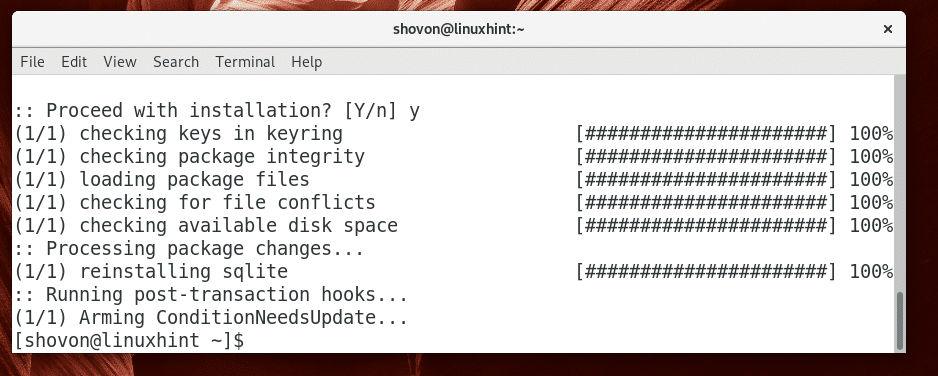
Now press ‘y’ and then press <Enter> to continue.
SQLite 3 should be installed.
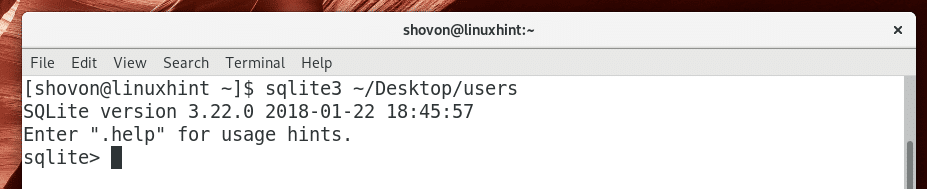
Once the installation is complete, you can run the following command to check whether SQLite is working:

As you can see from the screenshot below, the version of SQLite is installed is 3.22.0.

Using SQLite
In this section I will show you how to use SQLite 3 database system.
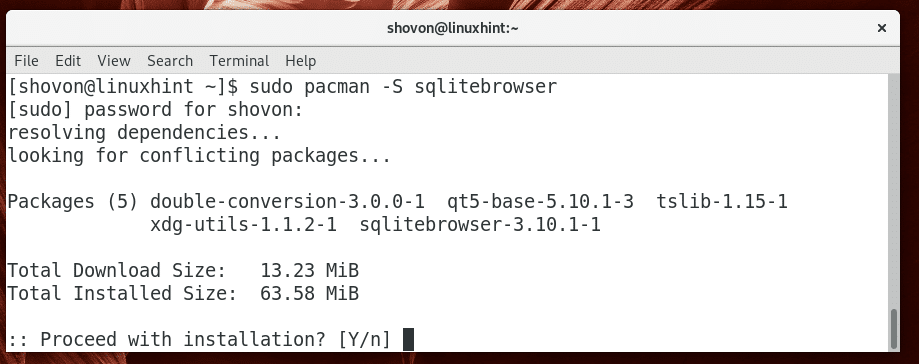
You can use SQLite 3 using the sqlite3 command line interface or you can use DB Browser for SQLite to use SQLite 3 graphically. I will show you how to use SQLite graphically using DB Browser. DB Browser for SQLite is available in the official package repository of Arch Linux. You can install DB Browser for SQLite on Arch Linux with the following command:

Now press ‘y’ and then press <Enter> to continue.
DB Browser for SQLite should be installed.

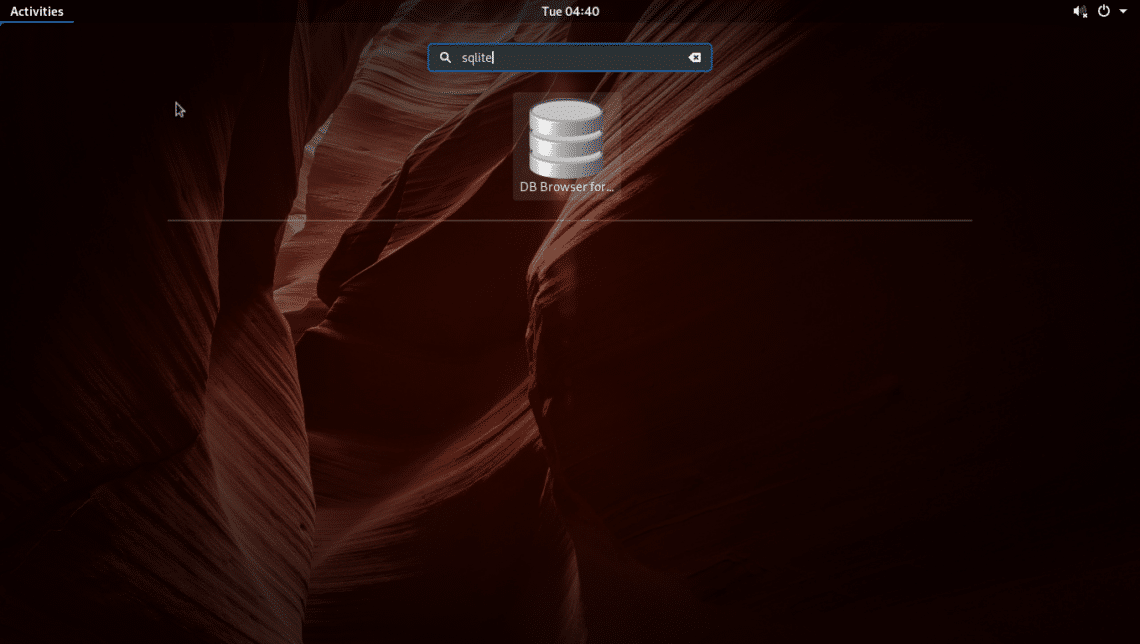
Now you can go to Activities or Application Menu of your desired desktop environment and look for SQLite and you should see DB Browser for SQLite icon as shown in the screenshot below. Click on it.
DB Browser for SQLite should start as shown in the screenshot below.
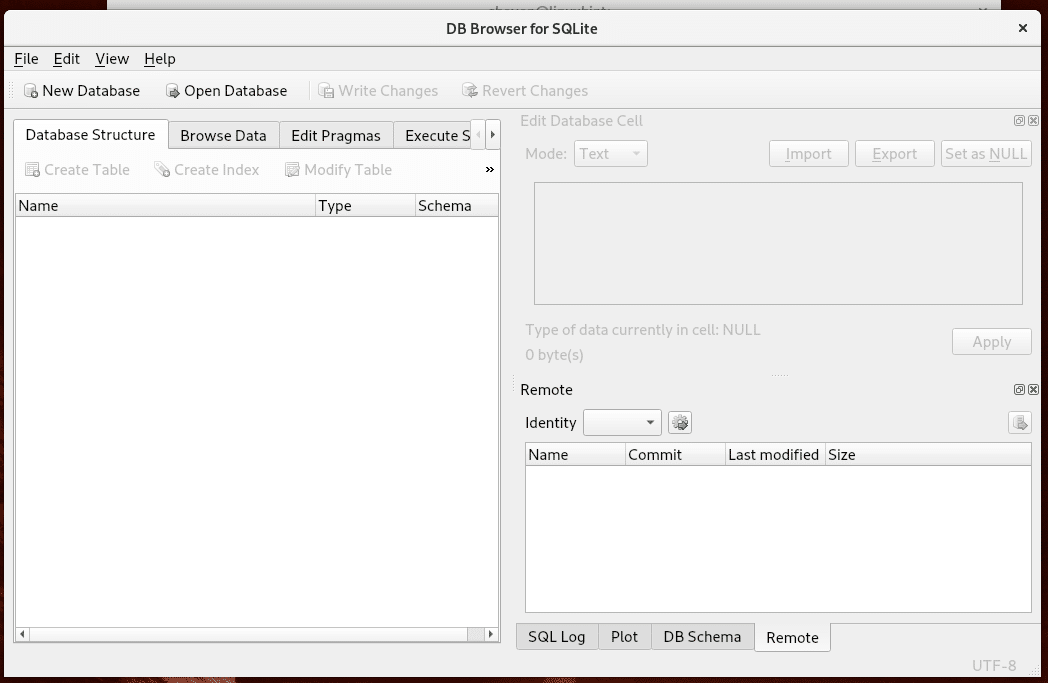
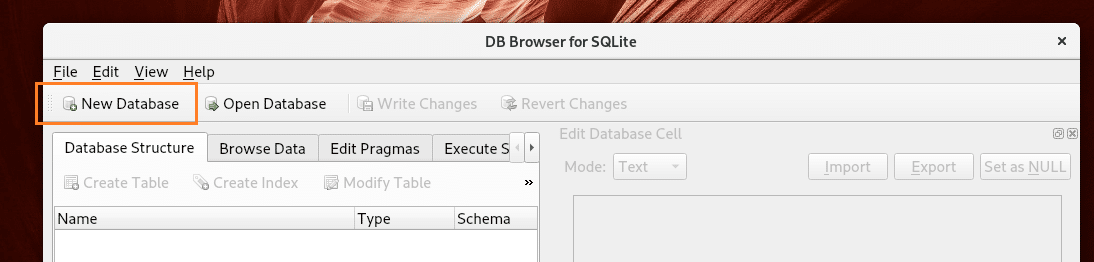
You can click on New Database to create a new SQLite 3 database using DB Browser for SQLite.
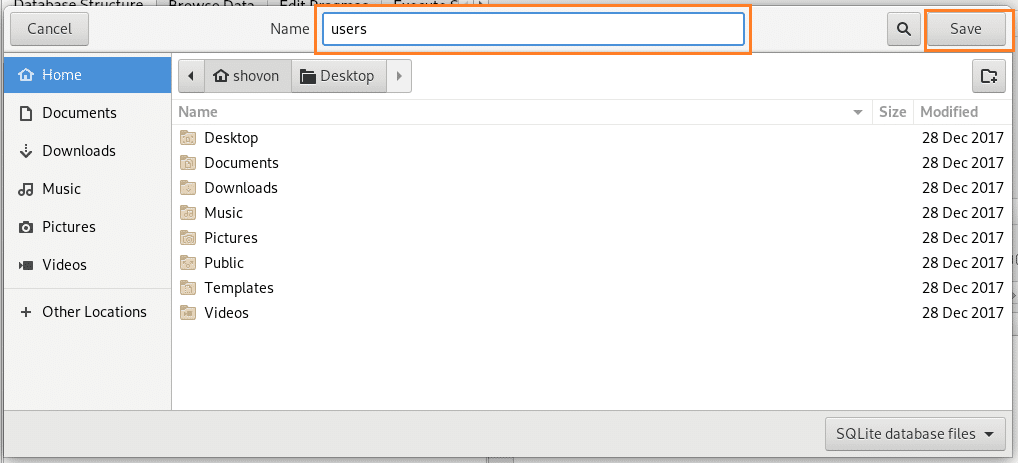
Once you click on New Database, you should be prompted to save the SQLite database as shown in the screenshot below. Type in a file name and click on Save.
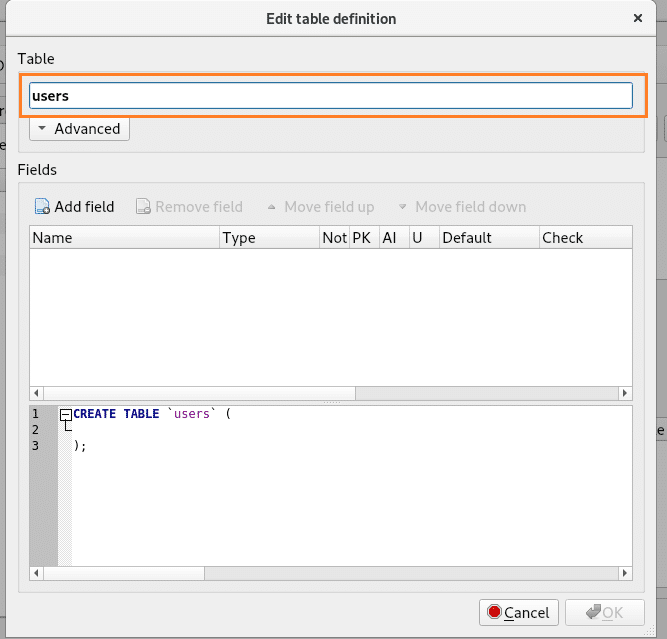
Once you click on Save, you should see the following window.

Type in a table name in the marked section of the screenshot below. I am going to call it users table.
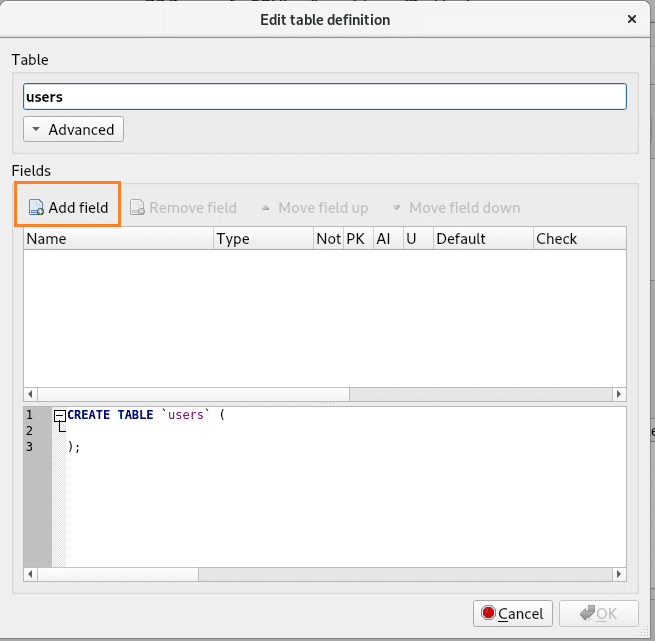
Now click on Add field button as marked in the screenshot below.
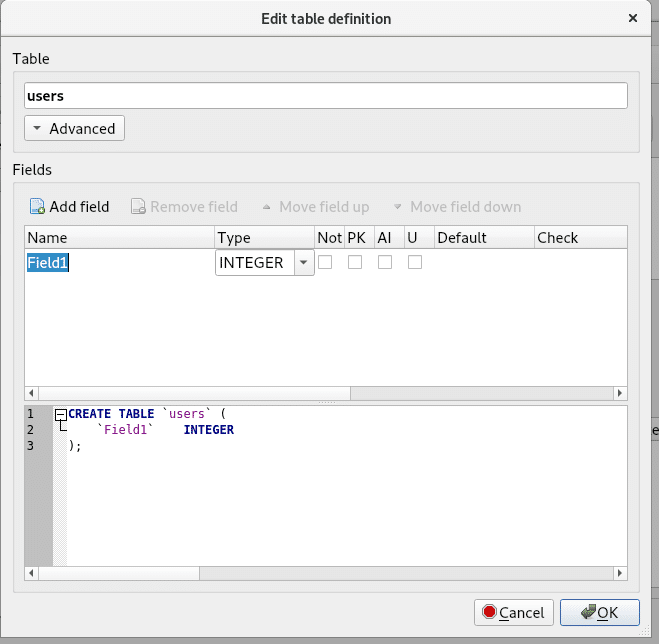
You should see a new field Field1 being created.
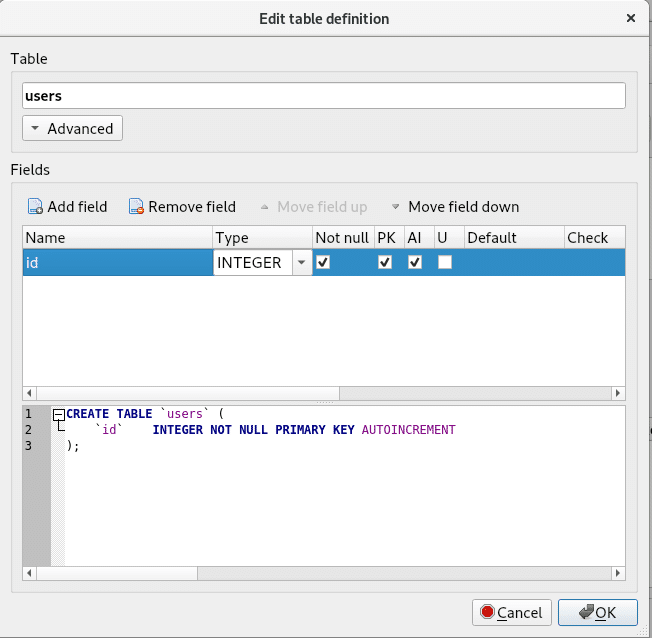
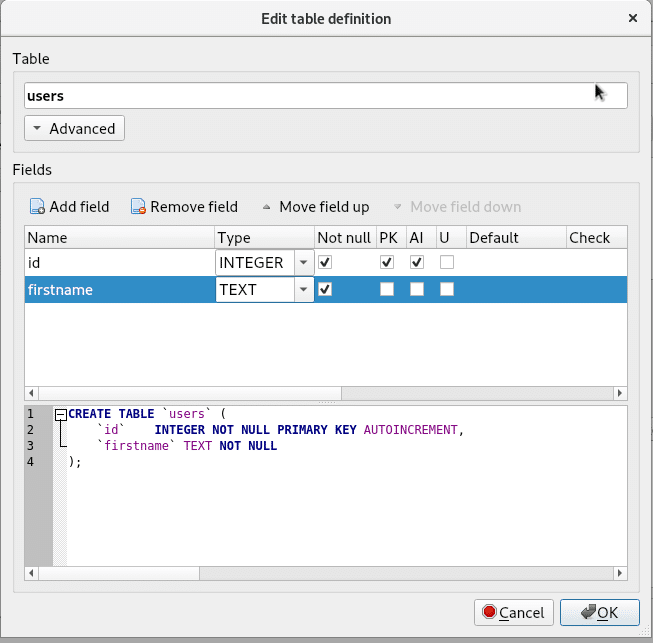
Now change the field name from Field1 to id, leave the Type to INTEGER and mark the PK, AI and Not null checkboxes as shown in the screenshot below.
Now click on Add field button again, create a new field firstname and change the Type to TEXT, and mark the Not null checkbox as shown in the screenshot below.
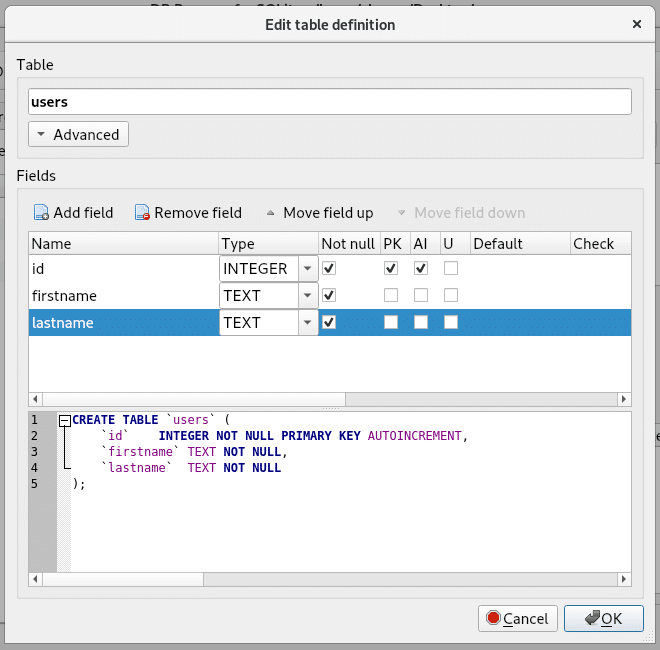
Now click on Add field button again, create a new field lastname and change the Type to TEXT, and mark the Not null checkbox as shown in the screenshot below.
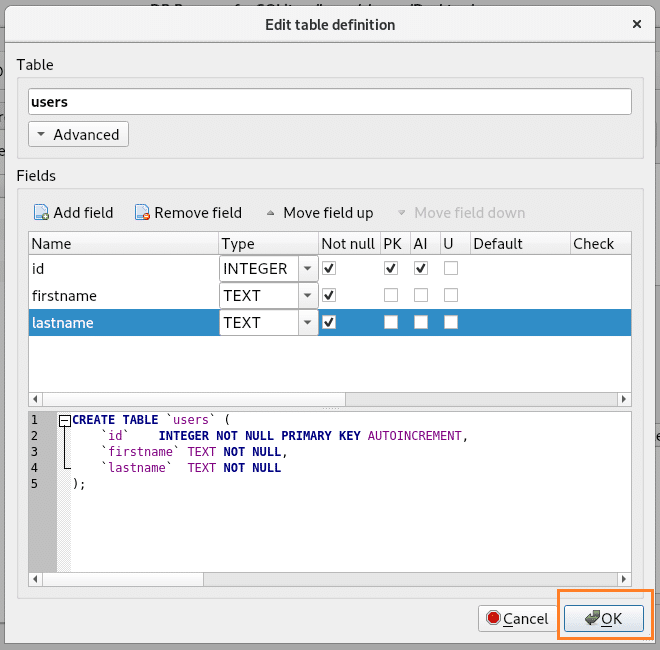
This is enough to demonstrate how to use DB Browser for SQLite to work with SQLite 3 databases. So click on OK as marked in the screenshot below.
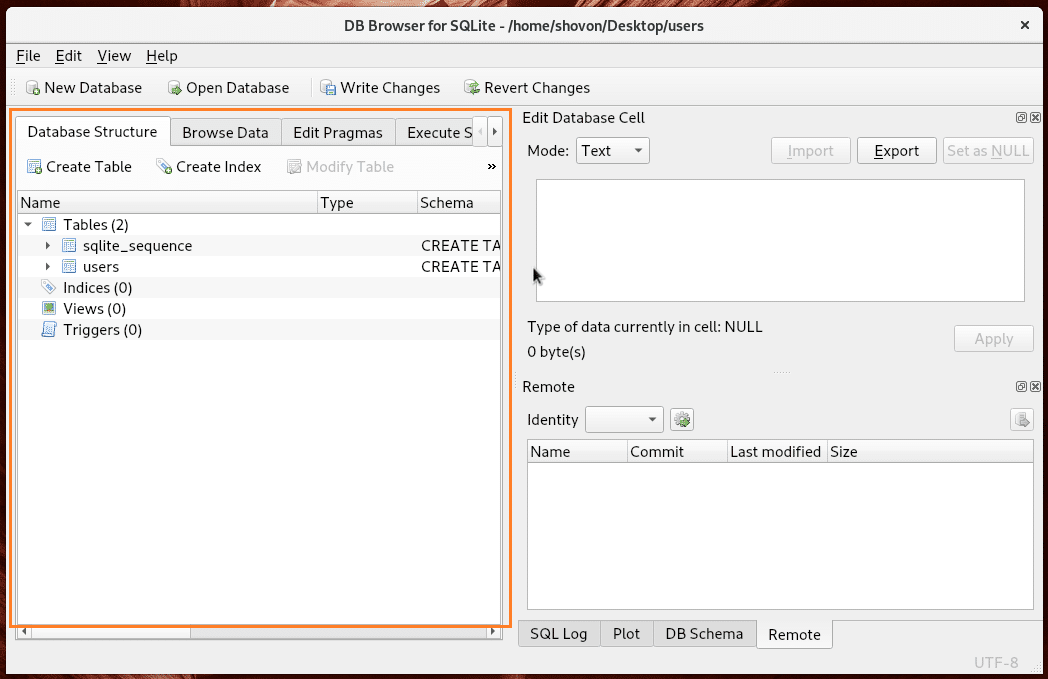
The table is shown in the left side of the DB Browser window.
Now to insert data into the table, to go the Browse Data tab, change the table to users and click on New Record as marked in the screenshot below.
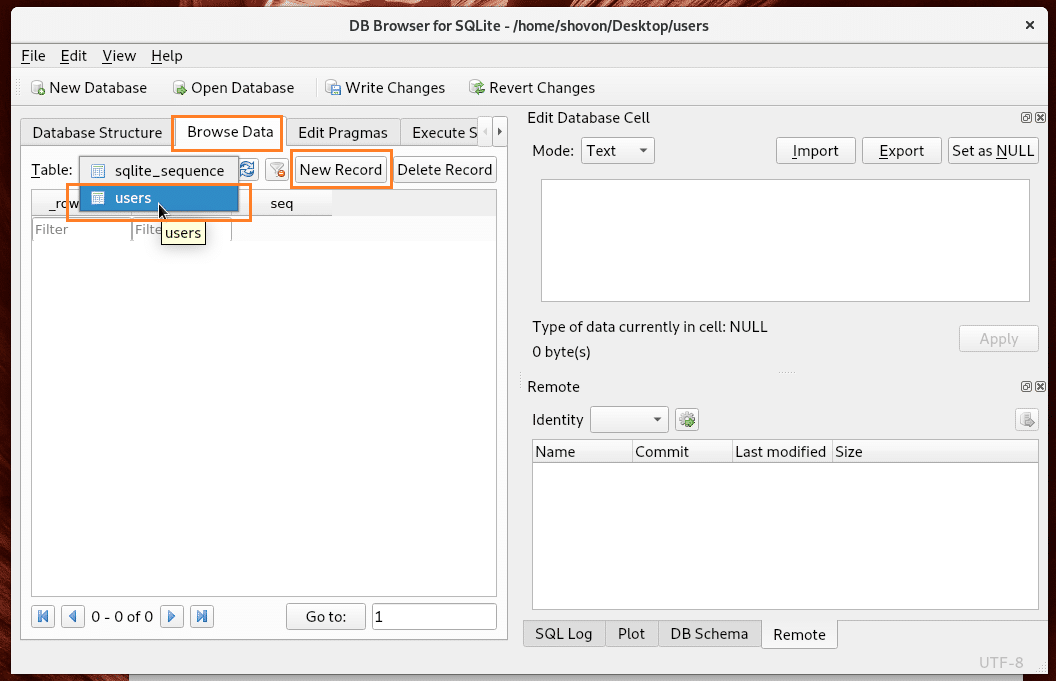
As you can see, an empty record is added.
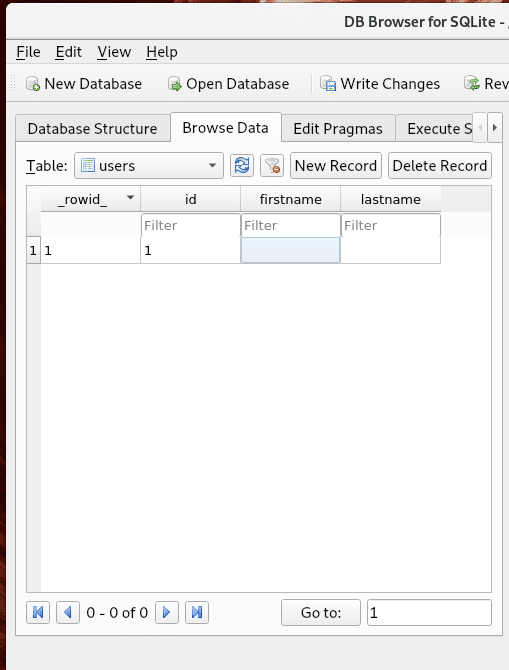
You can click on the record and modify it as you need.
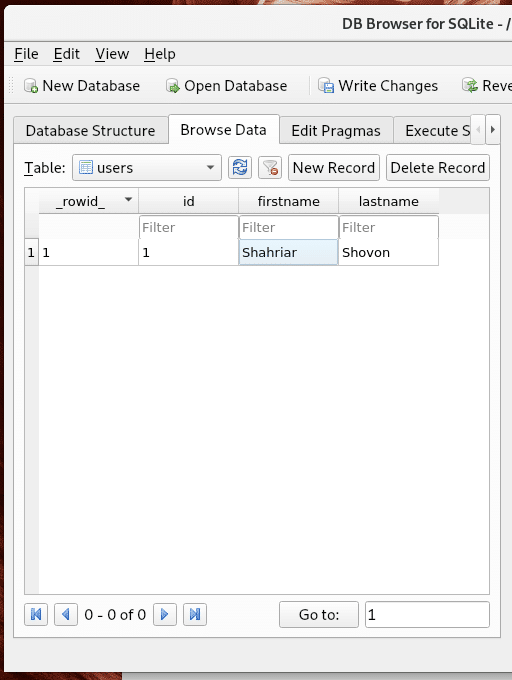
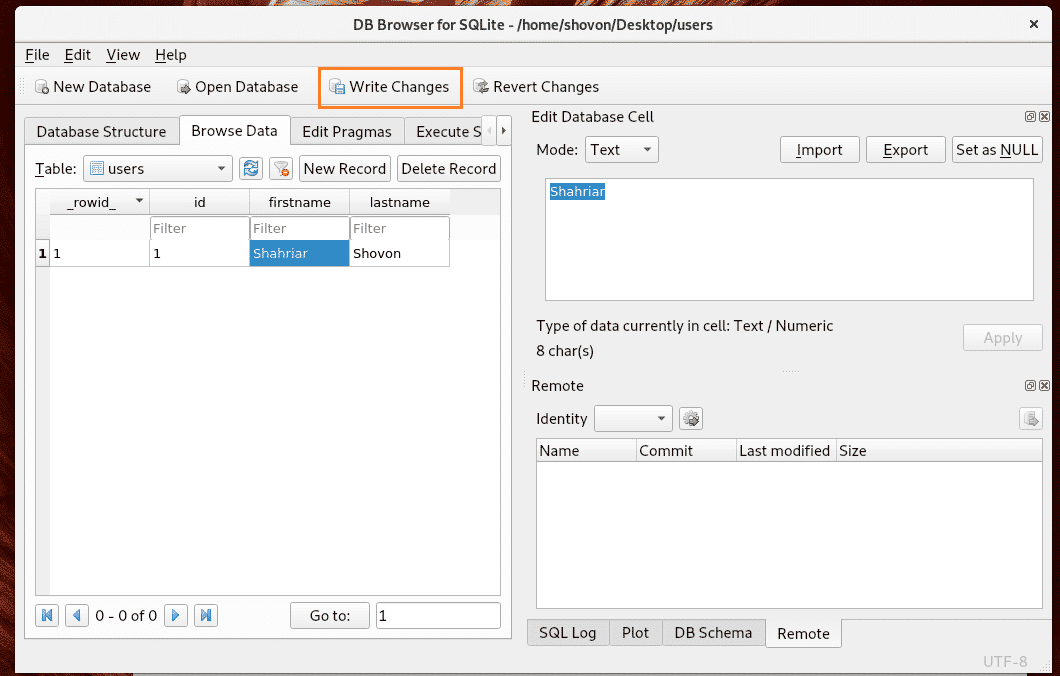
Once you’re done, you can click on Write Changes button as marked in the screenshot to save the changes to the database.
You can also open the database file with SQLite’s command line interface as well as follows:
The users SQLite 3 file should be opened with SQLite 3 as shown in the screenshot below.
Now run the following SQL statement to select all the rows of users table.

As you can see, the data I saved using DB Browser is there.

That’s how you install SQLite and use it on Arch Linux. Thanks for reading this article.