Downloading Anaconda Python:
Anaconda Python is not available in the official package repository of CentOS 8. But, you can easily download it from the official website of Anaconda Python and install on your CentOS 8 machine.
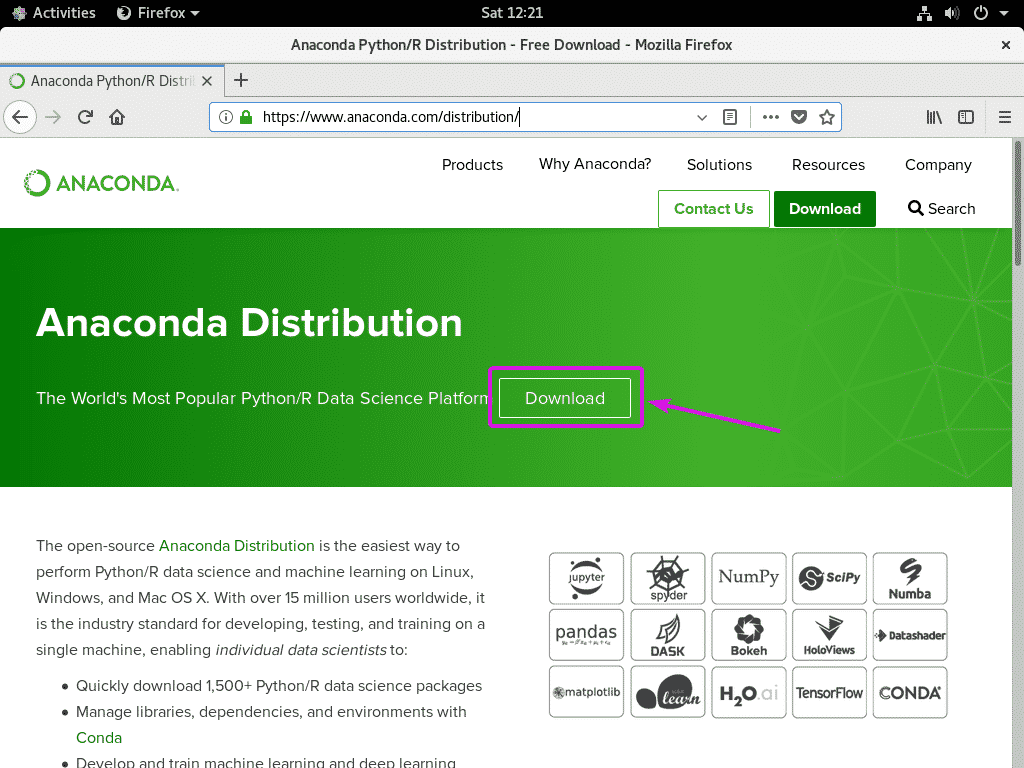
First, visit the official website of Anaconda Python. Once the page loads, click on Download.

Now, click on Download.
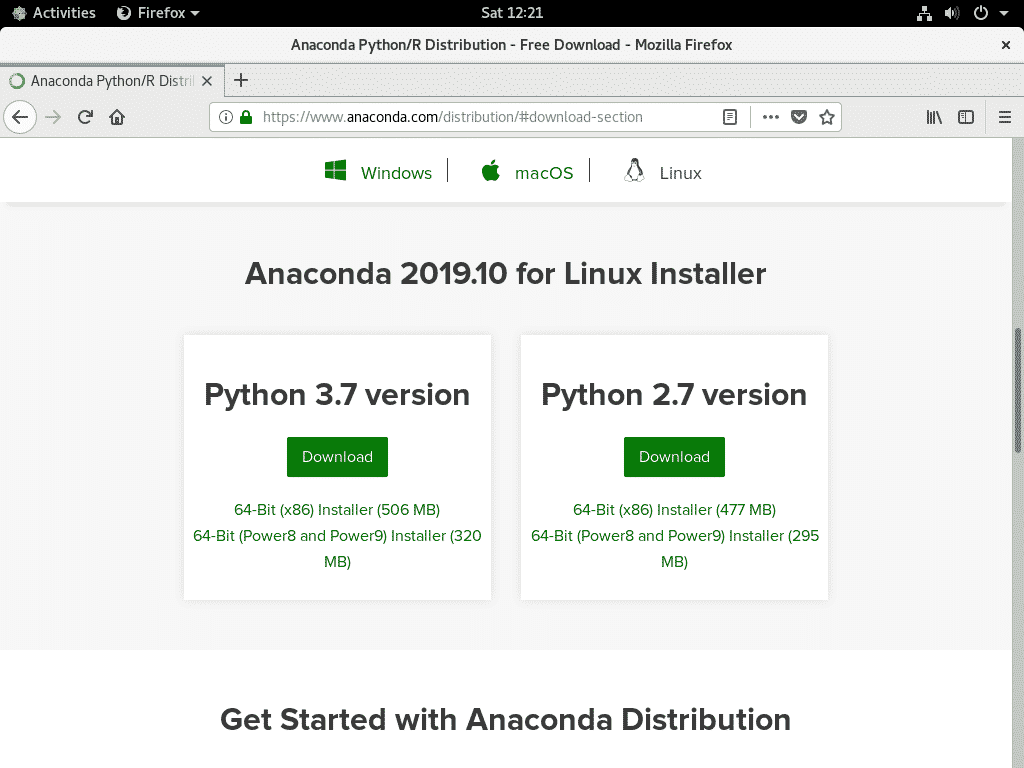
You should see the following download page. You can download Anaconda Python 3 (3.7 at the time of this writing) or Anaconda Python 2 (2.7 at the time of this writing) depending on your requirements.
Unless you’ve some specific requirements, you won’t need Anaconda Python 2. You will most likely want Anaconda Python 3.
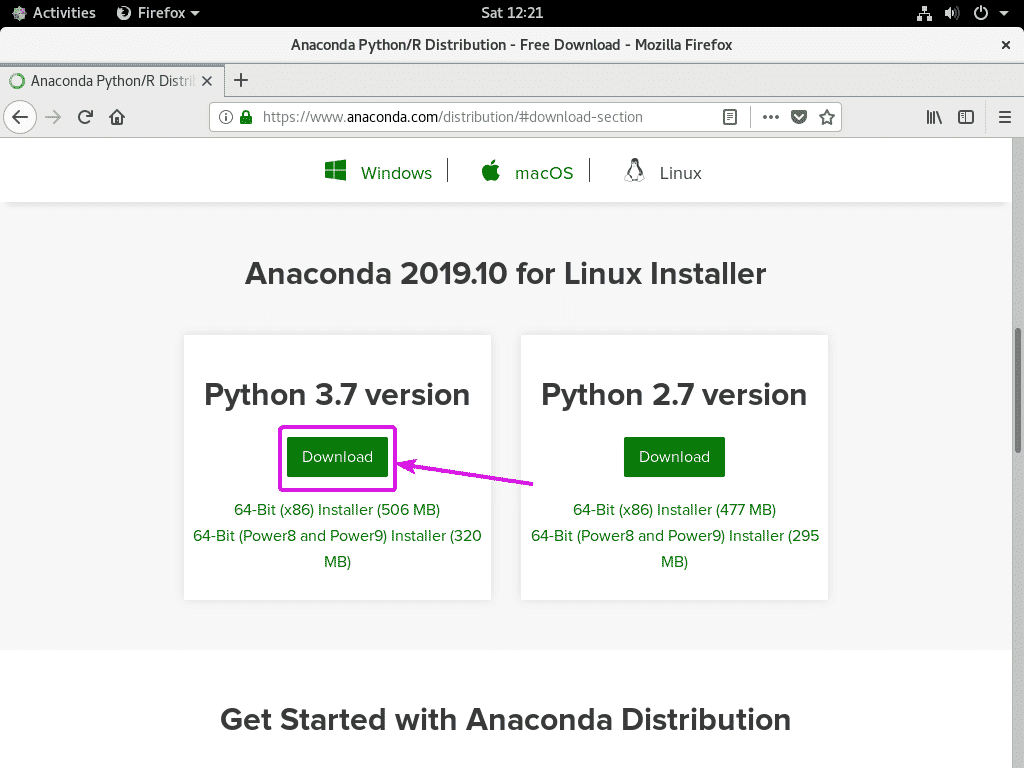
To download Anaconda Python 3, click on the Download link as marked in the screenshot below.
The same way, you can click on the Download link for Python 2 (2.7 at the time of this writing) in order to download Anaconda Python 2.
Now, select Save File and click on OK.

Your browser should start downloading Anaconda Python installer. It may take a while to complete.

Installing Anaconda Python 3:
In this section, I am going to show you how to install Anaconda Python 3.
First, navigate to the ~/Downloads directory as follows:

Anaconda Python 3 installer Anaconda3-2019.10-Linux-x86_64.sh should be there as you can see in the screenshot below.

Now, add executable permission to the Anaconda Python 3 installer Anaconda3-2019.10-Linux-x86_64.sh with the following command:

As you can see, the Anaconda Python 3 installer script is now executable.

Now, start the Anaconda Python 3 installer as follows:

Now, press <Enter> to continue the installation.

Now, press the <Space Bar> a few times to go to the end of the license agreement.
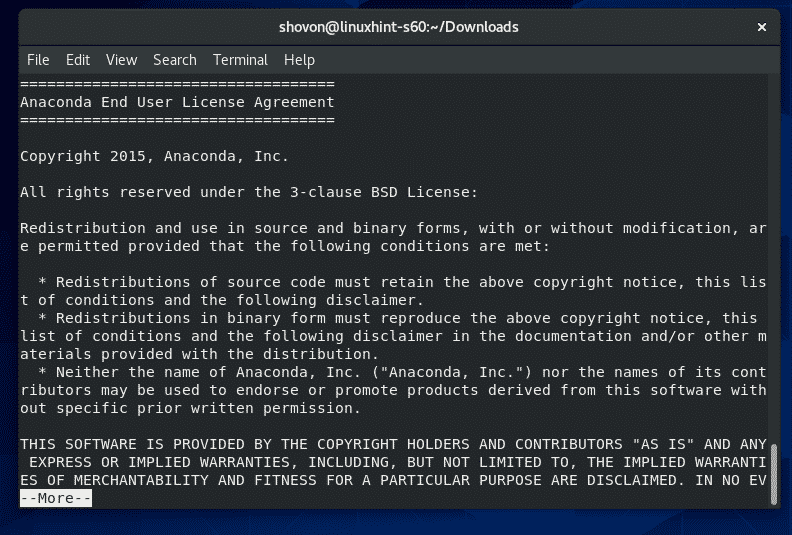
Once you’re at the end of the license agreement, you should see the following prompt.

Type in yes and press <Enter> to accept the license agreement.

Now, type in a directory where you want to install Anaconda Python 3. The default installation location is ~/anaconda3 (in your HOME directory).
Once you’re done, press <Enter>.

Anaconda Python 3 is being installed. It may take a while to complete.

Once Anaconda Python 3 is installed, you will be asked whether you want add Anaconda Python 3 to the PATH or not.

Type in yes and press <Enter> to add Anaconda Python 3 to the PATH.

Anaconda Python 3 should be added to the PATH.
Now, close the Terminal and open a new one for the changes to take effect.

Now, run the following command to verify whether Anaconda Python 3 is accessible.

As you can see, I can access Anaconda Python commands. So, it’s working.

In order to use Anaconda Python 3, all you have to do is to use the python3 interpreter to run your program.
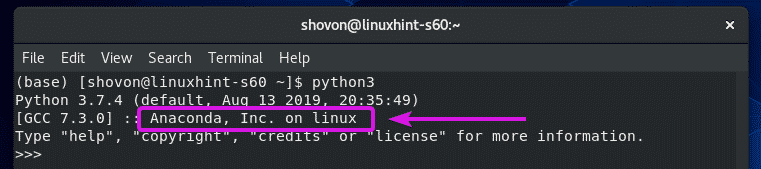
But, in order to confirm that the python3 interpreter is indeed the Anaconda version of Python 3, start the Python 3 interactive shell as follows:

It should show you Anaconda, Inc. on linux as marked in the screenshot below. So, it is the Anaconda version.
Now, press <Ctrl> + D or type in exit() and press <Enter> to exit out of the Python 3 interactive shell.
You can also access your normal Python 3 interpreter (that comes with CentOS 8 by default).
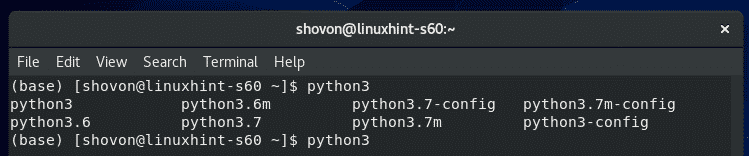
Type in python3 and press <Tab> twice. You should see a list of all your Python 3 interpreters.
Here, python3, python3.7 and python3.7m interpreters are from Anaconda Python 3. You can use any of them to start Anaconda Python 3.
python3.6 and python3.6m interpreters are the CentOS 8 defaults. These are not from Anaconda Python 3.
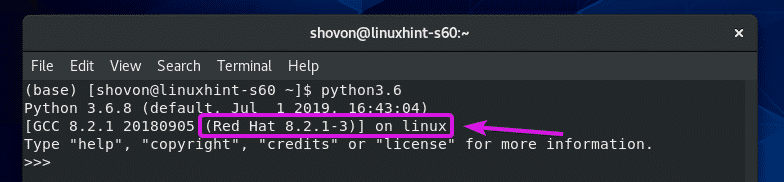
To confirm that python3.6 and python3.6m interpreters are indeed the CentOS 8 defaults, start the Python 3 interactive shell using python3.6 command as follows:

Red Hat 8.x.y-z on linux should be printed on the screen as you can see in the screenshot below.
So, you can run a Python script with Anaconda Python 3 as follows:
You can run a Python script with normal Python 3 interpreter as follows:
Installing Anaconda Python 2:
You can install Anaconda Python 2 the same way. Just download the Anaconda Python 2 installer and follow the same steps as Anaconda Python 3 installation.
First, navigate to the ~/Downloads directory as follows:

Anaconda Python 2 installer script Anaconda2-2019.10-Linux-x86_64.sh should be there.
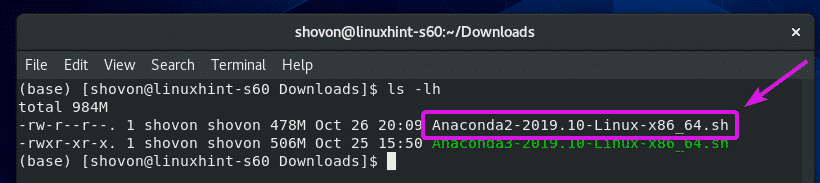
Now, add executable permission to the Anaconda Python 2 installer script Anaconda2-2019.10-Linux-x86_64.sh as follows:

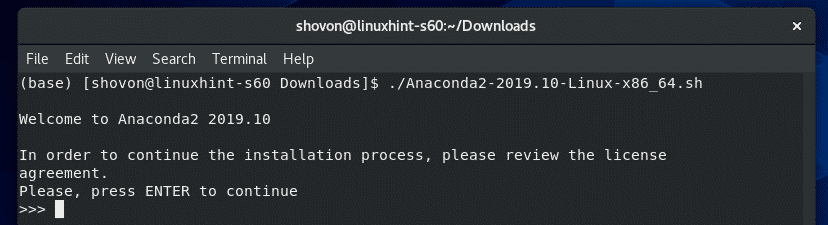
Now, start the Anaconda Python 2 installer as follows:

Now, press <Enter> to continue.
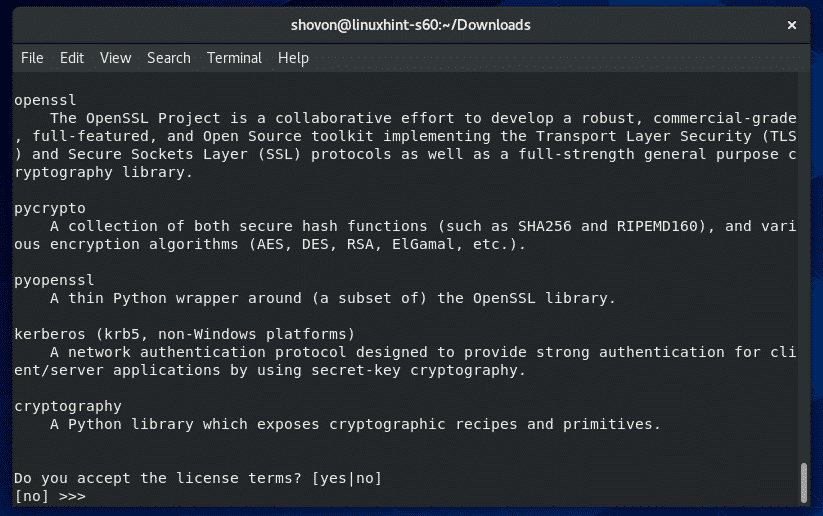
Press <Space Bar> a few times.

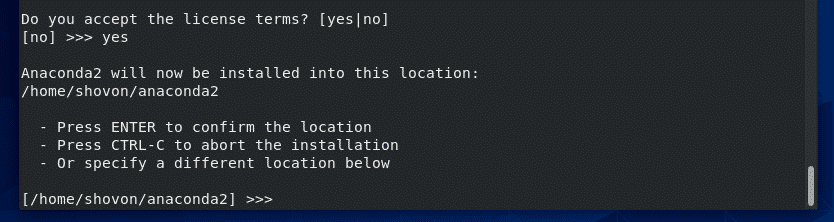
Now, type in yes and press <Enter> to accept the license agreement.
Type in a directory path if you want to change the default installation path ~/anaconda2.
Once you’re done, press <Enter>.
Now, type in yes and press <Enter> to add Anaconda Python 2 to the PATH.

Anaconda Python 2 should be installed.

You can access Anaconda Python 2 interactive shell as follows:

As you can see, it is the Anaconda version of Python 2.

You can run a Python script with Anaconda Python 2 as follows:
So, that’s how you install Anaconda Python 2 and Anaconda Python 3 on CentOS 8. Thanks for reading this article.