
if you are not very familiar with Arduino’s potential check this link with a database of Arduino open source projects from which you can take codes or ideas for projects. In this tutorial you’ll see how to setup Arduino on Debian or Ubuntu Linux based distributions. For this tutorial I’m using the Arduino ONE microcontroller but it is useful for other Arduino microcontrollers.
Installing Arduino on Debian/Ubuntu based Linux distributions
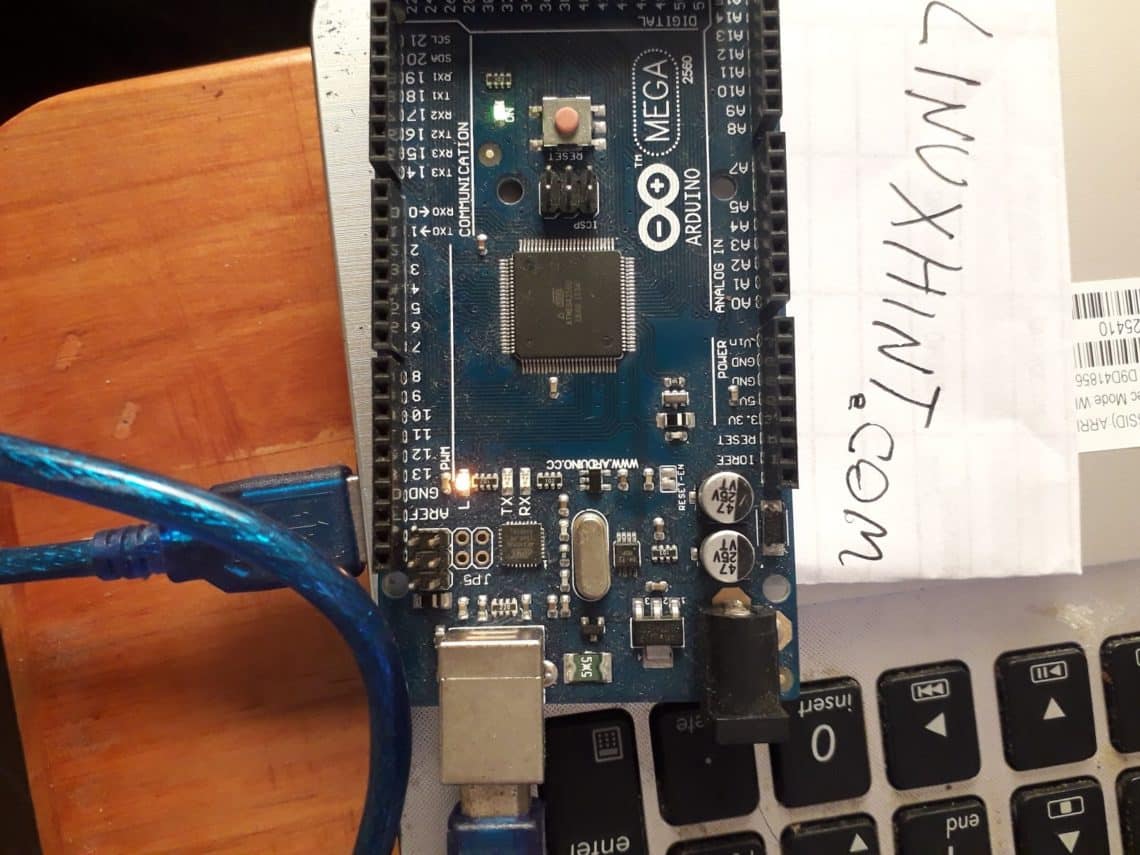
To begin plug in the Arduino USB cable to your computer as shown in the image below
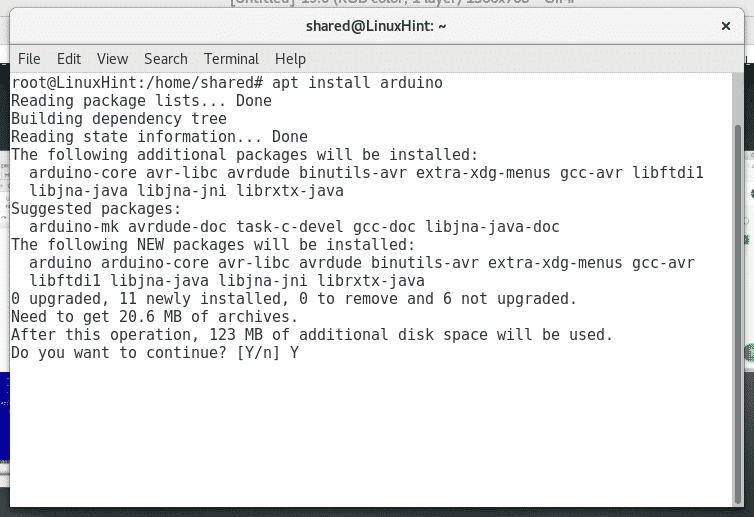
Then as root or with sudo run “apt install arduino”
And when asked to install dependencies press Y. You can also run “apt install arduino -y”
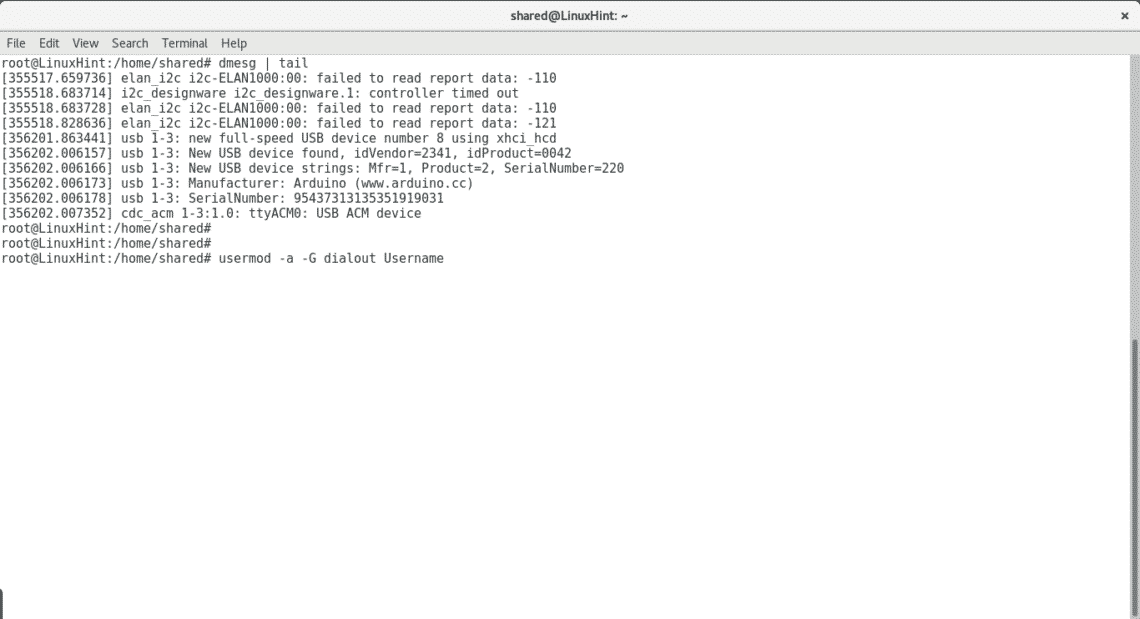
Run “dmesg | tail” to confirm the card was detected properly. Run” usermod -a -G dialout Username” (where “Username” replace it for your user)
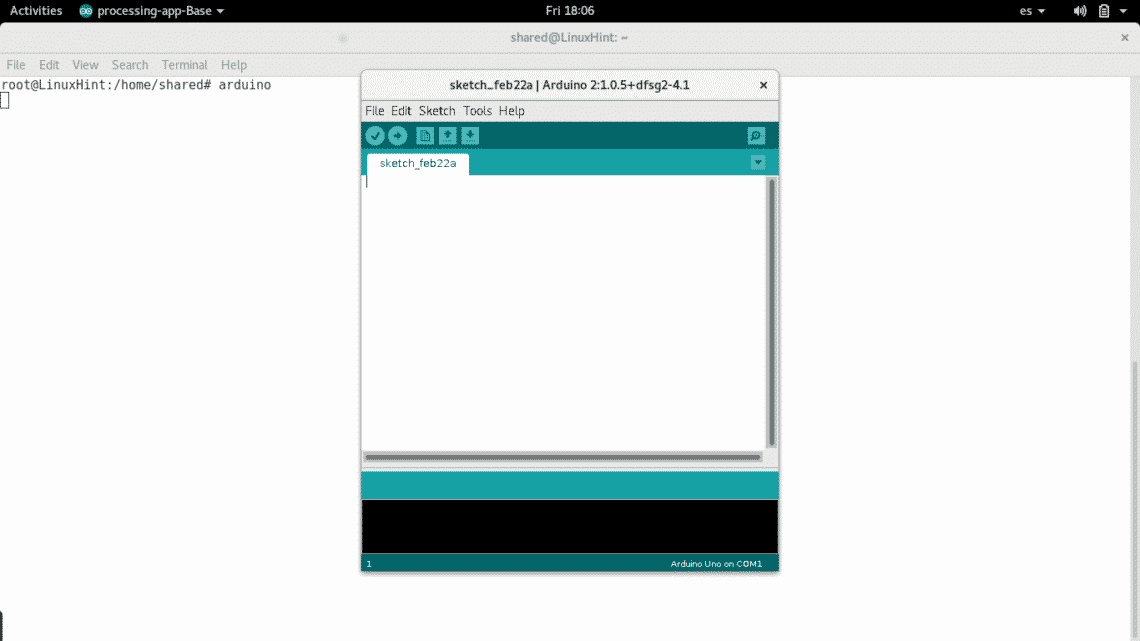
Now run “arduino” and the interface will show up
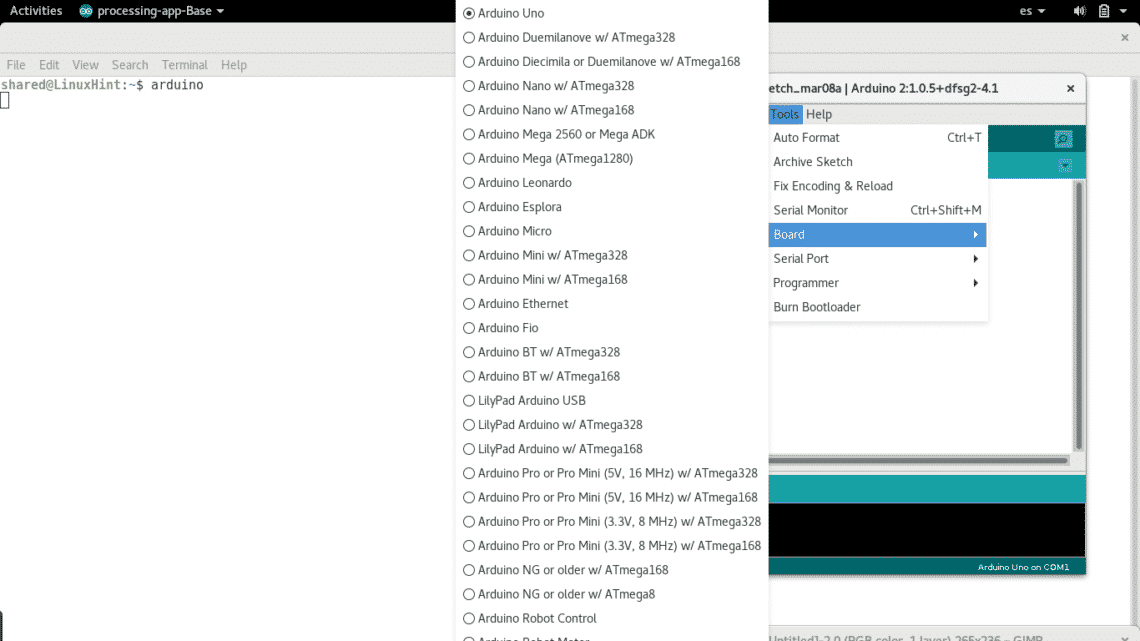
Select your Arduino device by clicking on Tools>Boards>
In my case I select the Arduino One board, select yours.
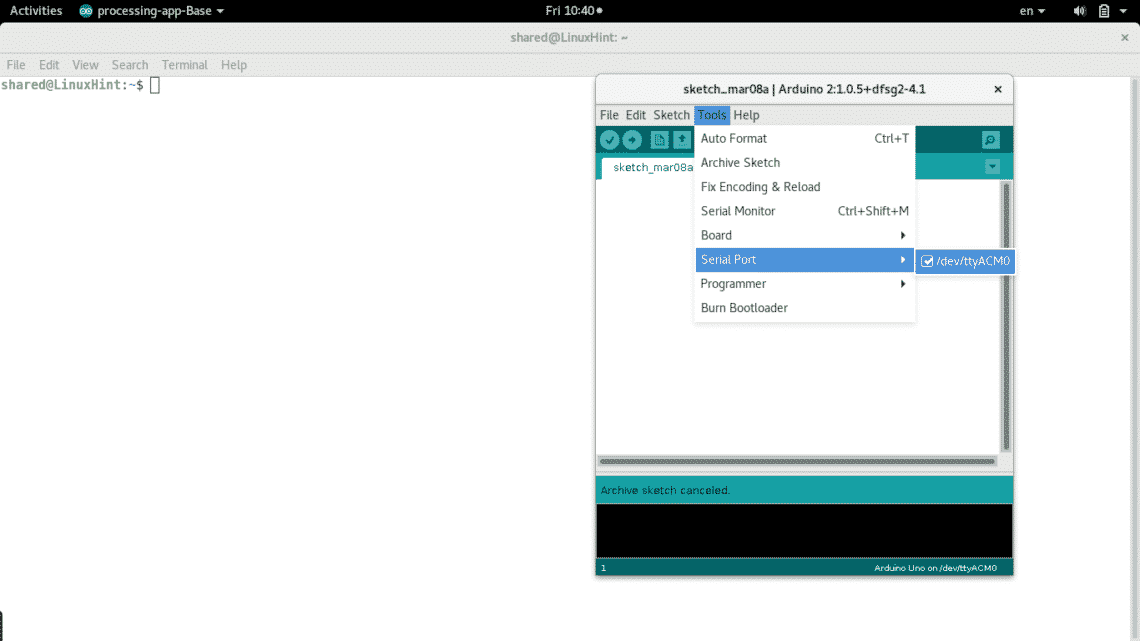
Then select your connection port by clicking on Tools > Serial Port
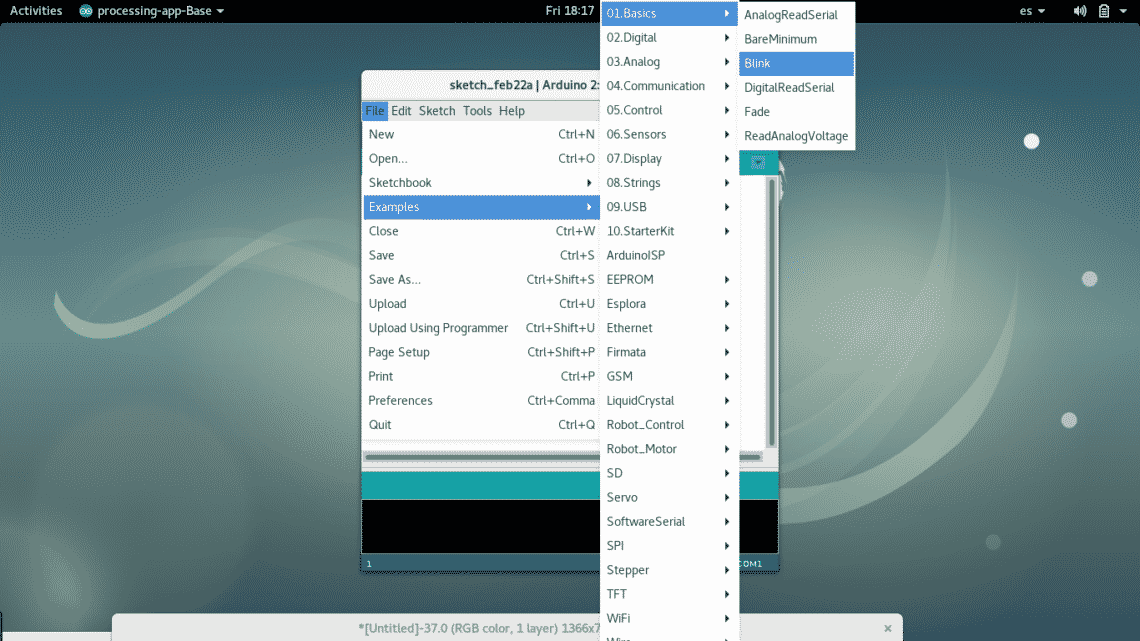
 In order to check if your Arduino works properly lets try a blinking script. Open File>Examples> Basics>Blink
Edit the call delay() and upload the changes to your board by clicking on the verification icon and then the right arrow icon located on the right top of the program, and see how the previous blinking changes. You can select other examples too, check for arduino’s output at the bottom of the program. For more information on similar scripts check https://learn.adafruit.com/introducing-circuit-playground/set-up-test-arduino .
For tutorials on programming for Arduino check this link and this one , you’ll need the proper peripherals like leds, environmental detectors, etc. to carry out your instructions.
I hope this tutorial has helped you to get started with Arduino on Linux. Keep following LinuxHint for more tips and manuals.