Nexpose is a great tool to audit servers and networks looking for security vulnerabilities, it allows to automatize security audits, can be combined with Metasploit and includes a Remediation Report to fix found security vulnerabilities. It requires a minimum of 8GB ram to run.
Downloading Nexpose:
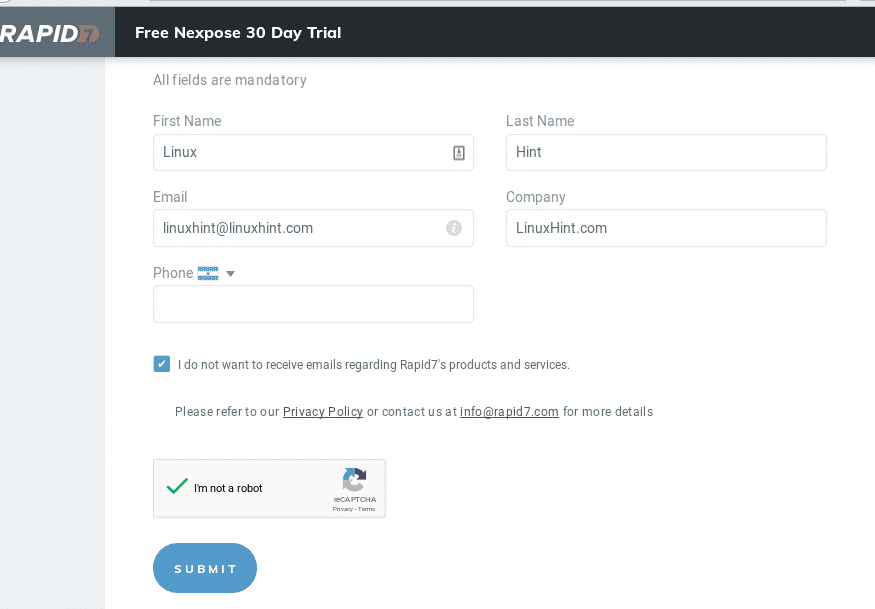
Access Rapid7 trials page here and fill the form and press SUBMIT.
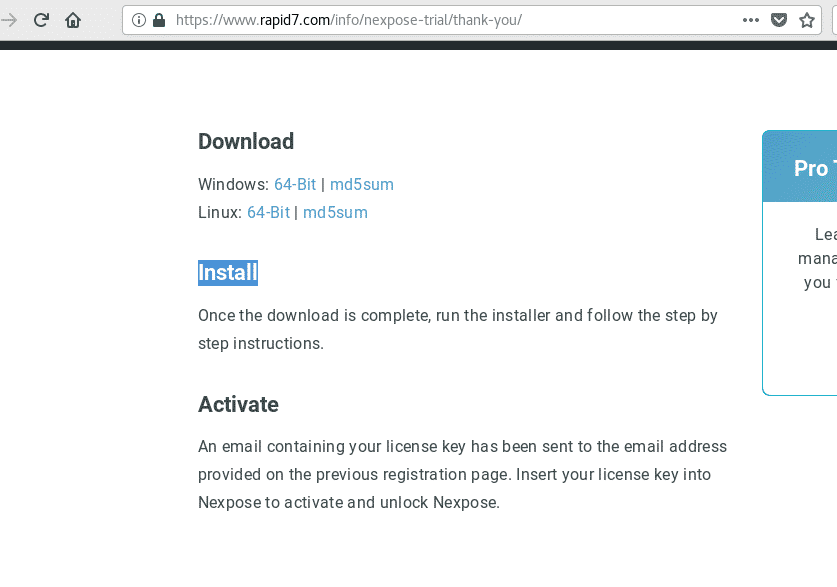
Select the Linux by pressing on 64-Bit and save the bin file.
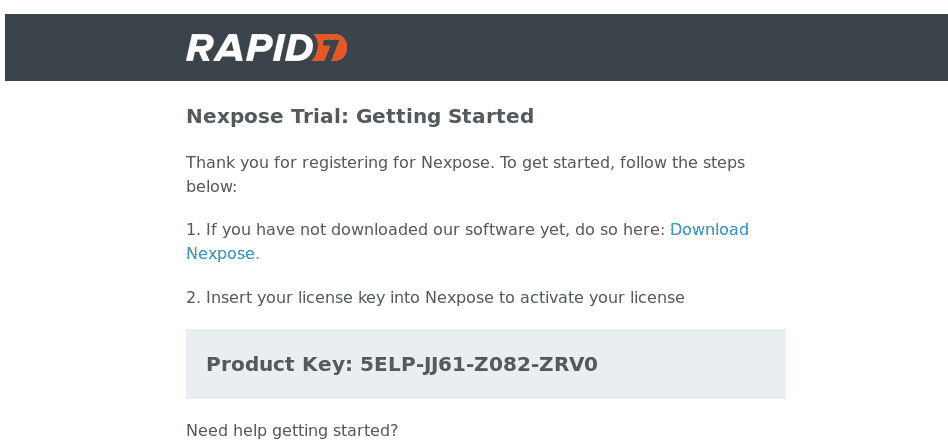
You will receive an e-mail with the license, save it.
Installing Nexpose:
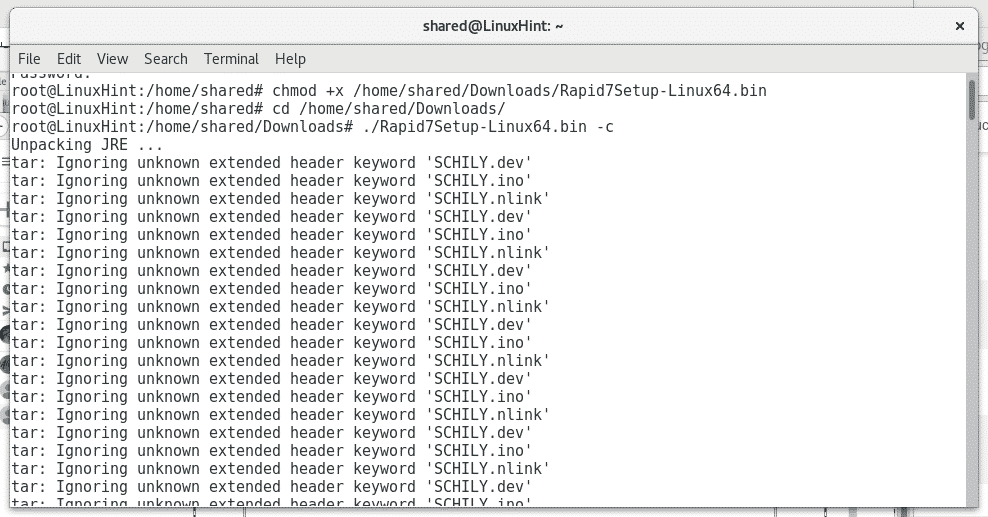
To install Nexpose give the downloaded file execution permissions by running:
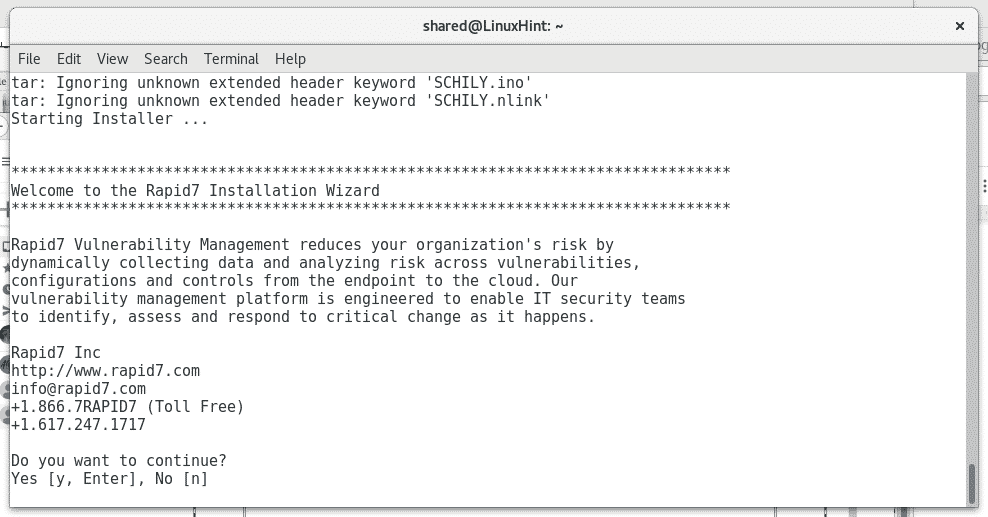
Then run:
You’ll be asked if the installation should proceed, press ENTER.
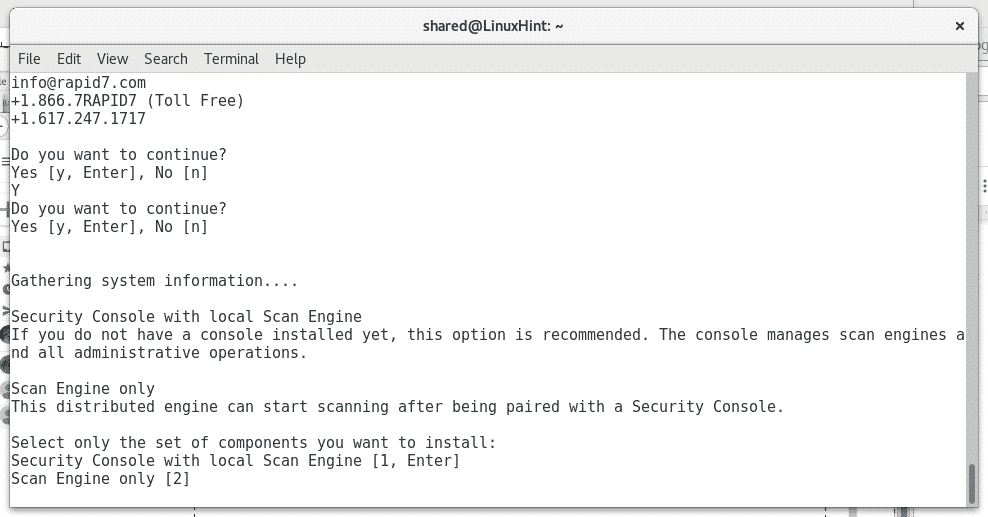
Then you’ll be asked if you want to include the Security Console, press ENTER to install it.
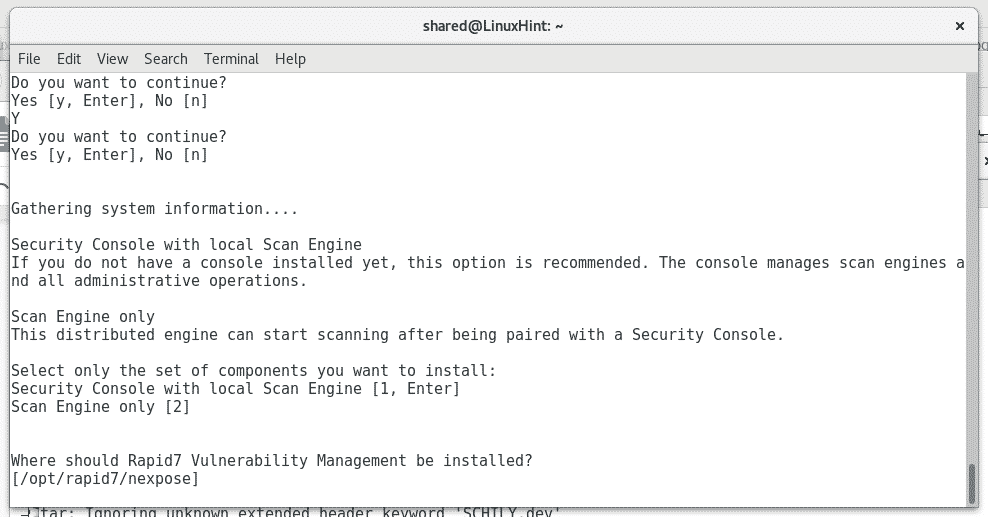
Next you’ll be asked for Nexpose’s directory, I recommend to leave the default one but you can change it. If you want the default directory press ENTER.
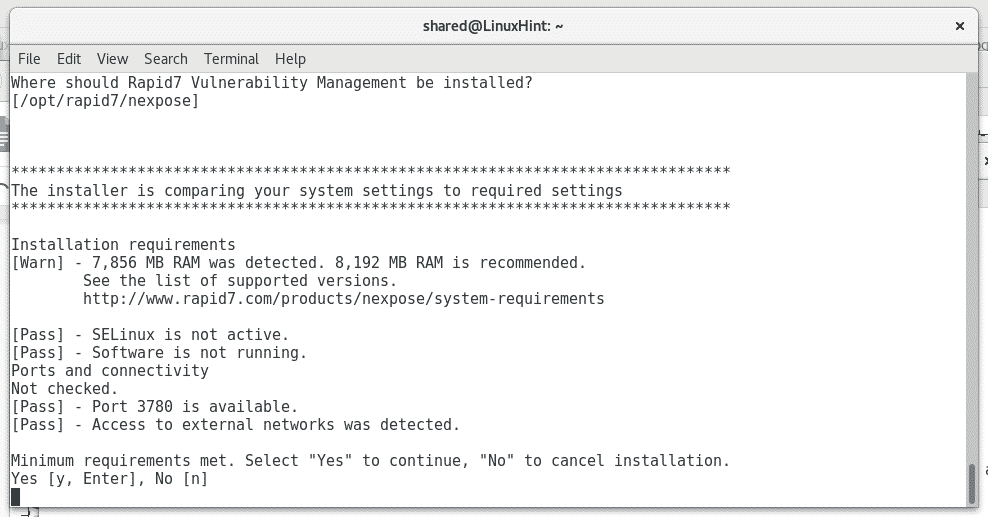
The following screen will inform about Nexpose’s requirements. You’ll be informed if your device has the minimum requirements. Press ENTER to continue.
Nexpose’s default port is 5432 . If you have Metasploit probably your port is busy. You can assign any port you want. If you want the default one press ENTER.

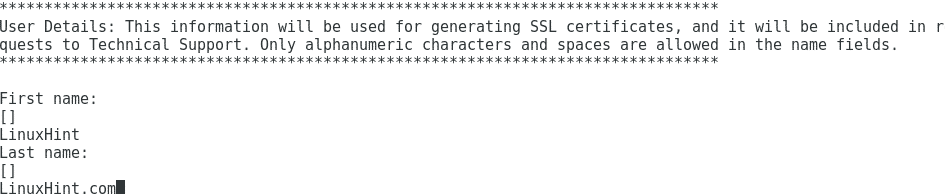
You’ll be asked for personal information, username and password, answer each question.
Say yes when asked if Nexpose should start after the installation.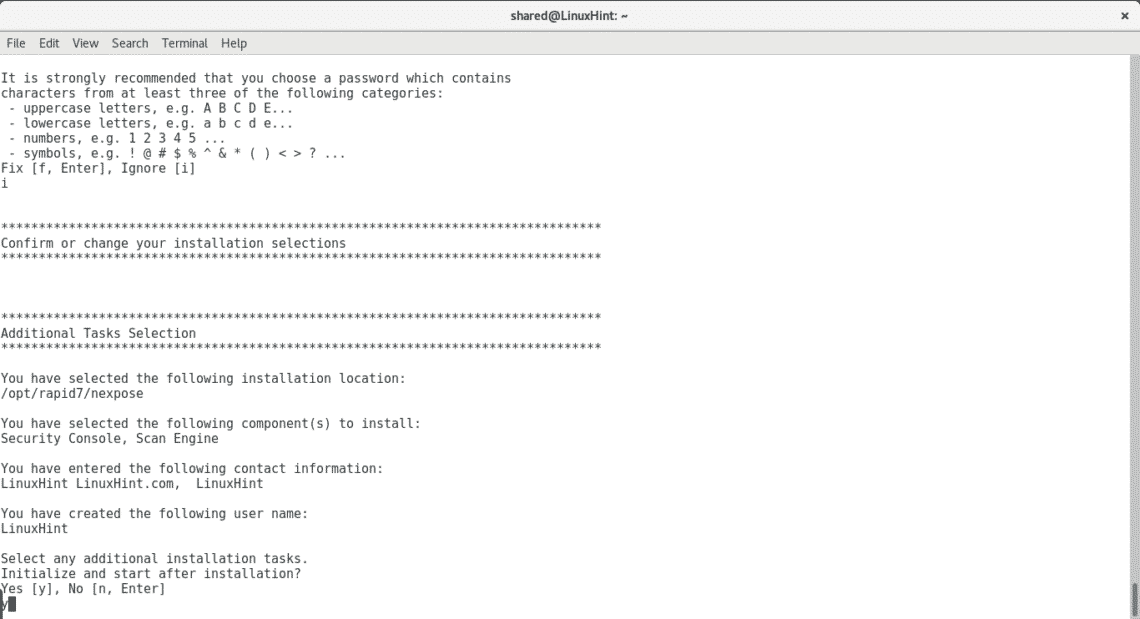
Once the installation ends press ENTER to exit the installation process.
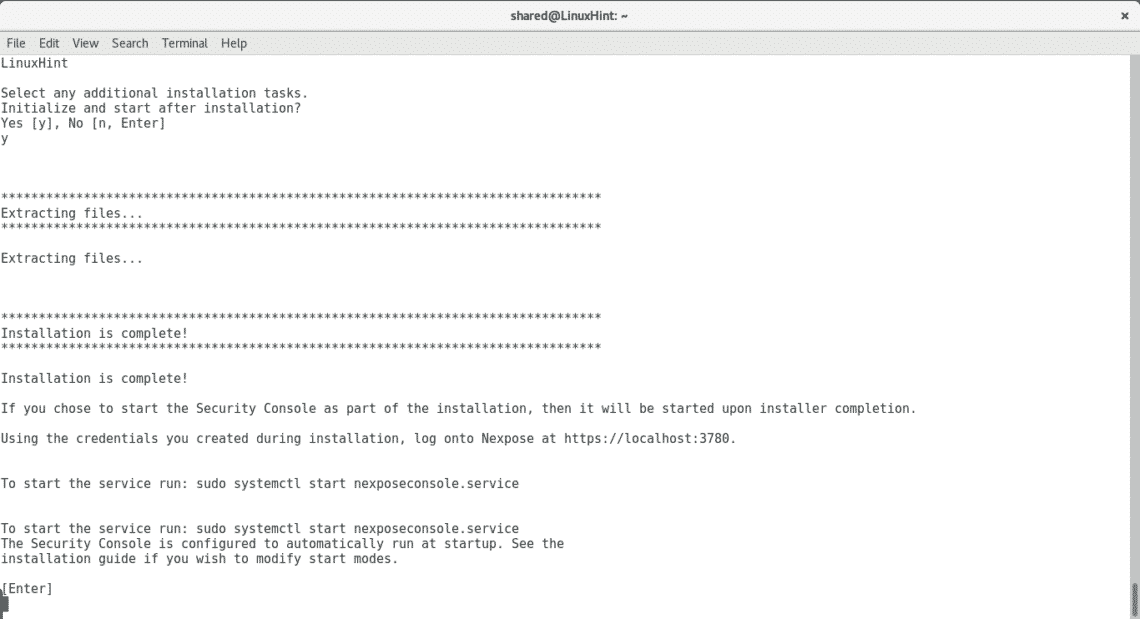

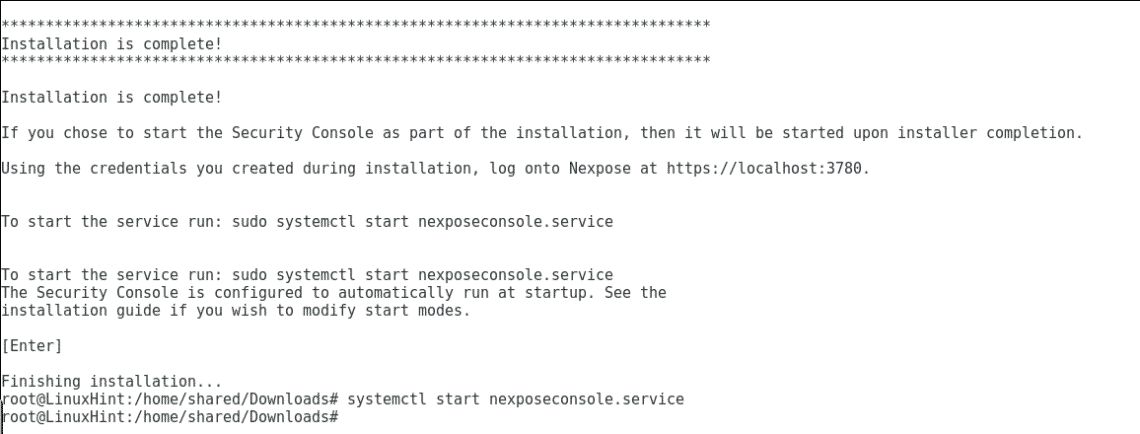
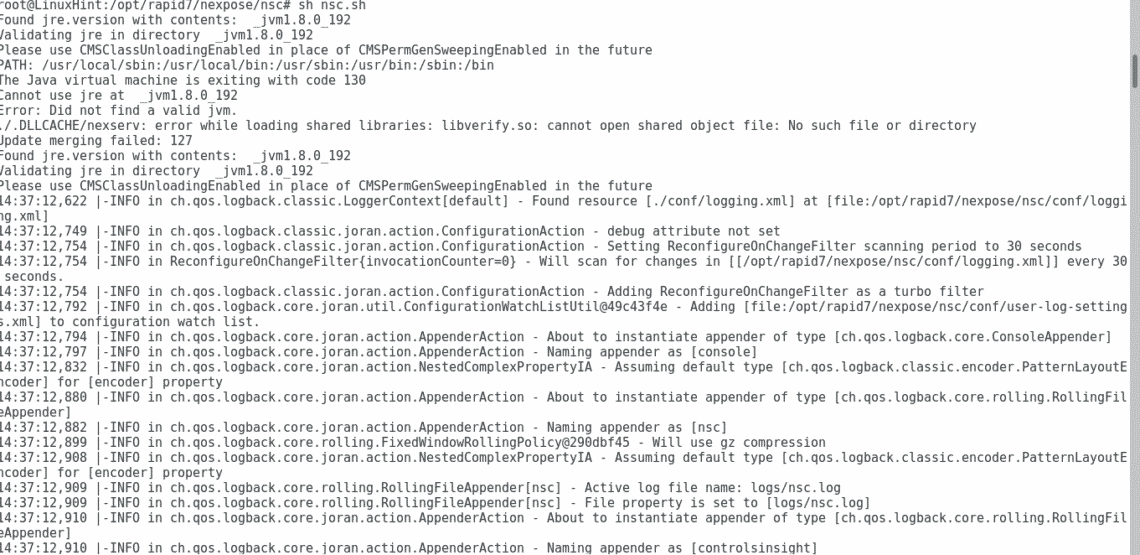
Run Nexpose’s server by typing:
Or
Make sure it runs by typing
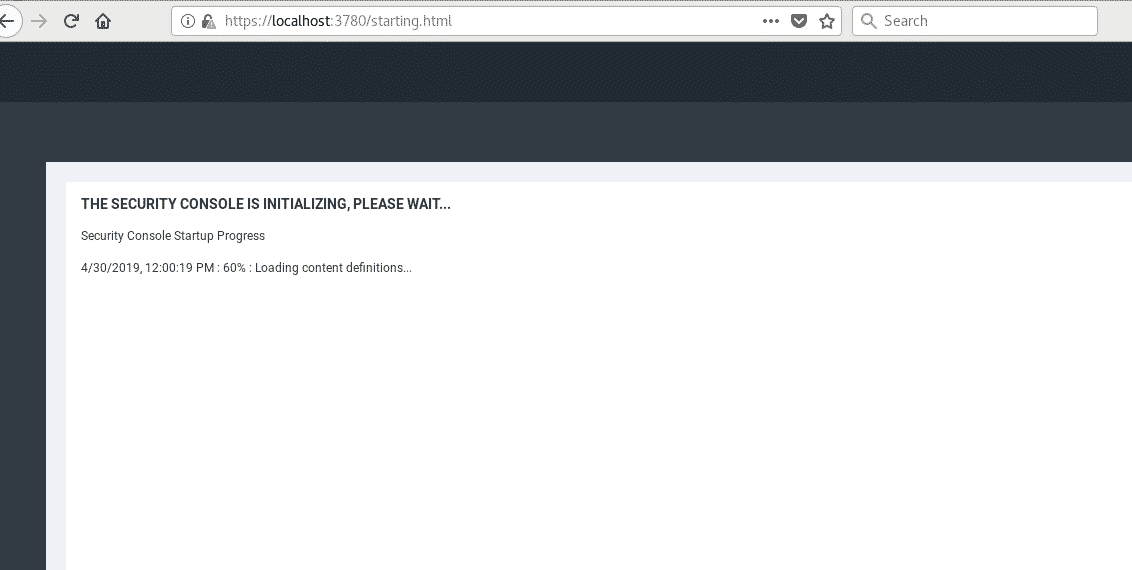
Now let’s open the console, open in your browser https://localhost:3780
Before the SSL certificate error, press Advanced and add an exemption to access the console.
Nexpose may take some minutes to start while updating it’s database,

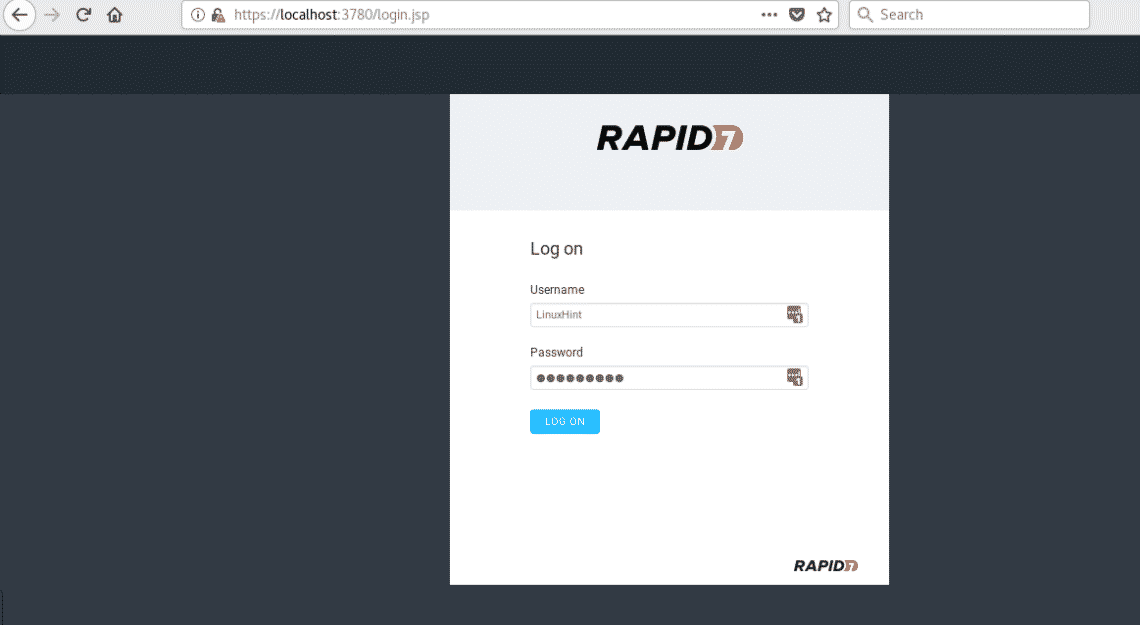
After loading it will ask for credentials, before logging start Nexpose by running.
Now you can login using the username and password you provided during the installation process.
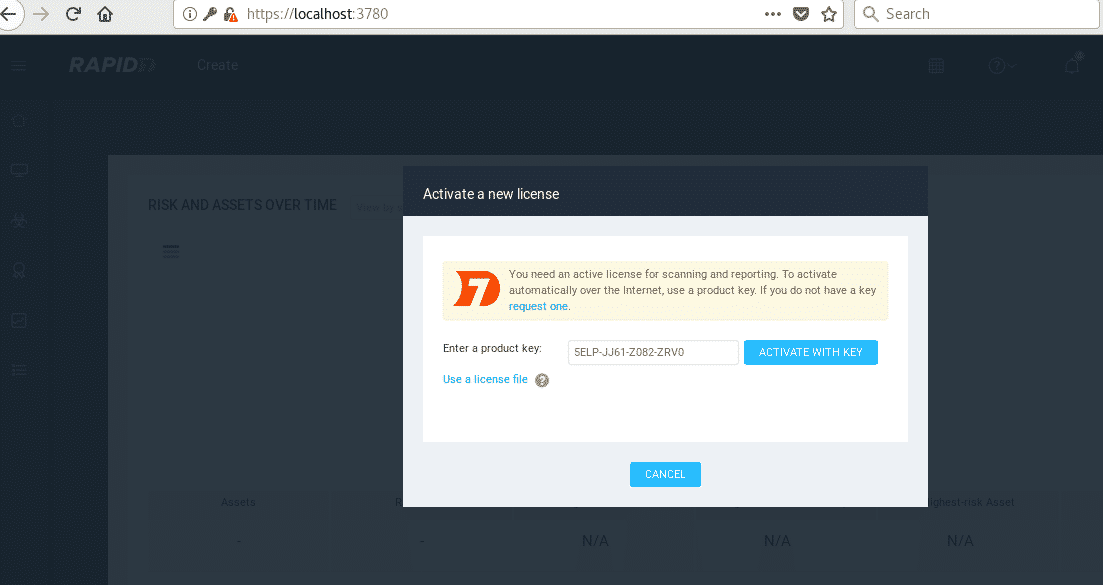
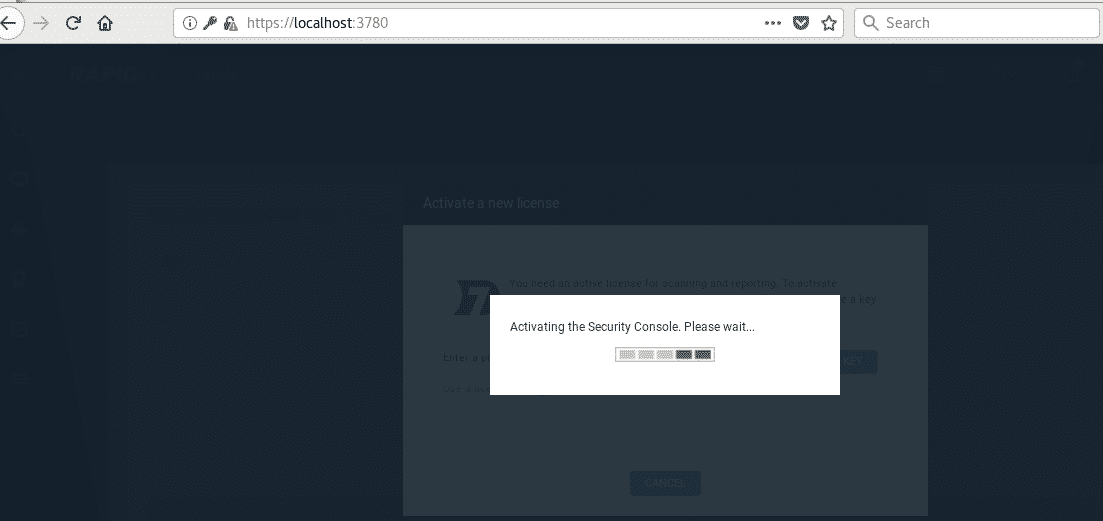
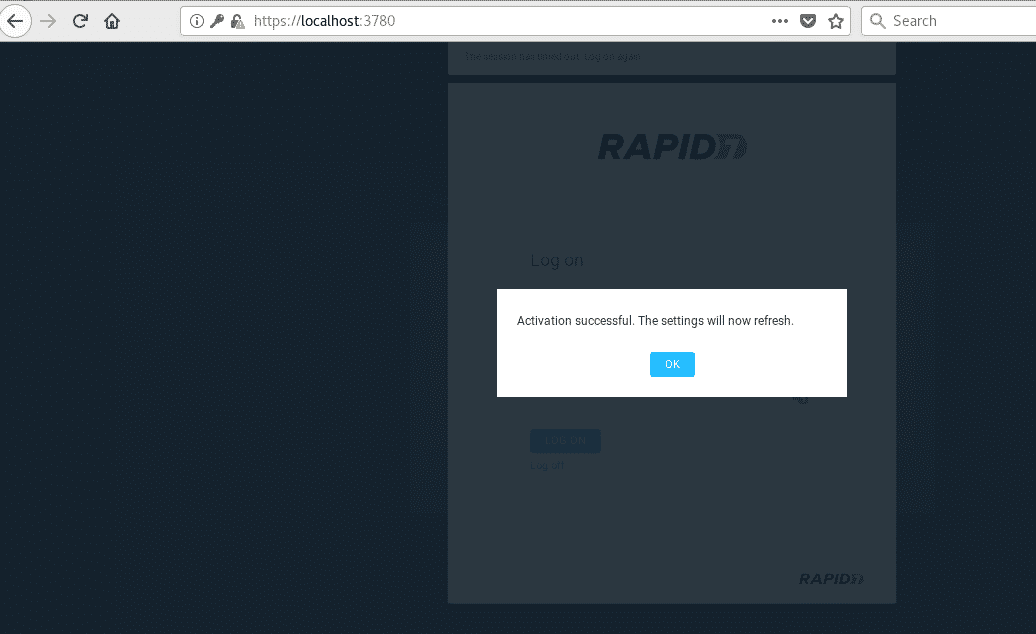
Then you’ll be asked for the license number you got in your inbox, fill it and press on ACTIVATE WITH KEY and wait until it gets activated.
NOTE: When writing this tutorial I messed up with Nexpose’s credentials. I failed to find a way to reset the password from the command line for Nexpose’s current version. The only way to fix it was to remove the /opt/rapid7 directory and execute the installer again using a new license key.
Getting started with Nexpose Security Scanner
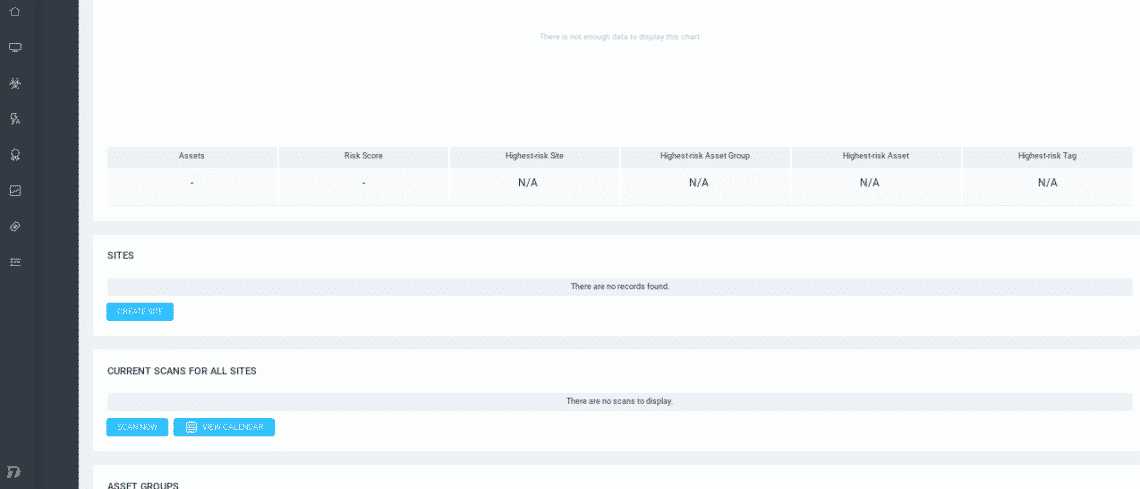
After logging in into Nexpose, the first step is to add our target/s, in order to do it press on “Create Site”
On the first screen you only need to add descriptive information to identify your target easily.
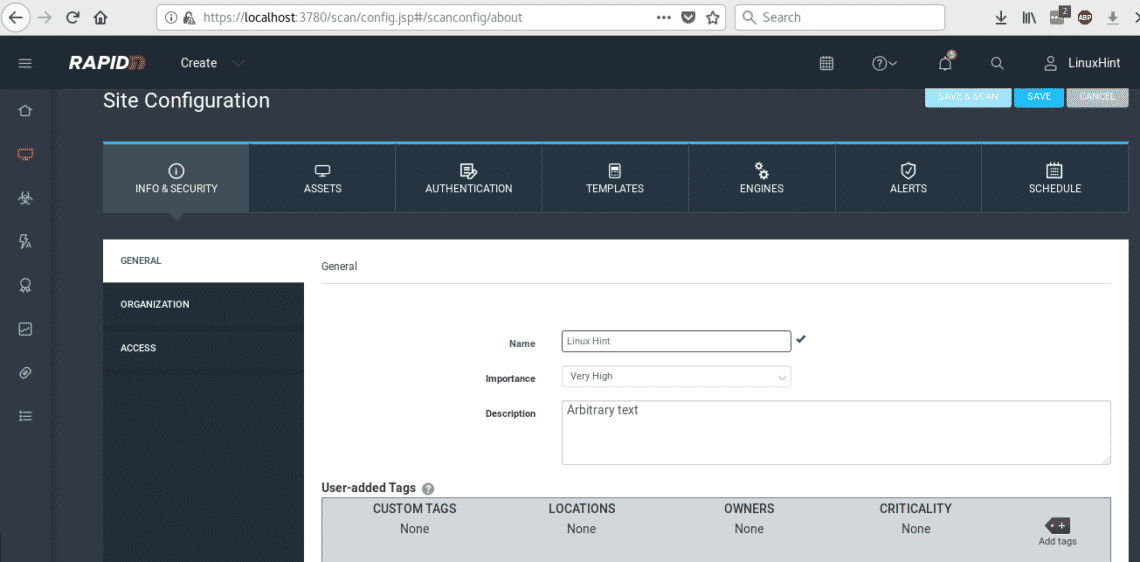
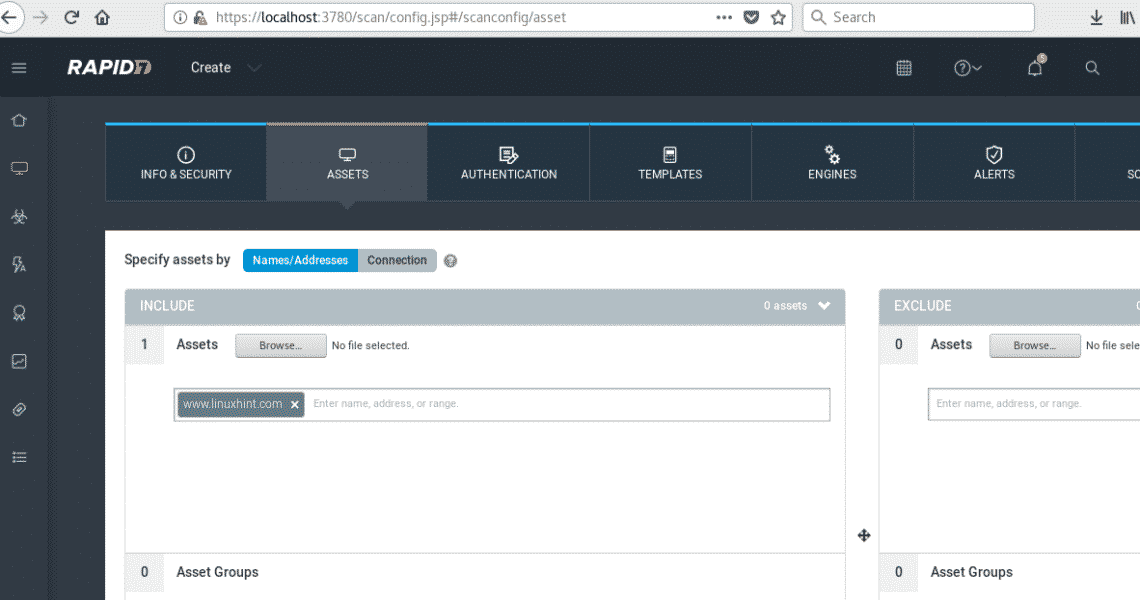
After filling the informative data click on ASSETS and define your target as shown in the picture.
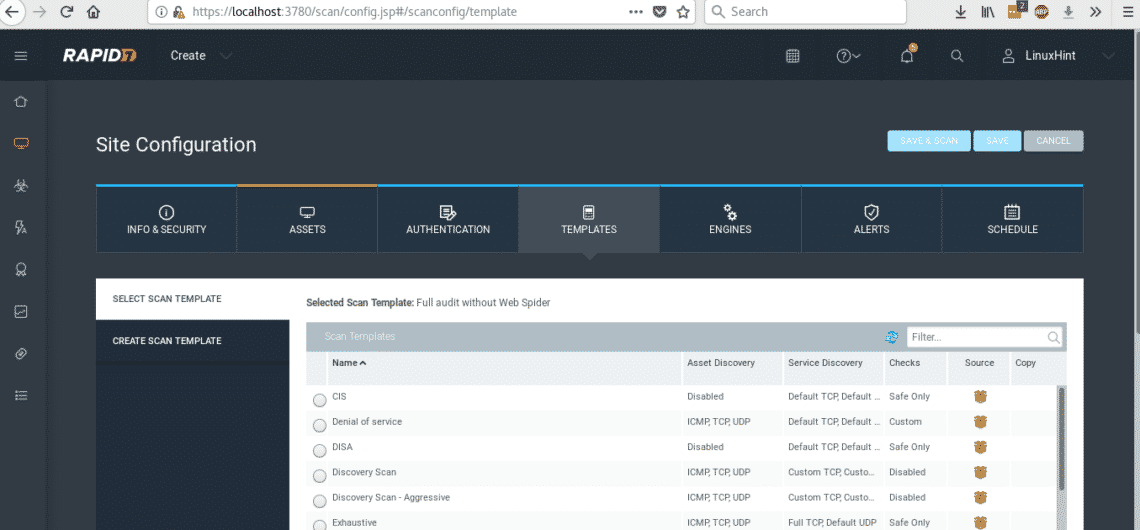
After defining your target press on TEMPLATES, we’ll carry out a deep scanning but we’ll avoid excessive time by selecting a full audit without Web Spider.
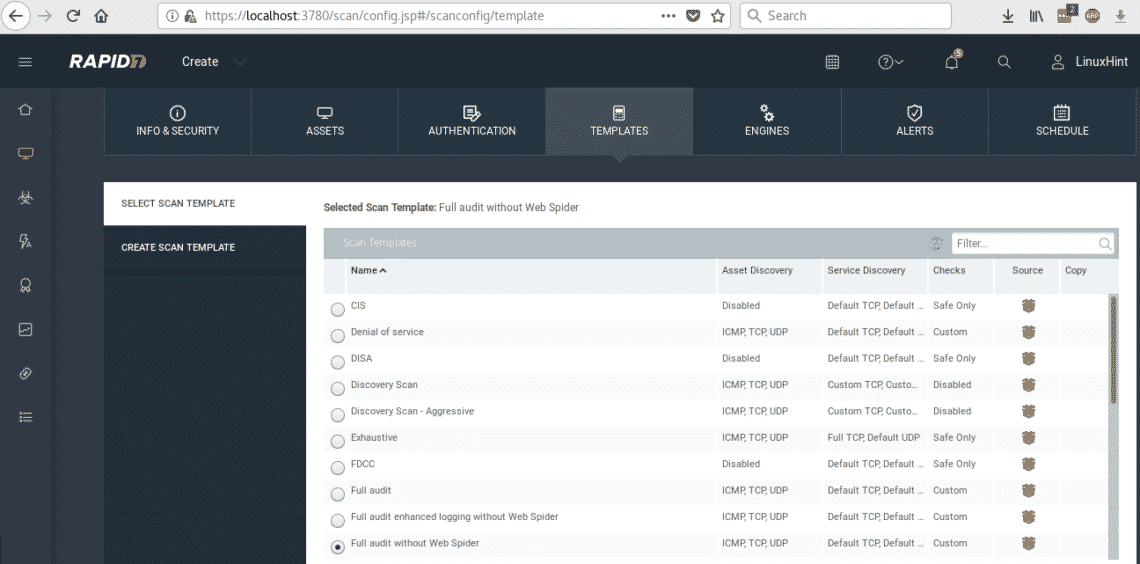
After selecting FULL AUDIT WITHOUT WEB SPIDER click on the light blue button SAVE & SCAN. if a confirmation dialog box prompts confirm the scan.
The scanning process will start and may take long time because we selected a full audit.
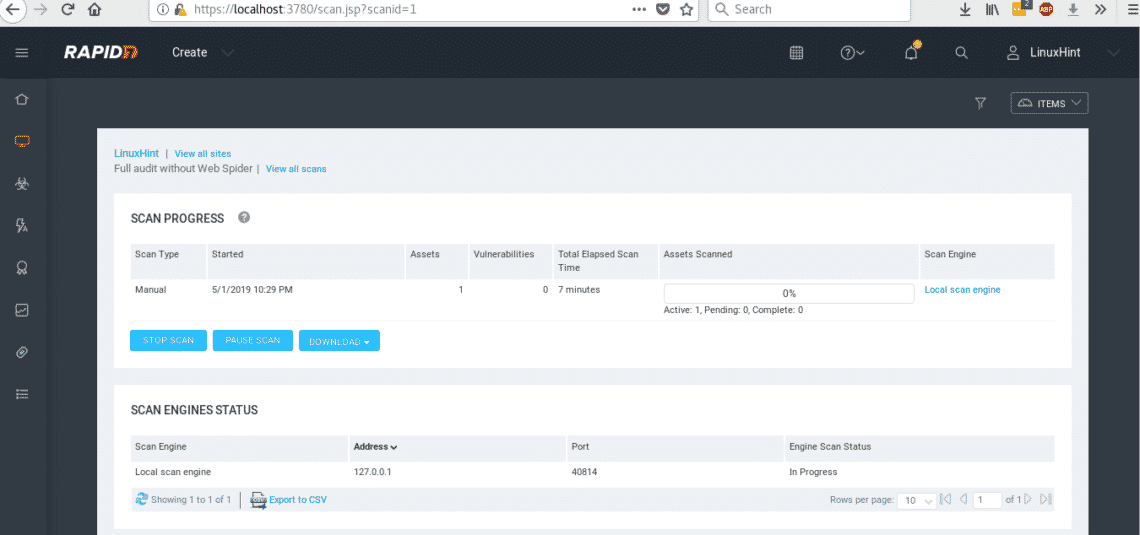
After 20 minutes our scan against LinuxHint.com ended
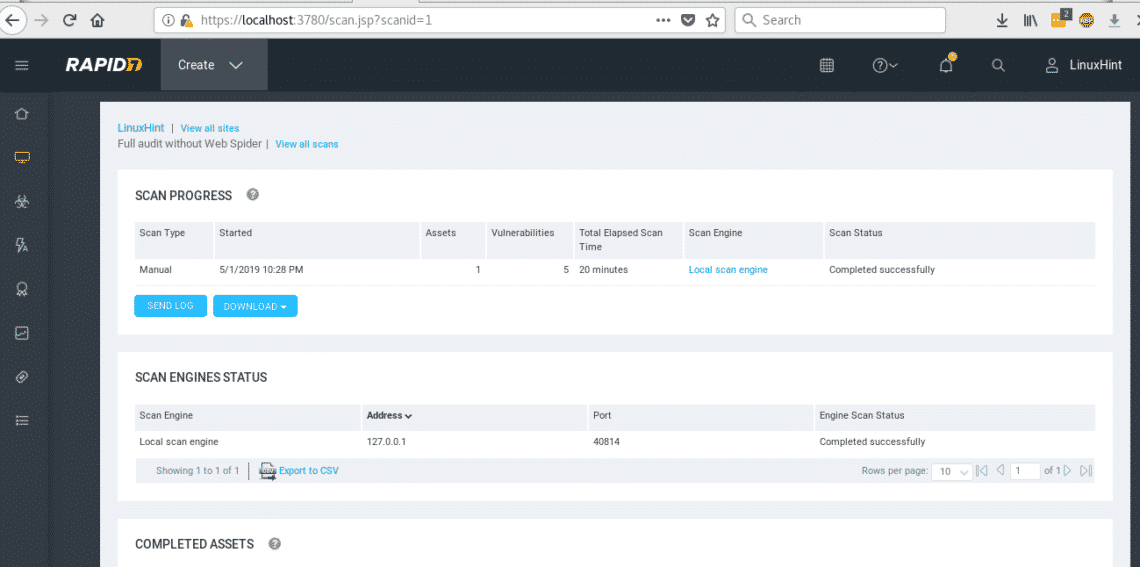
We can download the log or additional data, on COMPLETED ASSETS you’ll see your target’s IP or URL, click on one of them to see the report.
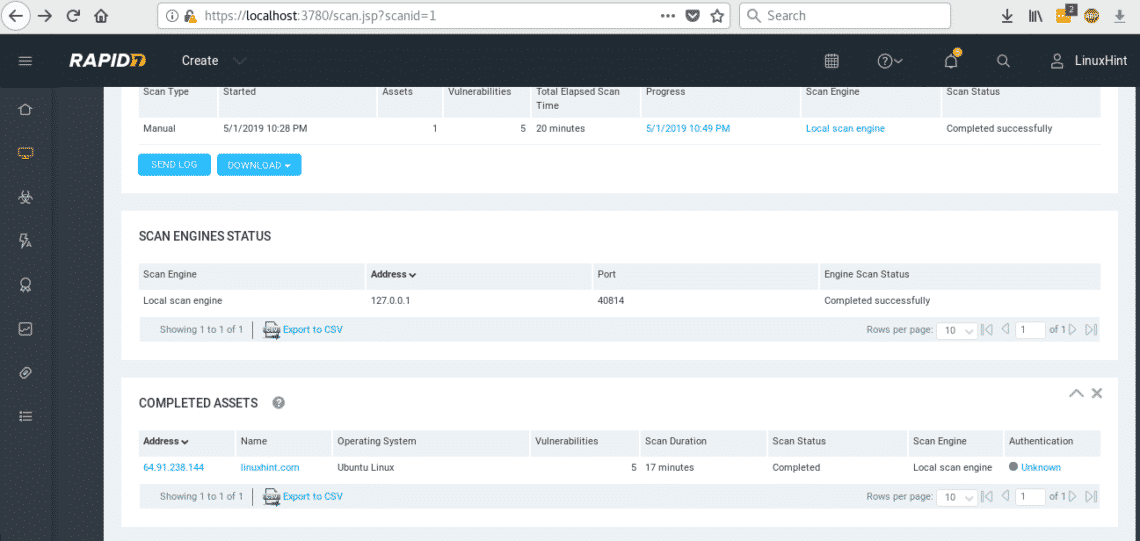
After pressing on our ASSET scroll down to check for the vulnerabilities found.

Nexpose found a problem in LinuxHint’s SSL signature. As a blog without important transactions the problem is irrelevant but it could mean a threat for a website exchanging sensible information.
At the left side of your screen you’ll see icons which will display the main menu as shown in the image
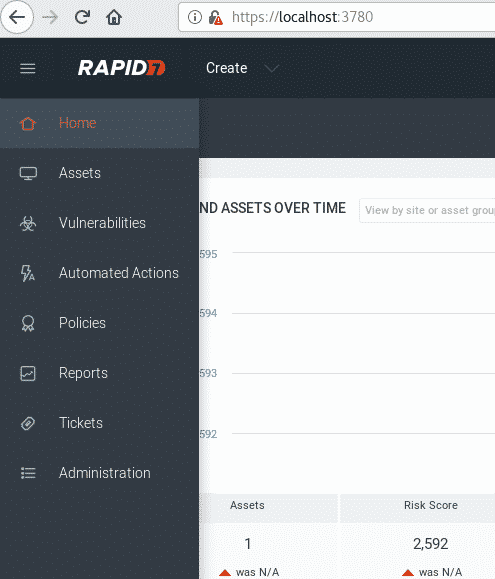
From Assets you can determine your targets and launch scans as explained above, you can try different templates and submit asset groups.
Nexpose’s graphical graphical interface is very intuitive, you just need to remember to execute the nexposeconsole service and /opt/rapid7/nexpose/nsc/nsc.sh before accessing the console.
I hope you found this introductive tutorial to Nexpose productive, Nexpoe is a great security scanner. Keep following LinuxHint for more tips and updates on Linux.