dd features
“dd” can be used for various purposes:
- Using “dd”, it’s possible to directly read and/or write from/to different files provided that the function is already implemented in the respected drivers.
- It’s super useful for purposes like backing up the boot sector, obtaining random data etc.
- Data conversion, for example, converting ASCII to EBCDIC encoding.
dd usage
Here are some of the most common and interesting usage of “dd”. Of course, “dd” is far more capable than these things. If you’re interested, I always recommend checking out other in-depth resources on “dd”.
Location

As the output indicates, whenever running “dd”, it launches from “/usr/bin/dd”.
Basic usage
Here’s the structure that “dd” follows.
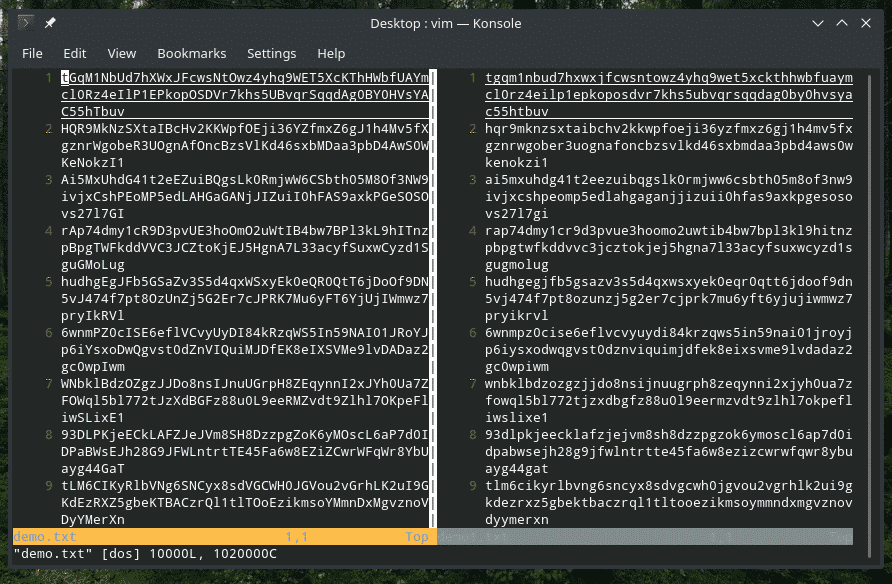
For example, let’s create a file with random data. There are some built-in special files in Linux that appear as normal files like “/dev/zero” that produces a continuous stream of NULL, “/dev/random” that produces continuous random data.


The very first options are self-explanatory. It means to use “/dev/urandom” as a source of data and “~/Desktop/random.txt” as the destination. What are the other options?
Here, “bs” stands for “block size”. When dd is writing data, it writes in blocks. Using this option, the block size can be defined. In this case, the value “1M” says that the block size is 1 megabyte.
“count” decides the number of blocks to be written. If not fixed, “dd” will continue the writing process unless the input stream ends. In this case, “/dev/urandom” will continue generating data infinitely, so this option was paramount in this example.
Data backup
Using this method, “dd” can be used to dump the data of an entire drive! All you need is tell the drive as the source.

If you’re going for such actions, make sure that your source isn’t a directory. “dd” has no idea how to process a directory, so things won’t work.

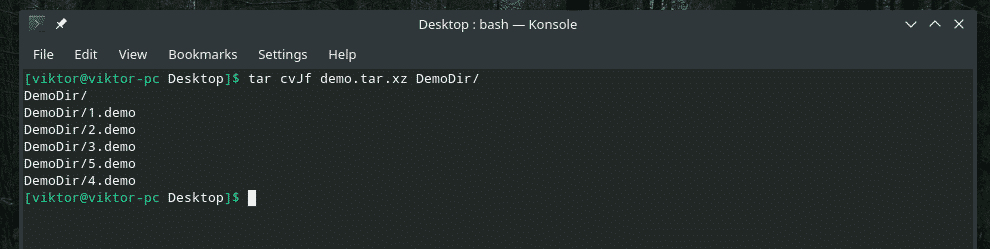
“dd” only knows how to work with files. So, if you’re in need of backing up a directory, use tar to archive it first, then use “dd” to transfer it on a file.


In the next example, we’ll be performing a very sensitive operation: backing up the MBR! Now, if your system is using MBR (Master Boot Record), then it’s located at the first 512 bytes of the system disk: 466 bytes for the bootloader, others for the partition table.
Run this command for backing up the MBR record.

Data restore
For any backup, the way of restoring the data is necessary. In the case of “dd”, the restoring process is a bit different than any other tools. You have to re-write the backup file on a similar folder/partition/device.
For example, I have this “backup.img” file containing the “demo.tar.xz” file. To extract it, I used the following command.

Again, make sure that you’re writing the output to a file. “dd” is no good with directories, remember?
Similarly, if “dd” was used to create a backup of a partition, then restoring it would require the following command.

For example, how about restoring the MBR we backed up earlier?

“dd” options
At some point in this guide, you faced some “dd” options like “bs” and “count”, right? Well, there are more of them. Here’s a shortlist on what they are and how to use them.
- obs: Determines the size of data to be written at a time. The default value is 512 bytes.

- cbs: Determines the size of data to be converted at a time.

- ibs: Determines the size of data to be read at a time.
- count: Copy only N blocks

- seek: Skip N blocks at the start of the output

- skip: Skip N blocks at the start of the input


Additional options:
- nocreat: Don’t create the output file
- notruc: Don’t truncate the output file
- noerror: Continue the operation, even after facing error
- fdatasync: Write data to the physical storage before the process finishes
- fsync: Similar to fdatasync, but also writes the metadata
- iflag: Tweak the operation based on various flags. Available flags include: append to Append data to the output

Additional options:
- directory: Facing a directory will fail the operation
- dsync: Synchronized I/O for data
- sync: Similar to dsync but includes metadata
- nocache: Requests for dropping cache.
- nofollow: Don’t follow any symlink

Additional Options:
- count_bytes: Similar to “count=N”
- seek_bytes: Similar to “seek=N”
- skip_bytes: Similar to “skip=N”
As you’ve seen, it’s possible to stack multiple flags and options in a single “dd” command to tweak the operation behavior.
iflag=append,nocache,nofollow,sync

Final thoughts
The workflow of “dd” is pretty simple. However, for “dd” to truly shine, it’s up to you. There are tons of ways creative ways “dd” can be used to perform clever interactions.
For in-depth information about “dd” and all its options, consult the man and info page.