- Use multiple shell windows from just one SSH session
- Keep a shell session active even when there are network disturbances
- Manage connections to shell from multiple locations
- Keep a long running session alive even after exiting a sell session
Installation
Usually, each Linux variant comes with the screen command pre-installed. We can check this with the following command:
Here is what we get back with this command if the screen is already installed on your system:
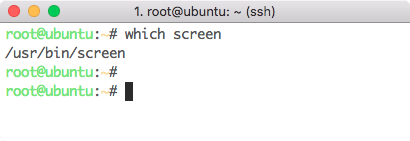
Screen command location
If you do not have screen installed your machine, use yum to install it:
Or use apt:
sudo apt-get install screen
Once the installation is done, we can move on to the lesson.
Starting Linux Screen
We can start Screen from the command line with a simple command:
Let’s see the output for this command:
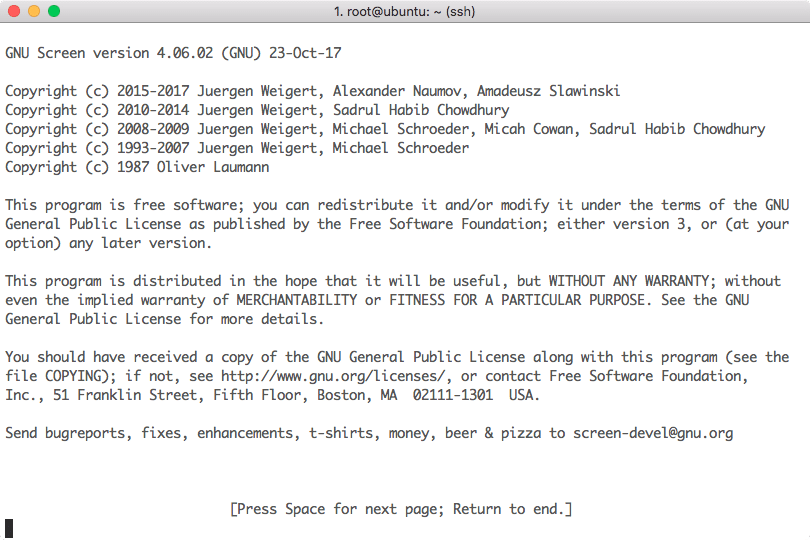
Screen Home
Now that we are on Screen page, there are many commands we can use next. Let’s see some of the commands here.
Screen Commands
Let’s click a simple combination of “Ctrl + a” (or “Cmd + a” on Mac) followed by “?” to enter the help screen:
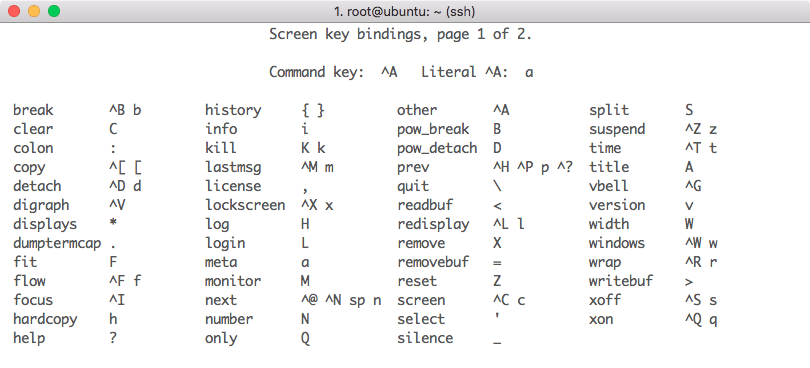
Help page for Screen
Please note that the shell will accept these key bindings only after you have pressed combination of “Ctrl + a” key.
Creating new Window
We can create a new window with the combination of “Ctrl + a” followed by “c”. This will create a new window and leave the old window still active. Let’s start a new window and start the “top” command in it, we will see the following screen:
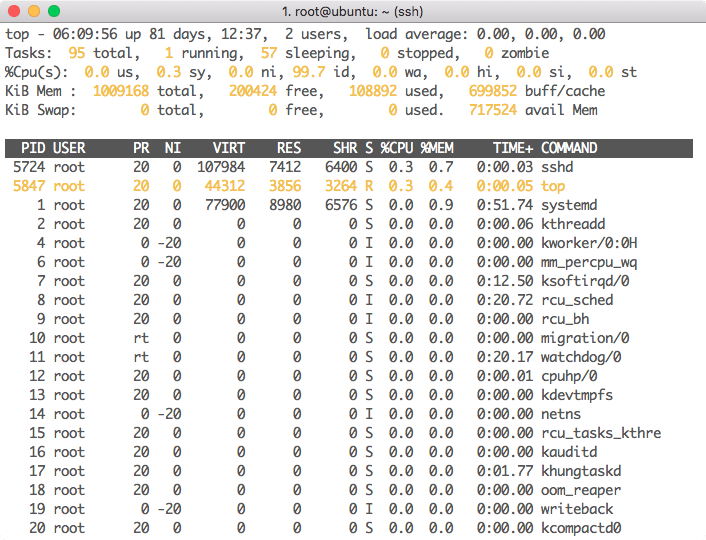
Creating a new Window
Now open a new window with: “Ctrl + a” and “c”.
Switching between windows
Now that we have running multiple windows on our Linux machine, we can switch between these windows without disturbing any of the sessions with the combination of “Ctrl + a” followed by “n”. The more times you run the switch command, you will start to switch between these screens.
This is just like opening multiple SSH sessions but with high flexibility of doing multiple things in a single SSH session itself. This way, you can keep doing some task and switch to some other task quickly.
Detaching From Screen
We can detach from a window after we are done working with it with the combination of “Ctrl + a” followed by “d”.
Once you execute the combination of keys, we will exit the help screen but the screens are still there which you can reattach to later (even when you come back with a new SSH session).
Reattach to Screen
Just like we mentioned that I can reattach to a previous screen even when I come back with a new SSH session. We can run the following command to do so:
Here is what we get back with this command if we have more than one sessions:
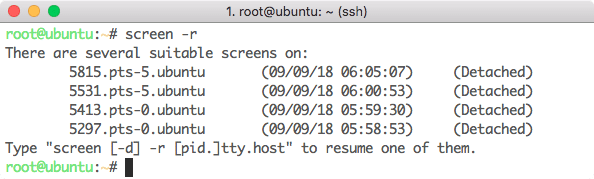
Screen Reattachment
if there was only one session present, the above command would have attached me to it. Now if you want to attach to one of the session, execute the following command:
Logging with Screen
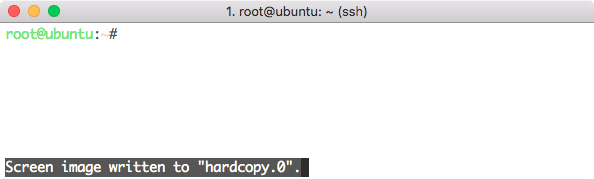
When we work with a server, it is important to keep track about what commands were executed on it. This can be done by recording a session with the combination of “Ctrl + a” followed by “H”. Screen will keep appending data to the file through multiple sessions:
Terminating Screen
Once we are done with the screen sessions, we can terminate it (and start it again later to attach to previous sessions) with the combination of “Ctrl + a” key followed by “k”. Here is what we get back with this command:
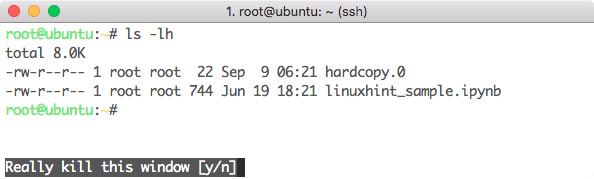
Exit Confirmation
This means that Screen will confirm before exiting any session.
Conclusion
In this lesson, we looked at how we can install and start using Screen command for Linux.