Of course, because of its nature, working with “ulimit” requires admin access (when changing value). Moreover, it’ll only work on systems that allow control through the shell. Without further ado, let’s get started with “ulimit”!
Location
Fire up the terminal and run the following command.

This shows up an error, right? Why? It’s because “ulimit” isn’t a separate binary. It’s embedded into the shell itself.
Basic usage
Just run the command by itself.

As the output suggests, the current user has “unlimited” amount of resources to be accessed. Essentially, this means the current user can consume all the resources the current system supports.
To get the report in details, add the “-a” flag at the end. This will print all the resource limits for the current user.
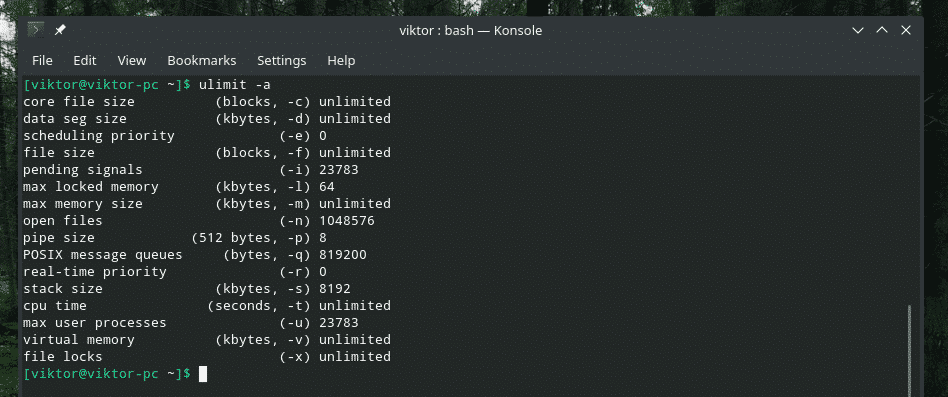
Note: There are 2 types of resource limitation: “hard” and “soft”. Hard resource limit defines the physical limit that the user can reach. The “soft” resource limit is manageable by the user. Its value can go up to the “hard” limit.
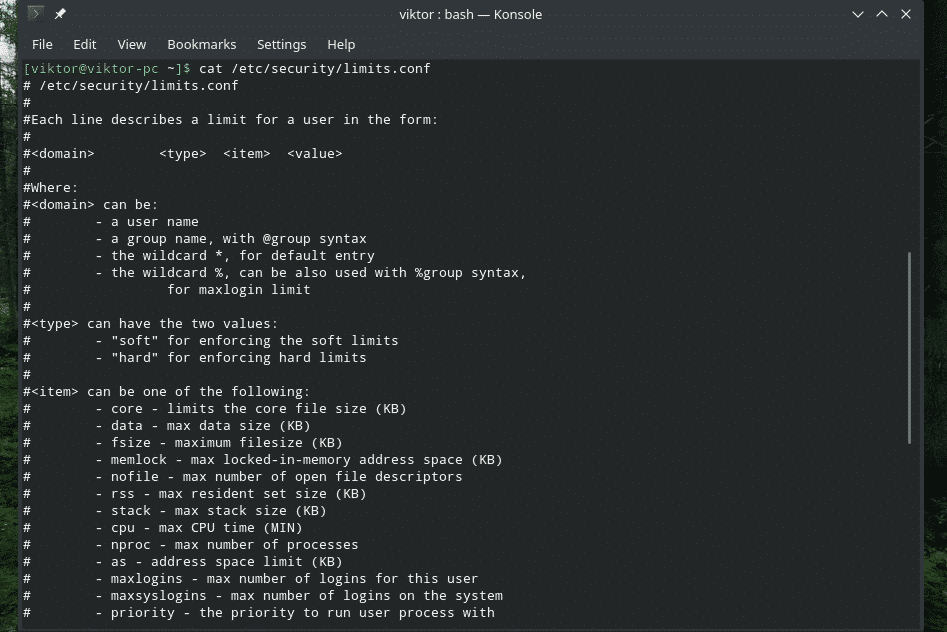
The system resources are defined in a configuration file located at “/etc/security/limits.conf”. “ulimit”, when called, will report these values.
Checking different limits of a user
How about displaying the individual parameters? Then call “ulimit” with the respective parameters.
Note: Not all of these commands will work as not every system incorporates the features.
To check the value of max “core file size”, use the flag “-c”. The result will be shown in blocks.

For max “data seg size” (in kilobytes), use the flag “-d”.

In scheduling, priority matters. Check out the max scheduling priority of the current user with the help of the “-e” flag.

To check the maximum stack size of the current user, use the flag “-s”.

For the maximum number of user processes, use the flag “-u”.

For the maximum number of threads, use the flag “-T”.
For getting the size of virtual memory, use the following one.

Let’s check out the socket buffer size!
This one is an interesting one. The following command will report the time each process is allowed to run for.

File descriptors are another interesting part of the Linux ecosystem. To check out how many file descriptors a process can have, run the following one.

For the complete list of “ulimit” flags, check out the help page of “ulimit”.

Setting values
Up until now, we’ve seen how to check the values of the resource limits of the current system. Now, it’s time to see how to manually modify these values.
Note: For changing the “hard” limit, it’ll require admin access, i.e. “root” permission. Make sure not to mess things up!
We mentioned the “limits.conf” file, right? It’s the core that DEFINES all the limits that’ll be applicable to the users.
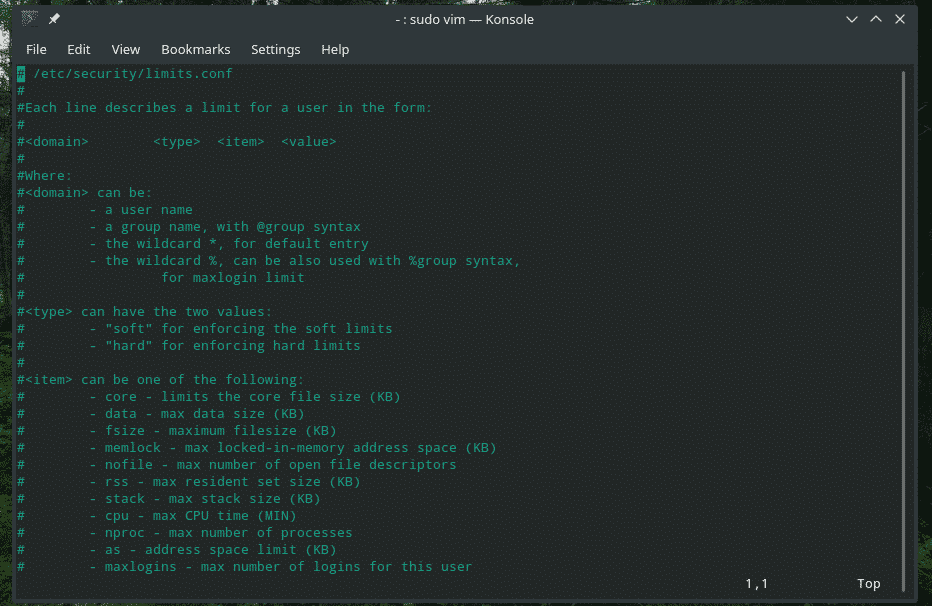
As shown in the file, each entry has to follow the following structure.

The “domain” part can be any of these values.

- A specific user
- A group
- Wildcard (* and %)
The “type” part allows the following values.

- “soft” (for implementing soft limits)
- “hard” (for implementing hard limits)
Next up, the “item” part. The list of available options is quite long! Here are some of the interesting ones.
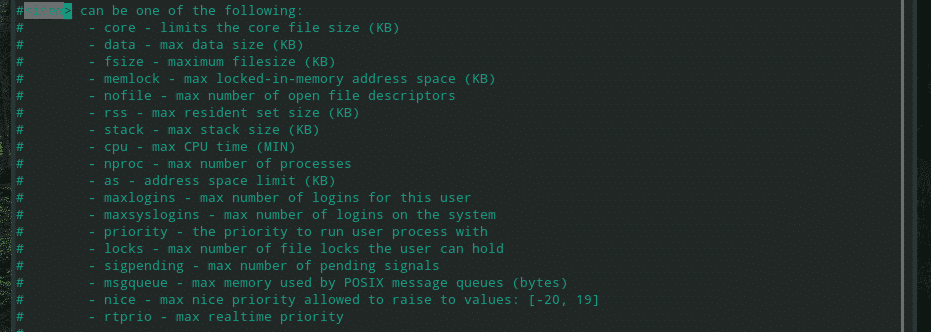
- core: Core file size (in KB).
- data: Max data size (in KB)
- fsize: Max file size (in KB).
- memlock: Max locked-in-memory address space (in KB).
- nofile: Max number of file descriptors
- stack: Max size of the stack (in KB).
- cpu: Maximum CPU time (in MIN).
- maxlogins: Maximum number of logins for the current user/group
- priority: Set the priority of the user’s processes
- rtprio: Max priority in real-time.
As of the “value” field, put an integer value. Note that the unit of each field is associated with the value of “item” part.
The changes will take into effect after exiting and re-logging into the associated user account.
For the in-depth info on the “limits.conf” configuration file, check out its man page.

Final thoughts
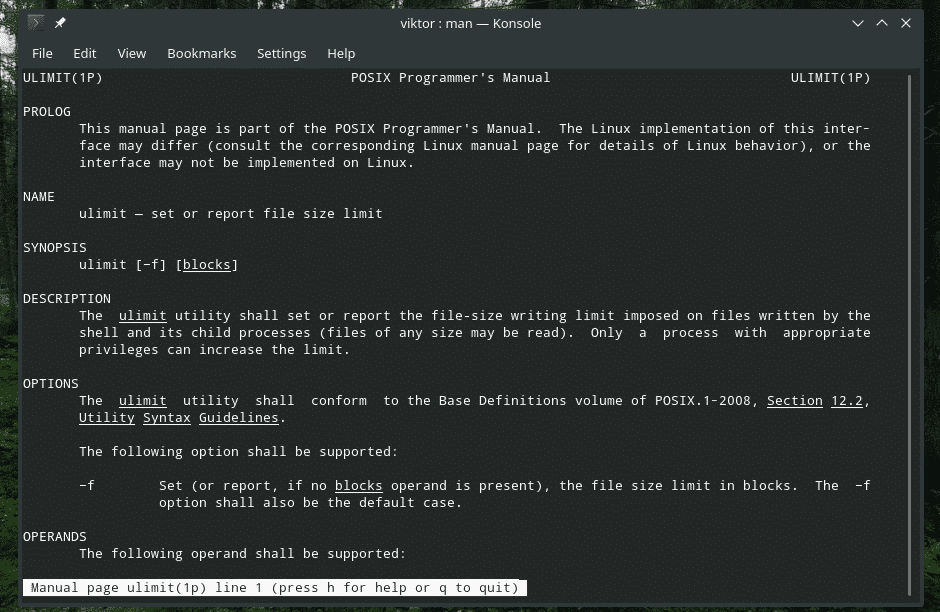
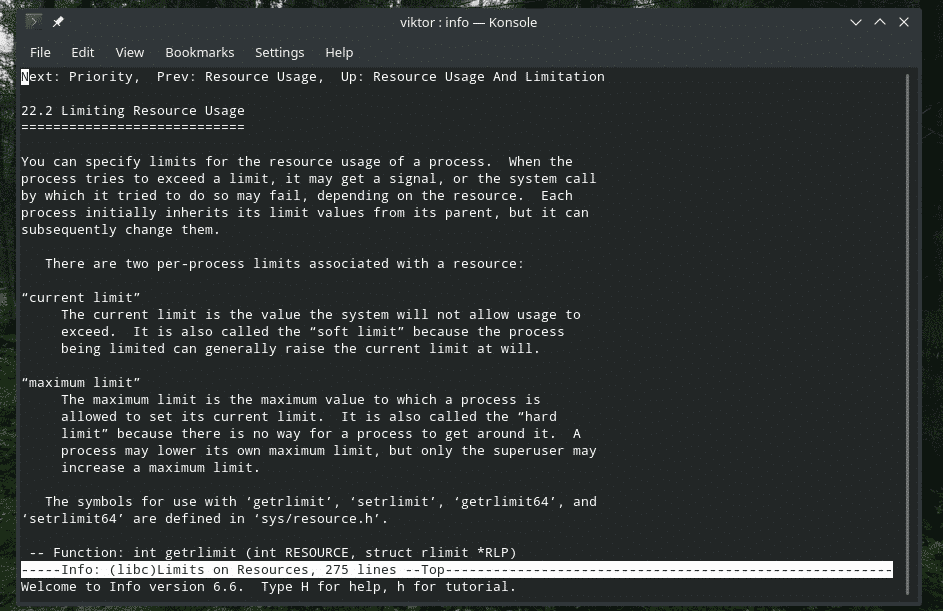
While the usage of the “ulimit” command isn’t so complex, it plays an important role in determining the available system resources and ultimately, determining the performance. To know more about this command, check out its man and info pages.

Enjoy!