Now you know how useful thin clients are. Raspberry Pi is a cheap single board computer that you can set up as a thin client very easily using WTware. In this article, I will show you how to set up a Raspberry Pi thin client. I will be using Raspberry Pi 3 Model B, but it should work on any model of Raspberry Pi 2 or Raspberry Pi 3. So, let’s get started.
Things You Need:
To make a Raspberry Pi thin client, you need,
- A Raspberry Pi 2 or Raspberry Pi 3 single board computer.
- A microSD card.
- Internet connection and a Windows computer.
- A Monitor with HDMI cable.
- An Ethernet cable.
- A USB keyboard and a USB mouse.
- An Android phone charger for powering up Raspberry Pi.
Downloading WTware for Raspberry Pi:
WTware for Raspberry Pi must be installed on Windows. Once you get it installed, you will be able to flash your microSD card, which then will work on Raspberry Pi. To download WTware, first, go to the official website of WTware for Raspberry Pi at http://winterminal.com/ and click on Download as marked in the screenshot below.

WTware should start downloading.

Flashing WTware on microSD Card:
Once WTware is downloaded, you have to install it on your Windows computer for you to be able to flash your microSD card.
To install WTware, navigate to the directory where you just downloaded it and double click on the WTware installer.

Now, click on Next.
Click on Next.

Uncheck all the marked checkboxes and click on Next.

Now, click on Next.

WTware is being installed…

Once the installation is complete, click on Next.

Now, click on Finish.

Now, start WTware Configurator from the start menu.

WTware should start. Now, insert the microSD card on your computer and click on the SD card icon as marked in the screenshot below.

Now, select your microSD card and click on Next.
NOTE: At times, your microSD card may not show up here. In that case, you will have to format it using SD Card Formatter. You can download SD Card Formatter for free from https://www.sdcard.org/downloads/formatter_4/

Now, click on Next.

Click on Next.

Now, select Store terminal configuration file locally and click on Next as marked in the screenshot below.

Now, click on Next.

Now, check Save parameters into config.txt file checkbox and set the resolution of your Monitor that you will connect to the Raspberry Pi here. Once you’re done, click on Next.

Now, click on Write to SD card! icon as marked in the screenshot below.

Now, click on Yes. Your SD card will be erased and WTware will be flashed on it.

Once the microSD card is flashed, click on Close.

Now, eject the microSD card from your computer.
Booting WTware on Raspberry Pi:
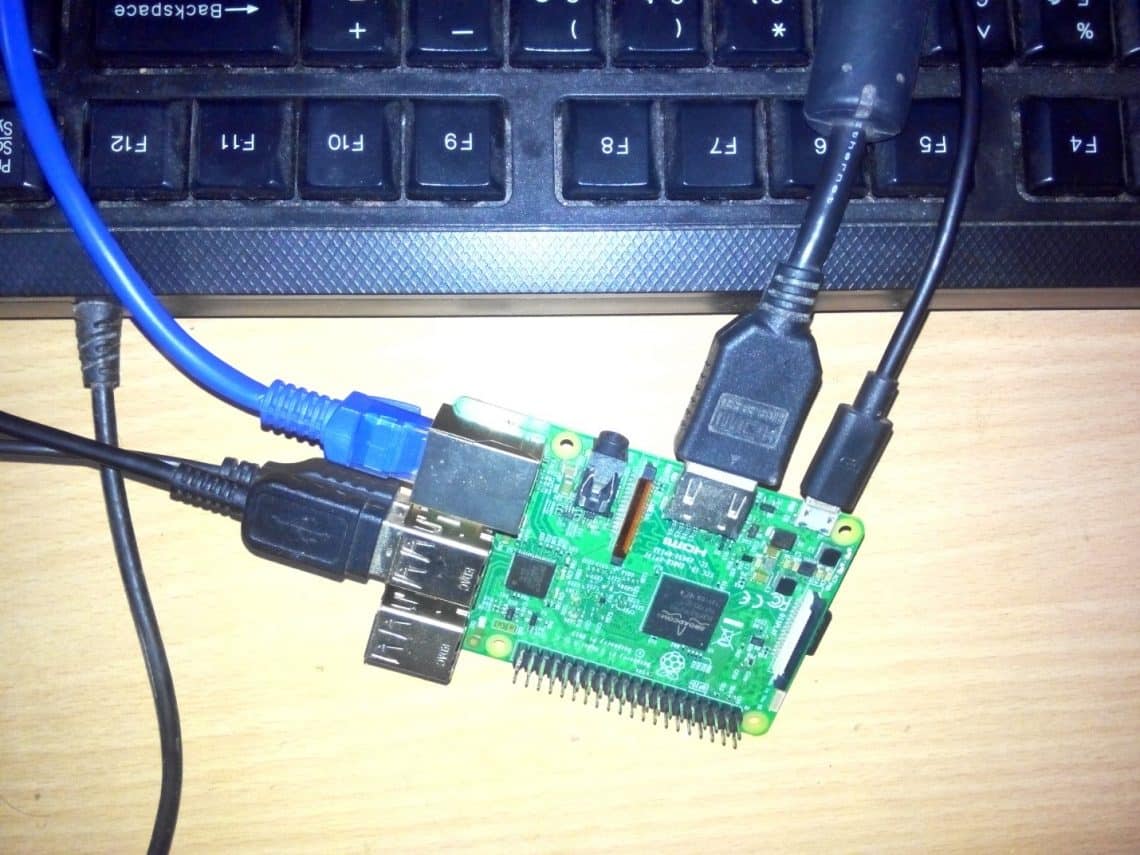
Now,
- Insert the microSD card on your Raspberry Pi.
- Connect the HDMI cable on your Raspberry Pi.
- Connect the Ethernet cable from your Router or Switch to your Raspberry Pi.
- Connect USB mouse and USB keyboard to your Raspberry Pi.
- Connect the Android phone charger on your Raspberry Pi.
Once you connect everything on your Raspberry Pi, power it on.
Just after you power it on, keep pressing the Delete key on your keyboard. You should see the following configuration window.

Now, use the <Down> arrow key to navigate to Edit configuration file and press <Enter>.

Now, type in the IP address of your Windows computer that has Remote Desktop enabled in the marked section of the screenshot below. Once you’re done, save the configuration file by pressing <F2> key on your keyboard.

Connecting to Windows Machines via RDP:
Now, use the <Up> arrow key on your keyboard to navigate to Connect for configurating as marked in the screenshot below and press <Enter>.

Now, you should see the following window. Just select the IP that you just configured and press <Enter>.
NOTE: If you want to add another server, just select Another server… from the list and type in the details and you should be connected to your desired Windows computer via RDP (Remote Desktop Protocol).

Now, type in your login username and password and press <Enter>.

You should be connected to your Windows computer via the Raspberry Pi thin client (WTware).

As you can see, I am connected to my Ryzen 5 2400G workstation via my Raspberry Pi thin client.

WTware for Raspberry Pi is not free. You can try it out for free. But the free version shows you EVALUATION COPY overlay messages on the screen as you can see in the screenshot below.

To get rid of this EVALUATION COPY messages from the screen, you will have to buy WTware for Raspberry Pi. To buy WTware for Raspberry Pi, visit the official website of WTware for Raspberry Pi at http://winterminal.com/index.html#buy
So, that’s how you make a Raspberry Pi thin client with WTware. Thanks for reading this article.