Partitioning under Debian/Ubuntu (GUI)
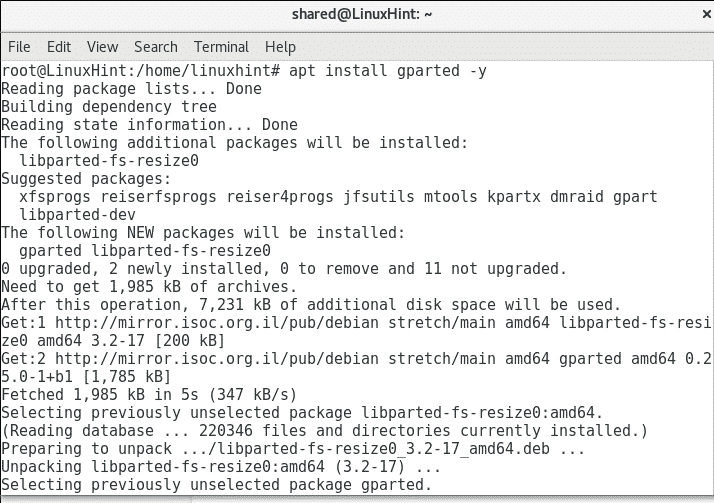
To start we’ll install Gparted by running the following command:
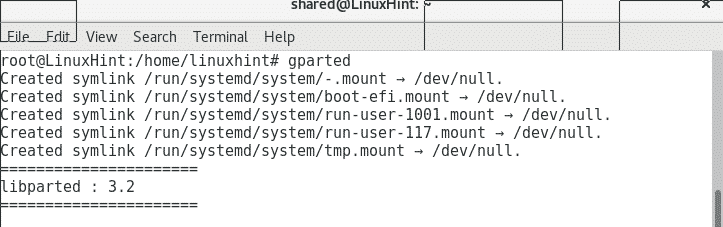
Run Gparted
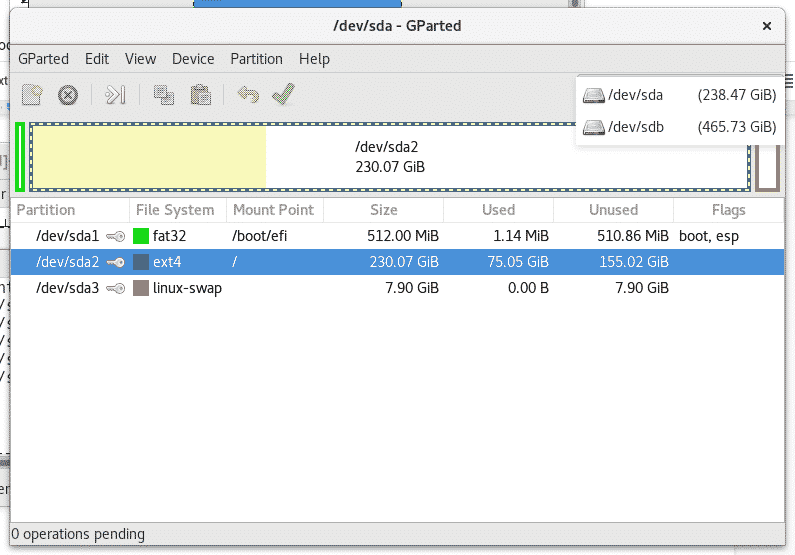
Gparted GUI is very intuitive and easy to use. First select the device you want to work on, on the right side you’ll see a dropdown menu saying “/dev/sda (238.47 GiB)”, there you can select a different device. If you plug the device after Gparted was launched, on the top menu click deploy GParted and click on “Refresh Devices”.
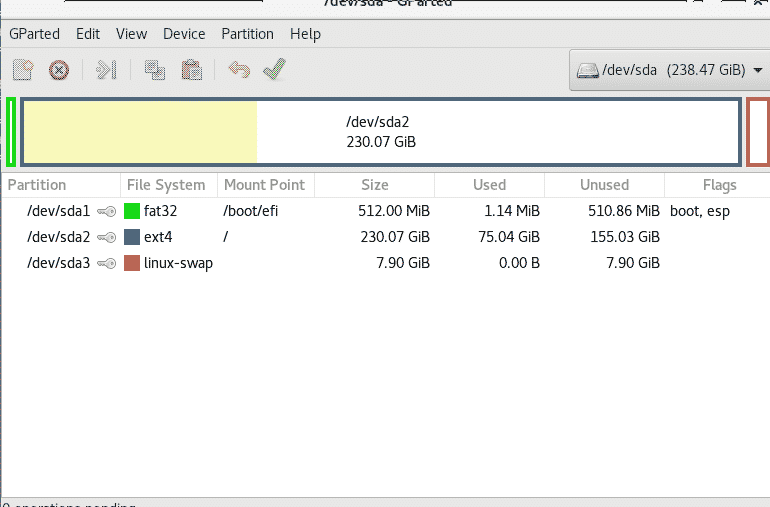
We can not manipulate partitions of a hard disk being used so I connected an external hard drive.
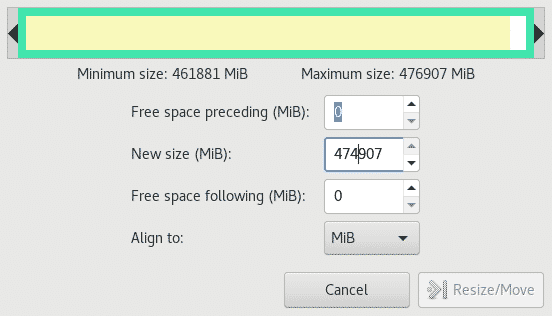
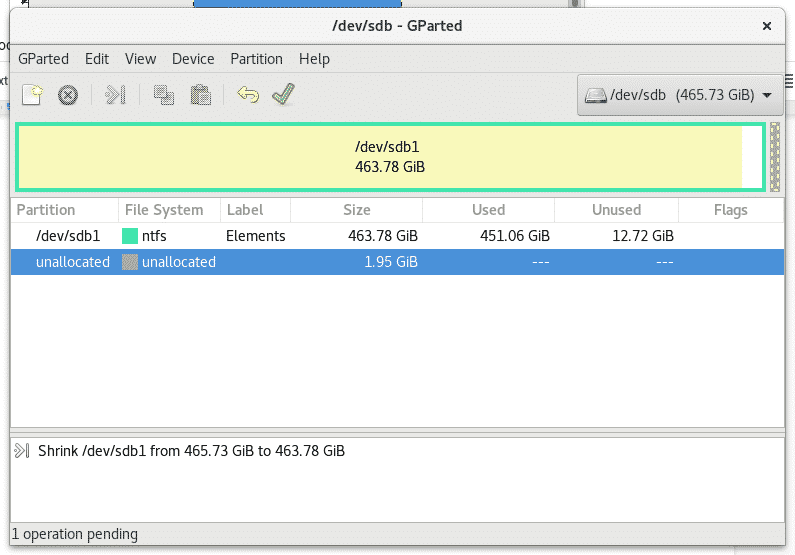
Right click on the partition you want to resize and select Resize.
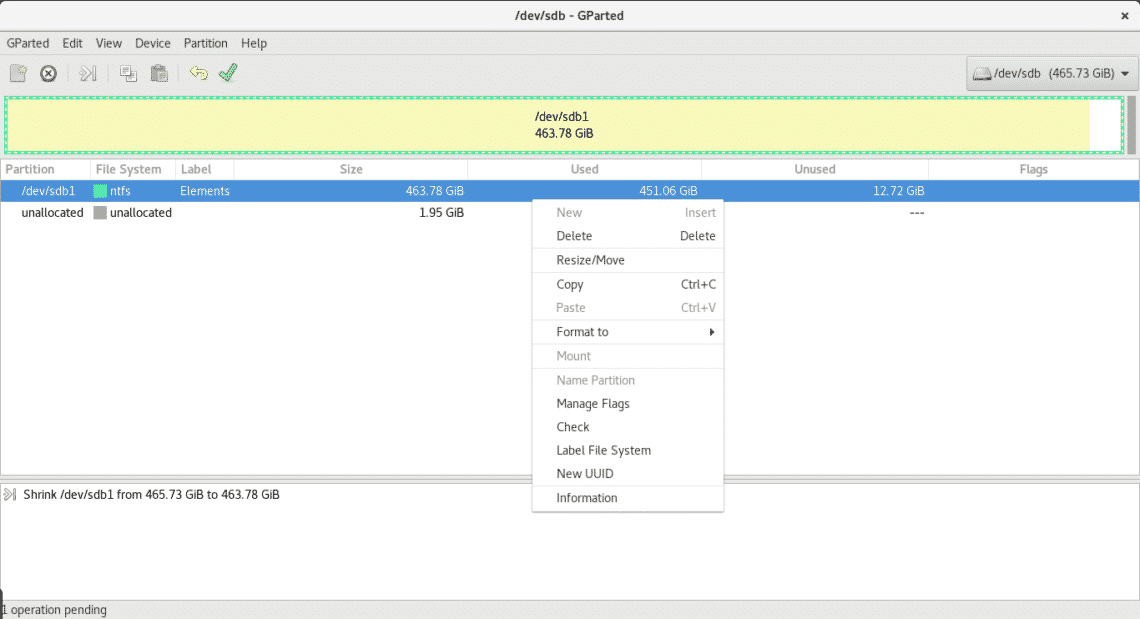
In my case I have not too free space, so I will only reduce the partition 2 GB.
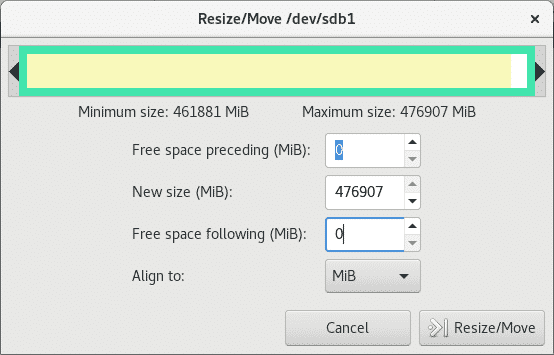
Now we have 1,95 GB unused, to expand the partition instead of reducing the process is the same if we have free space, right click on the partition you want to expand, select Resize and determine the space you want to add.
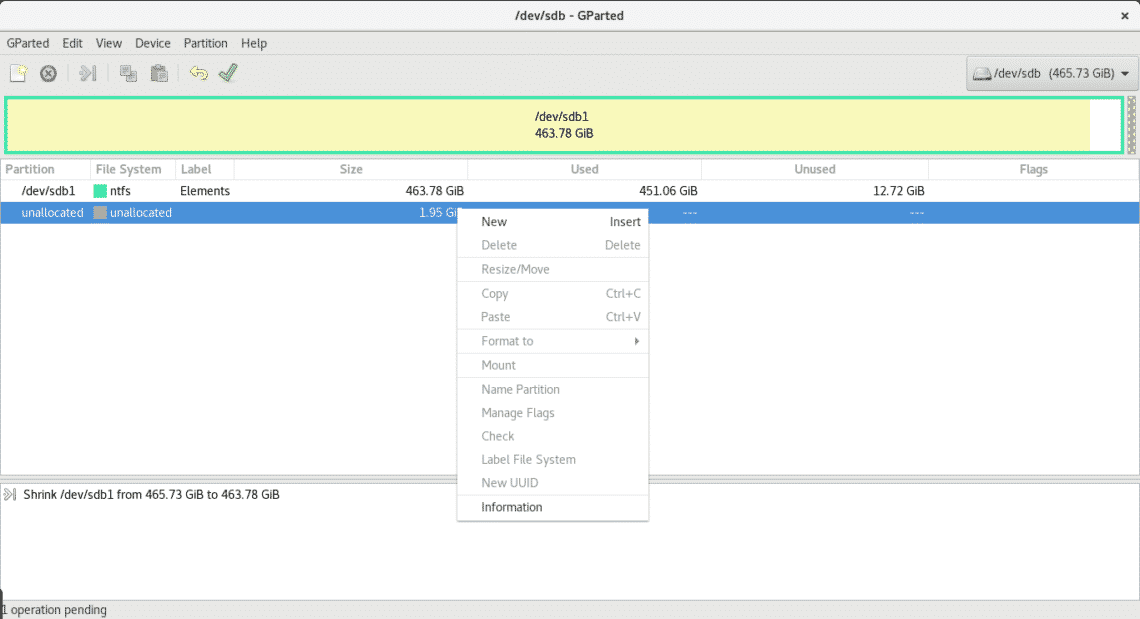
Optionally we can format the unused space and create a new partition with a different filesystem like NTFS.
Right click on the unused space and select New
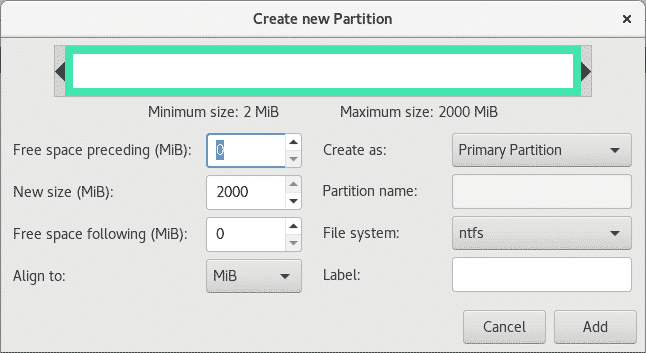
Select the size and type of filesystem, in this case also determine if you want your partition to be primary.
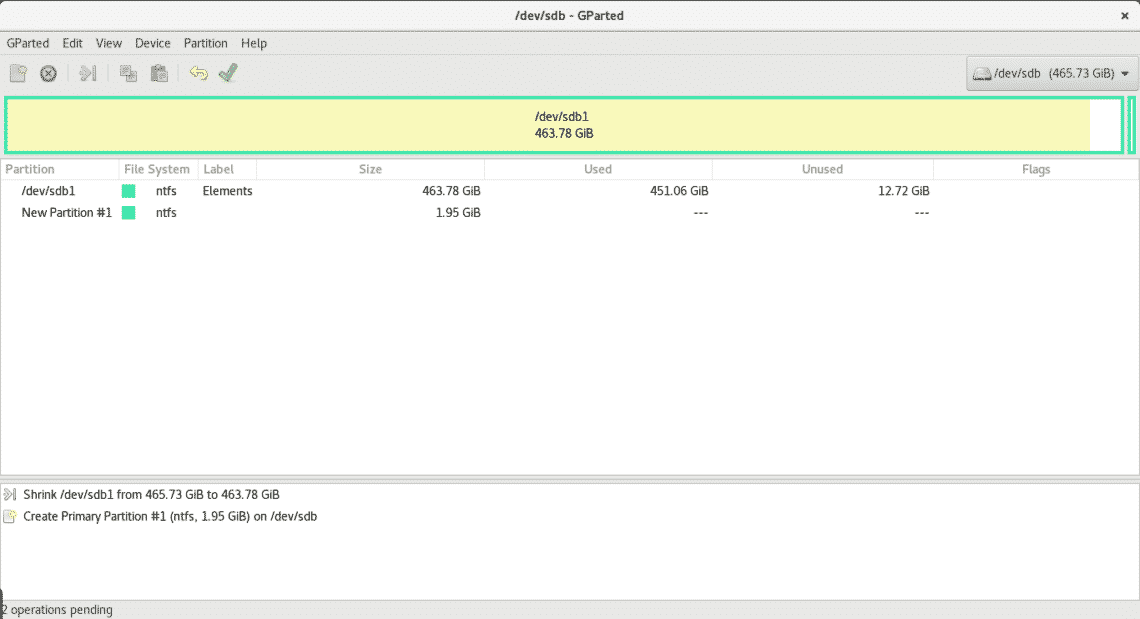
Once we finished setting our changes click on the green V icon below the main menu to write or save all changes.
Partitioning with fdisk
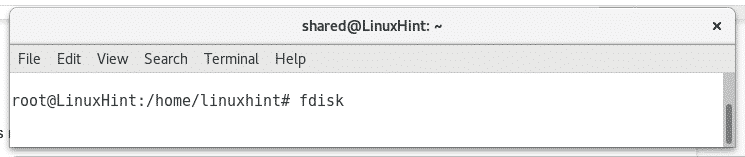
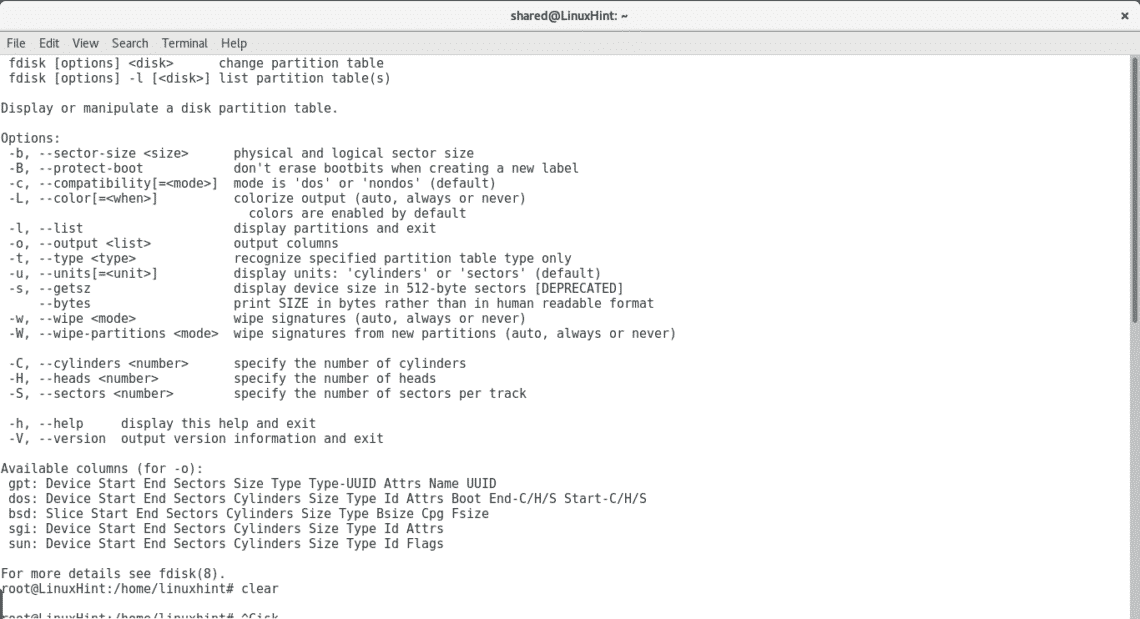
Lets run fdisk to see the options it has.
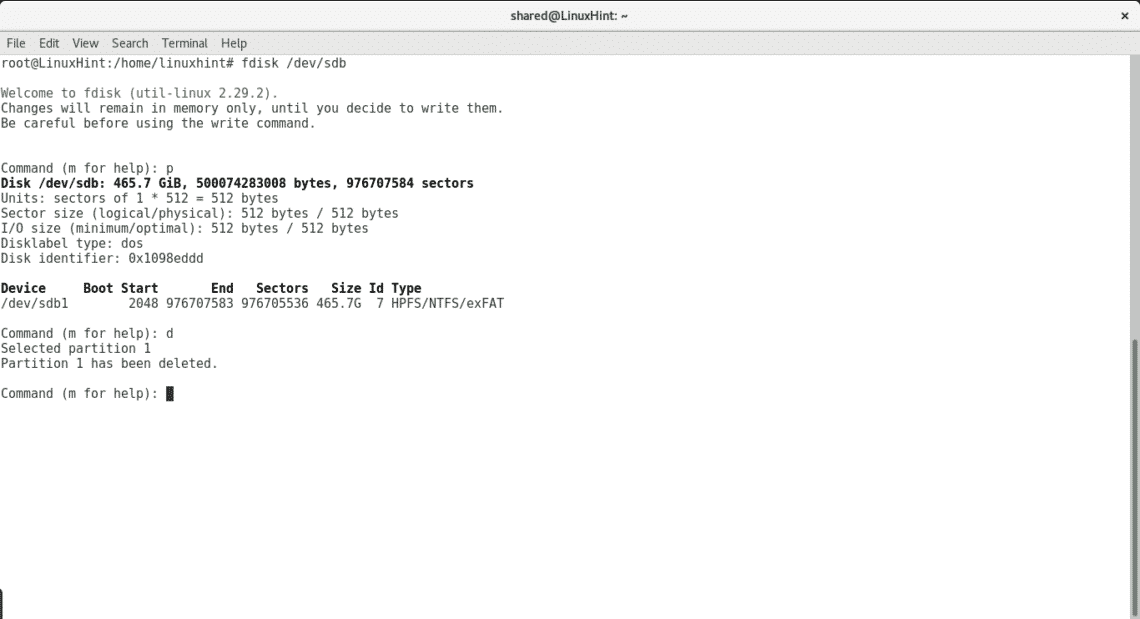
Lets see the partitions of the disk sdb by running
And then press p, if you need help during the process you can always press m to get help.

Press d to remove the existing partition
Press n to create a new partition and select the table.
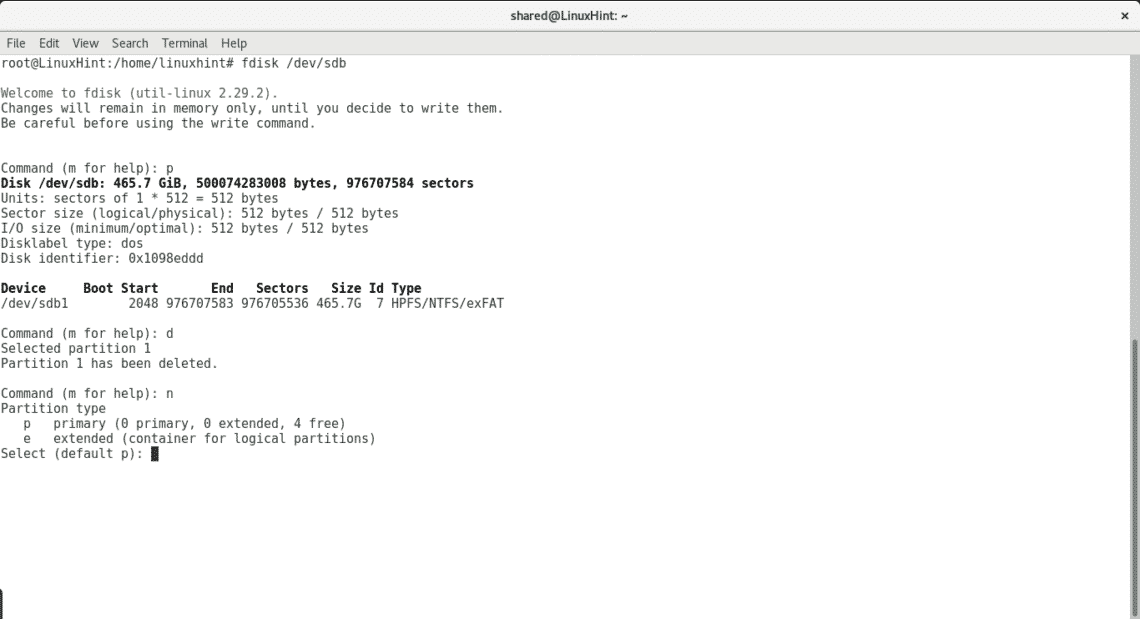
Select if the partition must be primary, number of partitions, starting and end point,
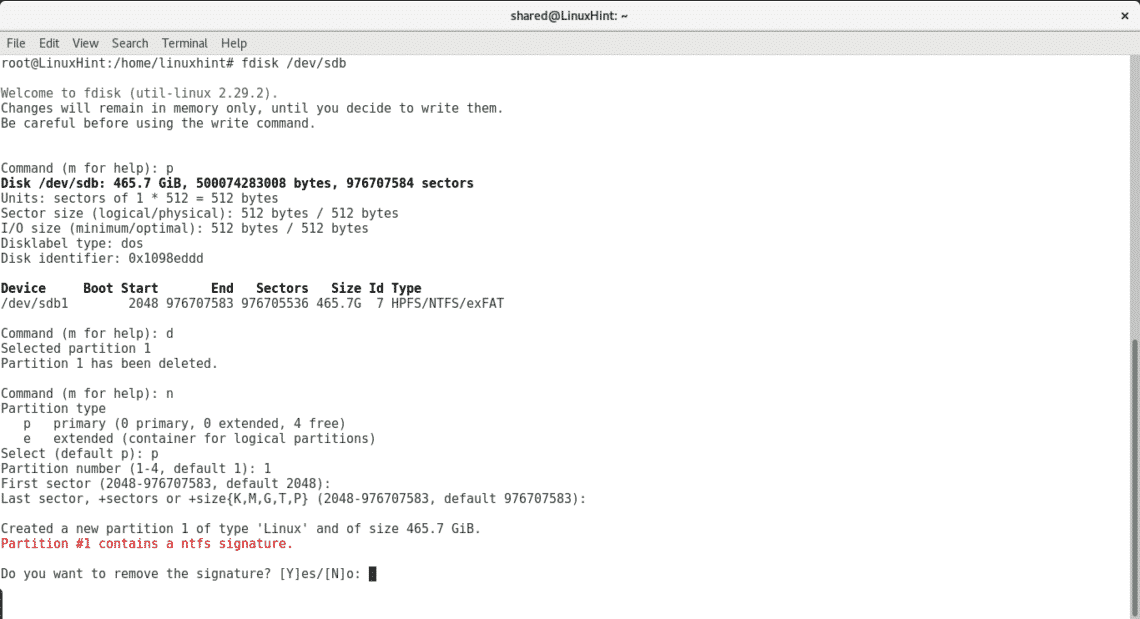
To write changes press w.
Brief comment on cfdisk
cfdisk is a tool coming by default with Debian and Ubuntu to manage partitions with the terminal. It is a lot more friendly than fdisk. It is not useful to resize partitions keeping their content, we can remove and create new partitions assigning the size we want.
To launch cfdisk run the command and the device you want to work on.
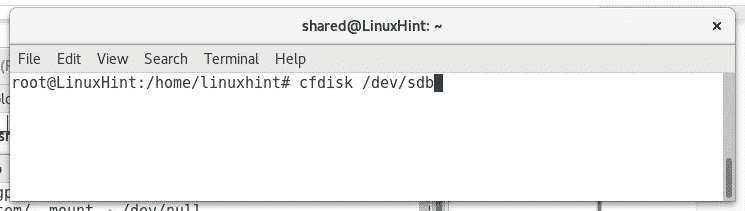
cfdisk is managed with the keyboard. If you have more than one partition use down-up keys to select different partitions and keys right-left to select between the different actions.

Conclusion
The best way seems to be gparted with if you have X installed and internet connection. Cfdisk and Fdisk are available tools in default installations, that’s why it is important to know how to use them for an emergency without internet.
I hope you found this article useful. Keep following LinuxHint for new tips on Linux.