In this tutorial we’ll see how to restore the root password for CentOS in a very simple way.
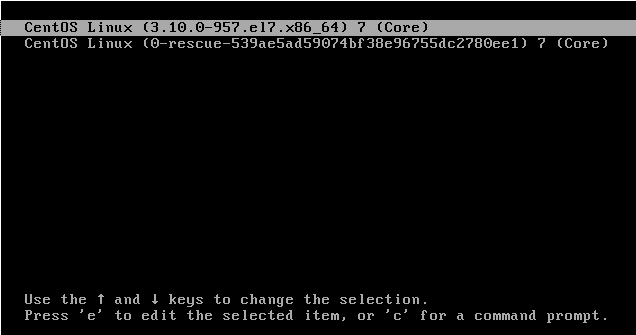
To reset your CentOS root password you’ll need to reboot or turn off your computer. Then turn on your computer and when GRUB starts press e to edit the rules and then press enter.
Scroll down and look for the line containing ro crashkernel=auto or just ro part.
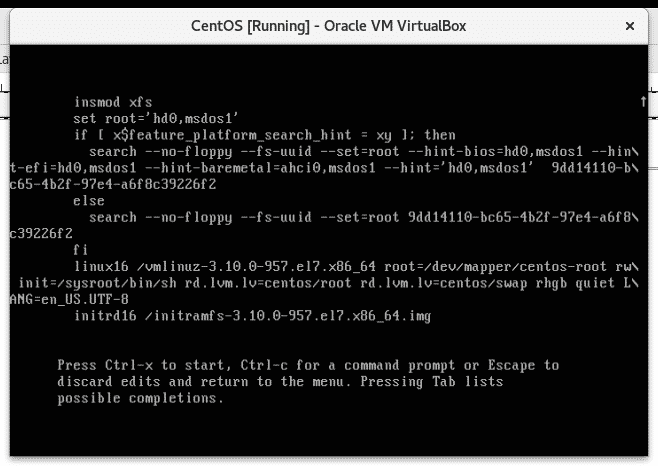
Replace ro crashkernel=auto or ro with rw init=/sysroot/bin/sh
Where:
ro = read only
rw = readable and writable
/sysroot/bin/ = OS system shell.
Make sure you edit the file properly otherwise the process will fail and you’ll need to repeat the previous steps.
Default file look:
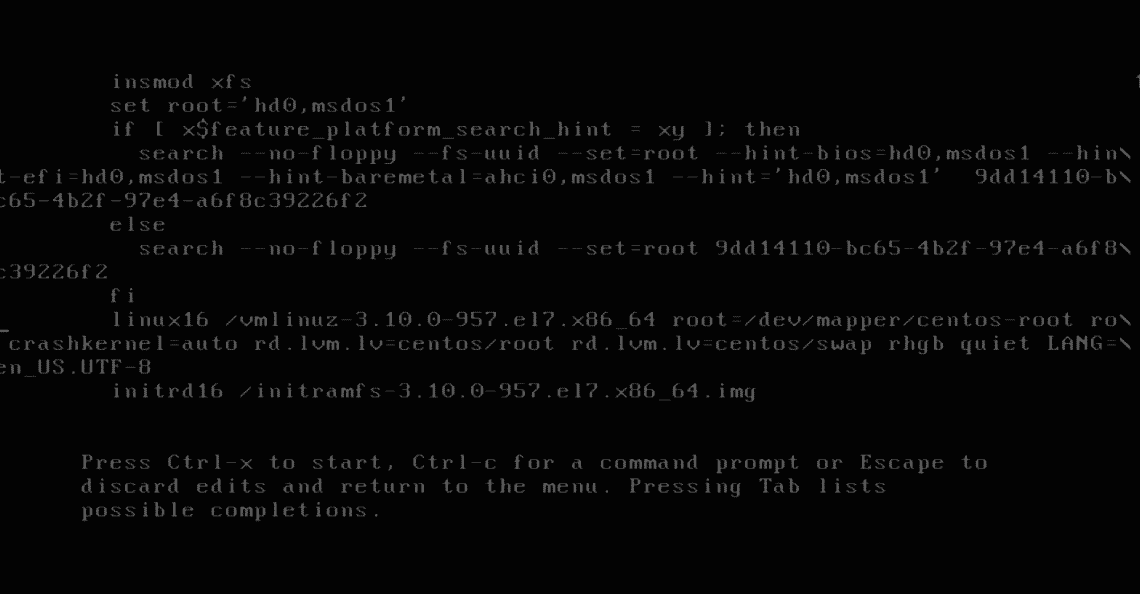
The file must look like the screenshot below. After double checking you wrote it properly, press ctrl+x to save the changes.
Edited file look:
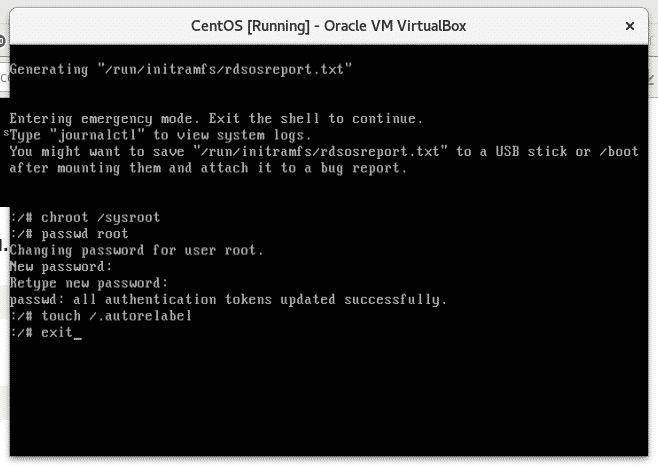
You’ ll get a root console from which you are able to set a new root password by running the commands below, make sure to set a password longer than 8 characters, don’t use weak passwords which may be included in brute force dictionaries or the OS may refuse it, combine numbers, characters and symbols to increase your security.
Run the following commands:
passwd root
Set your new password
exit
And then reboot
Where:
chroot /sysroot =access the OS.
passwd root = reset root password.
touch /.autorelabel = update selinux
exit = exit the OS
reboot
After restarting you will be able to login with the new password, now you can get back to work.
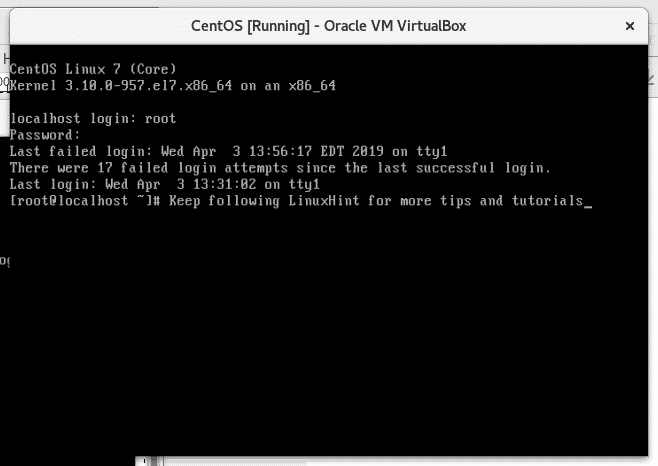
Thank you for reading this article, I hope you found this short tutorial useful. Keep following on LinuxHint for new tips and tutorials.