VirtualBox: Taking and restoring snapshots
Virtual machines are an excellent place for people to experiment. To run malicious software, test new code or to just understand the system better. If anything goes wrong, the damage is contained within the confines of the virtual machine which you can dispose of and start afresh. But why stop there when you can do much better.
With snapshots you can record the state of a system at a given time, run your tests and if things don’t go the way you wanted them to go, you can always revert back to that previous point where the system was all well and good.
Let’s take a dive into snapshots, how to recover from a system’s failure by restoring a snapshot and understanding what’s backed up and what’s not.
Taking a new Snapshot
Say, you have a freshly installed VM of Ubuntu with just the default packages which are all up-to-date. To label this state from within the VM, let’s login and in our home directory make create an empty file named ImportantFile.
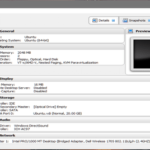
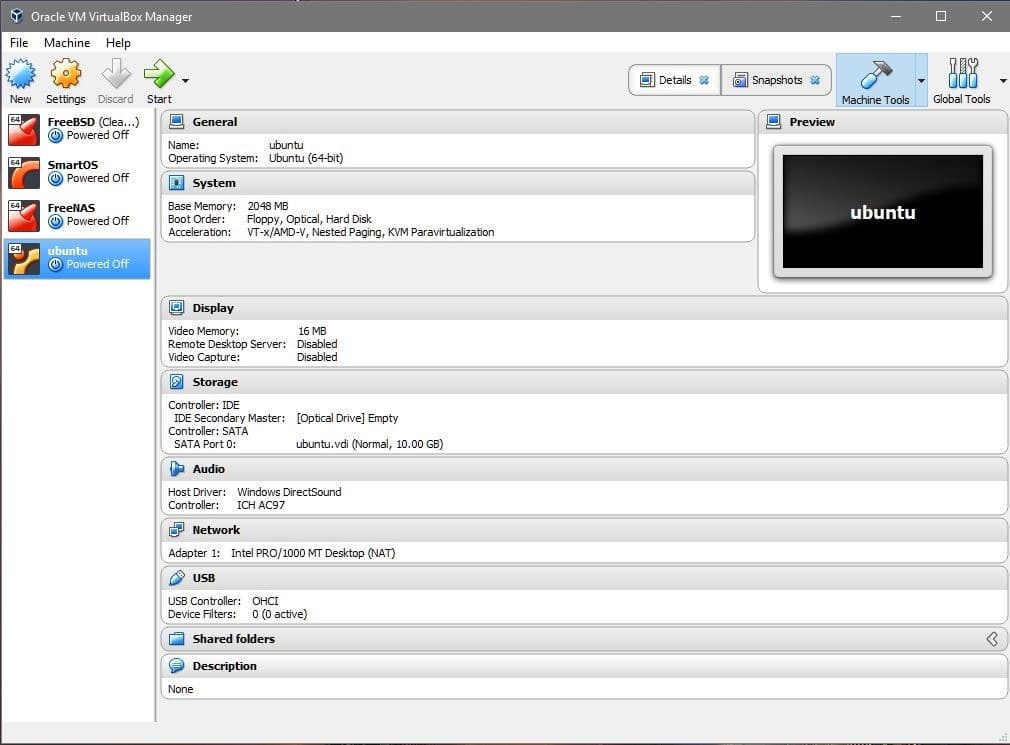
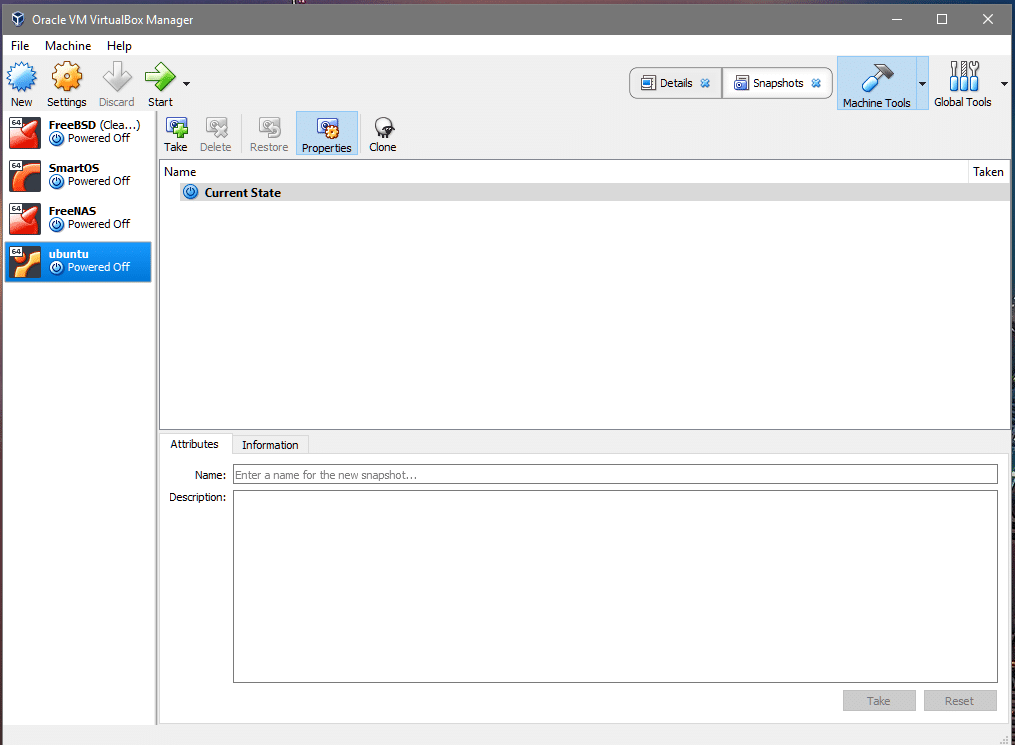
Now let’s power off the VM and go back to the VirtualBox dashboard. From the left column select the VM that you want to take a snapshot of.
In our example, that VM is named ubuntu.
With the VM selected, click on the top right corner option which says snapshots. Select current state and click on the icon that says “Take”, it takes the snapshot. Give your snapshot an appropriate name and then let’s start the VM and make some changes.

Restoring a Snapshot
Suppose you accidentally deleted the ImportantFile or made some other changes in the filesystem elsewhere and you would want to restore the initial state. In the directory where you created the file try running:
Now you have lost ImportantFile. To recover, you simply need to go back to the snapshots section in the VirtualBox UI, as shown before, select the snapshot and click restore. It will prompt you to take a new snapshot of the current state of the VM, if you think that’s important for you, you can do that as well.
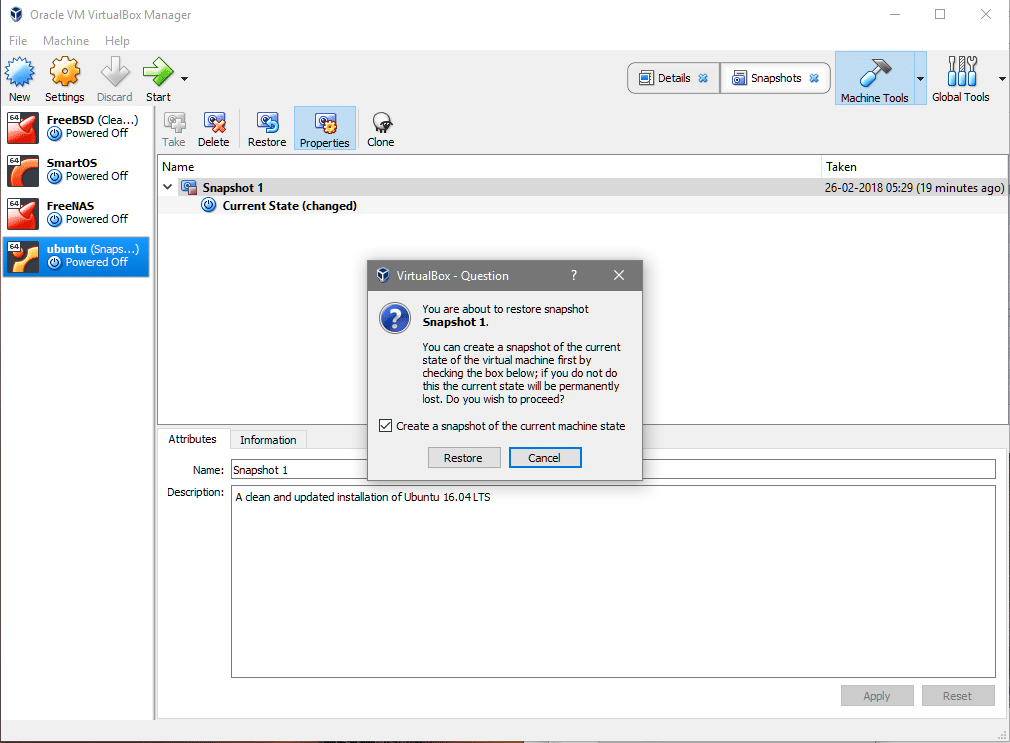
That’s it! If you go back to the VM, you will see your ImportantFile is right there, exactly as it was before the disastrous rm command was run.
Additional features of a Snapshot
Fortunately for us the Snapshot functionality of the VM is not limited to just the data stored on a virtual disk. It also keeps track of the hardware related settings like what was the memory allocated in this snapshot, how many processor cores were allocated and what type of network interface was used.
If you take a snapshot, make changes in these setting and then you restore the previous state of the VM you will notice that not only the data on your virtual disk has been restored but other resources have also gone back to their previous state.
The same rule applies when you attach multiple virtual disks to the same VM. They restore their states and if you have added new disks that weren’t there before, they get detached from the VM once it is restored.
Note: Although it is possible to attach the same disk to multiple VMs, it is not a good idea to do so. VirtualBox doesn’t let you create a new snapshot if a disk is attached to multiple VMs simultaneously.
If you want to locate and get rid of these orphaned disks you can always do that going to “Global Tools” and seeing the details of each disk and deleting the ones that are not needed.

Snapshots folder
If you have multiple VMs and multiple snapshots of each of them it is easy to end up with many large files strewn all over your host system without you knowing which ones are important and which ones are not.
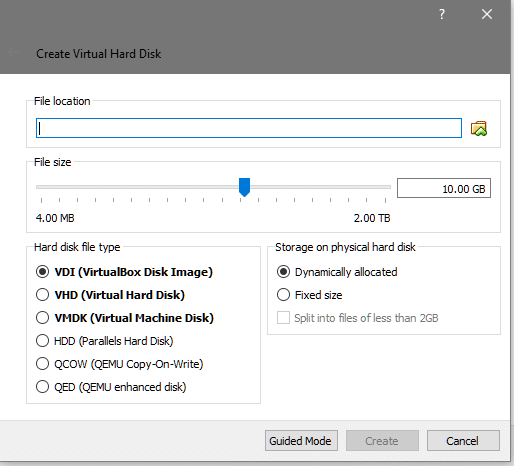
When creating a new VM you get an option to select a different directory or folder in which your disk images will be stored. This is particularly helpful if people don’t want to clutter up their C: drive or your /opt directory, if they are on Linux.
Click on the file icon or directly enter the destination path for your virtual disk when creating a new VM.
But when it comes to storing and managing snapshots, VirtualBox forgets this choice and reverts back to its default. To override this, go to your VM’s settings and click on ‘General’ and then select ‘Advanced’ tab in the menu:
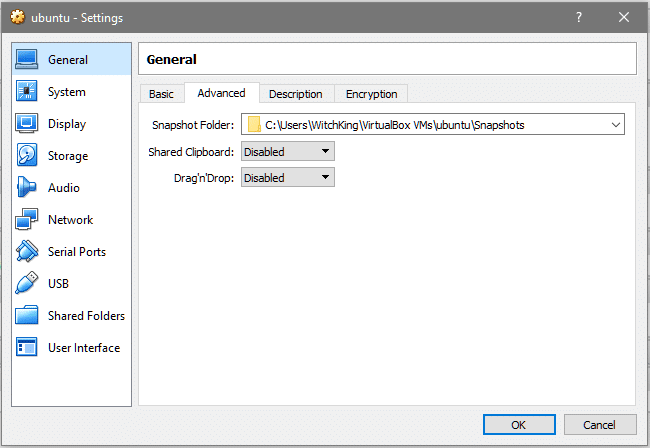
Now you can add your custom destination in the Snapshot Folder section and make the entire rigmarole much more manageable.
amzn_assoc_placement = “adunit0”;
amzn_assoc_tracking_id = “linuxhint-20”;
amzn_assoc_ad_mode = “search”;
amzn_assoc_ad_type = “smart”;
amzn_assoc_marketplace = “amazon”;
amzn_assoc_region = “US”;
amzn_assoc_default_search_phrase = “1522769889”;
amzn_assoc_default_category = “Books”;
amzn_assoc_linkid = “45fd13a3da6275d6c4fe800e6e8f25a3”;
amzn_assoc_title = “VirtualBox Recommended Book”;
amzn_assoc_default_browse_node = “283155”;
amzn_assoc_rows = “1”;
amzn_assoc_design = “text_links”;