Linux offers us a lot of useful tools to keep our environment’s safety and order, assigning or denying permissions to users and groups is a primary tool on any linux system. For security reasons only root users and users within the sudo group are able to manage users and groups.Through the command line, it is easy to create and modify or remove users, to restrict or release permissions, while allowing us to log users activity.
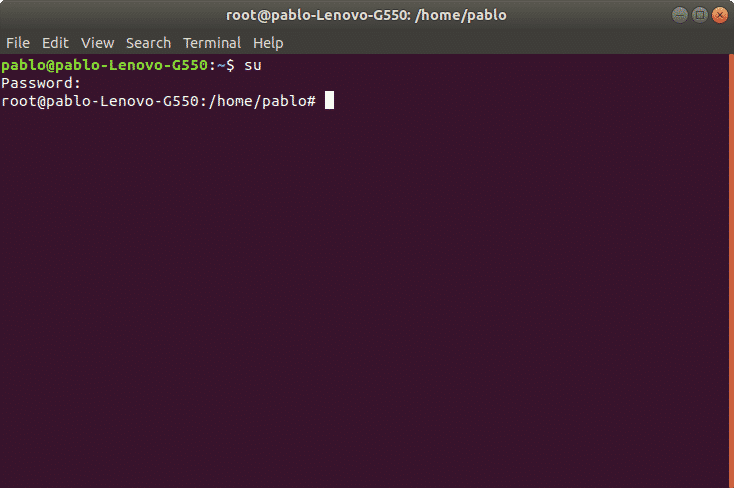
To manage permissions lets start by becoming the root user. Enter the command “su” to become root and press “Enter”, type the password when requested. If you don’t have root access we must use the sudo command before running a privileged command. For information on sudo you can read Managing sudo privileges.
Note: remember Linux is a case sensitive OS.
After authenticating we can manage users and groups.
Creating groups under Linux:
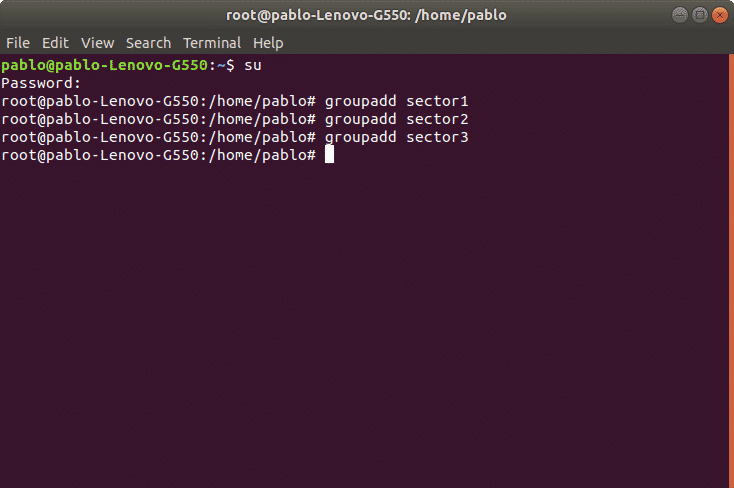
To create groups we’ll use first the command “groupadd” followed by the group’s name. The syntax is: “groupadd <group-name>”.
In the following picture is an example where I create three groups: sector1, sector2 and sector3. To do it on the command line type:
groupadd sector2
groupadd sector3
Once the groups are created we can create users to be assigned to the groups.
Creating users under Linux:
Using the command “useradd” we can add a user to our system. The proper syntax is “useradd [options] <username>”
Among the most used options we have:
-g Main user group (gid)
-d User Home directory, by default located at /home/<UserName>
-m Create Home directory in case it doesn’t exist.
-s Assign a specific shell to the user, by default it is /bin/bash.
As an example we will create the user nicolas and will assign him the group sector1, also we’ll define the user’s home and shell.
The syntax is:
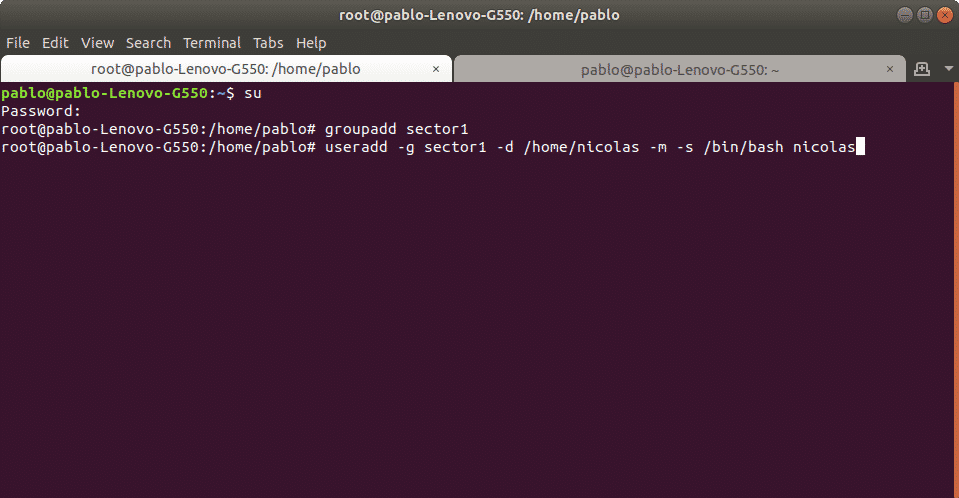
Now we’ll do the same with user martin to be added to group sector2, and a third user ivan for sector3. We’ll use the same syntax:
then
Command adduser vs useradd
While the command useradd runs a system binary file the command adduser is a perl script to interact with useradd. With the adduser command, the advantage is the home is created automatically. If using the command adduser we need to specify the -m option.
Creating or changing a user password under Linux:
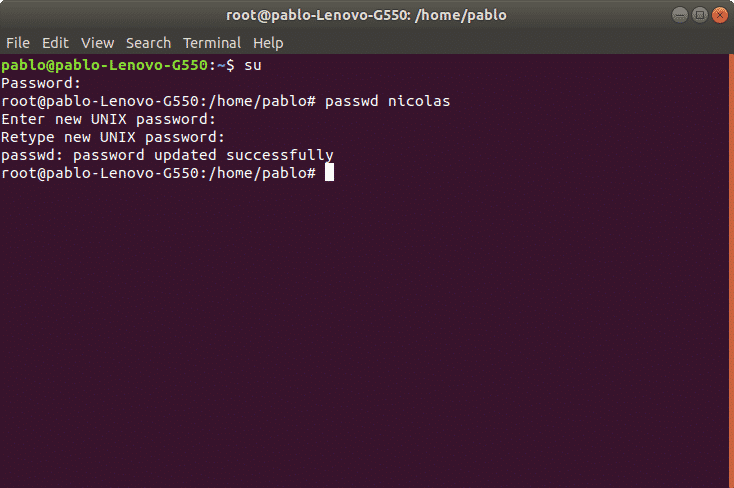
After adding a user with the command “useradd” we need to set a password for the user using the command “passwd”. Remember Linux is case sensitive.
In the following example we’ll create a password for the user nicolas using the following syntax:
Then it will request for password and confirmation, after confirmation the password will be established. We can know the process succeeded when the system returns “password updated successfully” like in the image:
Enter new UNIX password: (ingresar contraseña)
Retype new UNIX password: (repetir contraseña)
passwd: password updated successfully
Modifying users under Linux:
We can edit the user’s username, his home directory, his shell and groups to which he belongs among more options. For this we’ll use the command “usermod”.
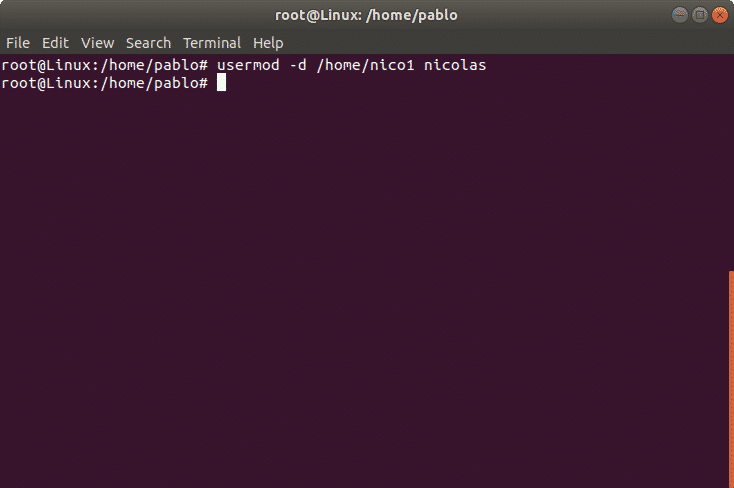
As an example we’ll modify the user nicholas’ home directory which we previously defined as /home/nicolas and we’ll replace it for /home/nico1.
To do it run:
The previous command updated the user’s home.
Lock/Unlock user account
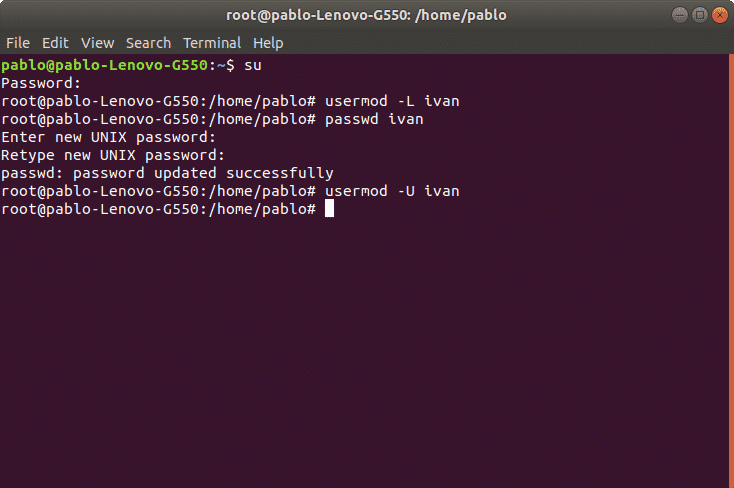
We can also lock a user account. In the following example we’ll lock user ivan account. The parameter -L (lock) will block the user account. The syntax is:
To enable a locked user we can use the -U (Unlock) parameter. In the following example we will unlock the user ivan:
The user is now unlocked.
Deleting users under Linux:
We can remove a user with the command userdel followed by the username. We can also combine parameters, among most used options we have:
-f remove user files.
-r remove user home and mail tail.
In the following example we’ll delete the user account “ivan”
Note: The command “userdel” won’t remove the user if is running process.
Modifying groups under Linux:
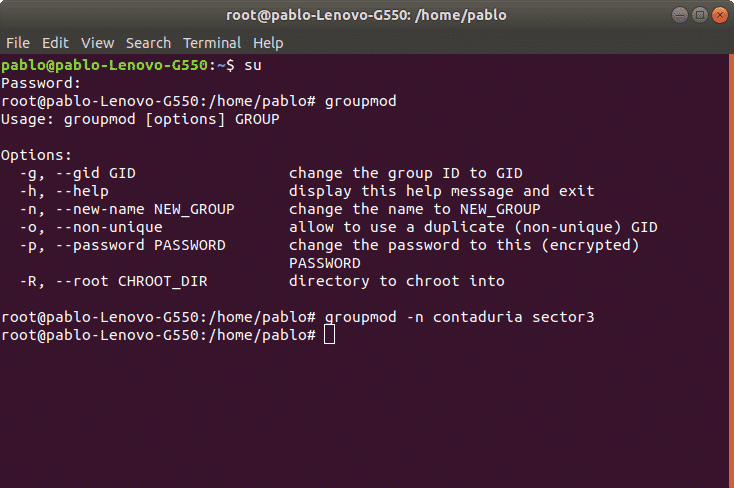
In order to modify groups we’ll use the command “groupmod”. This command allows to modify a group name or user gid. The syntax is:
In the following example we’ll modify the group name for “sector3” to “contaduria”
Deleting groups under Linux:
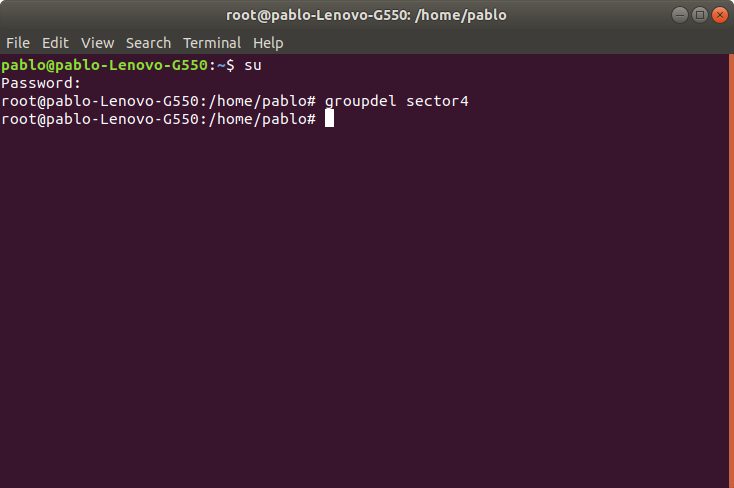
We can remove a group using the command “groupdel” followed by the group name. For example, to remove the group sector4 we’ll use the following syntax:
In this case it would be just:
Note: If another user is a member of the group we try to remove, the command won’t remove the group.
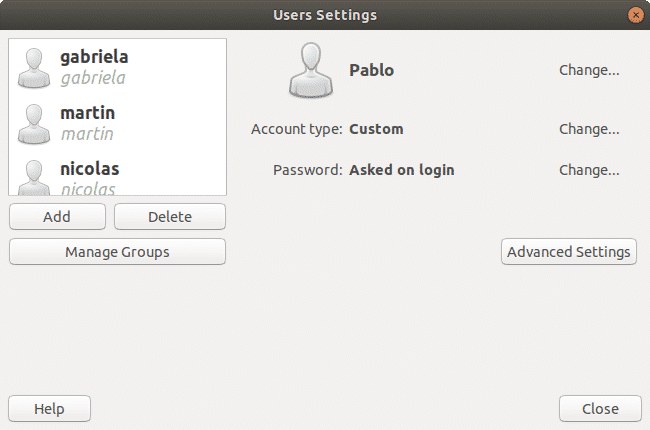
Graphic user and groups management under Ubuntu Linux (Gnome)
Ubuntu offers a graphical management for users and groups. The interface is user friendly, intuitive and easy to use.
If we haven’t installed this interface on the terminal run:
When asked for confirmation press “Y” and “enter”
The following NEW packages will be installed
Once finished we can run the tool from the command line as “users-admin”
Thank you for reading this article. Now you can easily manage users and groups on linux.